Keeping your oxygen tanks and suit in good repair will ensure your survival in Shinsekai Into the Depths, and there are two ways to do so. One takes a bit of scavenging, and the other some farming.
Repair oxygen tanks and your suit in Shinsekai Into the Depths by finding a new tank or using a repair kit.
Whenever you take damage in Shinsekai Into the Depths an oxygen tank will begin to crack. Once completely broken it is lost for good, and once all of your tanks have been destroyed you’ll start to take damage to your suit. This can be repaired in one of two ways. The easiest method requires a bit of luck: oxygen tanks found in the environment will not only replace destroyed tanks, they will “repair” the broken ones once you have reached max capacity (you’re essentially swapping the broken tank out for a fresh one). Thing is, these tanks need to be found and don’t magically respawn, so they are best saved for replacing missing oxygen tanks.
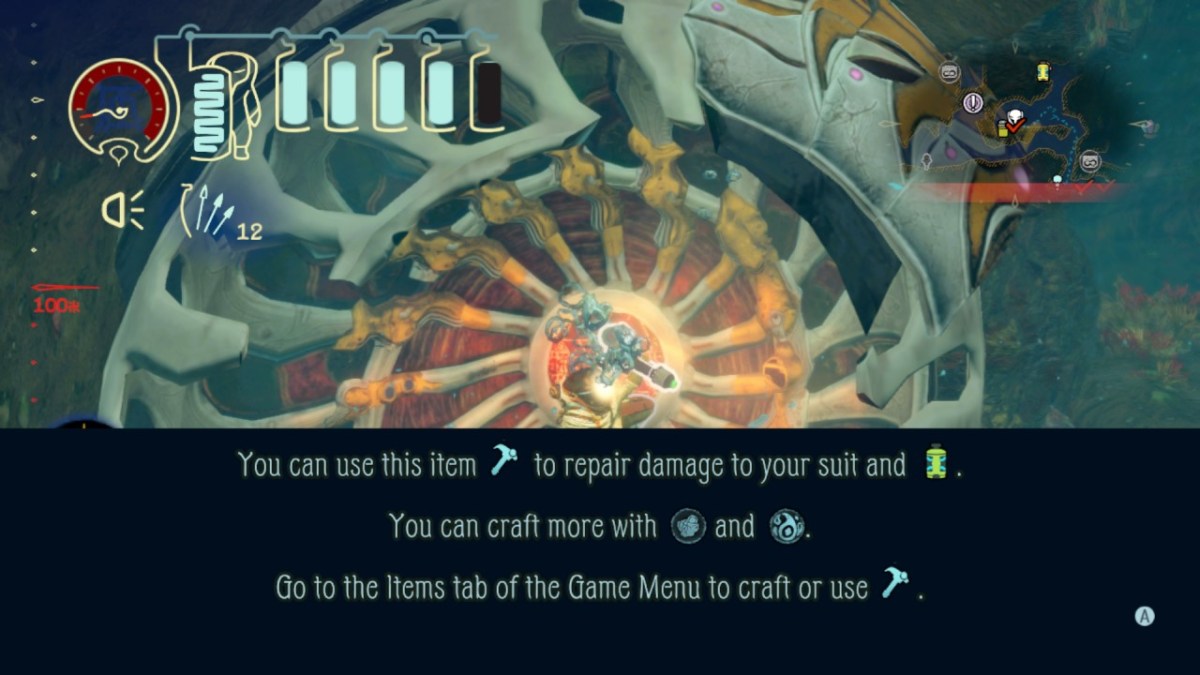
The second method requires a little more work, but is vastly more reliable. Shorty into Shinsekai Into the Depths you’ll find the repair tool, and you can use it to instantly repair a cracked tank or your damaged suit. It has a limited amount of charges, however, and new ones need to be crafted.
You’ll need the regular gray stone material and life material if you want to keep your repair charges topped off. The gray stone can be found from mining nodes scattered across the map (found the same way as the red stone and green crystal materials used for suit upgrades), and is dropped by a few creatures after you kill them. The life material is found in, well, living things. The jelly-pods in particular are packed with the life material, though you can sometimes find it by walking through the environment.
To craft more repair charges open the main menu with Plus/Start and go to Items. From here highlight the hammer icon and press X to create a charge. You’ll need 1 life material and 2 gray stone materials to craft a single repair charge, and you can only carry five at a time until you start upgrading your carrying5 capacity with the green crystal material.
To use the repair kit hold down the L-button and press X. If you don’t have anything in need of repair you will be unable to use a repair kit, so don’t stress accidentally wasting one.


Published: Mar 27, 2020 11:33 am