Welcome to Radio Free Monarch Part 2, where Sanjar is enthusiastically looking for help gaining the Board’s renewed favor. A simple fast travel is all you need to get the ball rolling, with Sanjar conveniently located inside Stellar Bay.
Help Sanjar in Stellar Bay by acquiring the BOLT-52.
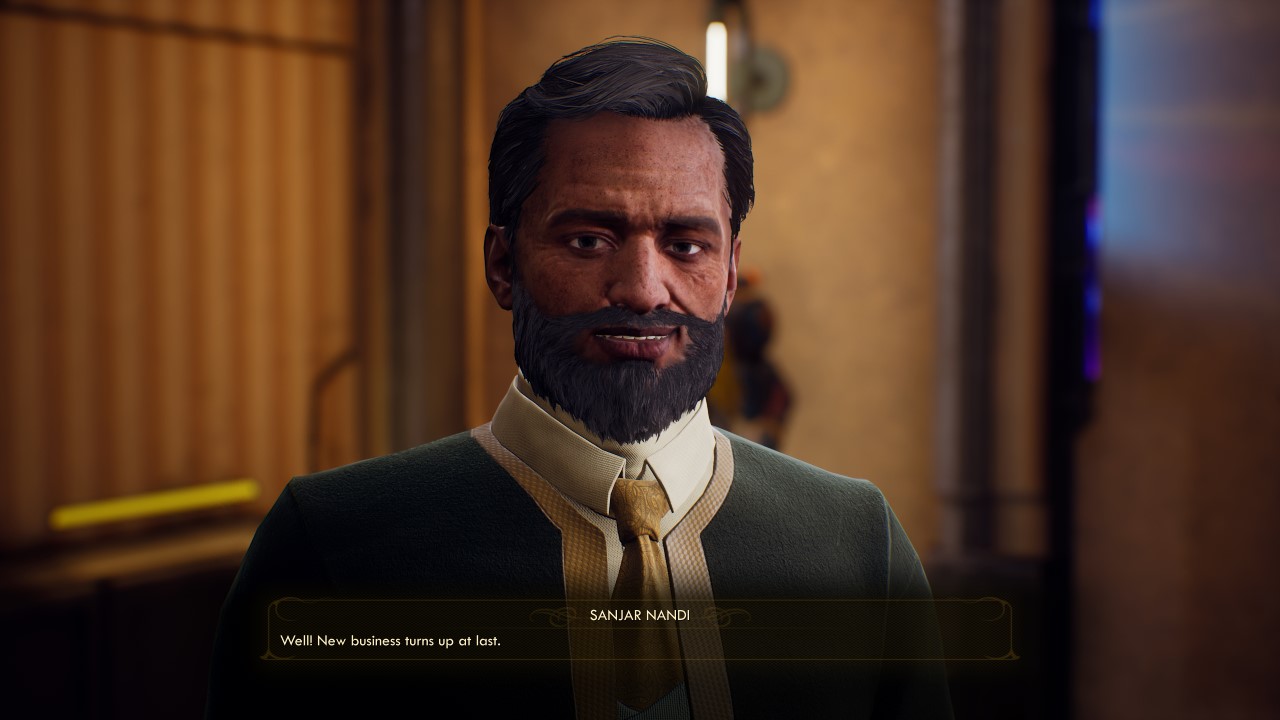
Sanjar is in large municipal building within Stellar Bay, directly in front of the fast travel point. Head inside and talk to Sanjar, who is overjoyed to see you. He believes you may just be his ticket to getting his corporation, MSI, back on the map. He’ll ask you to procure the BOLT-52 cartridge from the old ARMS building to the north, which he can use to better defend Stellar Bay. You’ll be given the BOLT With His Name on It side quest.
Leave Stellar Bay by the north gate and go across the bridge. Turn left and deal with the raptidons you encounter. The ARMS building isn’t far up the road; you’ll know you found it when you see the large, blue and gray silos. There is also a giant neon sign at the entrance that says “ARMS”, for the directionally challenged.
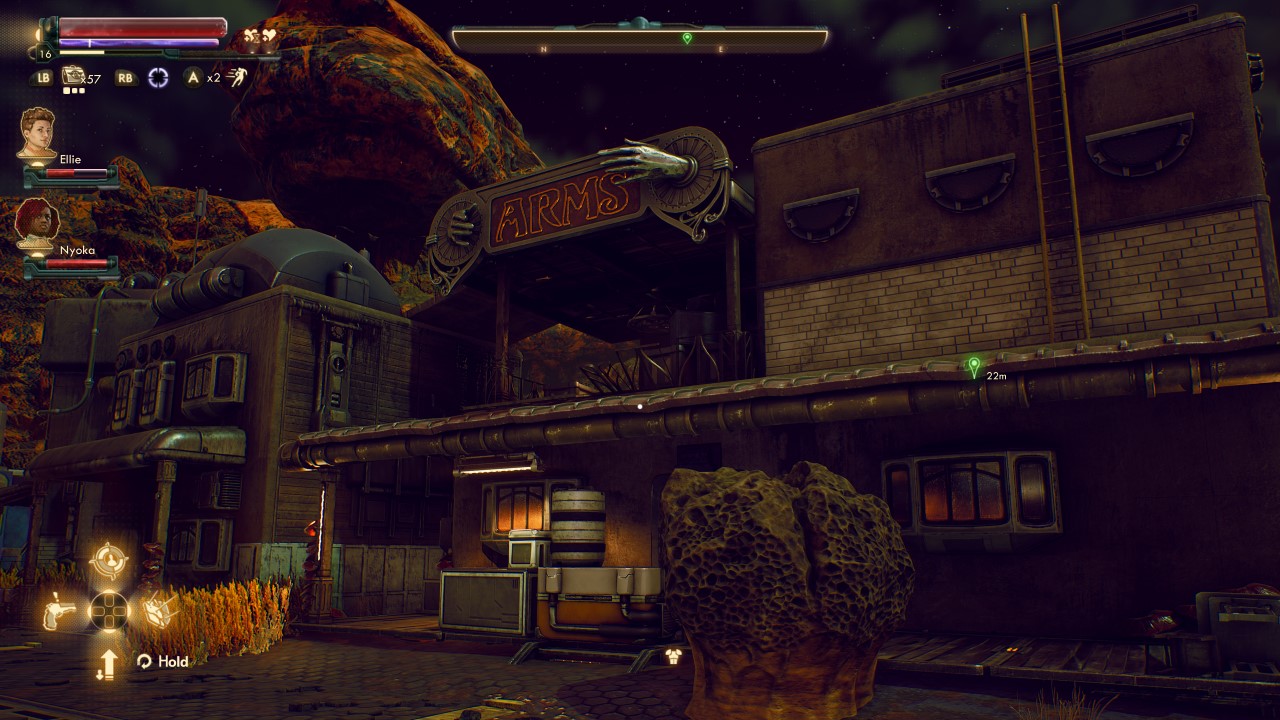
The front door is locked, and can be opened with either 50 Lockpick, or the building key located on the corpse lying on the bridge to the building’s right. That said, there is another way in: go back to those silos and look for a building with a ladder. Climb it, cross the planks connecting the buildings, and go down the ladder in front of the ARMS building. You’ll find a locked door to the closet with the BOLT-52 inside it to the right, and an hole in the wall ahead that leads into the building proper.
As you pass the locked door an intercom will chime. An iconoclast runner named Huxley is locked inside, and she would like help getting out (bonus: if you started off Radio Free Monarch by helping Graham first, then TADA, you have found his missing runner). If you have 35 Engineering you can actually get Huxley to open the door to the closet, you genius, you. You can also use the building key if you have it.
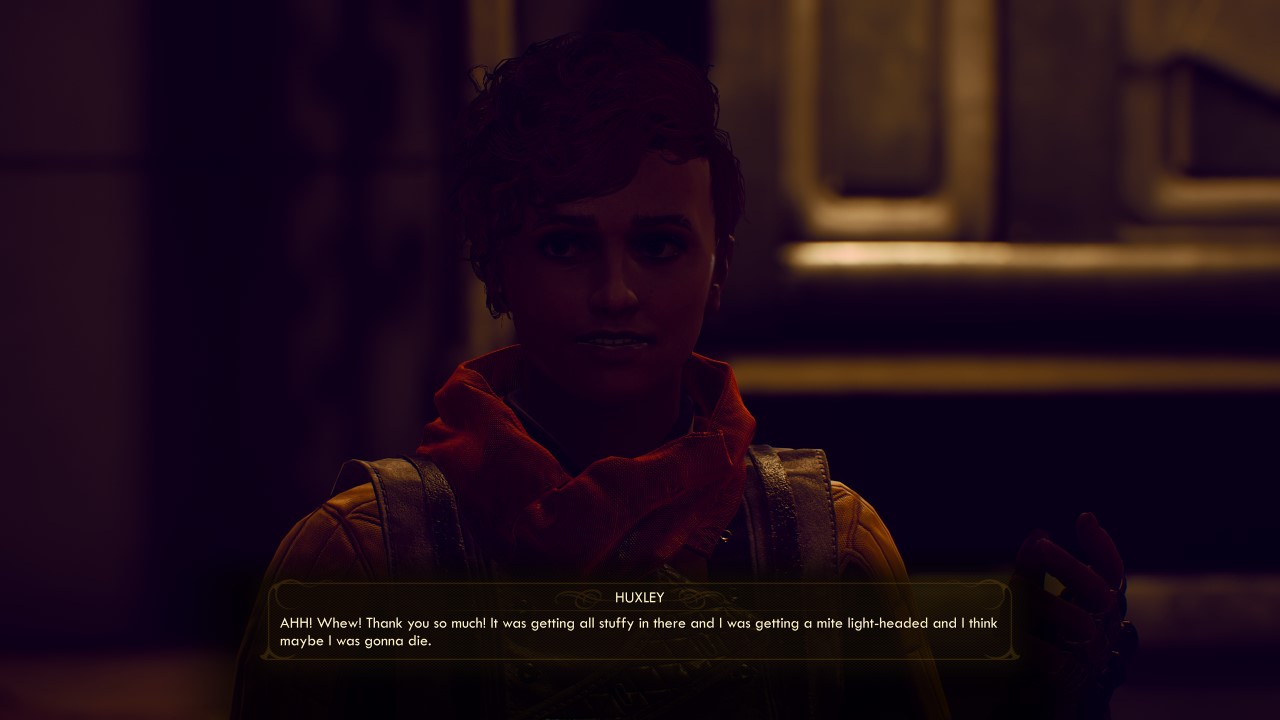
Once you open the door, Huxley will thank you for the help. You are given an opportunity to attack her, but who would do some a heartless thing (please don’t prove me wrong, Huxley is a sweetheart). If you want to complete the optional objective for Sanjar, head through the opening in the wall, go downstairs, and access the terminal you find.
Once you’ve grabbed the BOLT-52 and deleted the information Sanjar requested, go ahead and fast travel back to Stellar Bay and bring the goods to him. Turns out the BOLT-52 isn’t a weapon: it’s a bureaucratic form. Yep, you risked our life for paperwork.
Complete Errors Unseen to finish assisting Sanjar.
Sanjar will now ask you to perform some corporate espionage, and you’ll get the side quest Errors Unseen. Apparently another corporation is running an illegal facility on Monarch, and Sanjar wants to know who for a little leverage to help him get MSI reinstated on the Board. You’ll have to talk to Catherine in Fallbrook though, if you don’t want to scrounge the area yourself.
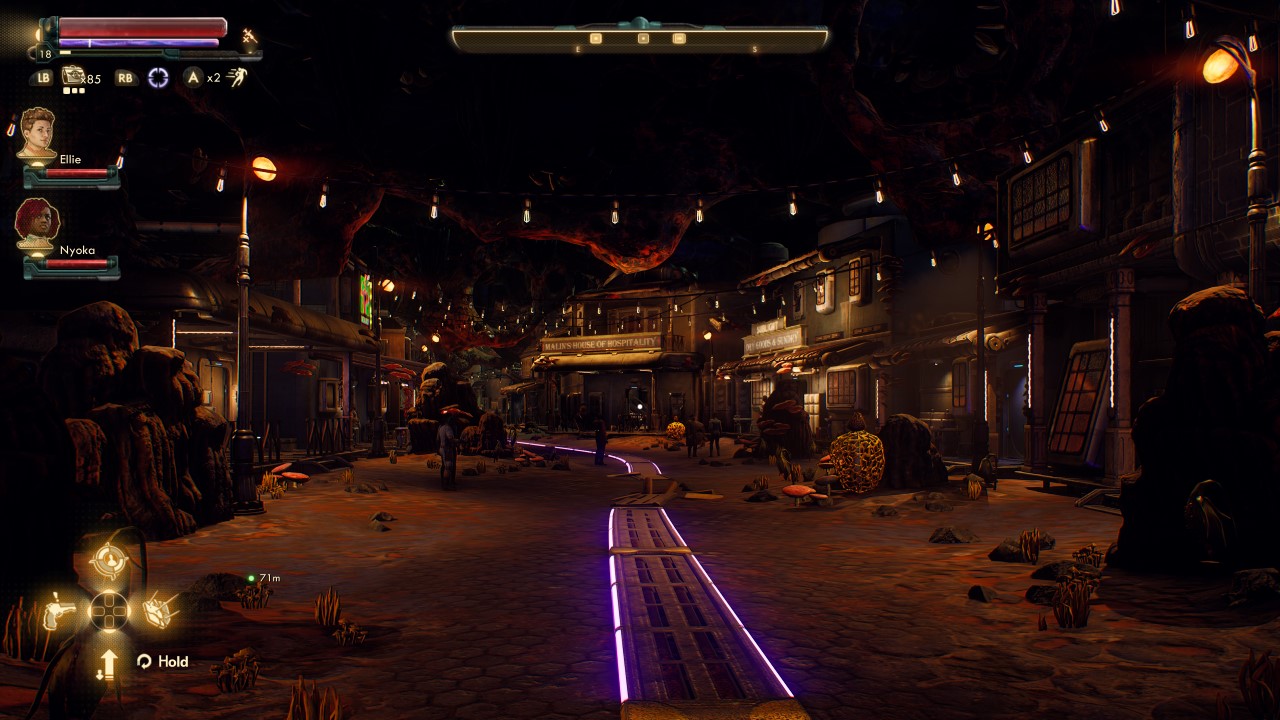
Fast travel to Fallbrook or, barring you don’t have that option, fast travel to Amber Heights and head south. Inside the town you’ll find Catherine inside Malin’s House of Hospitality, a little ways towards the back. If you have Space-Crime Continuum you will be able to push that side quest forward here.
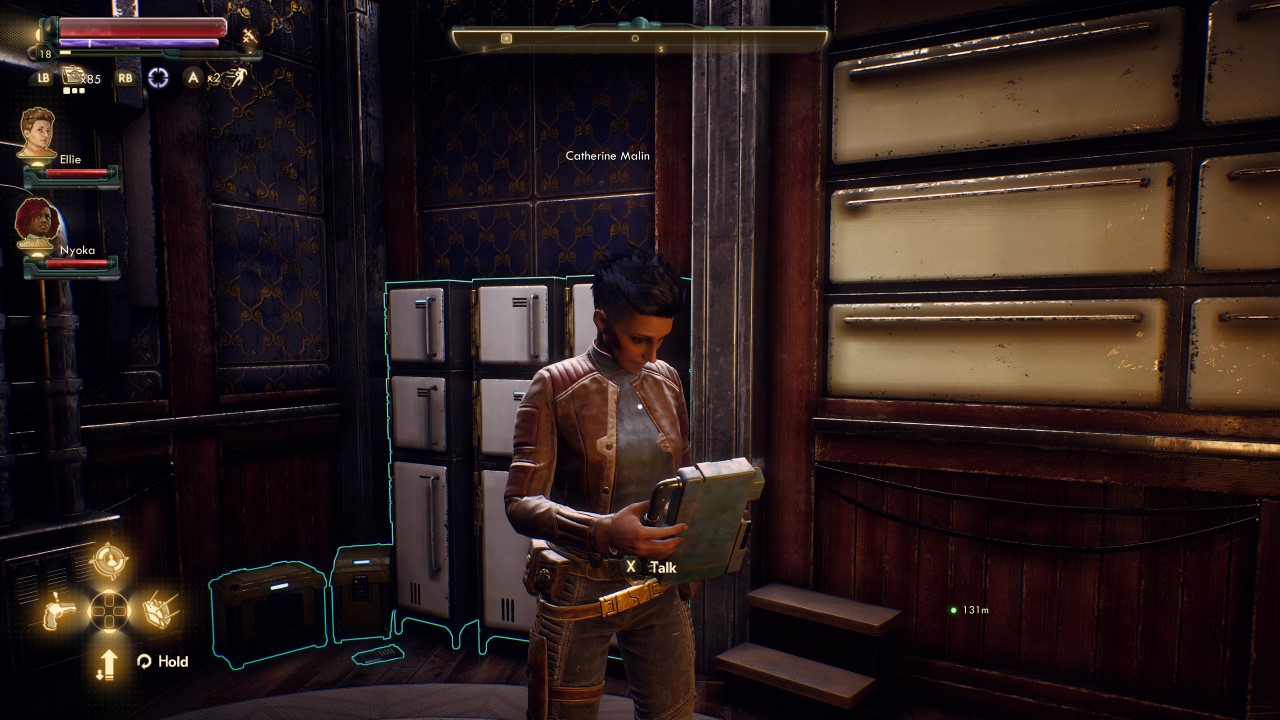
Catherine is not what you’d call polite, but you can charm her with some choice vulgarities of your own. Once on her better side, tell Catherine Sanjar wants to know about any illegal facilities in the area. She will tell you she had a delivery team go missing bringing items to who may be the corporation in question. If you have a maxed 100 Lie you can try and snoop out what she is withholding from you.
Leave Fallbrook through the front entrance and head north towards the objective. There are a bunch of marauders skulking about, so either stealth around them towards the objective, or remove them from the ecosystem.
Once you reach the broken bridge you’ll find the dead drop, and a small cemetery’s worth of deceased goons. Looks like Catherine’s team was ambushed, and whoever did the killing left a mess of blood in their wake. Follow it and you’ll find yourself outside a cave: yep, this mess of gore and limbs ends at a hidden hatch leading underground. Time for you to go spelunking.
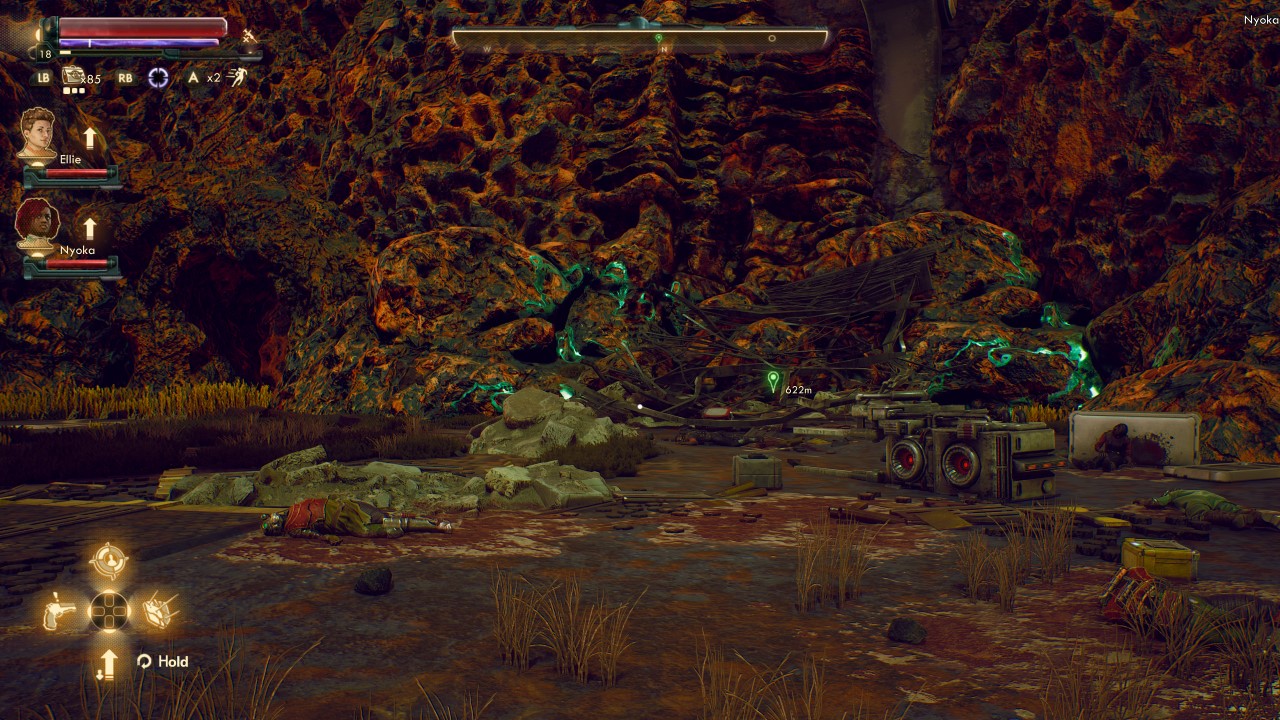
Enter the Smuggler’s Tunnel, and you’ll it’s laced to high Hell with booby-traps. Crawl and jump over them until you reach a left turn, whereupon a small camp has been established, and a man rests. Walk up to the man, Arthur, and he’ll initiate a conversation. You can either heal him for 35 Medical, or if you have Ellie in your team she can be made to mend the man.
As you press him for information, he will reveal his team was ambushed by marauders, and that they made off with the illicit goods. You now need to retrieve them, so leave the cave and head right once outside. Go up the slope and hook a left: the marauders are nestled away within the buildings ahead. The marauders have hostages, but abandon all hopes you have of saving them. They die no matter what you do.
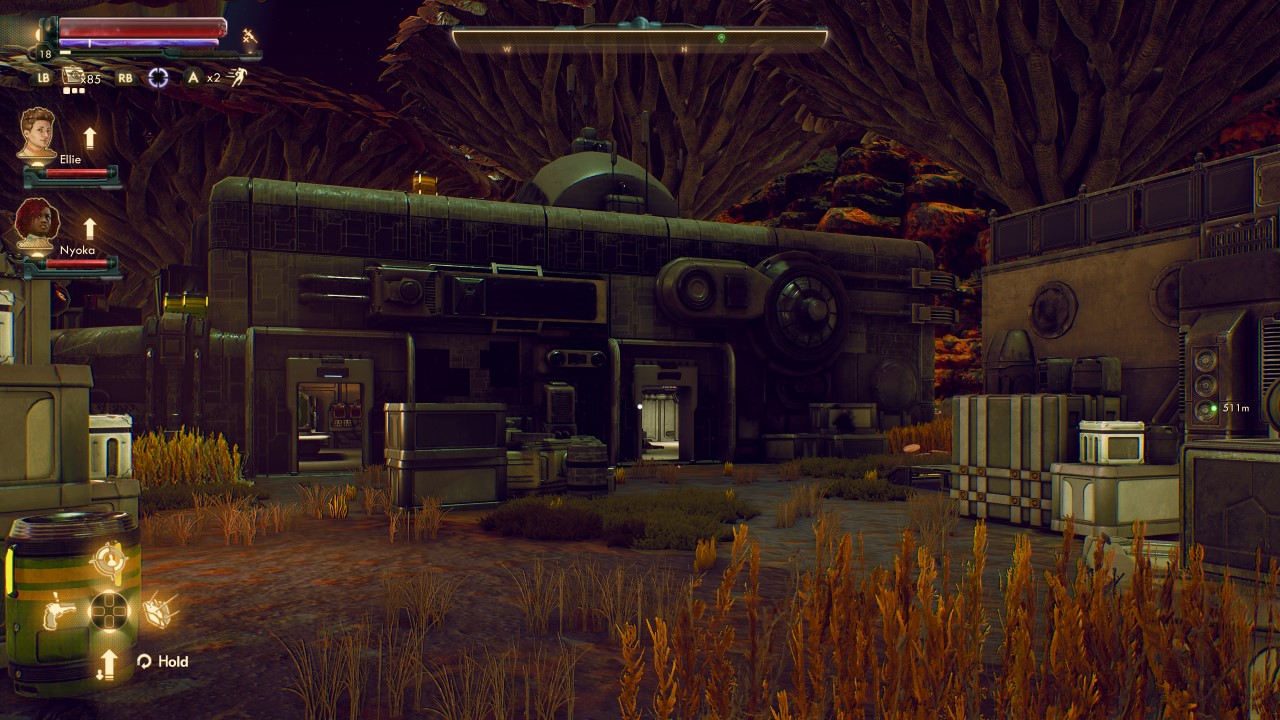
Get inside the facility, neutralize the marauder threat, and grab the data Sanjar needs from the terminal upstairs. There is a terminal on the first floor that will require 100 Hack to access, but the key for it is upstairs in the kitchen near a computer: use that instead. You’ll have to answer some questions (unless you have 50 Hack), but you’ll become the proud owner of the Gloop Gun (and you’ll knock out another Weapons From the Void objective) if you do. The correct answers are:
- Protect the Chairman
- Defend the Chairman’s honor
- Turn in your spouse and send the children to re-education
With your illicit information and Gloop Gun in hand, fast travel back to Stellar Bay and return to Sanjar. Give him the UDL data to complete Errors Unseen. Sanjar will shut down his broadcast, and you can now either help Graham if you haven’t already, or return to Harim to finish Radio Free Monarch. Part 3 of our Radio Free Monarch guide will cover both of those tasks, and it and other The Outer Worlds guides can be found on our guides page.






Published: Oct 24, 2019 09:09 pm