With long-distance corridors and plenty of open spaces, Valorant’s Breeze is an interesting playing field. There are a lot of angles to work with here and the best agent to make use of them is Sage. With her Barrier Orbs, you can set up some amazing one-ways and off-angles. This article will walk you through the Best Sage Breeze lineups and setups.
What are the Best Sage Breeze Lineups and Wall Setups?
I like to go with these lineups and wall setups with Sage on Breeze.
A Site
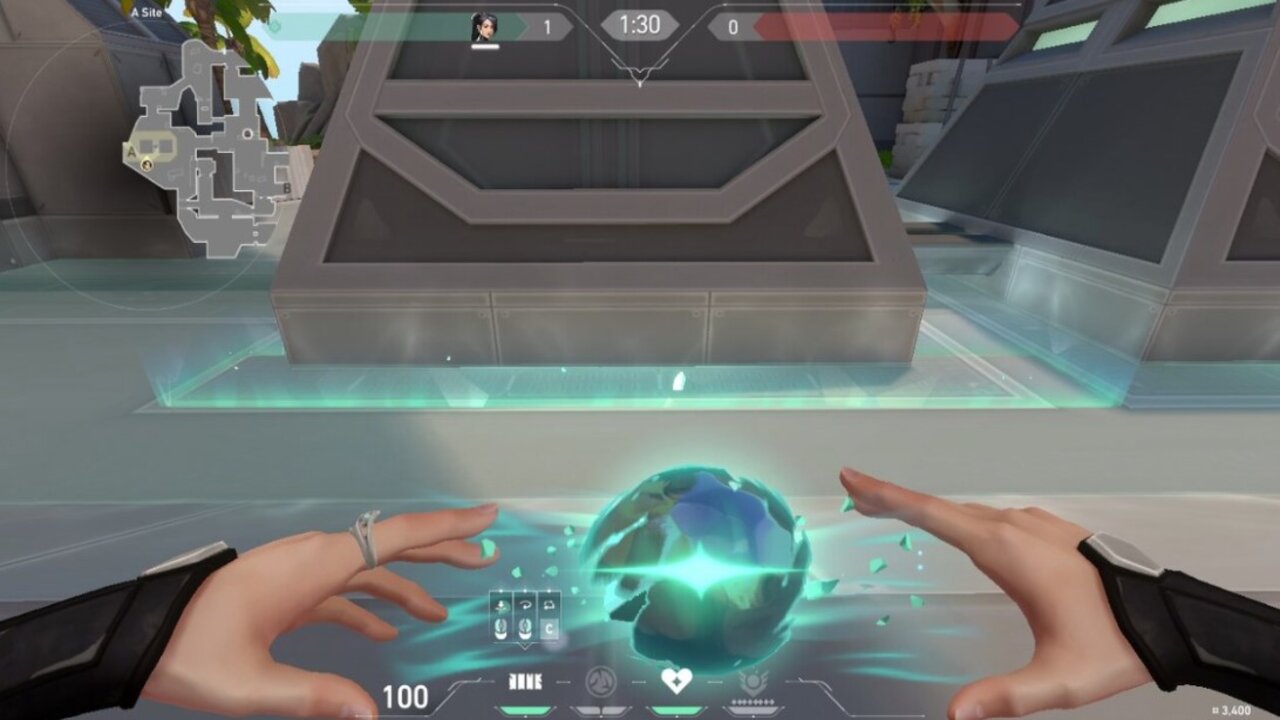
For defending A site, you can set up a wall behind the wall at A Pyramids so you can take care of enemies coming down from A Cave.
A Pyramids

You can also make use of either pyramid by setting up a wall behind them. They make for great hiding spots and no one coming down from A Cave or A Shop would be able to spot you in this position.
A Bridge
At A Bridge, there are two walls. You can set up the first one right on the edge of the bridge so that it extends to the adjacent wall. Use the wall as a boost and move to the far right for a nice off-angle. This way you will be looking over A site and no one would expect you to be firing from that far.
Alternatively, you can set up a wall against the left side of the bridge. Rotate it once so it extends all the way forward. Use it as a boost and stand right at the front for a nice off-angle.
B Back
At B Back, you can set up a wall right next to the stone pillar by standing on the wall behind it. Use the wall as a boost to stand behind the pillar. From this position, you can catch anyone trying to make a break for B Main.
Related: Valorant: Best Sova Breeze Lineups and Setups
B Wall

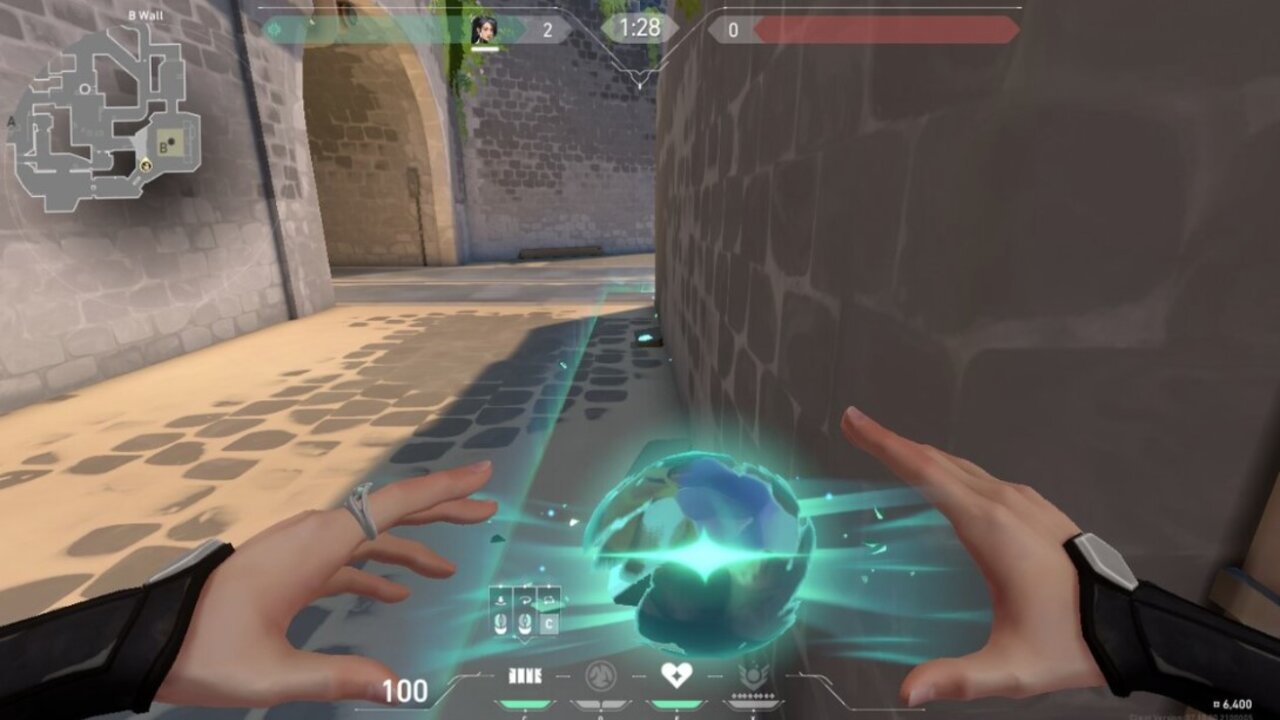
You can also set up a wall behind B wall opposite the two doorways. Use it as a boost and you will have a bird’s eye view of B Back. You can also catch enemies coming down from B Main off-guard from this position.
A Metal Doors
This one is a glitch that most players don’t know about. Place your wall across the metal doors. Then close the door on yourself. You will end up inside the door. This way you can see who’s making their way down A Hall. Keep in mind that you won’t be able to shoot from this position.
You will have to wait for the wall to break to get out. Alternatively, you can keep an eye on A Pyramids as well.
Mid Top
At mid-top, jump on the wall and stand on the corner to set up a long wall. Use it as a boost and you can watch over mid. Make sure to go over these setups in the offline mode once or twice for flawless execution during live matches.


Published: Dec 4, 2023 01:10 pm