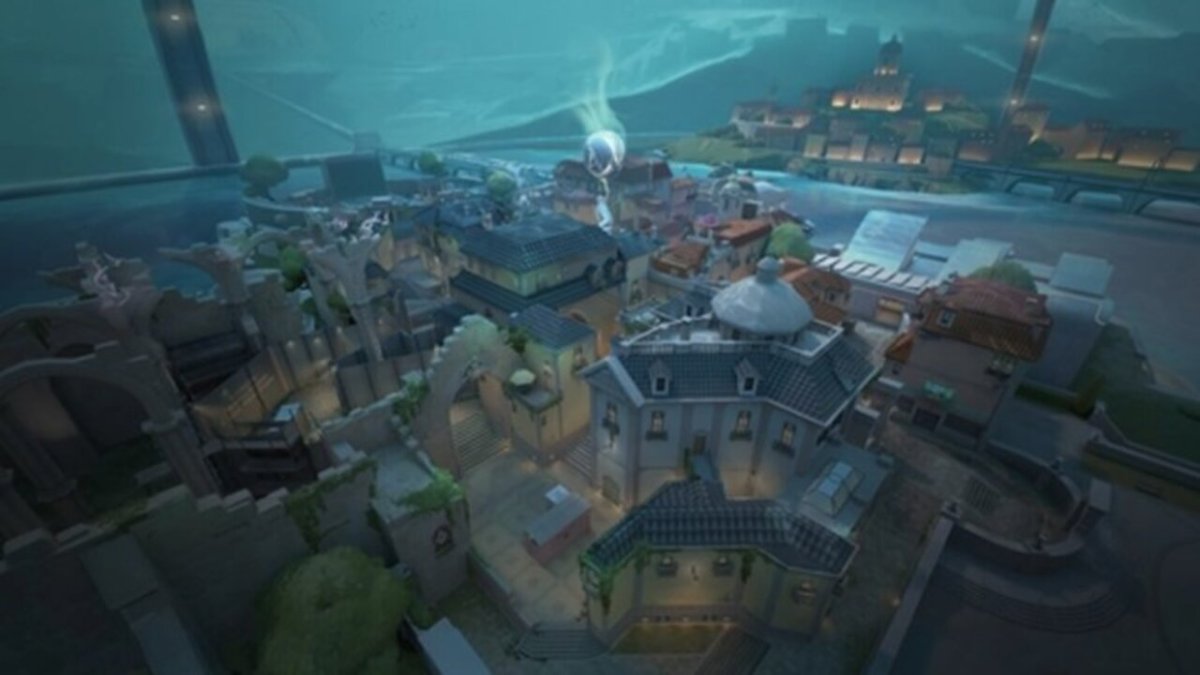
With tight corners, multiple corridors, and a stretched-out mid-area, Valorant’s Pearl is no less than a maze to play on. However, this is where Sage truly shines.
She’s your go-to agent for abusing off-angles and setting up some tough choke points on Pearl. I’ll walk you through some of the best Sage Pearl setups and wall lineups in this guide.
What are the Best Sage Pearl Setups and Wall Lineups?
Below are some effective Sage Pearl setups and wall lineups.
A Site
Set up a wall facing the dugout at A site. For this lineup to work, make sure you break off blocks that may reveal your location to oncoming attackers. Once you do, you’ll have a nice hiding spot behind the window.
A Main

I personally like to set up a wall diagonally between the container and the wall at A Main. Jump on the wall and you will have the perfect kill shot. However, make sure to jump off the wall after one kill because you will lose the element of surprise since attackers would know where to look now.
A Art
At A Art, set up a wall to close off the entrance to A Main. Not only will it keep attackers out, but you can also use the wall for a nice headshot. Simply crouch behind the box on top of the wall.
B Heaven
I think this lineup is the perfect way to rain down chaos at B Bridge. Simply set up a wall at B Heaven to get on top of the roof. You will have a clear view of B Bridge, allowing you to score some easy kills since no one will be aiming their crosshairs in this position.
Related: Valorant: Best Killjoy Pearl Lineups and Setups
B Doors
Controlling Mid is crucial during a Valorant match. You can use Sage’s Barrier Orb to set up a wall at Mid Doors, blocking off the entrance. Setting up this lineup will allow you to defend B Main better since attackers would have to break down at least two walls to get through.
B Site

At B site, move to the corner of the B screen. Use Sage’s Barrier Orb to give yourself a boost on top of the wall. From this position, you’ll have a clear killshot of any enemies pushing down B Ramp.
B Main
I like to switch things up with this second lineup at times at B Main. Simply use a wall boost and perform a skill jump on top of the Radionite stacks at the site. You will have the same angle.
B Heaven – Generator
You can also go with this lineup with the generator at B Main. Simply jump on top of the generator, set up a wall diagonally, and perform a skill jump back to B Heaven. From this position, you can see the legs of your enemies entering B site, allowing for some easy kills.
These are some tricky lineups, so make sure to nail them down in the offline mode.


Published: Nov 28, 2023 02:53 pm