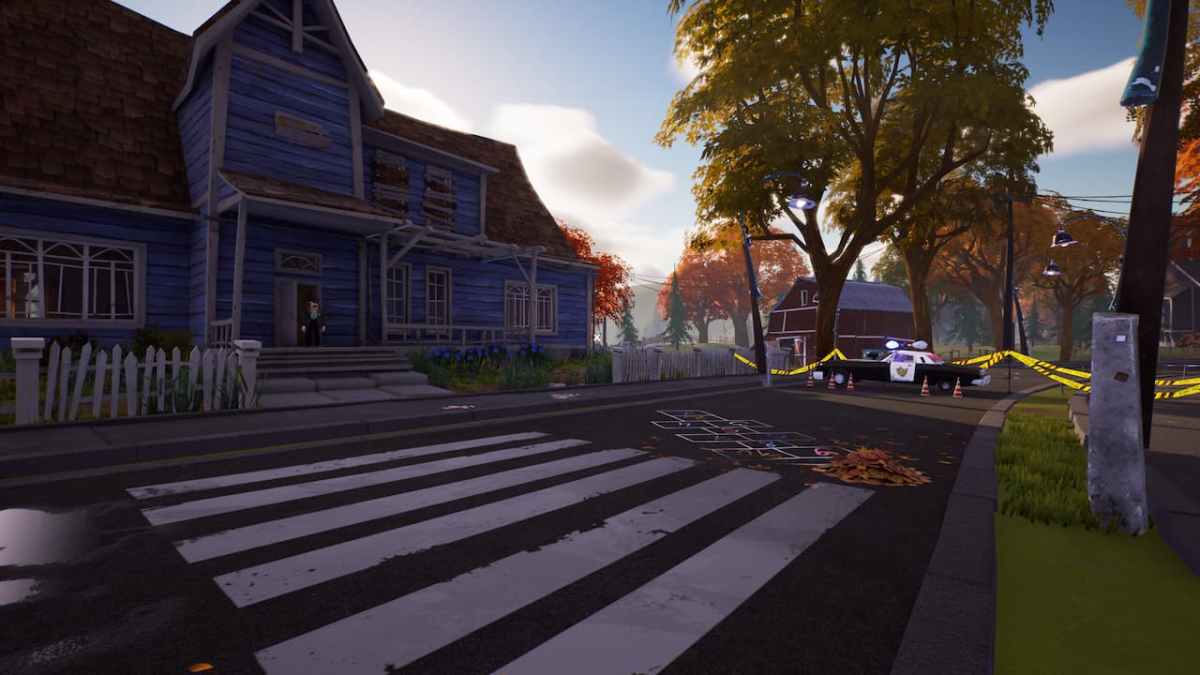
Are you wondering how to complete Day 1 puzzles in Hello Neighbor 2? After you complete the tutorial level, you will see a quick cutscene where you wake up in bed and see the cops at a blue house. This is the first house you will solve puzzles in and investigate the kidnapping of a child. Many steps are required to solve all of the puzzles on this day. You will also get used to how the controls work, all of the tools, and the AI-controlled “Neighbor” in this house is the cop. Here is everything you need to know about how to complete Day 1 puzzles in Hello Neighbor 2.
How to Complete Day 1 Puzzles in Hello Neighbor 2
There are a total of five puzzles on Day 1. This day will probably take you the longest to complete any of the Days due to the number of puzzles and getting used to the game. If you’ve never played a Hello Neighbor game before, then take your time and learn how everything works. Here is how to complete Day 1 Puzzles in Hello Neighbor 2.
Where to find the Scissors
Before you can solve puzzles in the first house, you need to obtain the scissors as you will need them to enter the second level of the house. You can get the scissors by accessing the treehouse across the street from the blue house.

Jump on the trampoline and keep yourself centered over it. You will eventually gain enough air to reach the roof with the ladder on top. Once on the roof, you can jump over to the treehouse. Once inside the treehouse, you can activate the ladder for easier access in the future.

Interact with the picture of the robot holding a sword and shield. Next, you will find a cardboard arm holding a sword.

Turn around and attach the sword to the arm. You now need to pose the cardboard figure to match the pitcher. First, interact with the arm holding the shield until it is in the right positive. Next, do the same with the arm holding the sword. Once completed, you will be rewarded with a switch for the train set. A door in the figure’s chest will open.

Attach the switch to the trainset and flip it. The train will push out the pair of scissors through the tunnel. Grab them and add them to your inventory.
After obtaining the scissors, you can head to the blue house across the street. There will be a policeman standing on the front porch. Go to the right side of the house by going around the cop car to stay out of sight of the cop. You will find a door you can enter, which will take you to the kitchen and your first puzzle.
How to Solve the Doll Puzzle
The first puzzle requires that you find three dolls and place them on top of the dollhouse in the kitchen in the proper placement. All three dolls are located on the main level, so you don’t need to go upstairs yet.

The First Doll is behind a boarded-up portion of a wall in the kitchen

The Second Doll is in a secret nook above the hideable cabinet by the stairs. You must interact with the picture above the cabinet to reveal the entrance. Climb inside, and the doll is at the end.

A picture is hanging on the wall to the right of the stairs. Interact with it to reveal a dial lock. Enter NOT into the dial, and a wall to the ride will slide open, revealing a secret room. You will find the third and final doll inside this room.

Take the dolls to the dollhouse in the kitchen and put them in the proper locations using the left mouse button. There is a kid’s drawing on the fridge, which will show you the proper placement. Then, the dollhouse will open, and you will be rewarded with another key.
How to Solve the Safe Puzzle
The second puzzle requires finding four children’s blocks with different colors and numbers. These will be used to determine the code of the safe. All blocks are on the second level, so you don’t need to go upstairs yet.

The Red Number 1 Block is on a side table next to the green couch

The Yellow Number 4 Block is in the fridge behind a plate

The Blue Number 9 Block is in the toilet

The Green Number 8 Block is on the desk between the globe and safe
You can figure out the safe’s combo by matching the blocks to the colored flags above the safe by their color. Enter the code by looking at the flag color from left to right. The code is 1984 (Note: the blue flag pairs with the purple block). The safe will open, and you will be rewarded with your second key.
How to Solve the Battery Puzzle
The second puzzle you can solve is the battery puzzle. Enter the first room you see at the top of the stairs. This room consists of two different areas: the lounge area and the bedroom. Keep these two areas in mind as you solve the puzzles on the second floor.

Grab the toggle switch from the green milk crate in the lounge area.

Attach it to the switch between the bedroom door and the bookshelf.

Enter the secret area and turn left. You will find the battery behind a couple of cobwebs that require scissors to cut. Next, you will find a camera inside a crate to the right that will require the crowbar to open.

Exit out of the bedroom and head down the hallway. Enter the bedroom and turn right but be careful not to step on the toys as they will squeak and alert the cop. A joystick is on a coffee table with a race car on a track in front of it. Put the battery into the joystick and activate it. The car will travel under the bed and disappear. Activate it again, and the car will return with the third key attached.
How to Solve the Picture Puzzle
The final puzzle requires you to find four pieces of a picture and reassemble them. The picture frame with the missing fragments is in the bedroom area of the first room on the second level (where you found the battery). All picture pieces will be found on the second floor, so if you can’t find one, don’t waste time looking at the main level.

Head back to the first room on the second level. Turn right and head through the lounge area until you see a bookshelf covered in crime scene tape. Cut it, and you will have the first piece of the picture.

There is a crate at the end of the hall next to the second room. Use the crowbar to break it open, and you will find the second picture fragment.

In the first room, head over to the bedroom area. A dumbbell is sitting on top of a tall bookshelf covered in spiderwebs. Take the dumbbell to the second room. To the right of the cabinet, which you can hide, is an orange border surrounding a blue pressure plate on the floor. This activatable switch requires constant pressure to keep the cabinet door open.

Put the dumbbell here to open the cabinet next to the racecar. You will find the third picture piece inside.

You will find a white pillow with a patch by the fort in the room with the racecar and pressure plate. Cut it open with the scissors to find the fourth and final picture piece inside.

Put all pieces in the frame located in the bedroom of the room with the camera and the battery. It is in the room with the bed.

Once all pieces have been added to the picture, a row of books on the bookshelf to the right of the photo will pop out with your last key.
How to Complete Day 1

Once you have all four locks unlocked, you can head to the basement. A newspaper is sitting on a table next to the cellar door stairs. You will be treated with a cutscene. Afterward, the newspaper will be removed, and the cellar door key can unlock the door. Again, you will be treated with another cutscene after exiting. You will earn the Case Solved achievement for completing Day 1.
You will now be on Night 1, which has no puzzles to complete. All you need to do is interact with the shovel leaning against the museum door to be taken to Day 2.
Hello Neighbor 2 is available on PC, PlayStation, Xbox series X|S, and Xbox Game Pass.


Published: Dec 6, 2022 02:15 pm