Having Warcraft in your pocket in the form of Warcraft Rumble is a blessing from the Titans, but that phone battery isn’t going to last all day. Here’s a step-by-step guide for installing and playing Warcraft Rumble on PC.
Is Warcraft Rumble on PC?
There’s no official PC version of Warcraft Rumble, but it can be played on a PC via Android emulators like BlueStacks. Don’t worry; these are completely legal, safe, and easy to download. All your mobile progress will carry over, too!
There’s no word on whether or not Warcraft Rumble will make its way to the Battle.net launcher, but with enough fan feedback, who knows what could happen?
Related: Which First Leader Should You Choose in Warcraft Rumble?
How to Install Warcraft Rumble on PC Using BlueStacks

Visit BlueStacks’ website and download BlueStacks 10 from the homepage. Launch the .exe file, which should be located in your Downloads folder by default. If you’re on Google Chrome, you can click the down arrow icon in the top right and then the file.

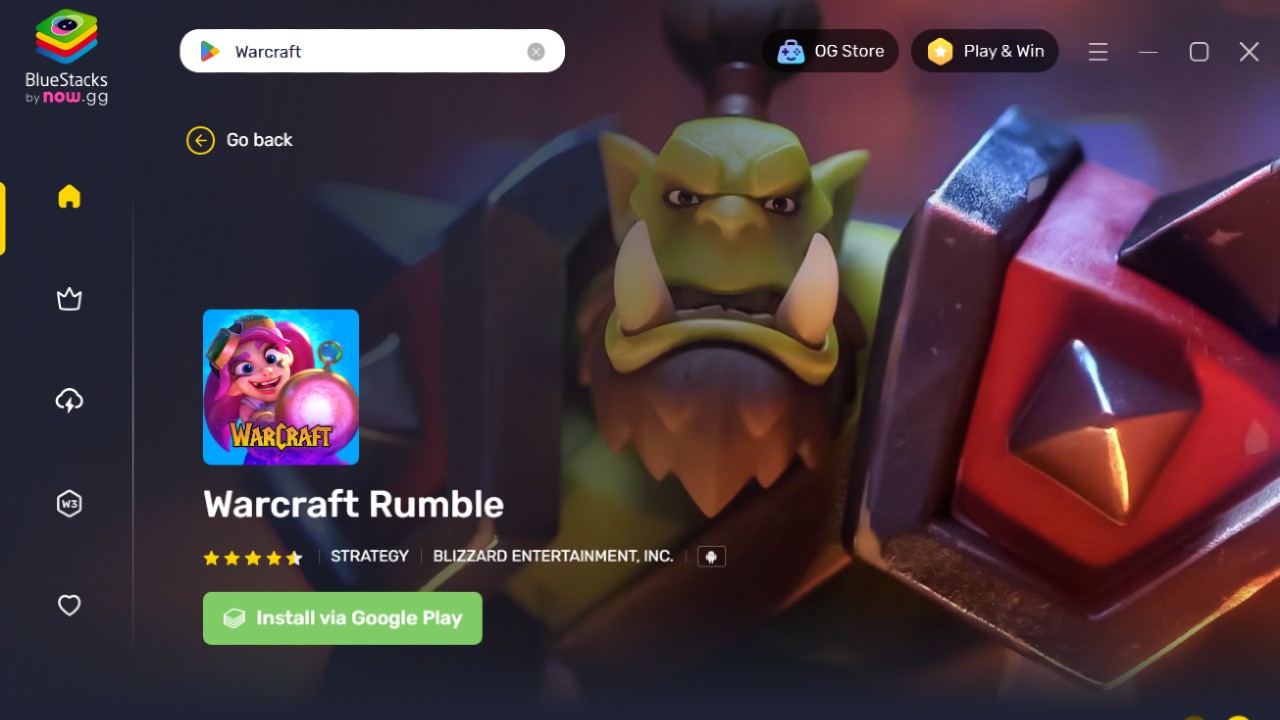
Click Download Now and wait for the installation to finish. It should only take around five minutes. Wait for BlueStacks to launch (or launch it manually), then search for “Warcraft Rumble” in the top left corner. Click Install via Google Play.

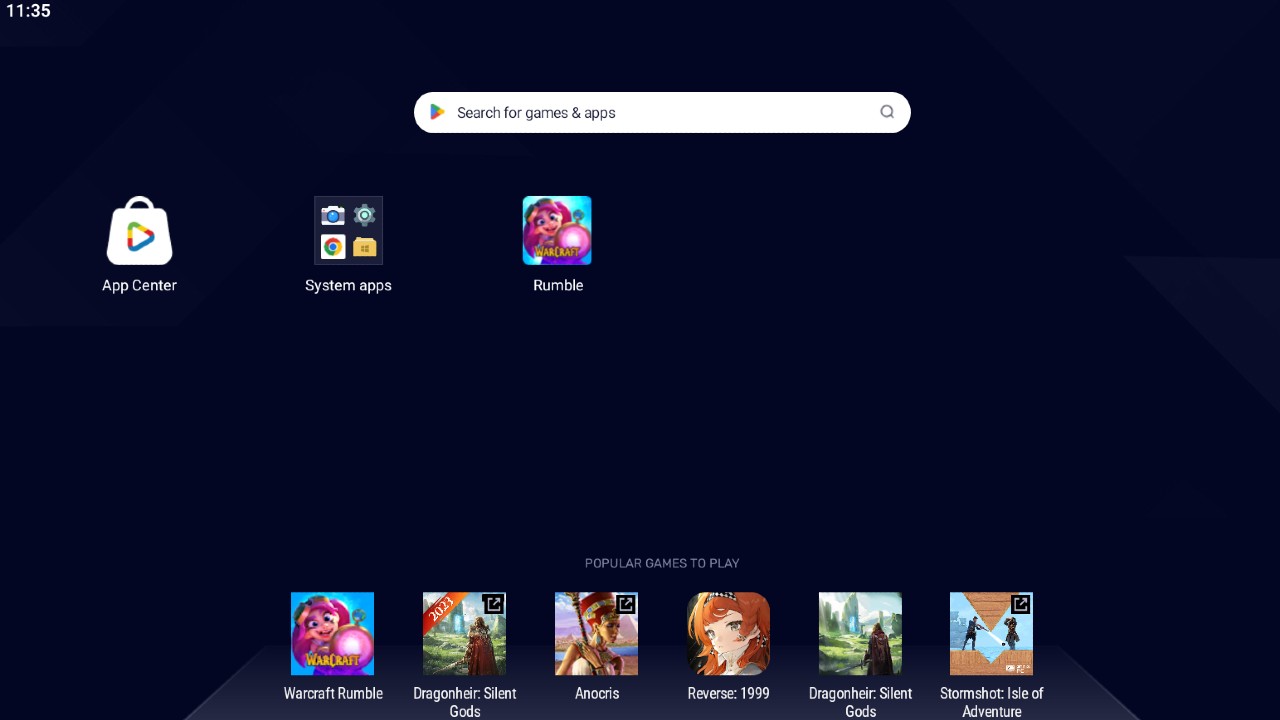
If you’re having trouble with an error message about “Hyper-V,” launch BlueStacks as an Administrator. Sign in to your Google Account, or create one, and then click Install. Once done, Warcraft Rumble will stick itself onto the BlueStacks home menu. Click its icon to launch!
If you’ve played Warcraft Rumble before, click Continue to Battle.net Account to import your progress. Feel free to fiddle about with settings in the sidebar to improve the quality, framerate, and resolution. Clicking is equivalent to tapping, but you can also set up your own controls through the Control Editor.
We hope this guide has helped you conserve your battery or get in a good few games at work. For more Warcraft Rumble articles, check out our Warcraft Rumble tag page here.


Published: Nov 9, 2023 05:51 pm