One of the hardest parts from Batman: Arkham Knight is when you have to battle Arkham Knight’s tank. Here’s a few tips to get past him.
Driving the Batmobile during this stage of Batman: Arkham Knight can be difficult. This is mainly because Scarecrow’s toxin has blanketed a large part of the city. Everything is an ugly brown and it can be hard to see at times.
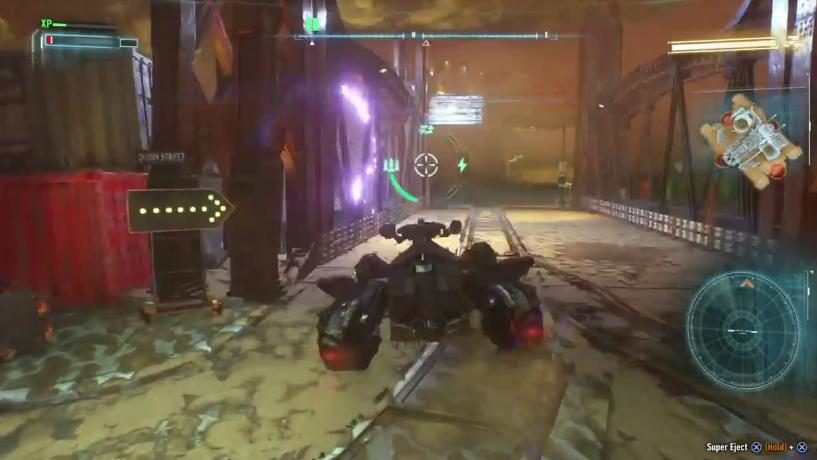
This is where you have to check on the radar at the bottom right hand corner of the screen. This radar is your friend because it will tell you where the enemies are. Make use of it frequently because your naked eyes won’t do so well during this part of the game.
Also, it will be good if you upgrade the Batmobile’s armor before heading into this fight. If you need to upgrade, you can do some more side missions first.
Phase 1

Before you face off against Arkham Knight’s Cloudburst Tank, you have to get rid of the 6 Cobra Tanks in the area first. Earlier in the game, you’ll know they have a weakness and that’s going from behind and shooting them with the Batmobile’s rockets.
My advice during this stage of the fight is to avoid going in the middle. In the middle, you will see Arkham Knight’s tank is bright red. Avoid him at the start because you cannot fight him yet.
Try and look at the radar and see where the other Cobra Tanks are. It shows you their field of vision too, so only move in places where they cannot see you. Use the Batmobile’s “Battle Mode” to move slowly and get behind them.
There should be an area with some drainage pipes somewhere near the middle of the map. Try and lure some of the Cobra Tanks there so you can hide easily after killing one of them. And remember, always try to take them out from behind. Try and lure each tank one at a time too.
It’s also worth mentioning to be patient during this sequence. Don’t rush things or else you have to beat 6 Cobra Tanks again. You don’t want to beat 5 tanks and then die.
Phase 2

After you have killed all of the Cobra Tanks, your game will be saved and now it’s time to take out the Arkham Knight’s big tank. Unlike the Cobra Tanks, one shot won’t take him out instantly.
To beat the Arkham Knight’s tank in this second phase of the fight, you have to shoot him four times in different areas. The radar shows his weak spots. One is in front of him, one at the rear and two are at the sides.
Much like the Cobra Tanks, try and avoid his field of vision. When you lock onto an area, you can then shoot him. After that, he gets angry and you have to run away fast.
I made use of the Batmobile’s thrusters and dodging technique. The Arkham Knight will shoot you with his long ranged missiles a lot when he gets angry. Just drive away from a safe distance until he’s lost sight of you.
You have to repeat this until you hit all four weak spots of the Arkham Knight’s tank. It’s like hit, run away and then approach him again to hit another weak spot.
It’s okay to fail lots of times because a checkpoint has been saved. You don’t have to kill the Cobra Tanks again. Just be patient and only shoot him when he cannot see you. If you manage to hit him four times, the final part of the fight begins.
Phase 3

The last part of the fight is much easier and faster than the second part. You have to fire your rockets at the Cloudburst itself which is a big yellow circle in front of the Arkham Knight’s tank. A boss life bar will also show up on the top right hand corner of your screen.
All you have to do in this part of the fight is fire your rockets and machine guns at the Cloudburst until the health bar decreases. Fire away like crazy to try and deplete it.
His attacks are easy to dodge. Just avoid the homing missiles by avoiding the red circles that go underneath your Batmobile. You can also easily shoot the other missiles coming from the top using your machine guns.
Just move around, dodge his attacks and fire away when you get a chance. Eventually, he will go down. Also, don’t worry about dying again because each new phase is a checkpoint. You don’t have to do any phase twice.


Published: Jun 28, 2015 04:14 am