Battlefield: Hardline instead of laptops and files, has a wider array of ‘collectibles’ strewn about the game under the guise of evidence. Makes sense considering you take the role of a police officer. The cool thing is that when you enter the area your controller will vibrate near evidence. Including those on enemies that have warrants. Evidence is separated in this guide by case and evidence name and number as it appears in the game. Warrants are enemies that are thrown into the game to give the player an additional ‘collectible’ type of replay value to the levels. For more information check out our Battlefield: Hardline guide for Episode 1. If you need help with Episode 3: Gator Bait , we have that too.
The following Battlefield: Hardline guide is for Episode 4: Case Closed, of the Battlefield: Hardline single-player campaign tailored to help you find the evidence and grab the wanted criminals in the third level. As the episodes get longer we break it down into sub-sections. These can be found on your scanner in the top left of the screen. It basically tells you the area of the episode you are in and it is helpful for pinning down warrants and evidence. There are ten pieces of evidence and four suspects in Episode 4: Case Closed.
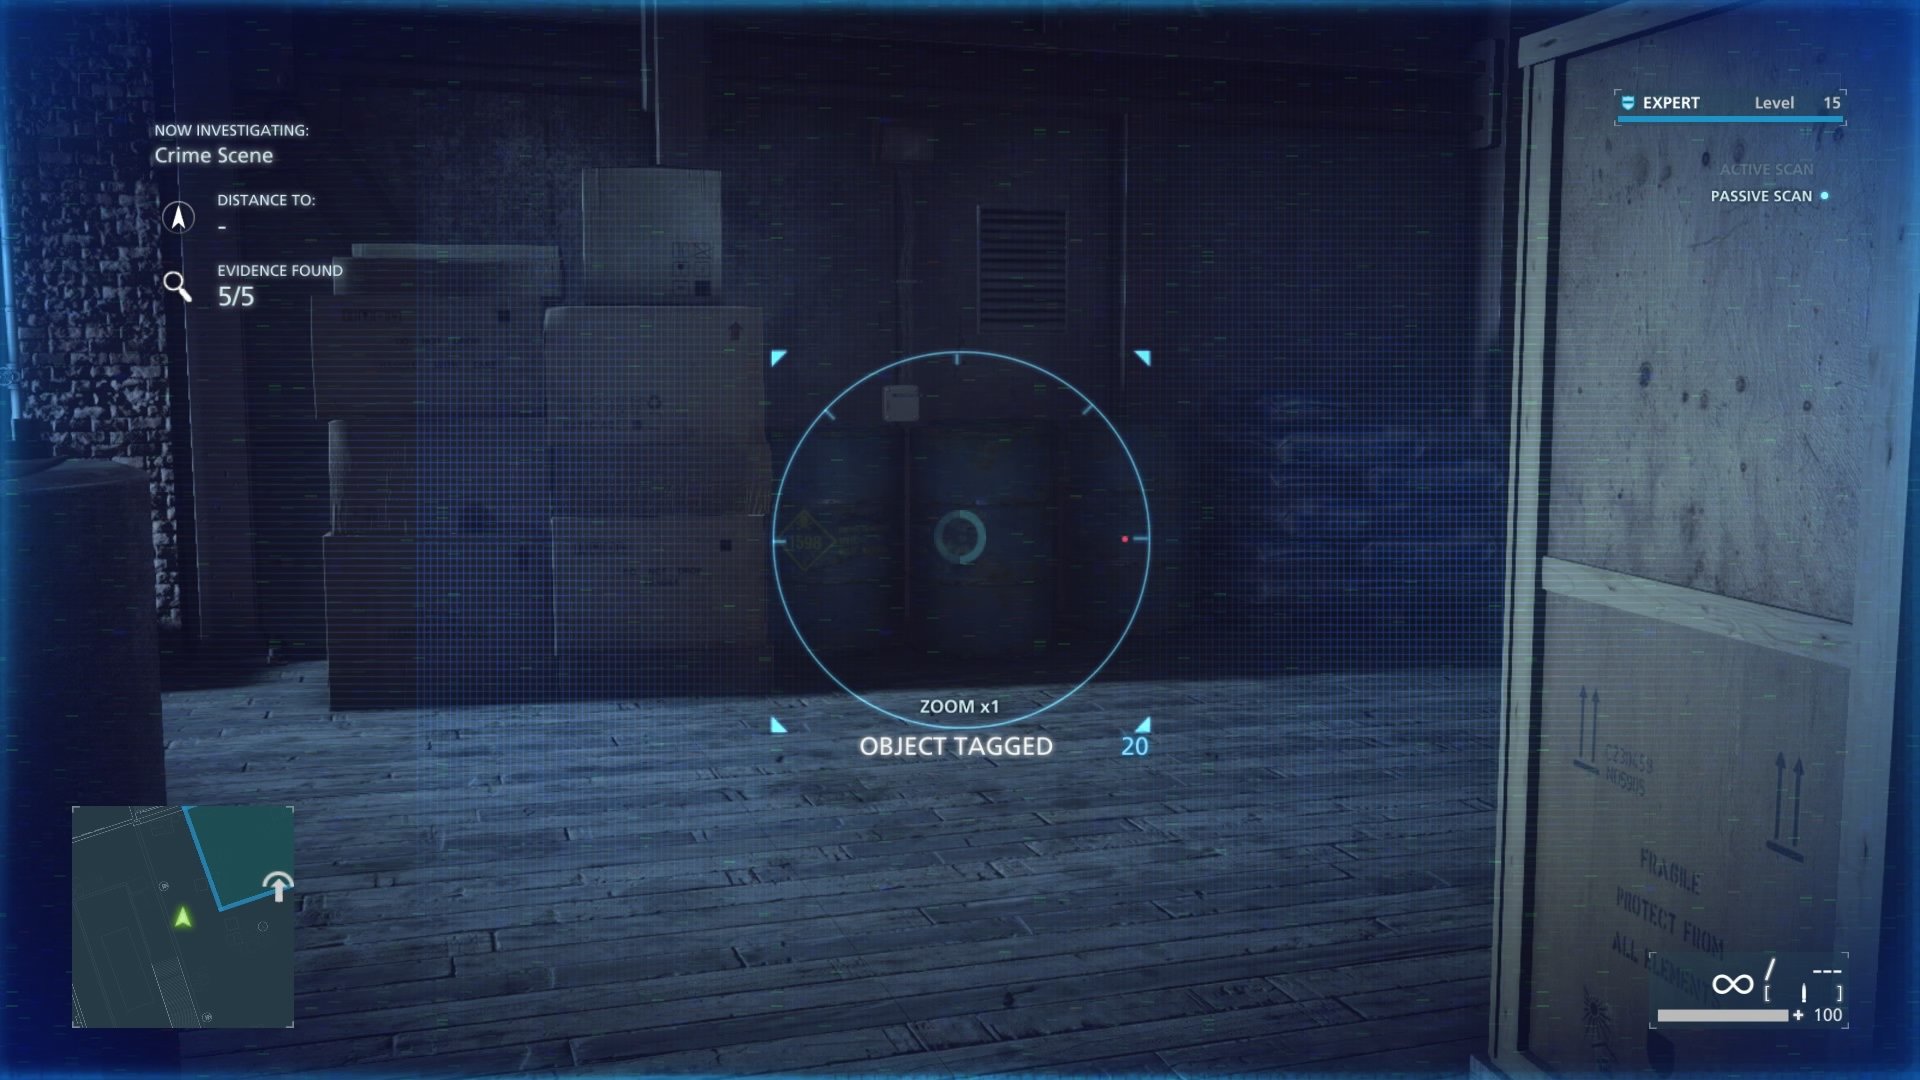
Internal Affairs- #14 (Barrels Of Dye)
Straight ahead from when you start the level, group of barrels against the wall. Scan them.
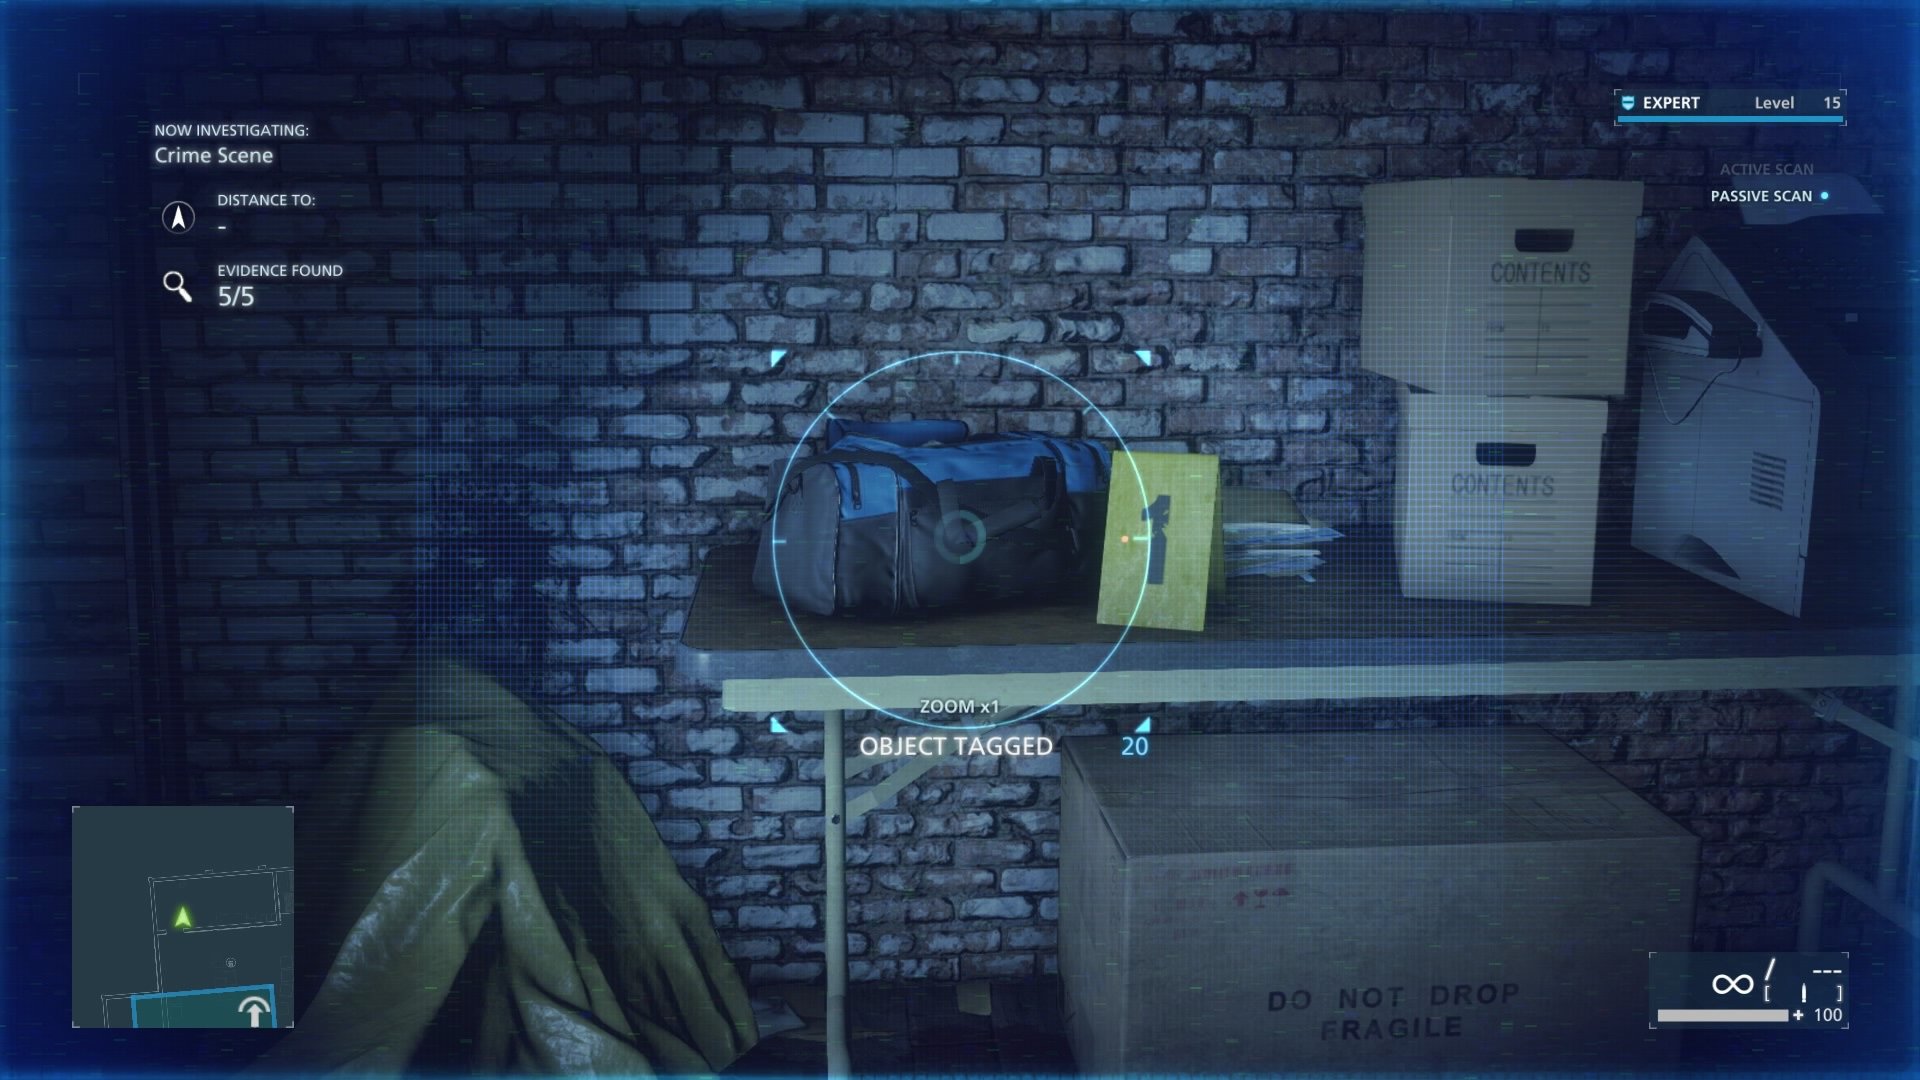
Hot Shot Supply Chain- #6 (Gym Bag Of Money)
From the ‘Barrels Of Dye’ turn right and go into the room. You should see a duffel bag on a table. Scan it and get this piece of evidence.
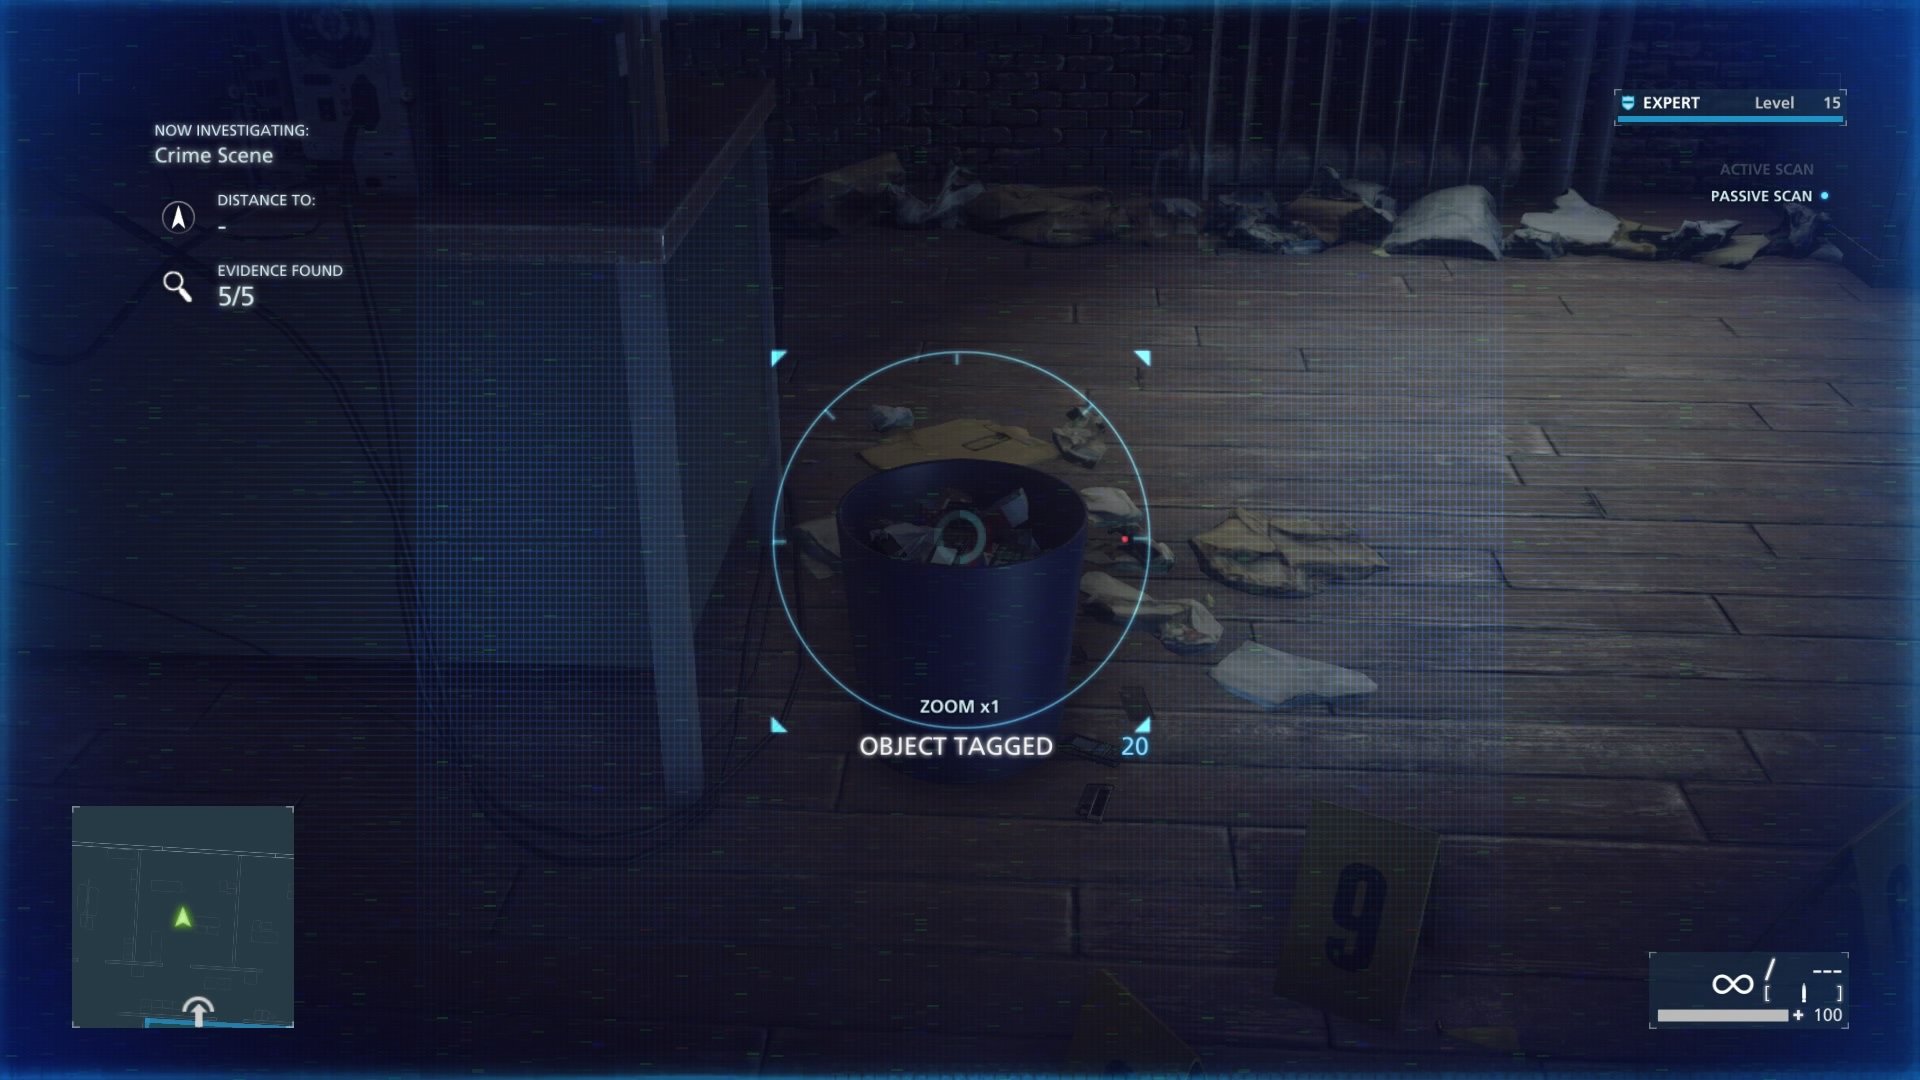
Internal Affairs- #15 (Burner Cell Phones)
After going upstairs, position yourself looking down the hallway and go in the second room on the left. You will see a trash can direct in front of you, scan it and get another piece of evidence.
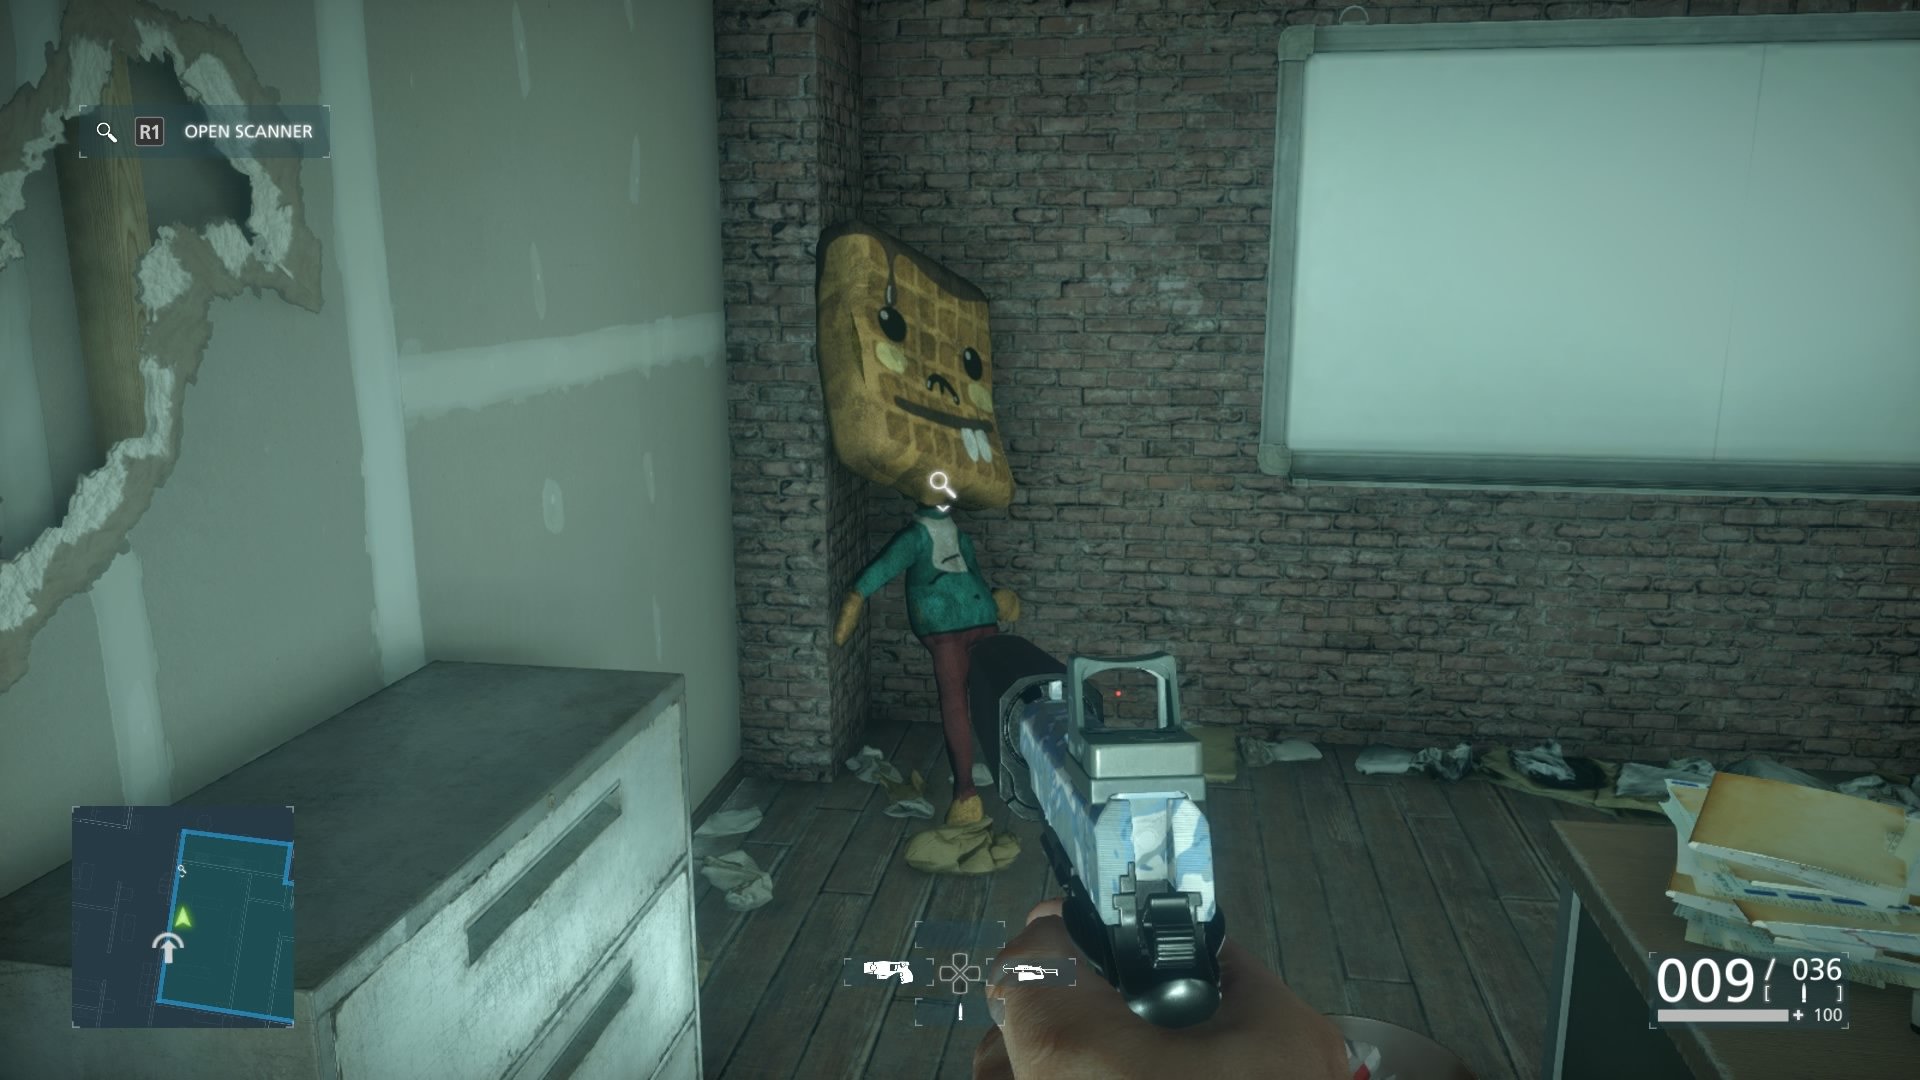
Internal Affairs- # (Talking Tamu Tamu Stuffy)
In the room directly across and to the left a bit from the one with the trash cans. As you enter look left and you will see a giant stuffed waffle headed mascot. Scan it and get the weirdest piece of evidence yet.
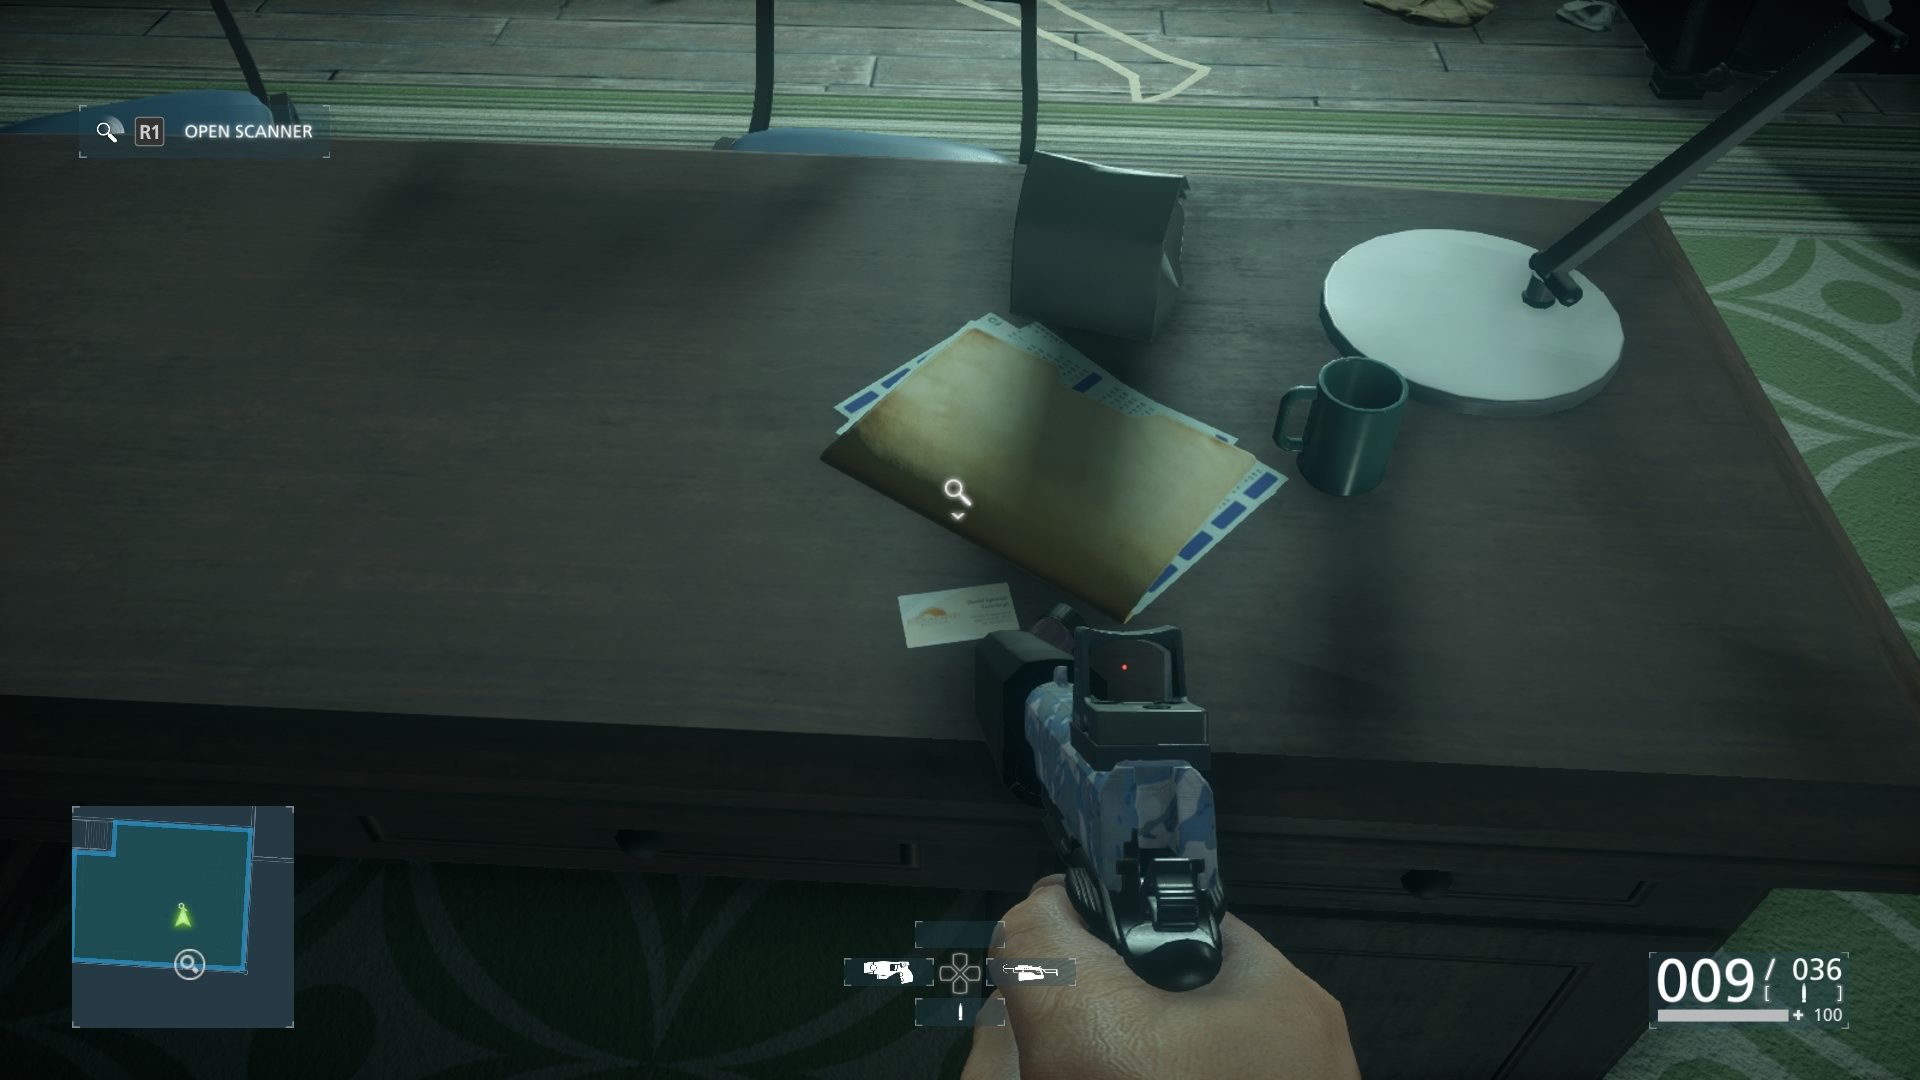
The Elmore Hotel Investigation- #6 (Elmore Plaza Business Card)
In the final room where the previous episode ended and the objective for this part of the mission. It is sitting on a desk in front of the painting that is the story objective.
Outside Warehouse
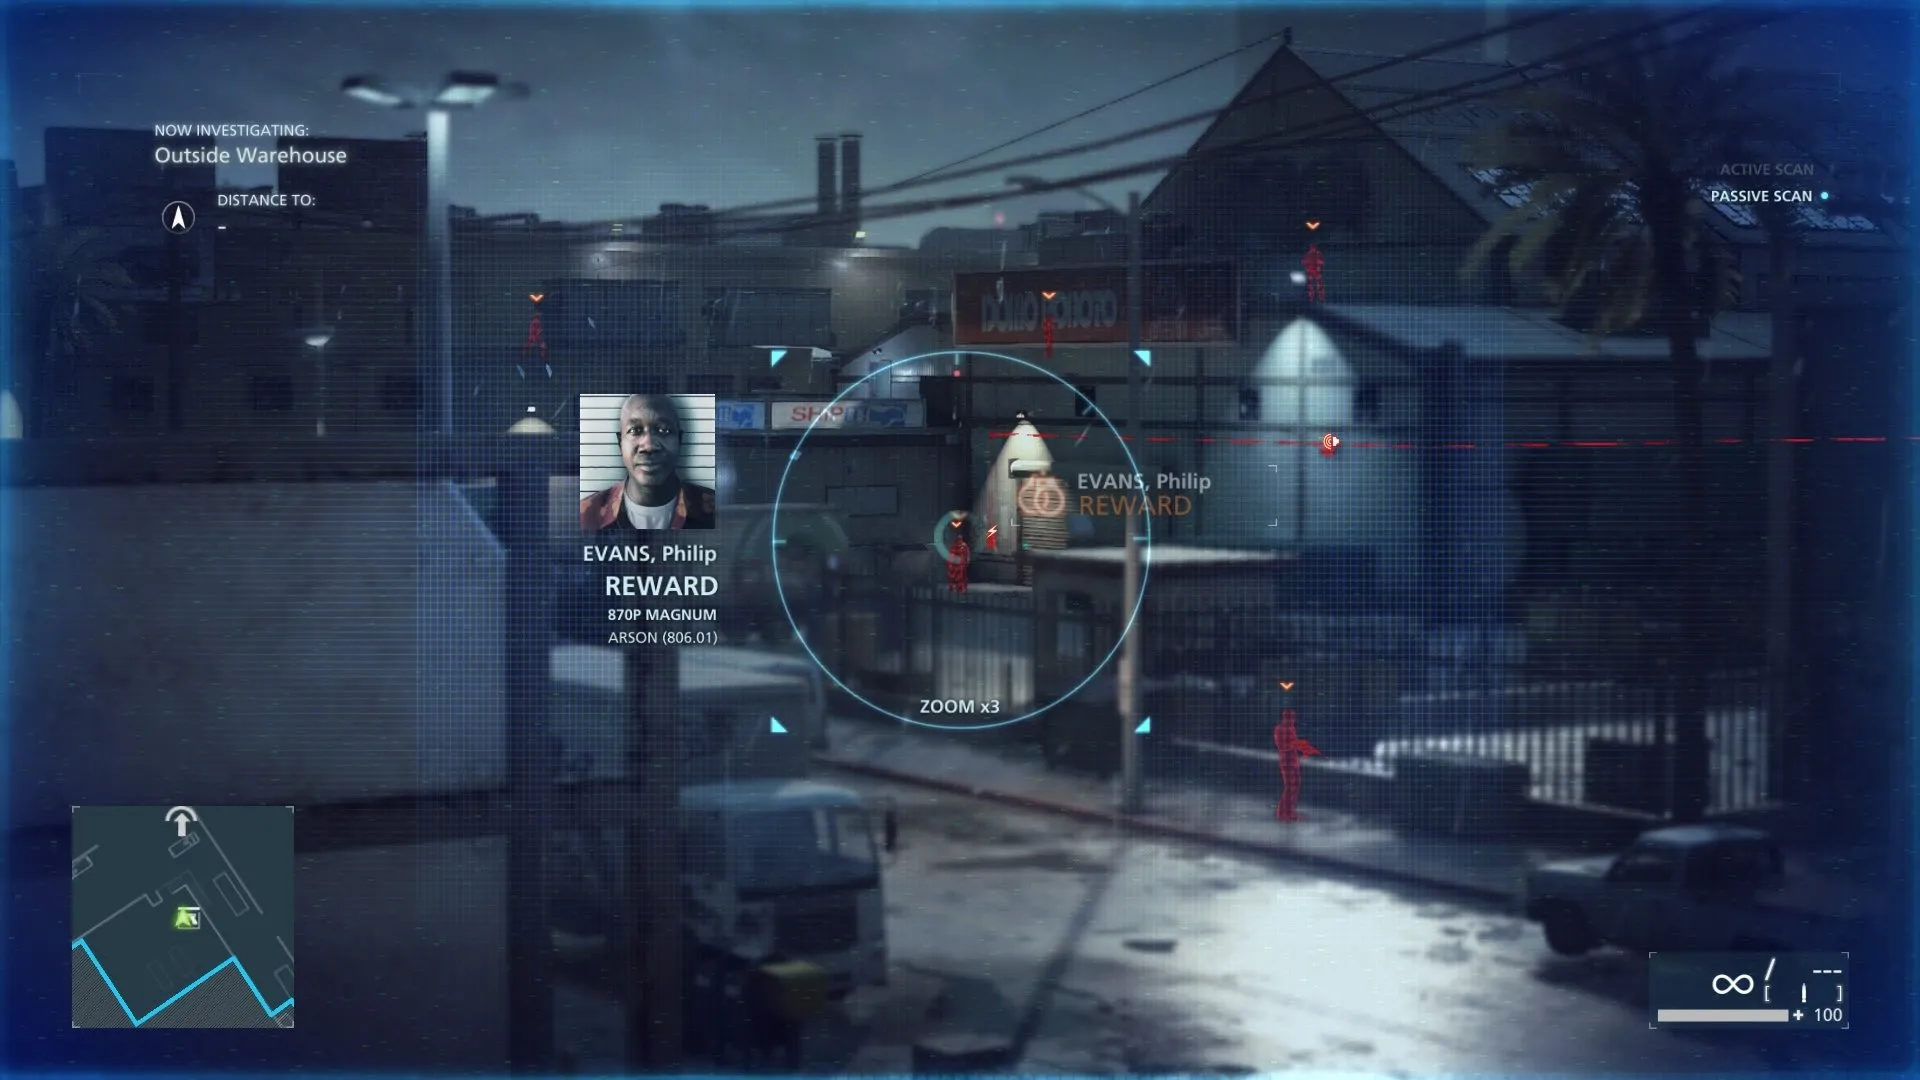
Wanted: Philip Evans
From the roof you start on Evans is across and to the left, he’s near the alarm box. Tag him and get close then taze/arrest him. Easier said than done, but if you take your time and make your way around with a silenced weapon/tazer it should be no problem.
Warehouse
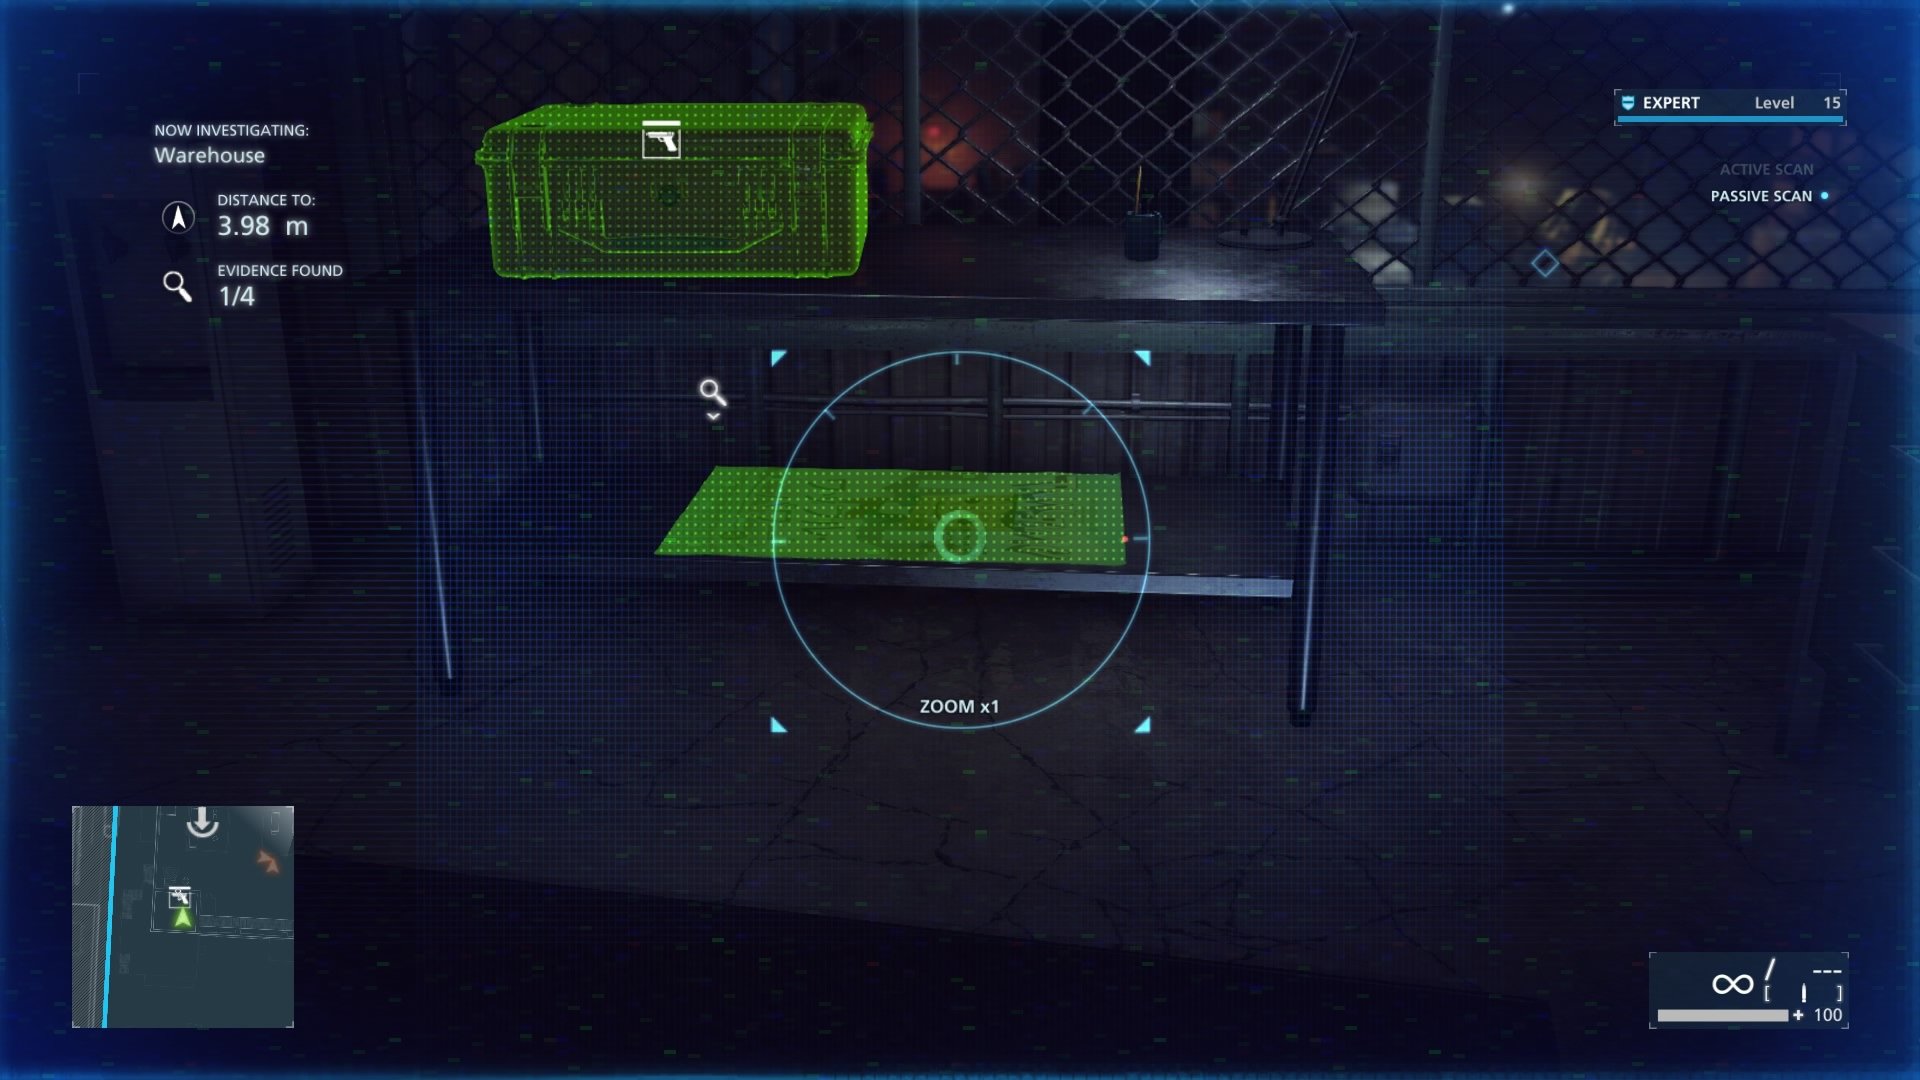
Internal Affairs #18 (Poster For Tamu-Tamu)
Once you regain control inside the warehouse, step back and look down. It is directly below the tactical gear box. Scan it.
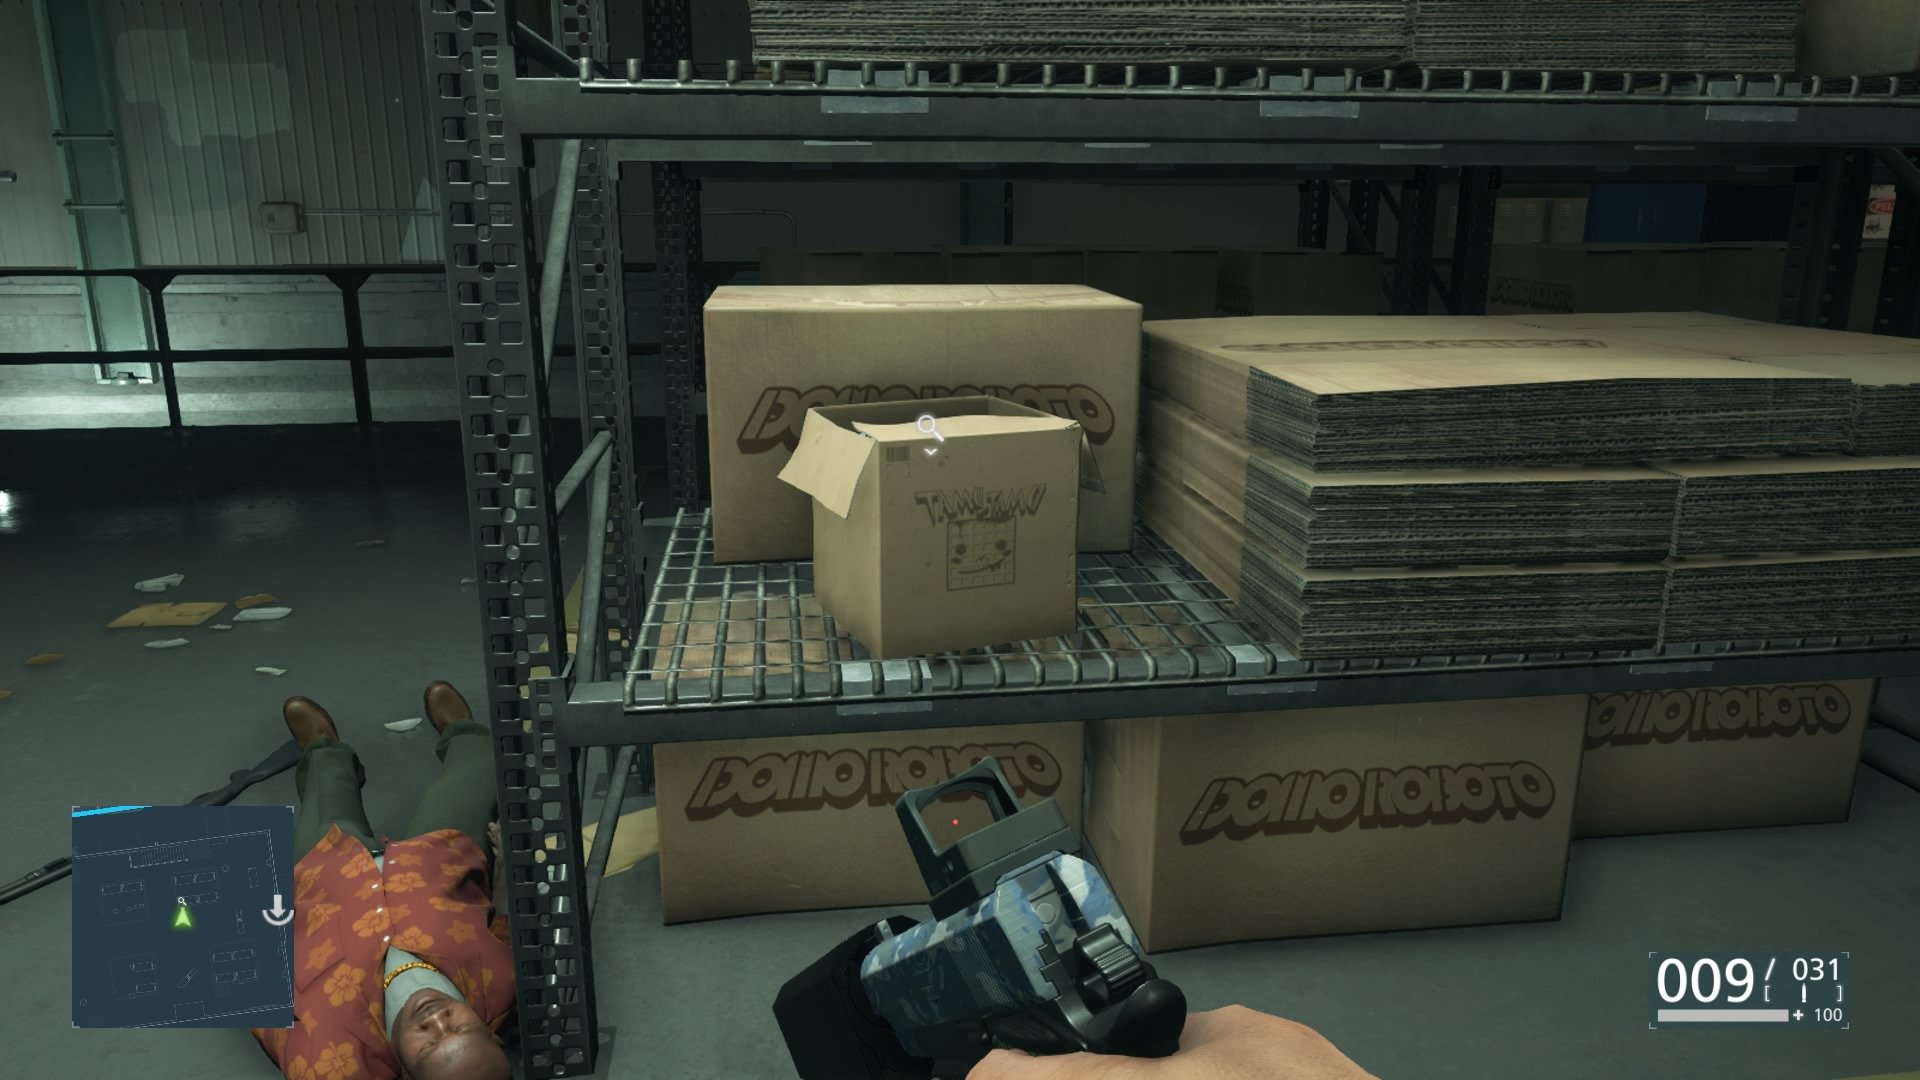
Internal Affairs #17 (Tamu-Tamu DVDs)
In the center of the warehouse on a shelf. You will see a box like in the image above. Scan it and the evidence is yours.
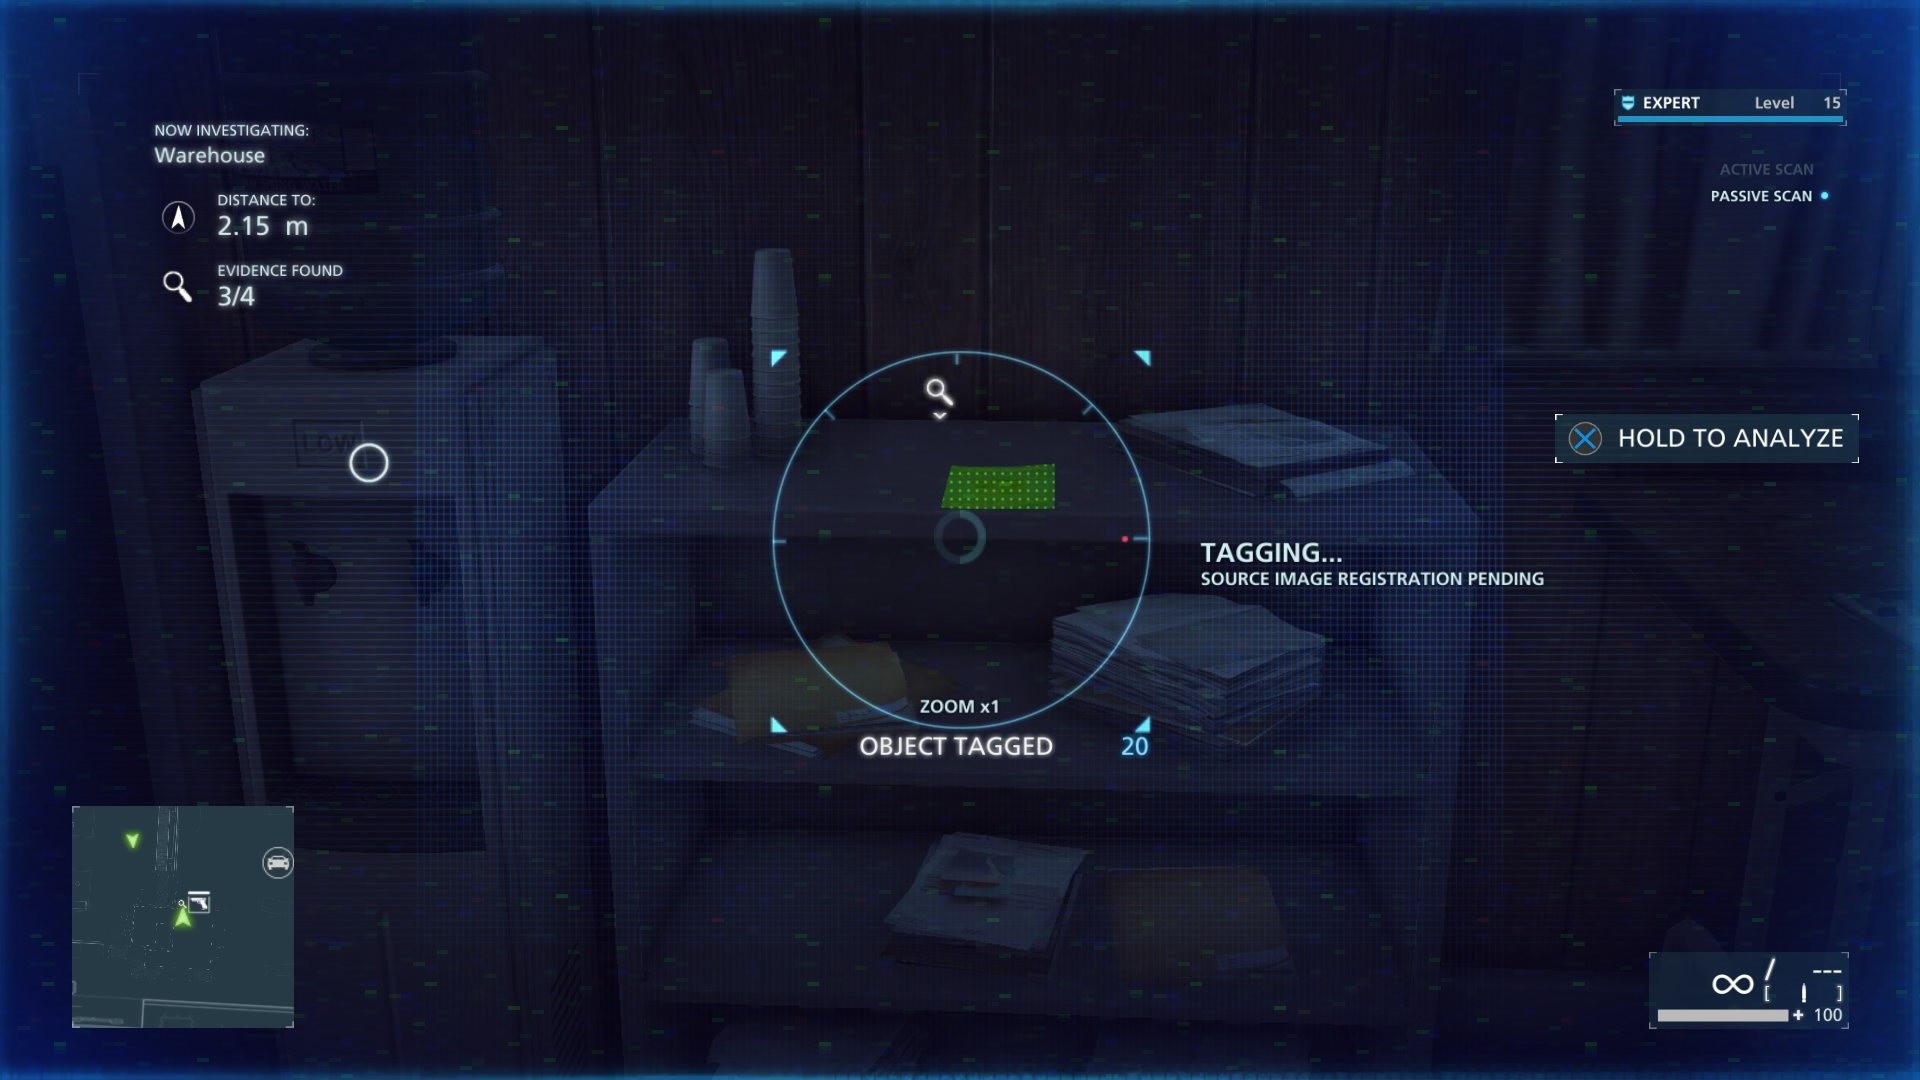
Internal Affairs #12 (Flyer For Tamu-Tamu)
Underneath the stairs, and the office where you entered the warehouse is another larger office. As you enter and go around the corner you will see a water cooler to your left. Next to the cooler is a shelf where the flyer is laying.
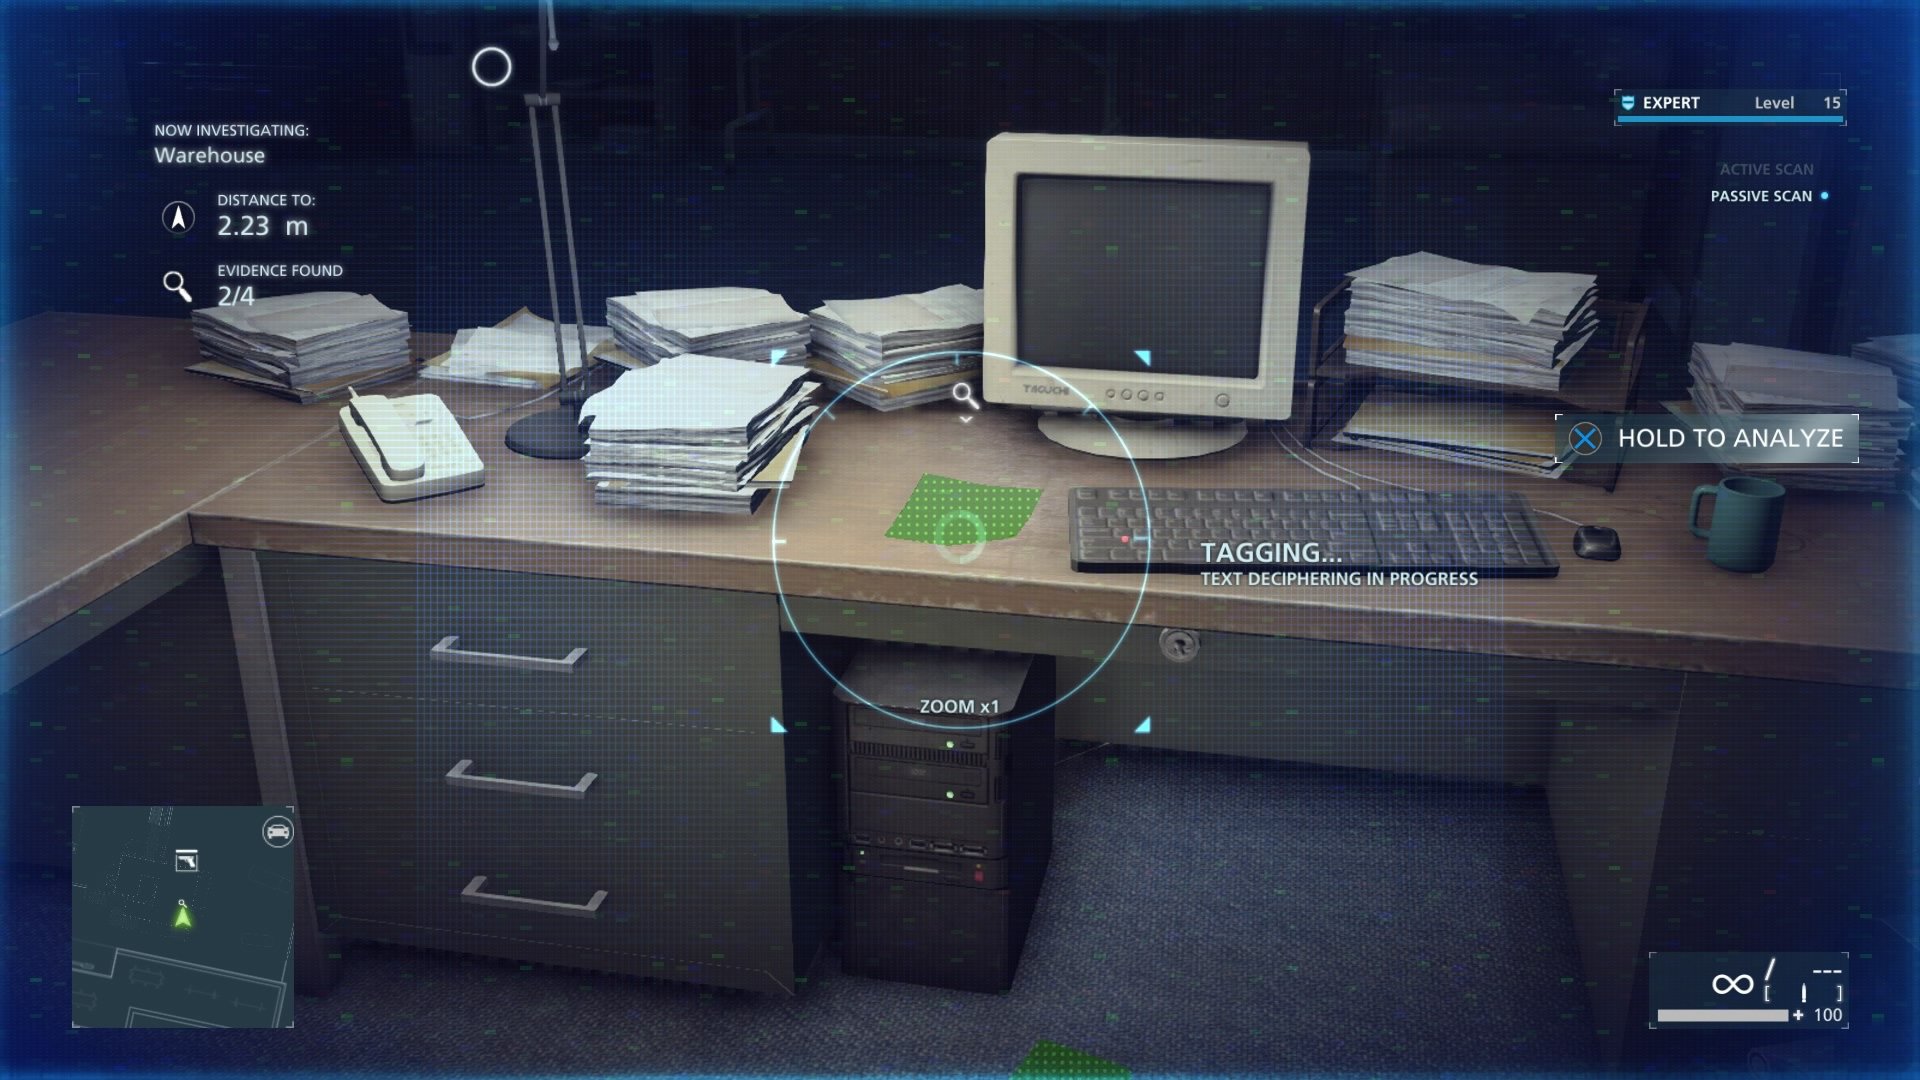
Internal Affairs #16 (Letter From Neltz’s Business Manager)
This piece of evidence is laying smack dab on the only desk in this large office. Scan it and you are a good to go.
Grow Operation
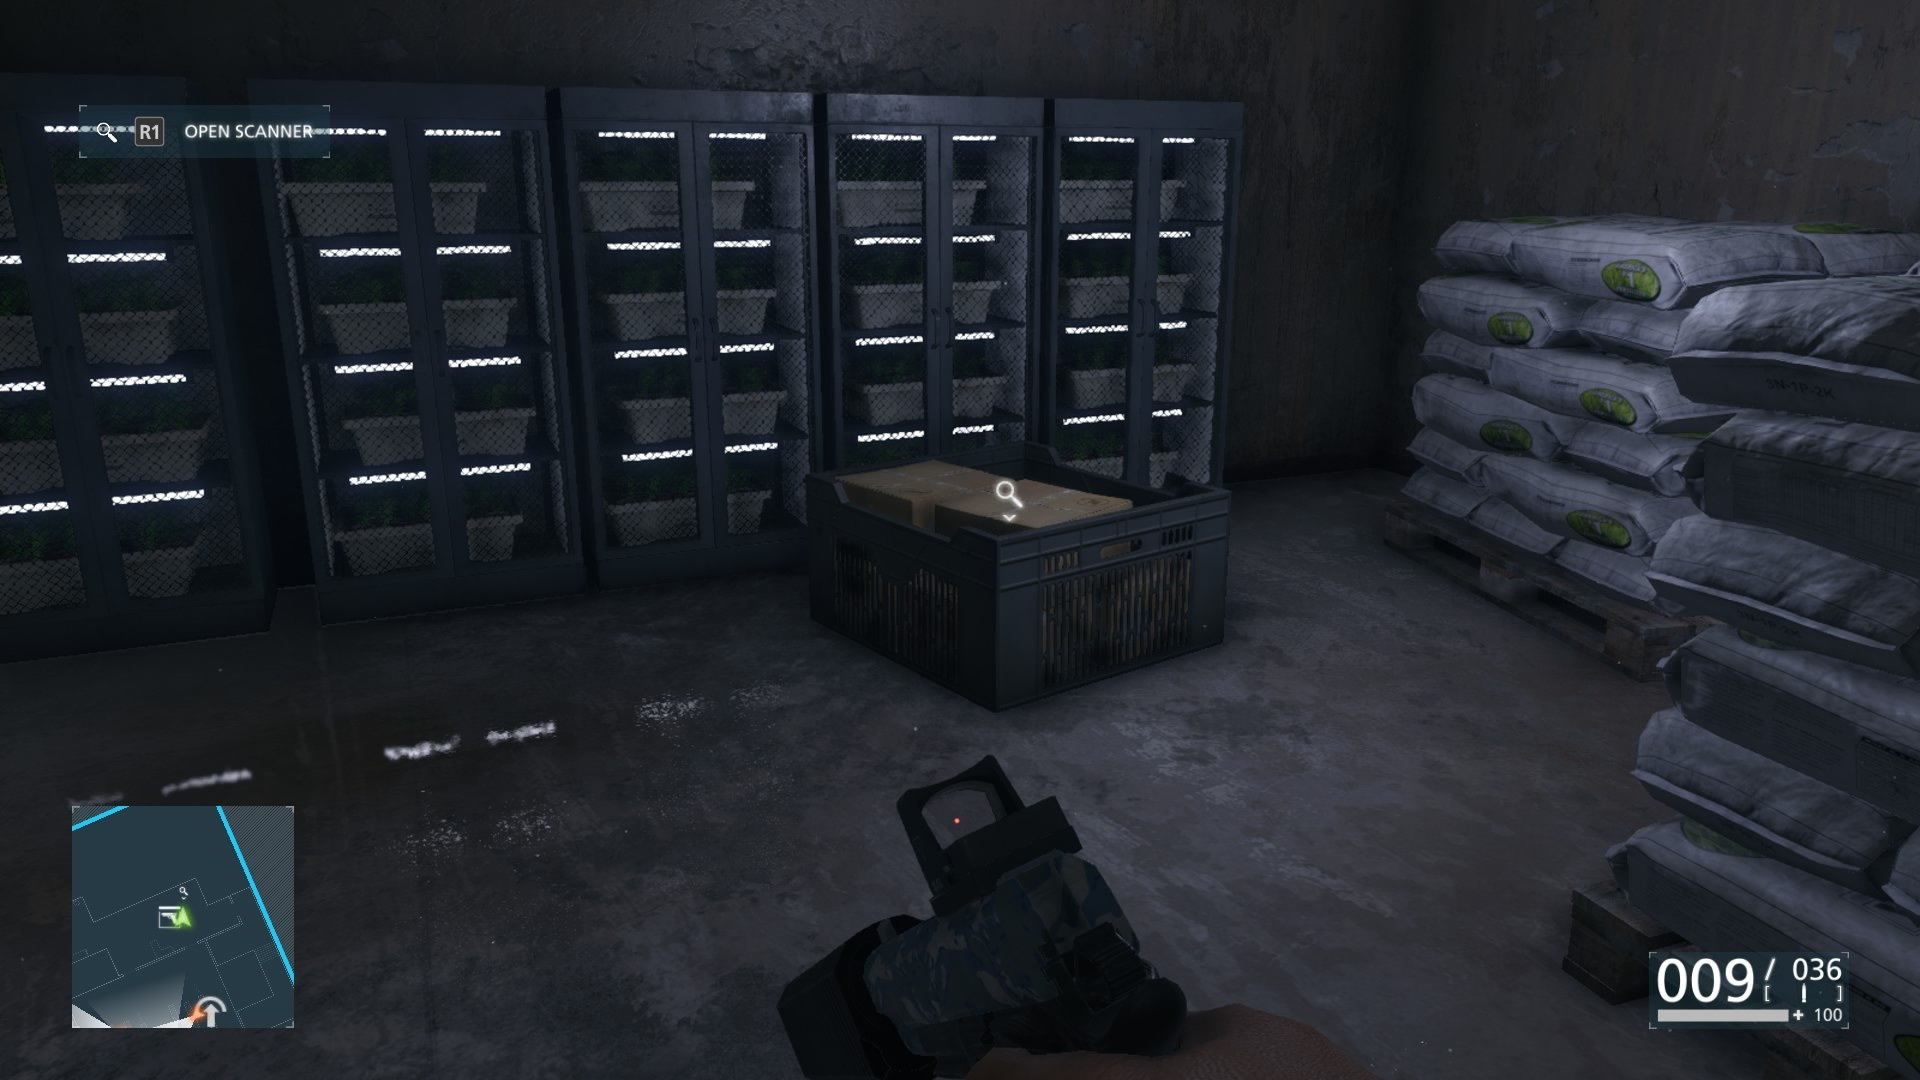
Hot Shot Supply Chain #2 (Crate Of Hot Shot)
Inside the first big room, for sake of argument let’s call this the ‘camera room’. After you take out the goon, the crate is behind you in the corner.
Outside Mall
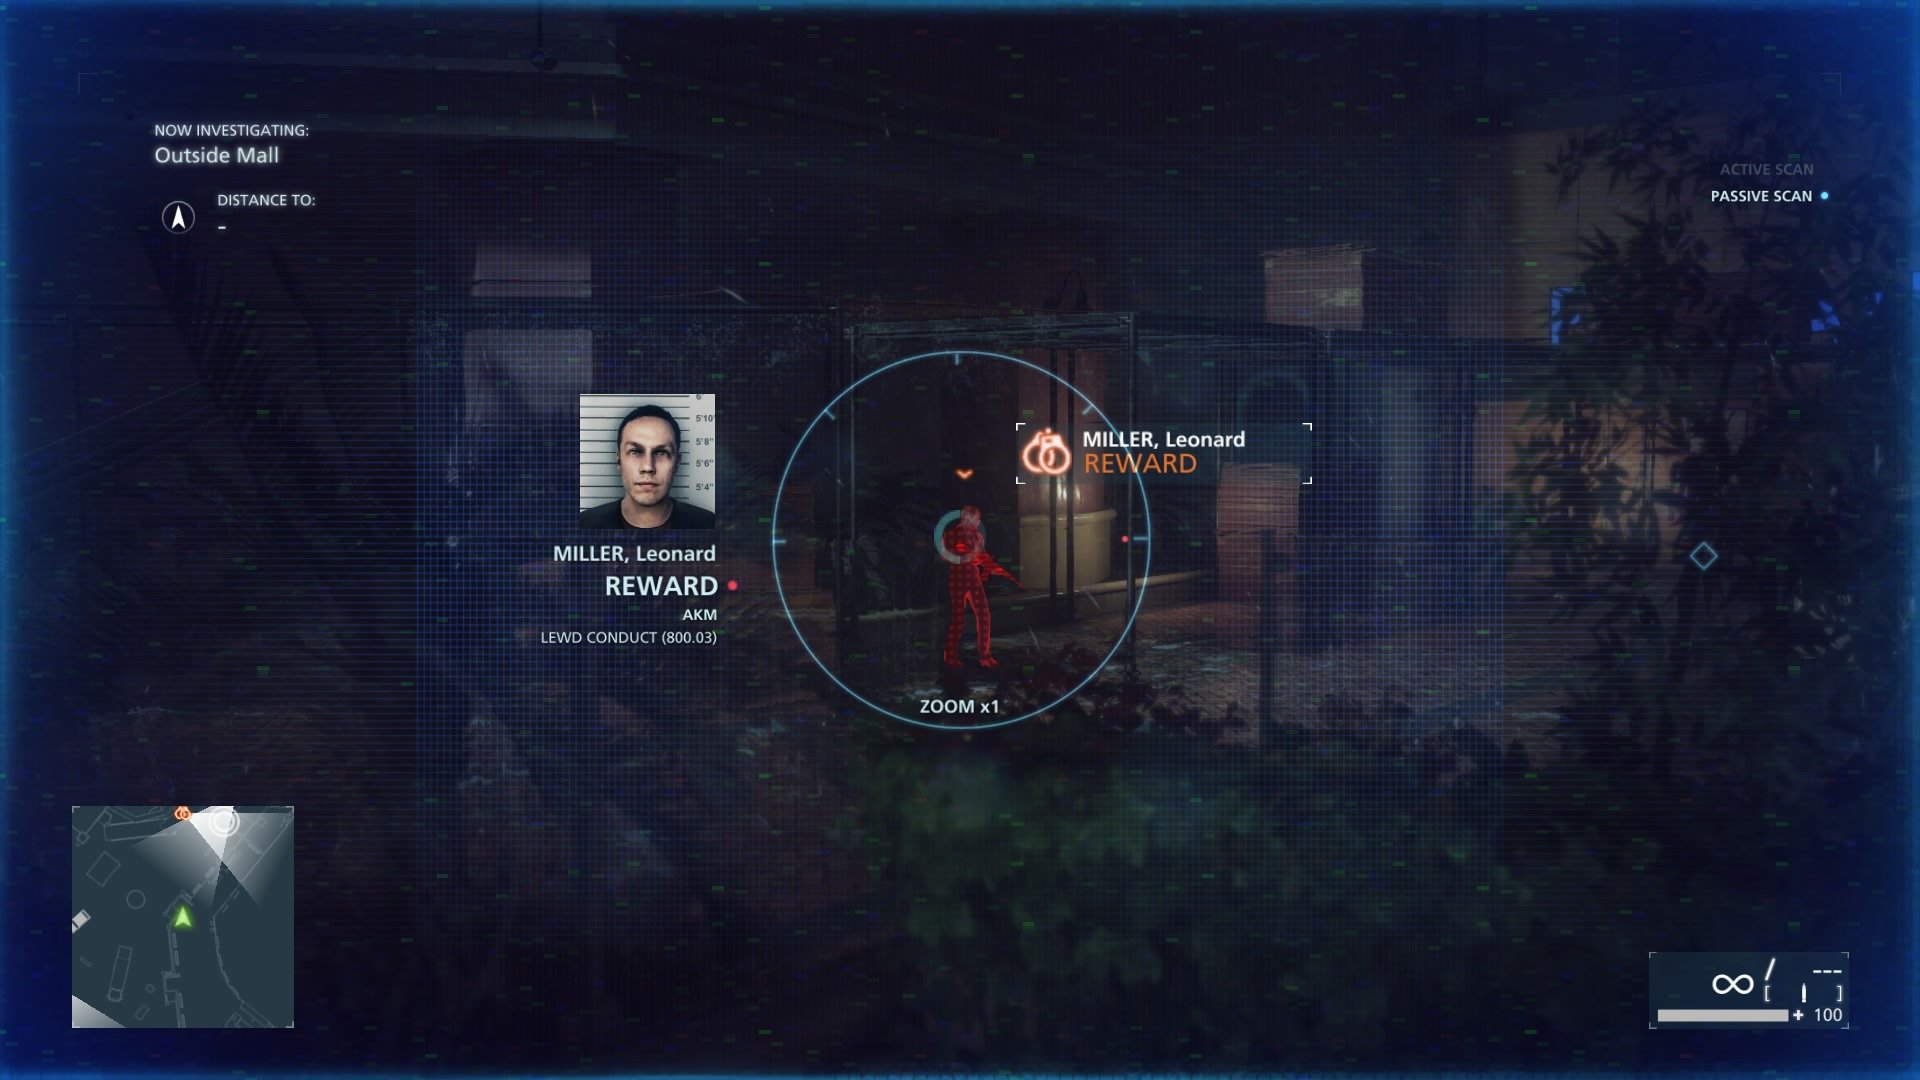
Wanted: Leonard Miller
Leonard is outside in the middle area when you are walking inside the mall. Take out the first few of his goons and work your way up the right side. You will see a guy carrying a crate past him, either kill him or ignore him (he will find bodies if you left any). Miller stops in front of the doors to the mall and guards them. If you go down the right path and hop the glass, you can catch him from the side and taze him.
Mall
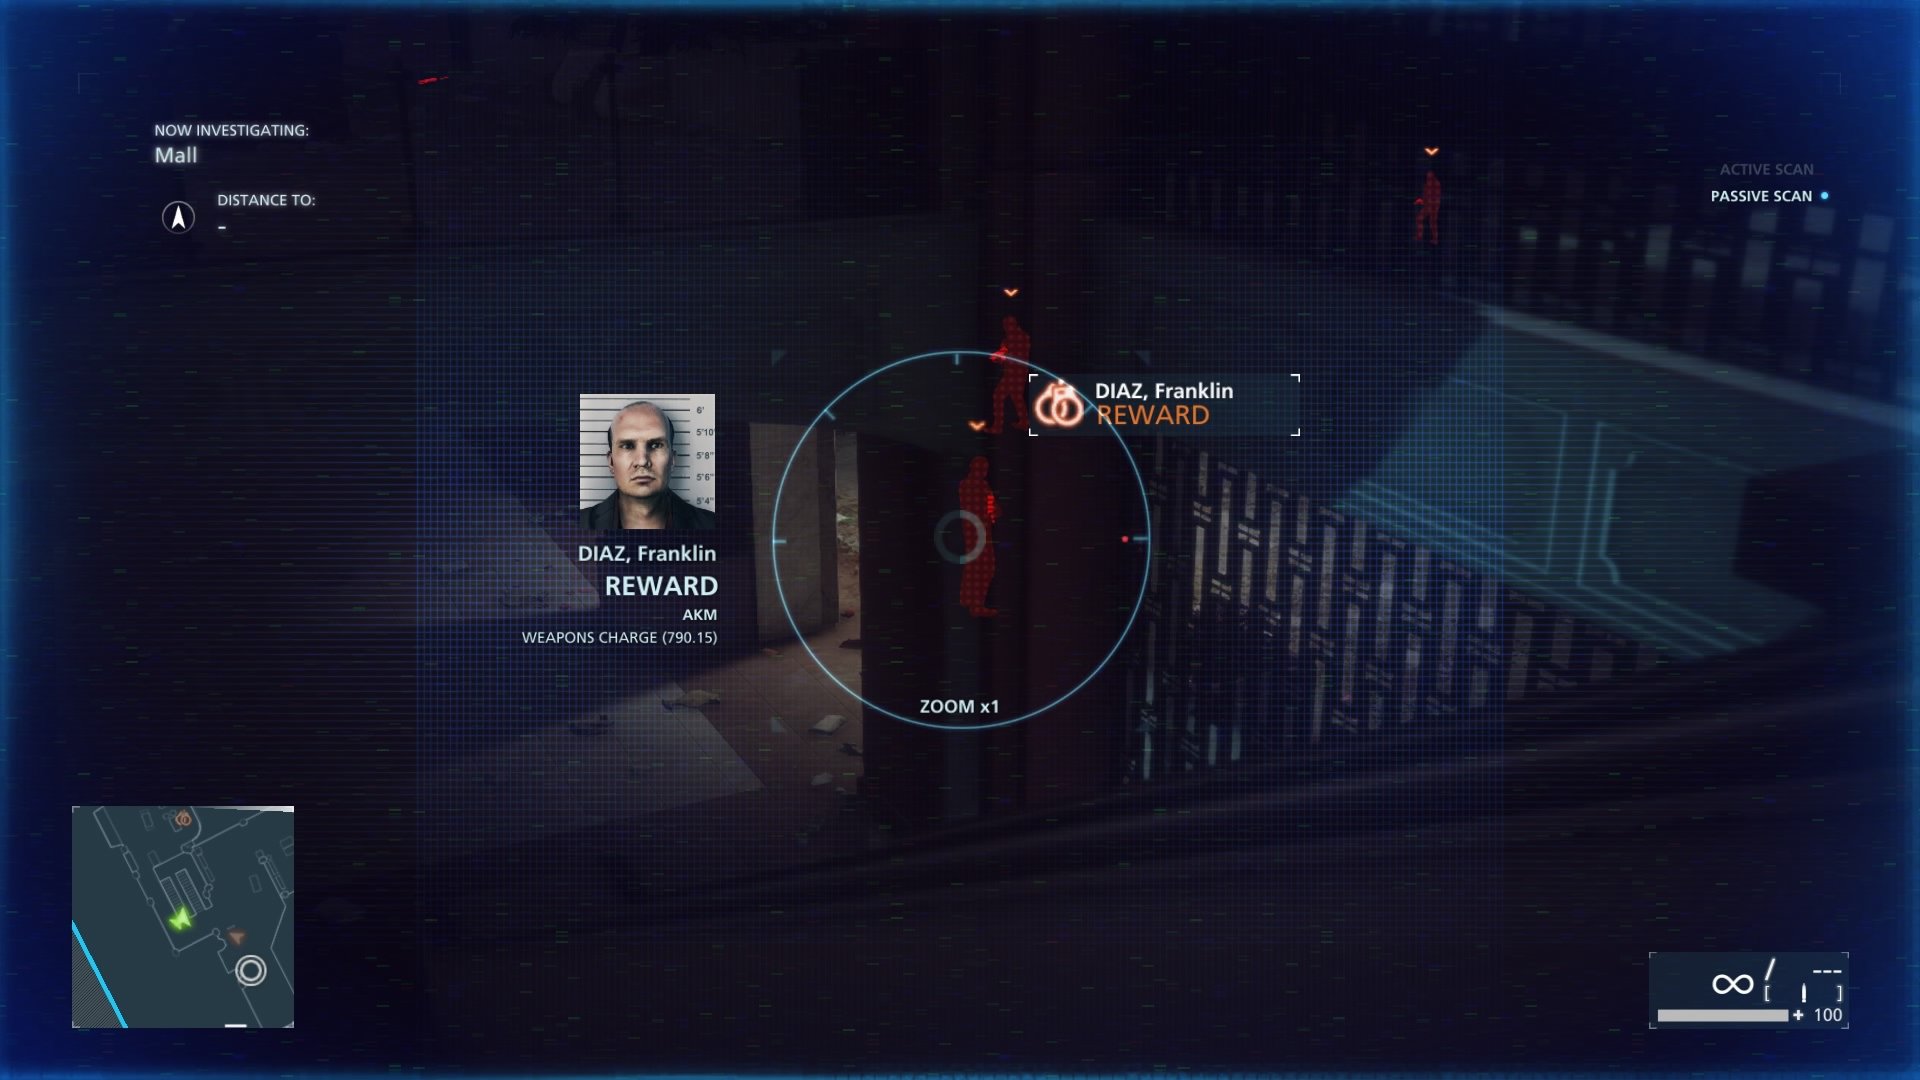
Wanted: Frankie Diaz
Once you are inside the mall you will come across Frankie who is with a group of his bad-guy pals. Simply sneak up and taze him or try to knock him out. There are a lot of men in the area so you might want to go for the taze.
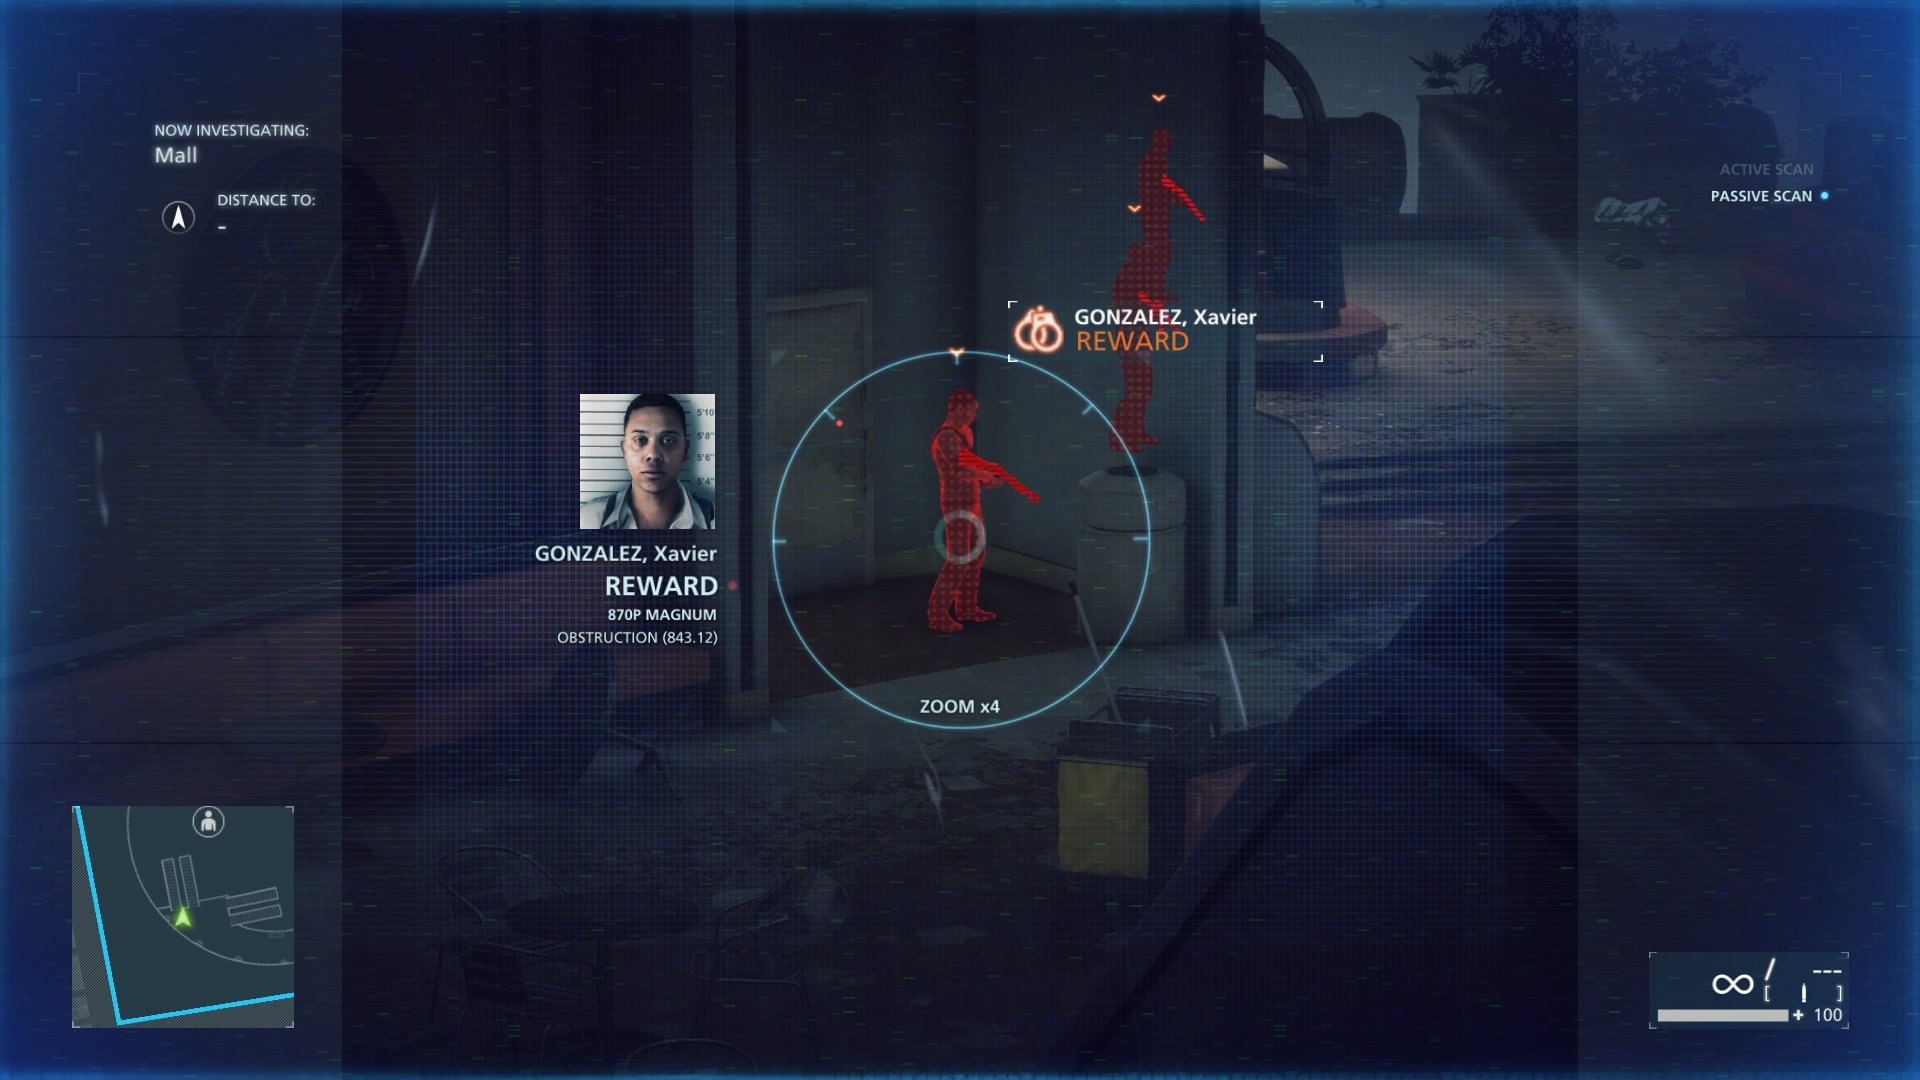
Wanted: Xavier Gonzalez
After you regroup with your partner you will head out and up an escalator. Then you break a door with the crowbar to enter a nightclub. Inside the club will be Xavier. You can either sneak to him or kill everyone except him, as he tends to hide in the corner and taze him.
That is all for Episode 4: Case Closed, feel free to move onto the next part of our Battlefield: Hardline guide in Episode 6: Out Of Business for more collectibles. Please note, that Episode 5: Gauntlet, has no collectibles.





Published: Mar 23, 2015 08:00 am