Battlefield: Hardline instead of using laptops and files, has a wider array of ‘collectibles’ strewn about the game under the guise of evidence. Makes sense considering you take the role of a police officer. The cool thing is that when you enter the area your controller will vibrate near evidence. Including those on enemies that have warrants. Evidence is separated in this guide by case and evidence name and number as it appears in the game. Warrants are enemies that are thrown into the game to give the player an additional ‘collectible’ type of replay value to the levels. For more information check out our Battlefield: Hardline guide for Episode 1. If you need help with Episode 6: Out Of Business, we have that too.
The following Battlefield: Hardline guide is for Episode 7: Glass Houses, of the Battlefield: Hardline single-player campaign tailored to help you find the evidence and grab the wanted criminals in the third level. As the episodes get longer we break it down into sub-sections. These can be found on your scanner in the top left of the screen. It basically tells you the area of the episode you are in and it is helpful for pinning down warrants and evidence. There are nine pieces of evidence and two suspects in Episode 7: Glass Houses.
Mansion
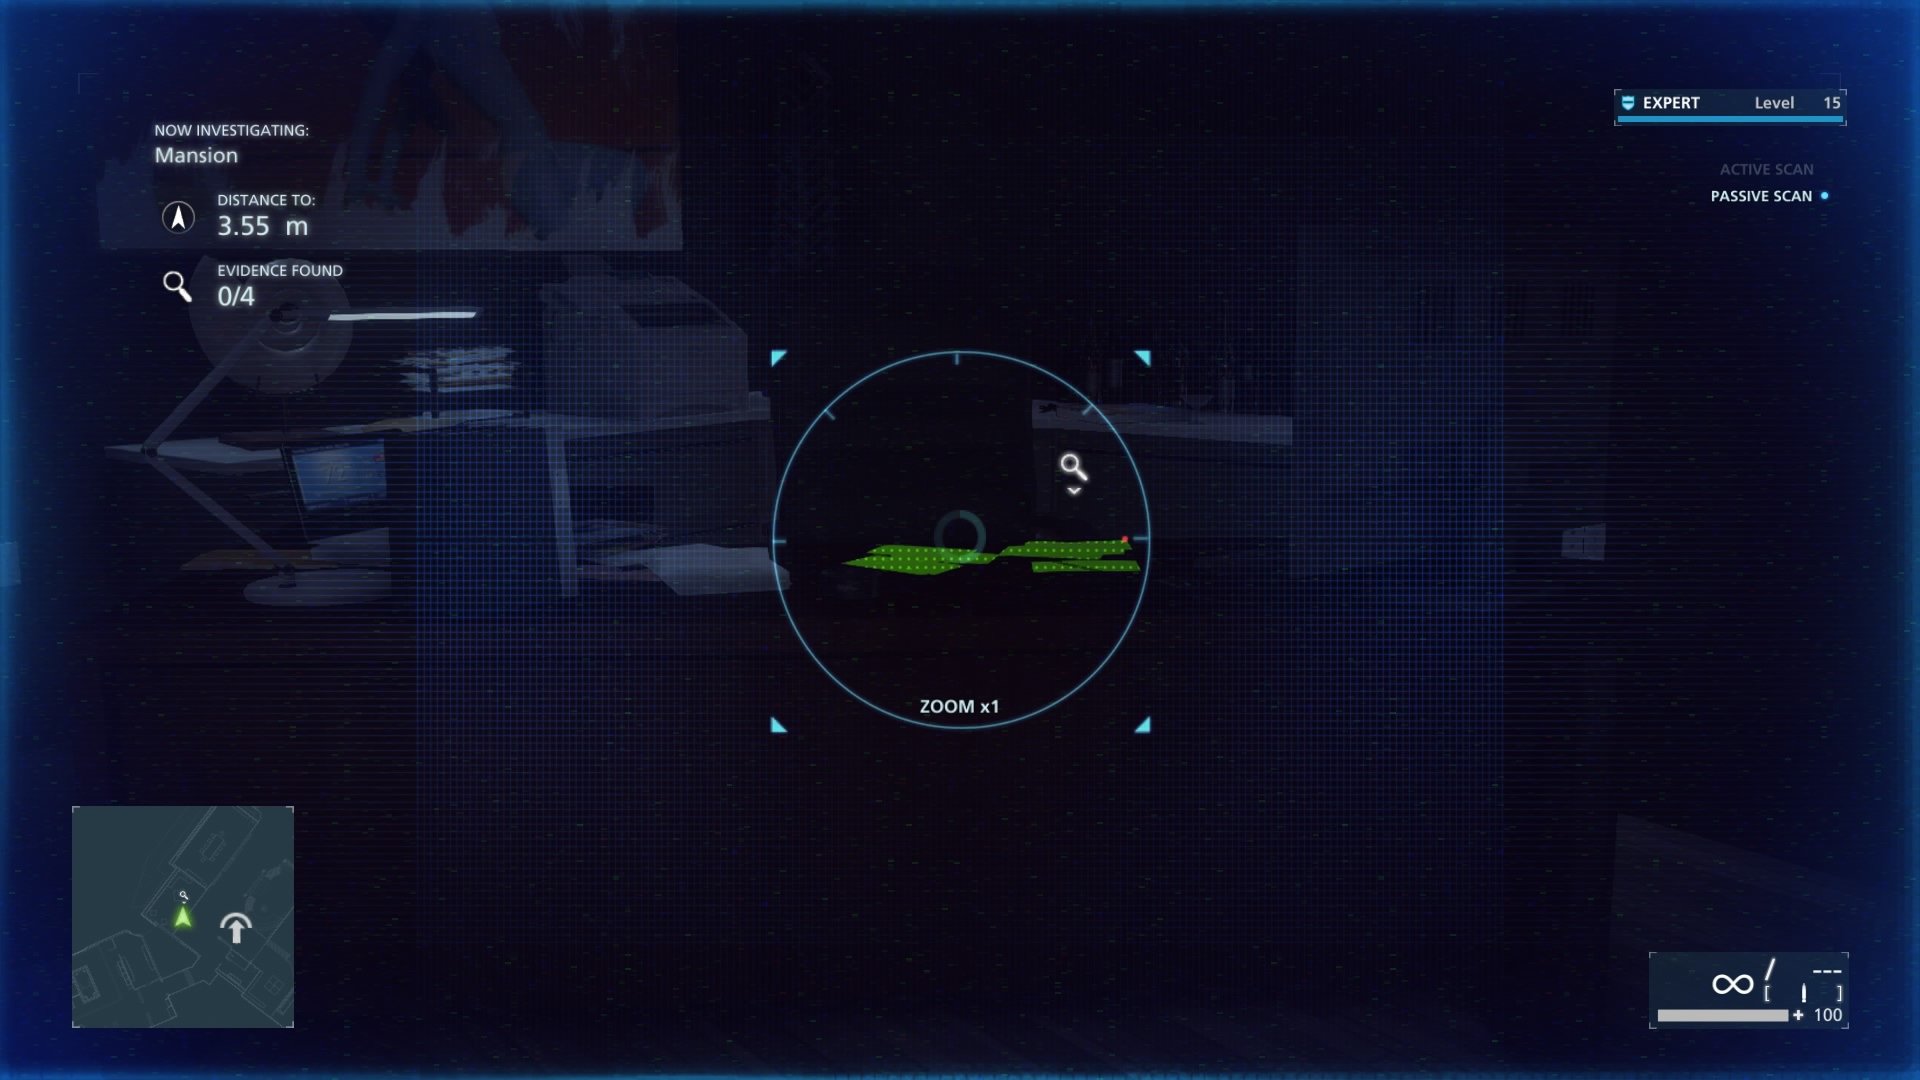
Power Play #10 (Shipping Labels)
You will enter the mansion through a window in the bathroom. As you work your way through the house you will see a large dining room on your right, on the same side further down is an office. Inside that office on the desk is the shipping labels.
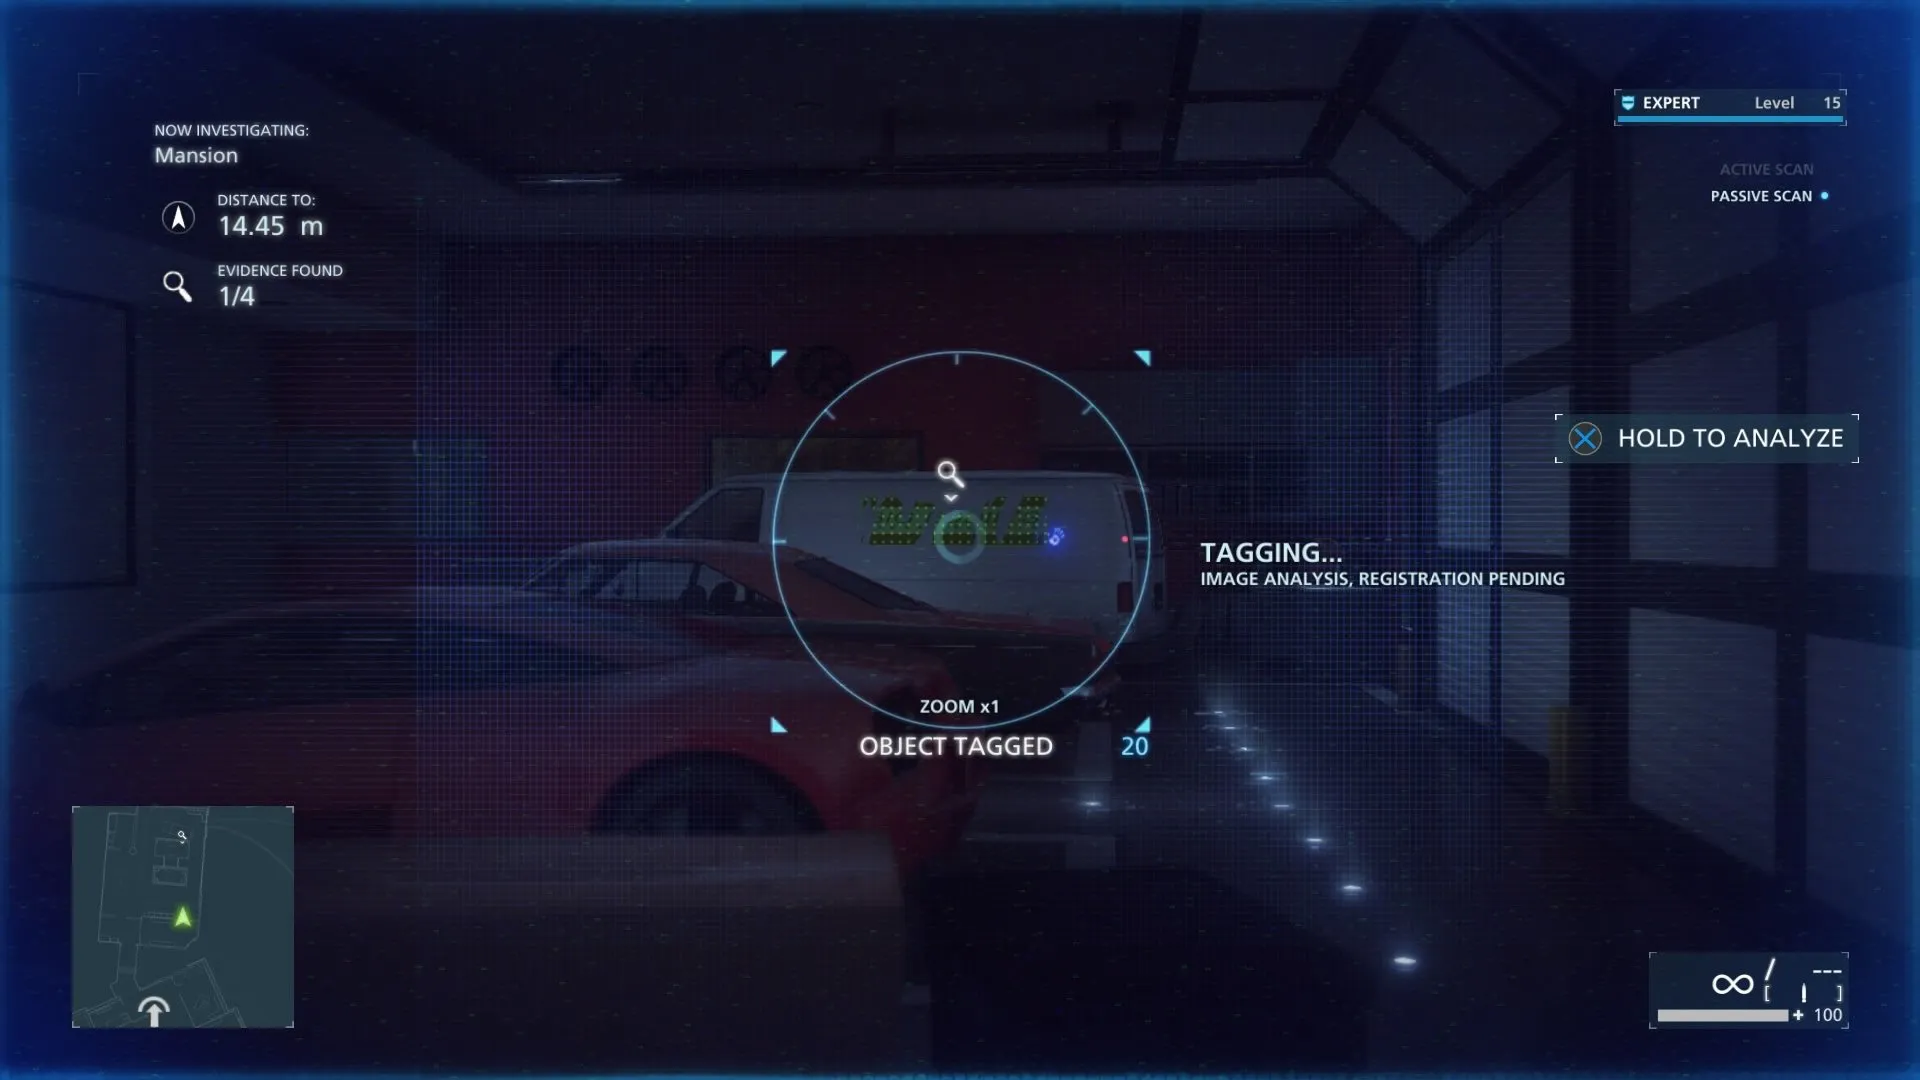
Power Play #9 (White Van)
Ignore your partner and continue going through to the other side of the mansion. You will come to a garage. Look at the van and scan it for the evidence.
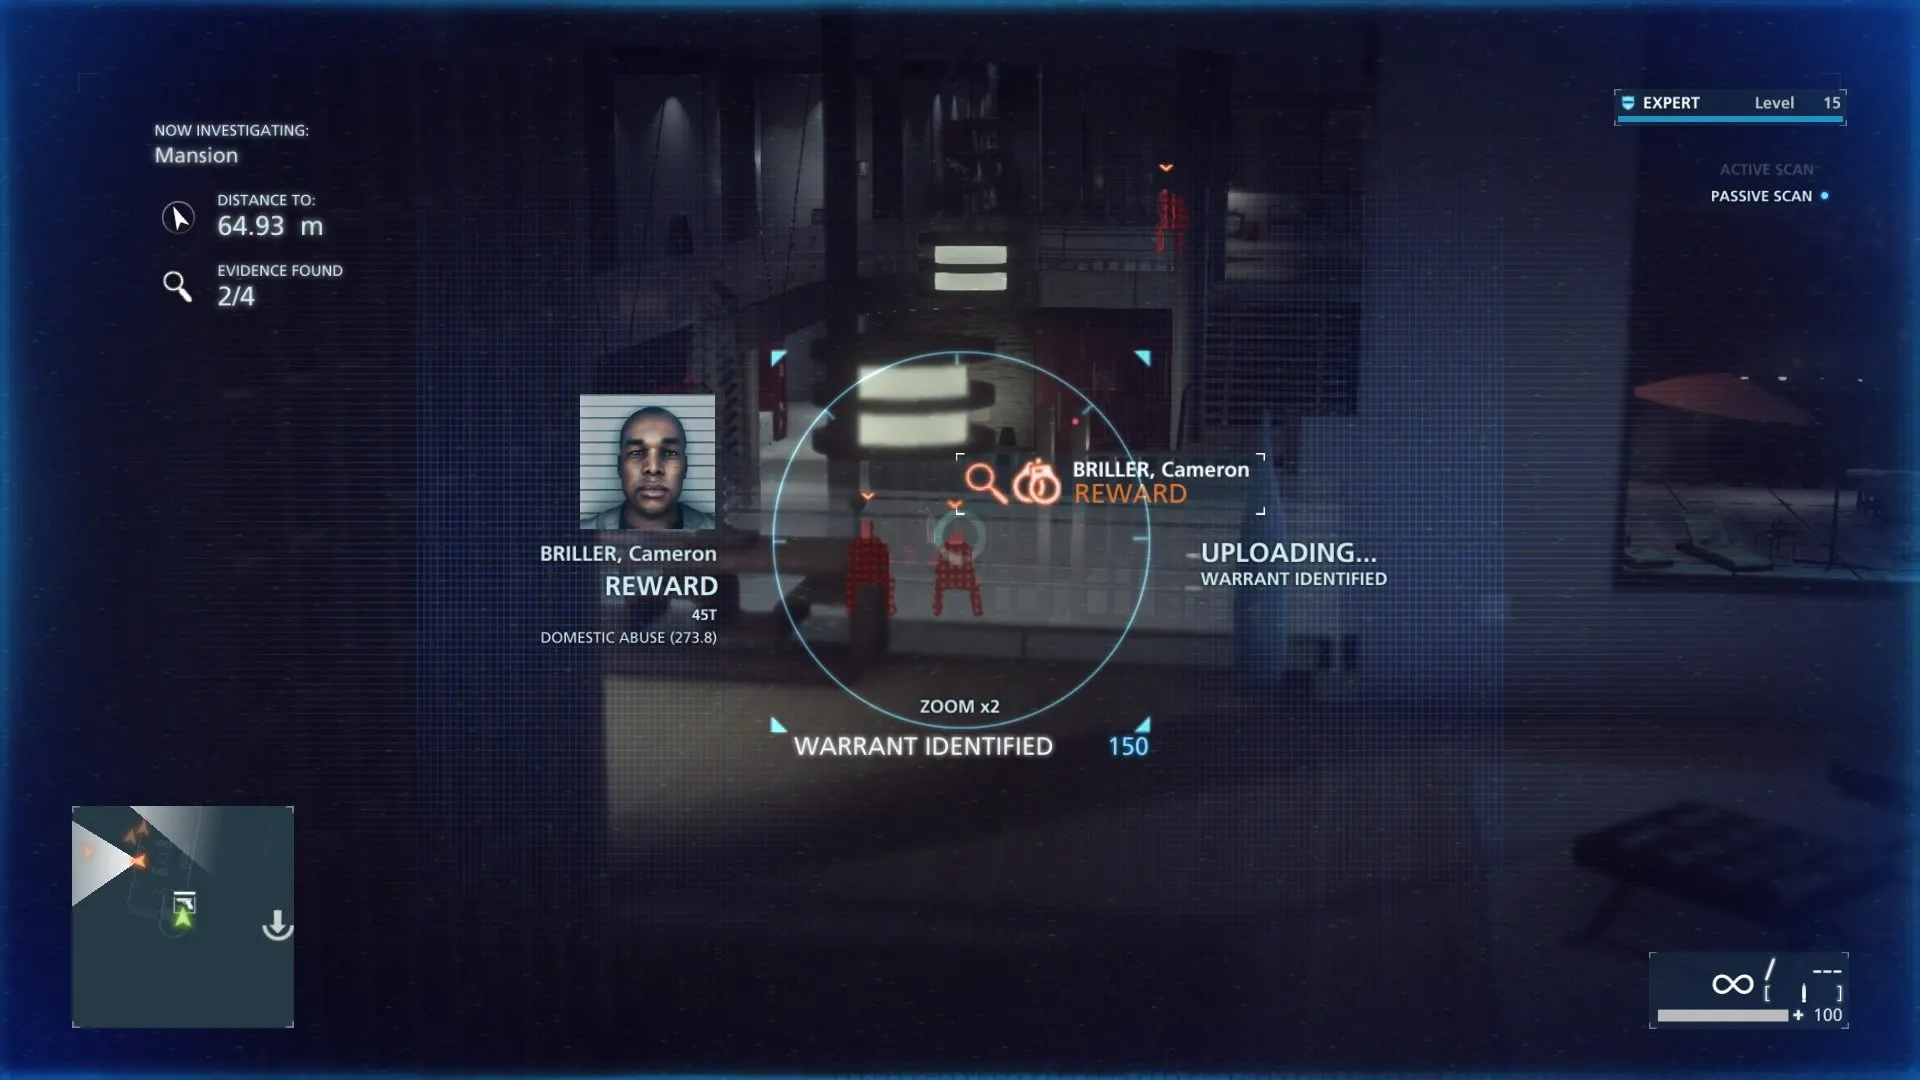
Wanted: Cameron Briller
Once you get out of the meeting and start down the stairs, Cameron will be sitting on the couch. If you take out everyone upstairs, sooner or later Cameron and his buddy on the couch will work their way upstairs. Taze him and search his body for…
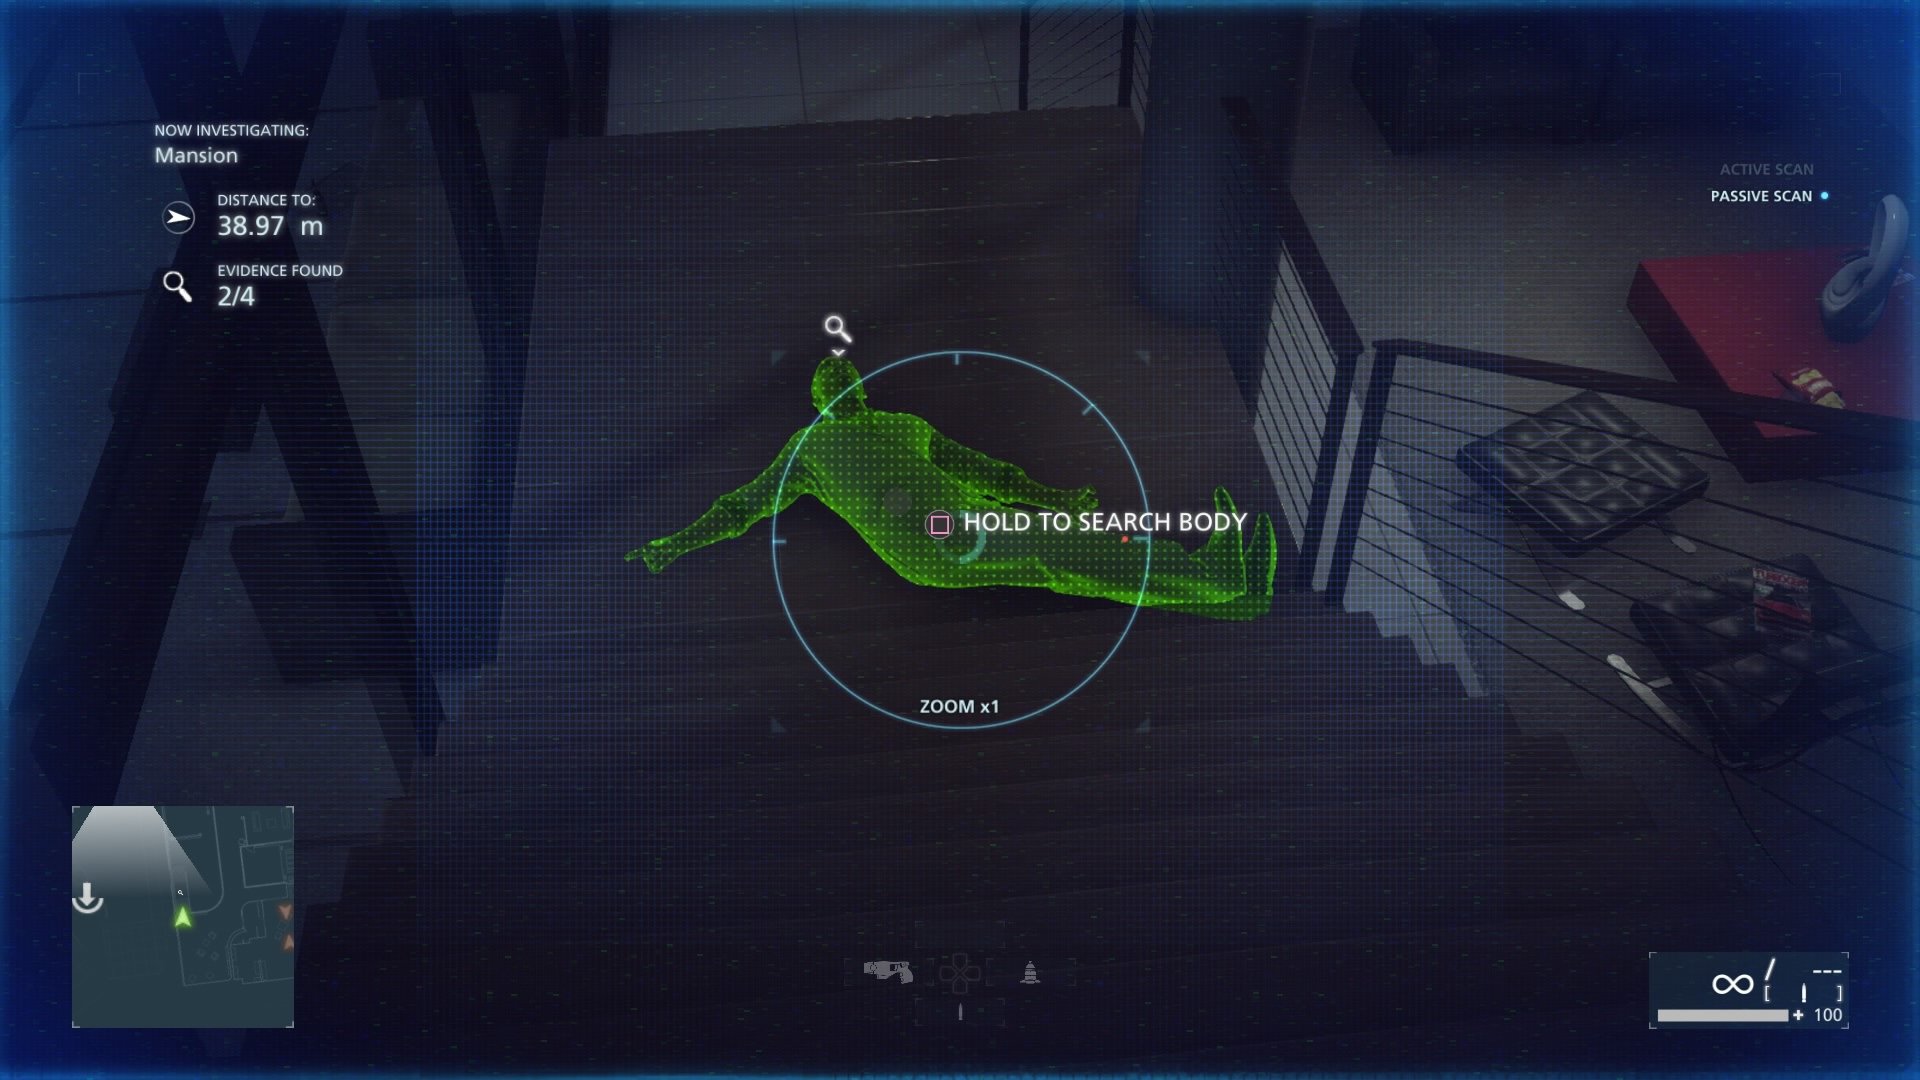
Power Play #11 (Safe Combination)
This is found on Cameron Briller’s lifeless, and prolly arrested body. Simply search him after you knock out/taze him.
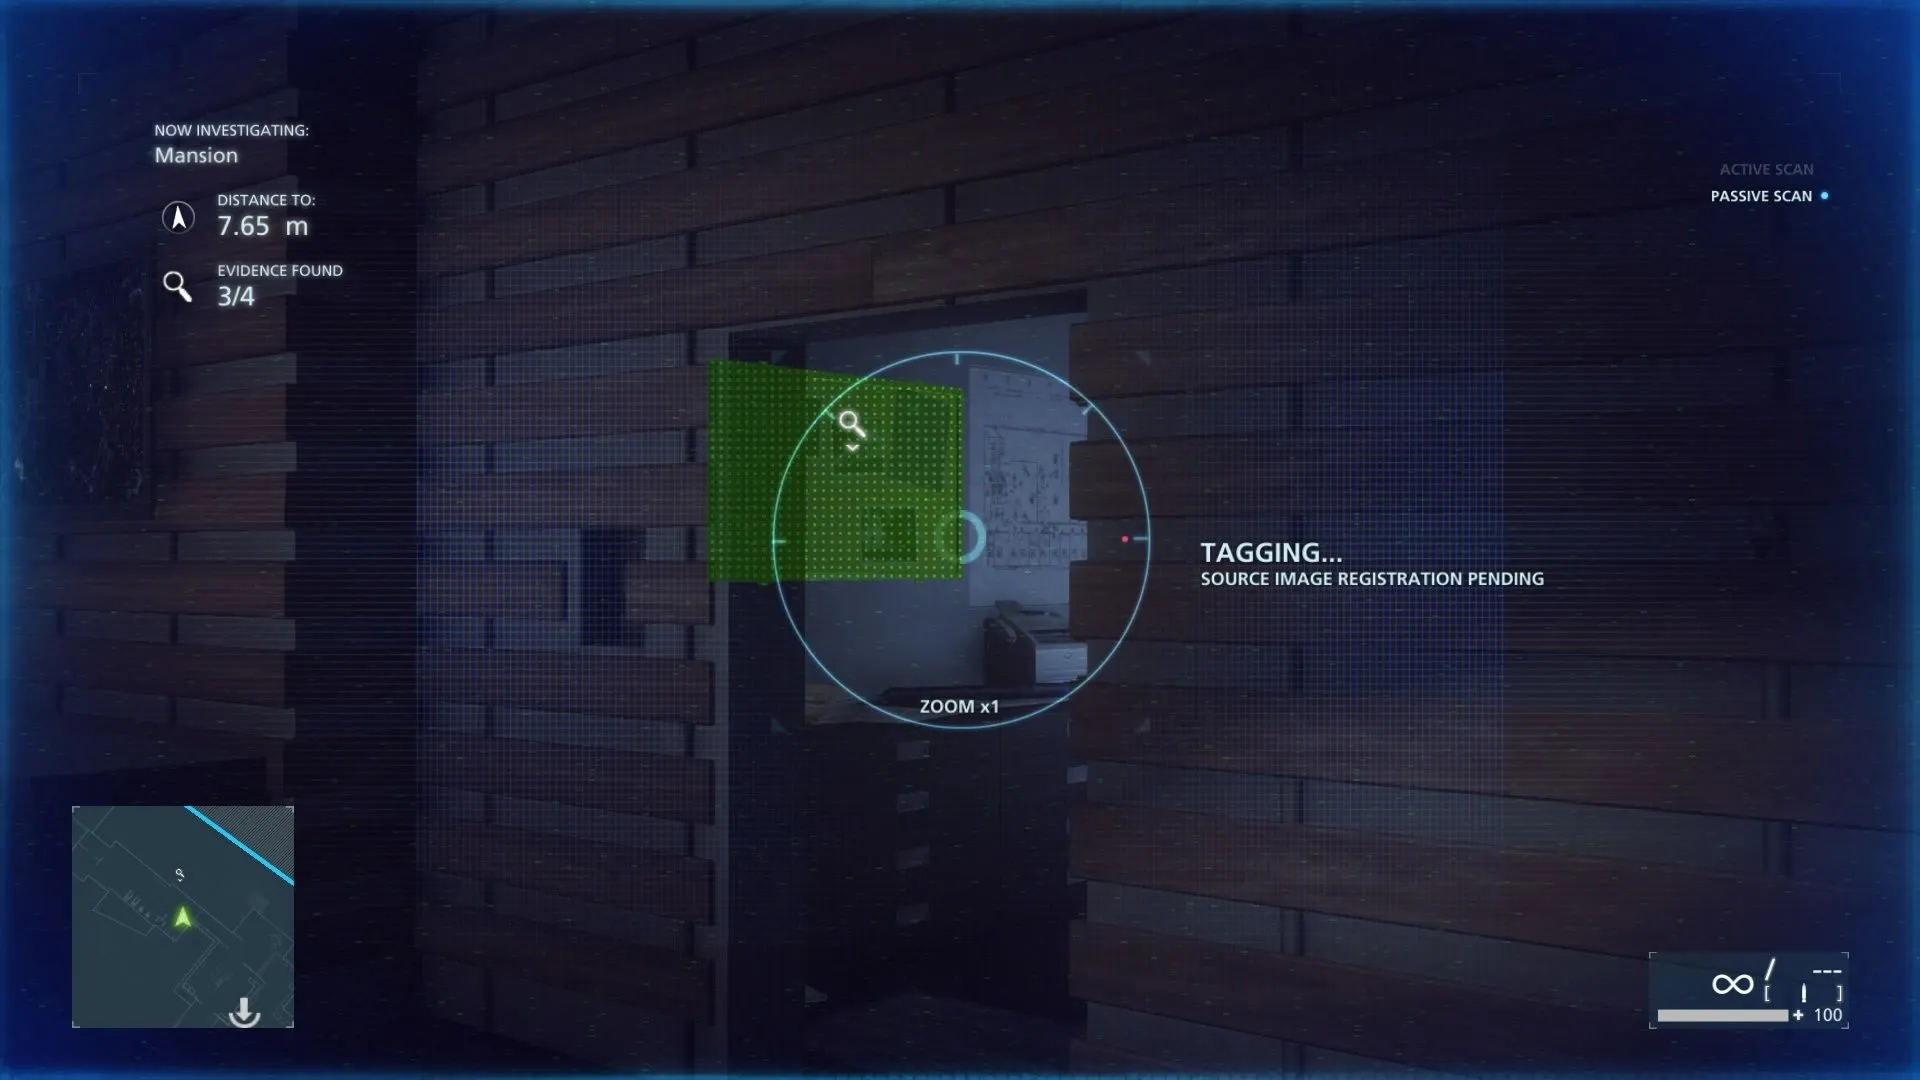
Power Play #12 (Wall Of Photos)
After you take out everyone in the mansion, go back to the gym near where you first entered the mansion. Your phone will vibrate. From when you enter look right and follow the wall. You should come across a button, open it and then open the wall revealing a room that garners the achievement/trophy ‘Hollywood Hideaway’ and the evidence on the cork bulletin board inside to the left.
Terraces
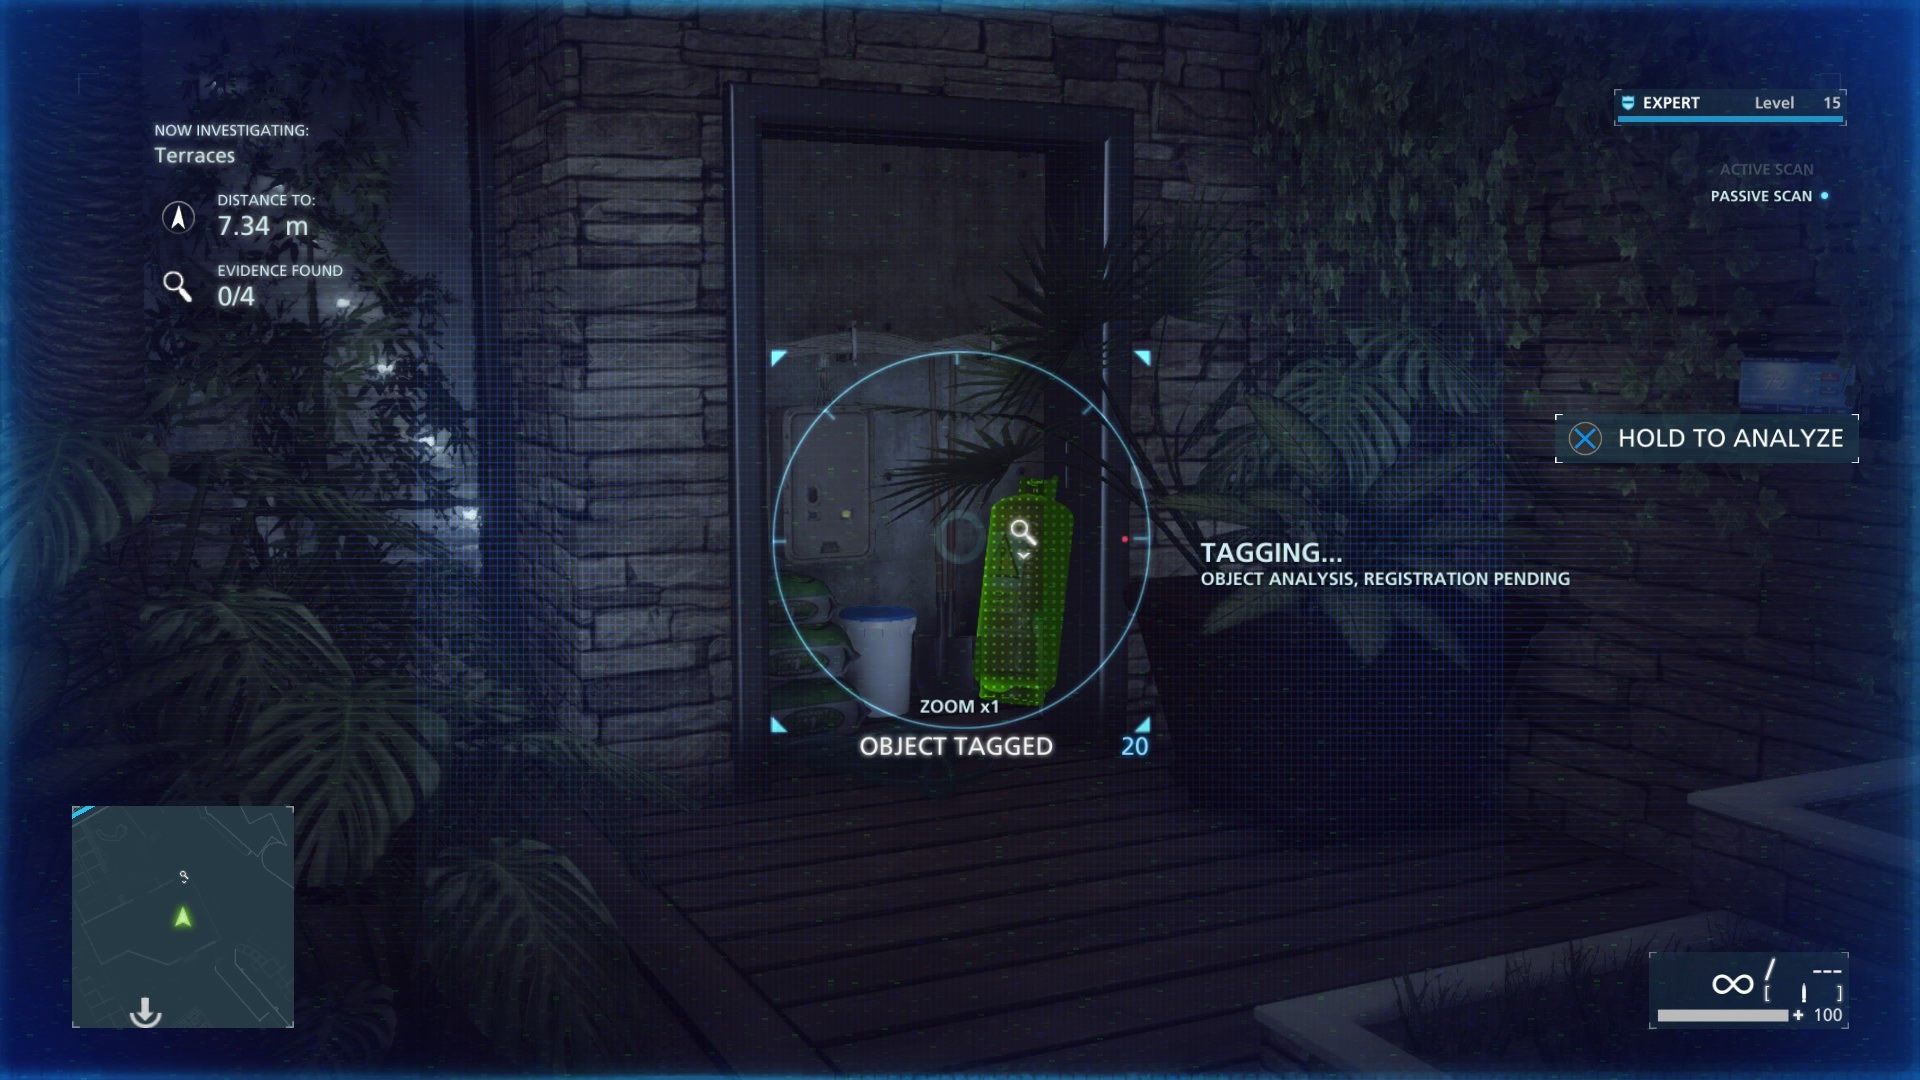
Power Play #13 (Tanks Of Tear Gas)
As you work your way down the stairs to the main area of the Terraces you will notice a greenhouse with a single bad guy. Sneak up and either kill or knock him out. Look around the room and in the corner with a nearby keypad on the wall will be a tank of tear gas, scan it and you’re done.
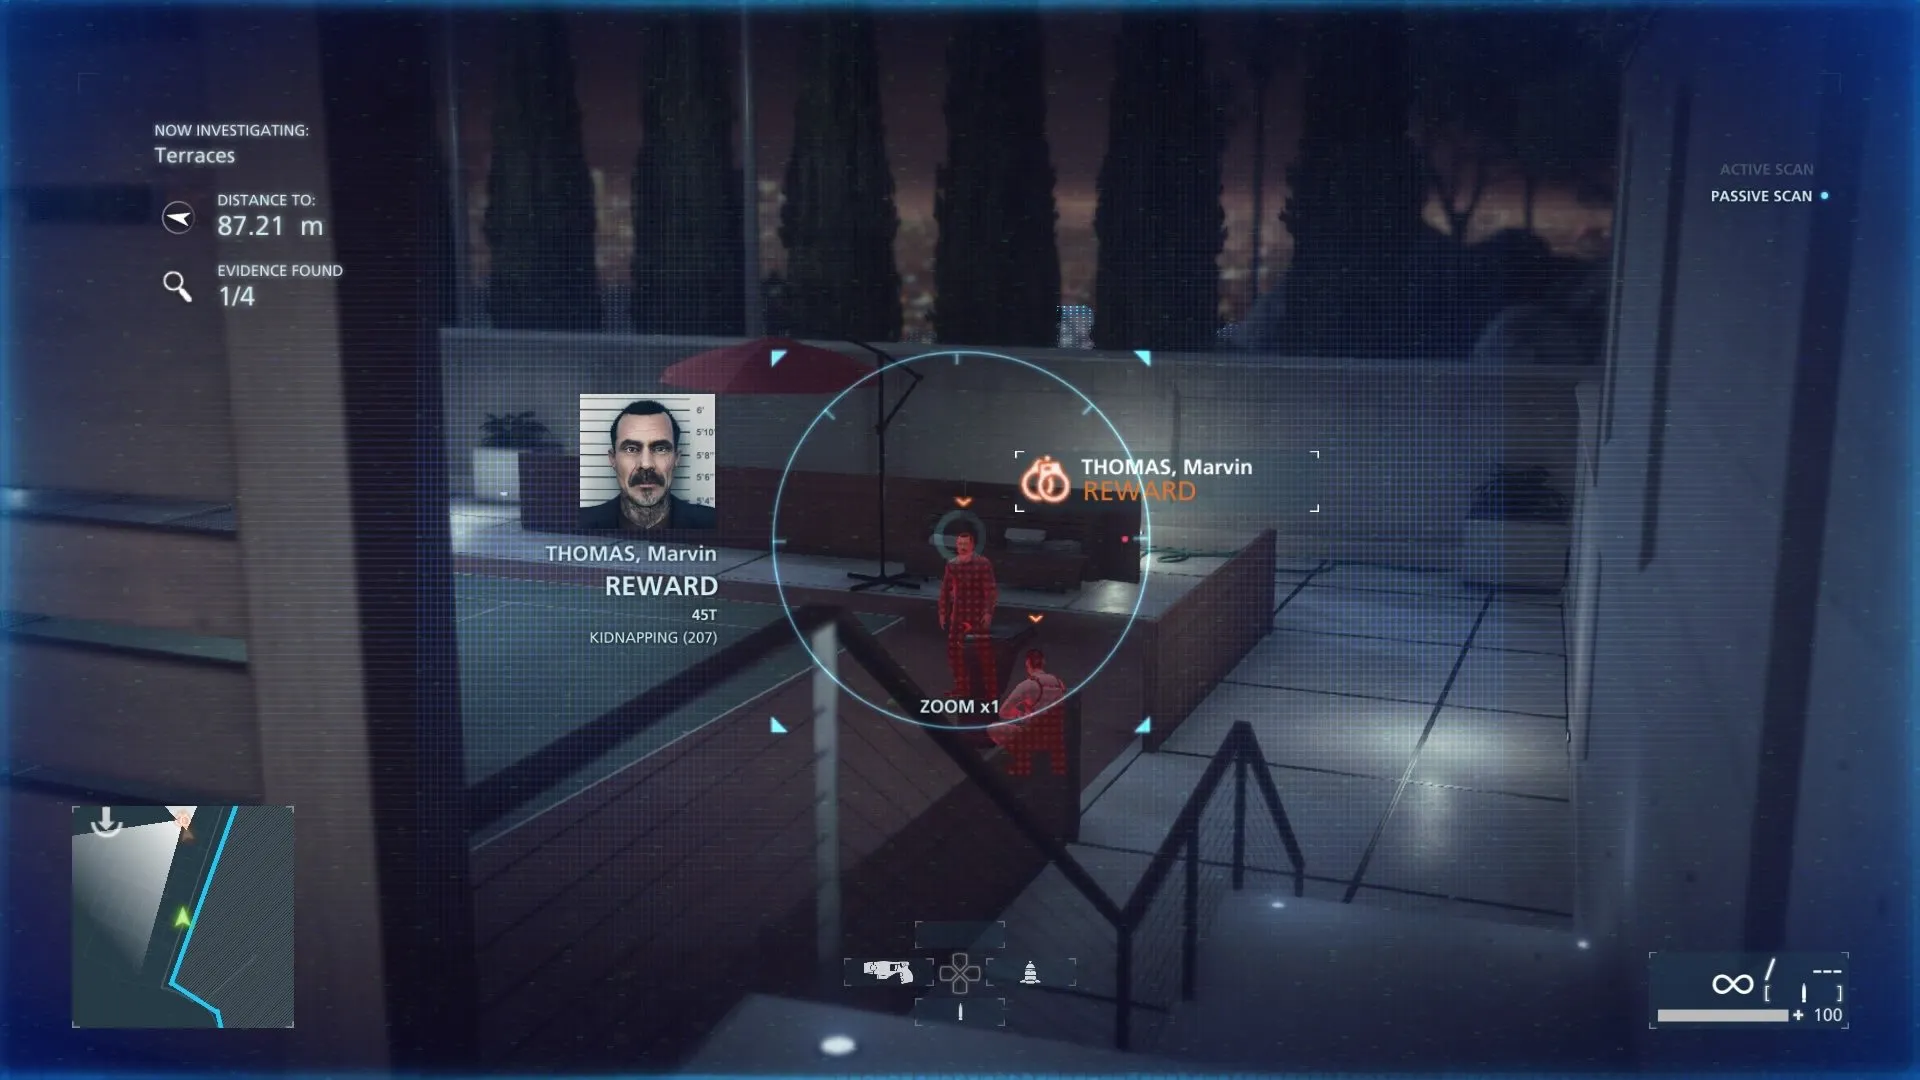
Wanted: Marvin Thomas
After the greenhouse keep moving forward past the giant head statue to the tennis courts. You will see Marvin arguing with his colleague. Scan him and wait for him to walk away and get distance between him and his buddy. Take one out then taze the other.
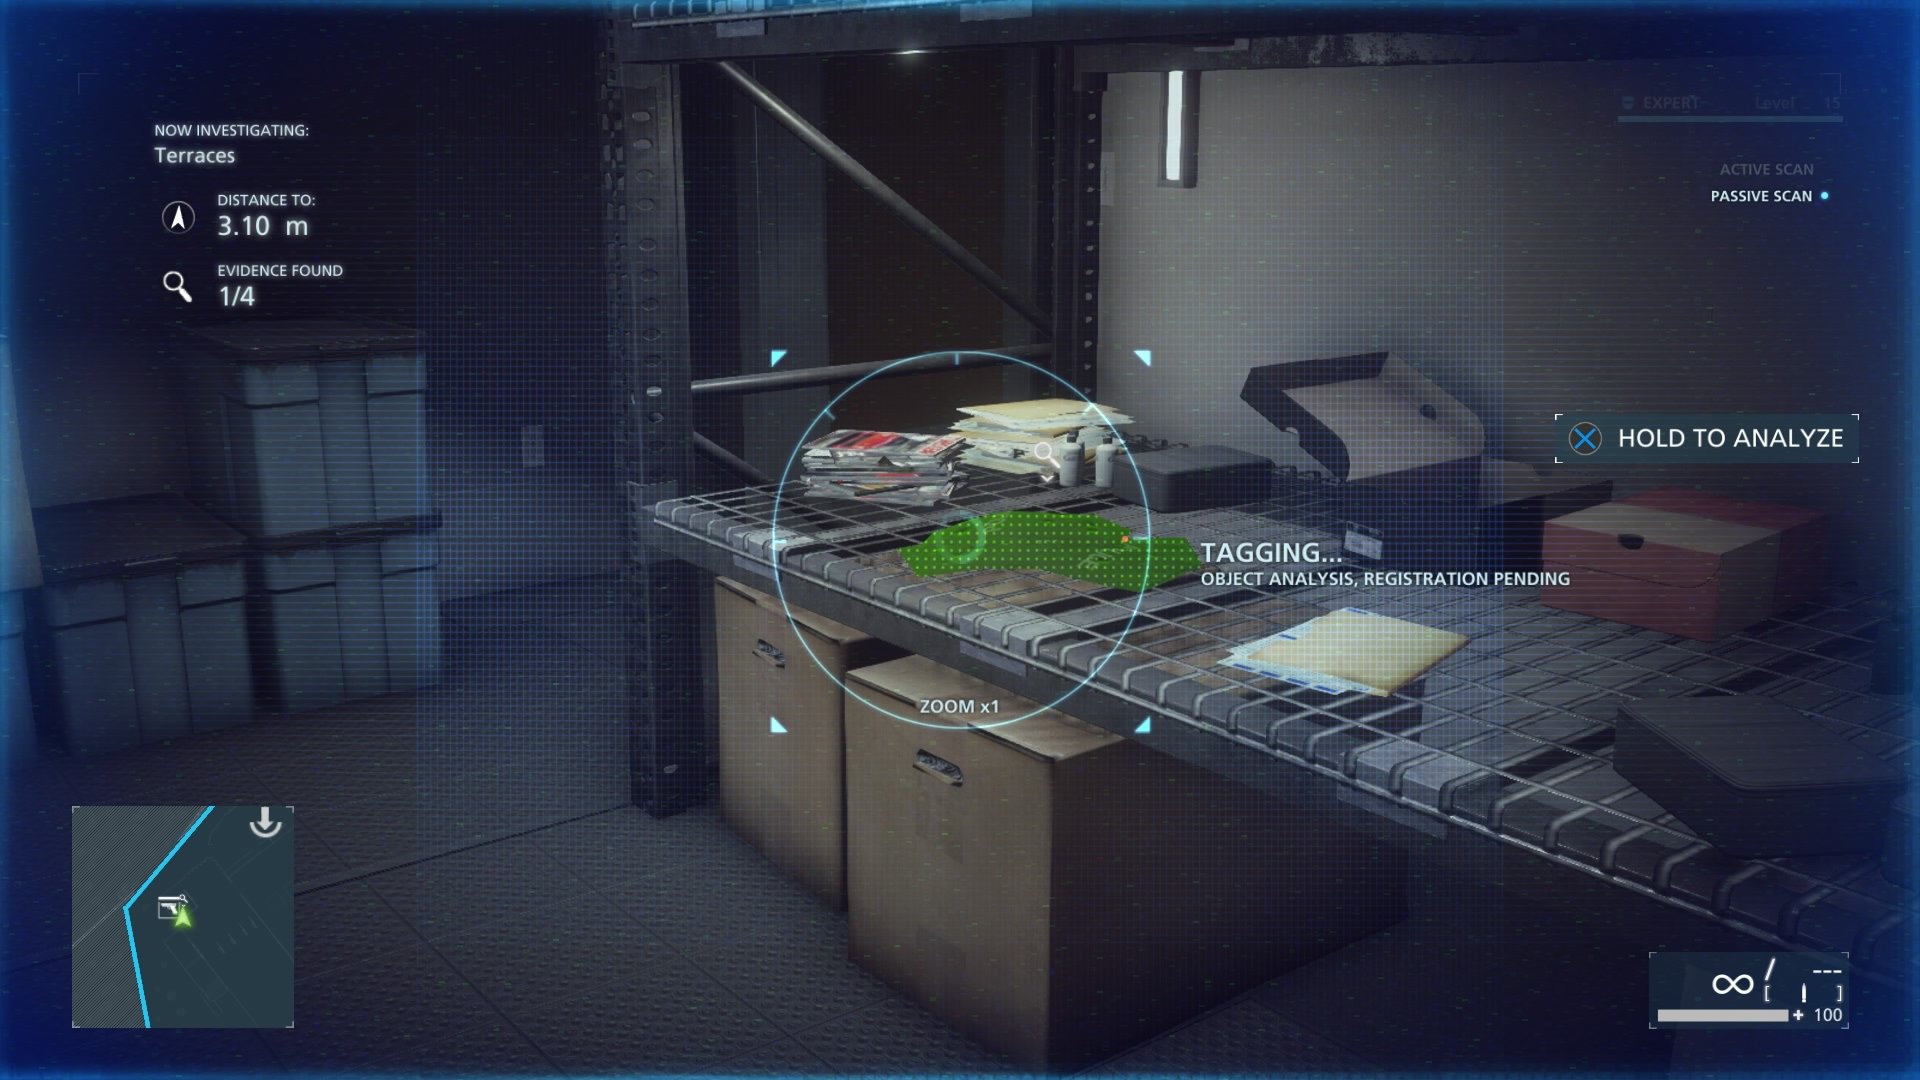
Power Play #14 (SWAT Flak Jackets)
Once you go downstairs if you take the left most path which is opposite the greenhouse you will come to a shooting range. After taking out the lone guard you can look around and from the door you came in to the left is a little room. The jackets are on a shelf.
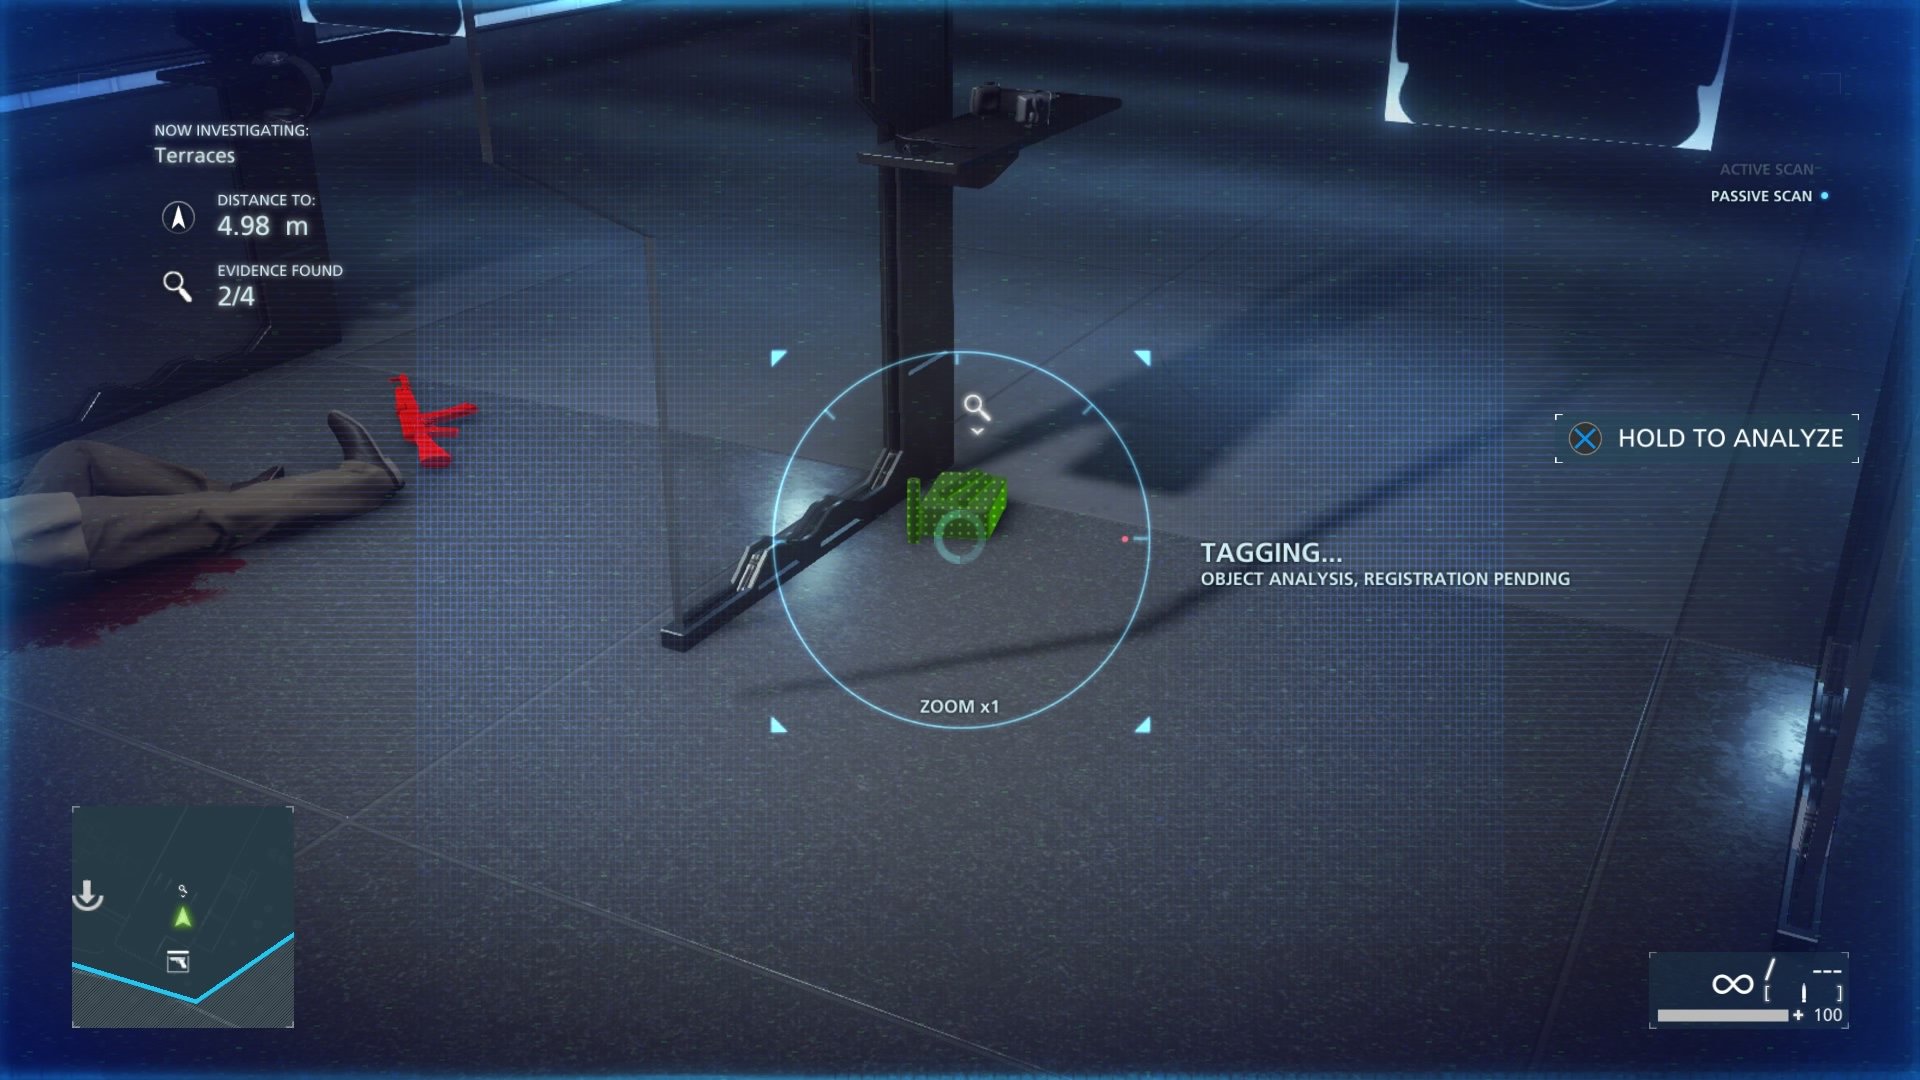
Power Play #16 (Rifle Supressors)
These are located on the ground in the second shooting cubicle from the right. Directly right from where the guard was shooting. They are located on the floor on top of a small box.
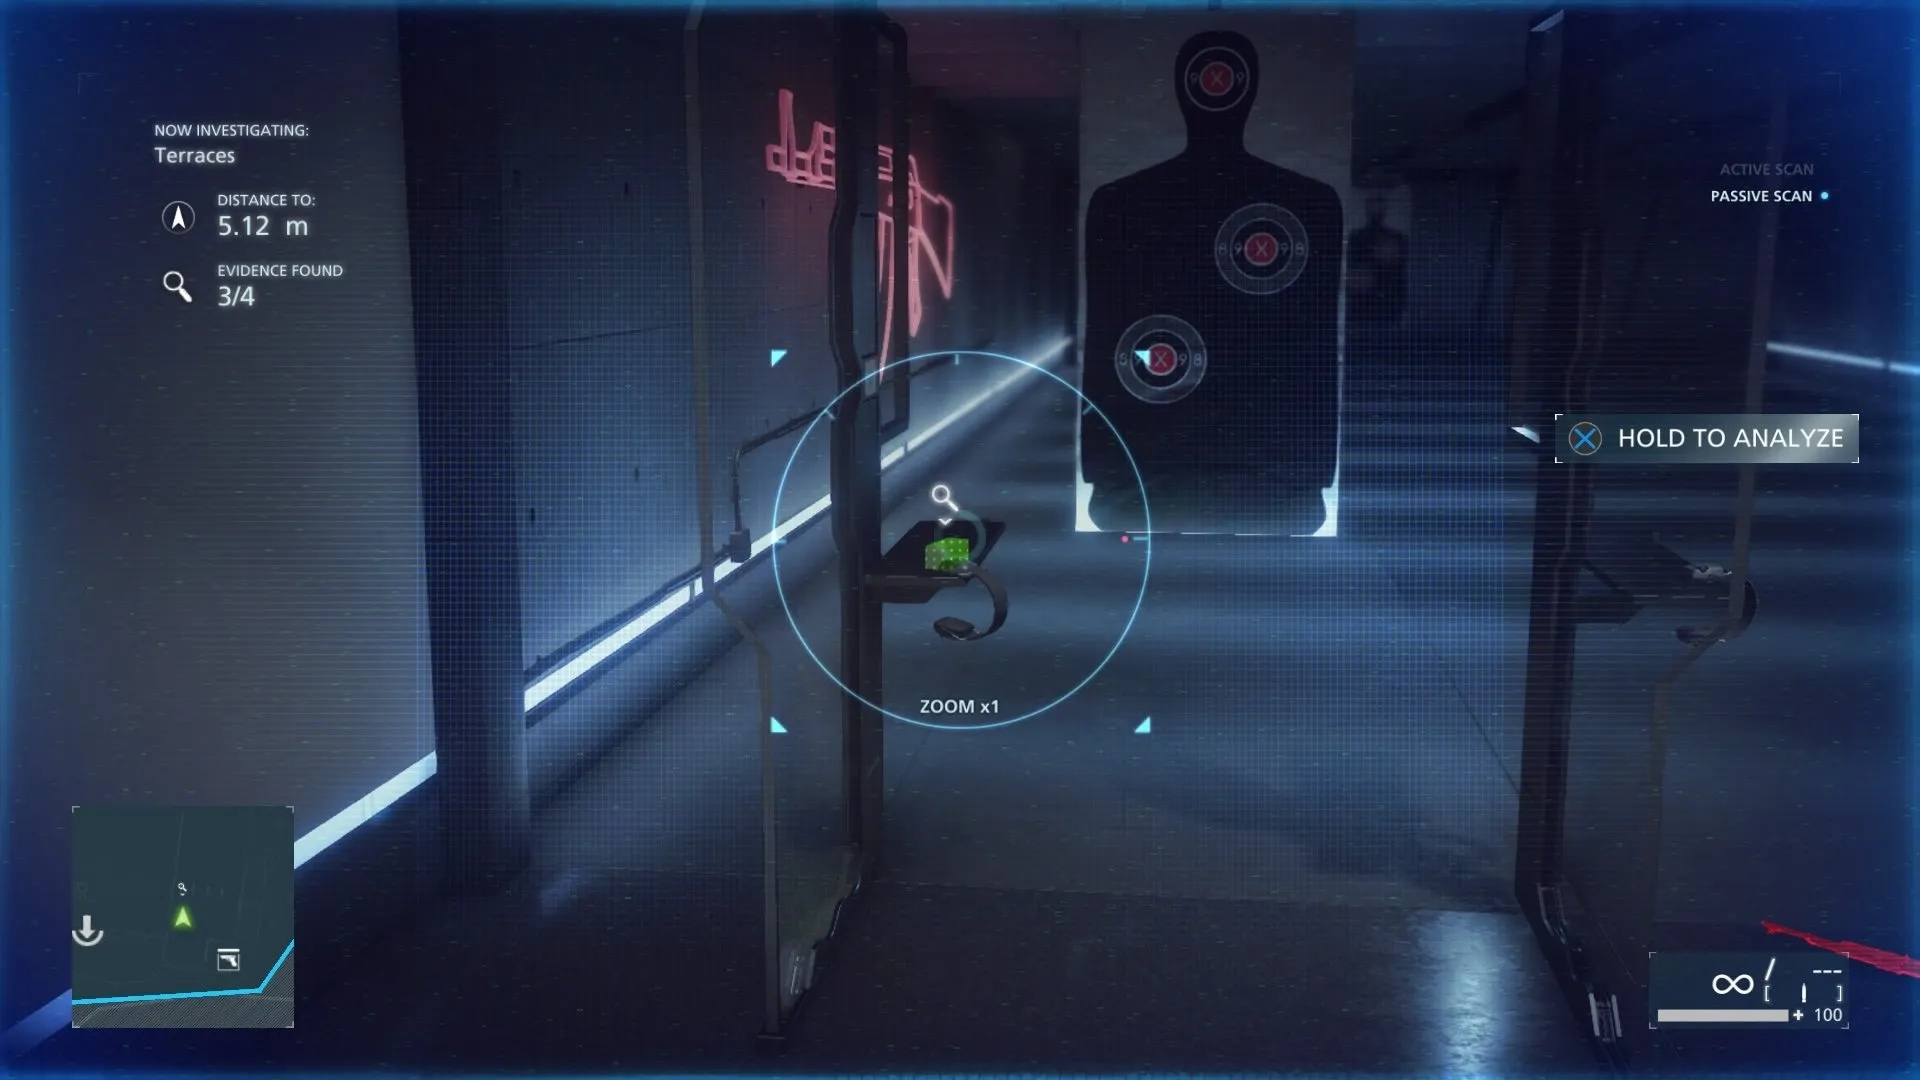
Power Play #15 (Box Of SS190 Cartridges)
This one is on the other side of the guard in the left-most shooting cubicle on top of the little tray. It’s a small white box.
Sanctum Sanctorum
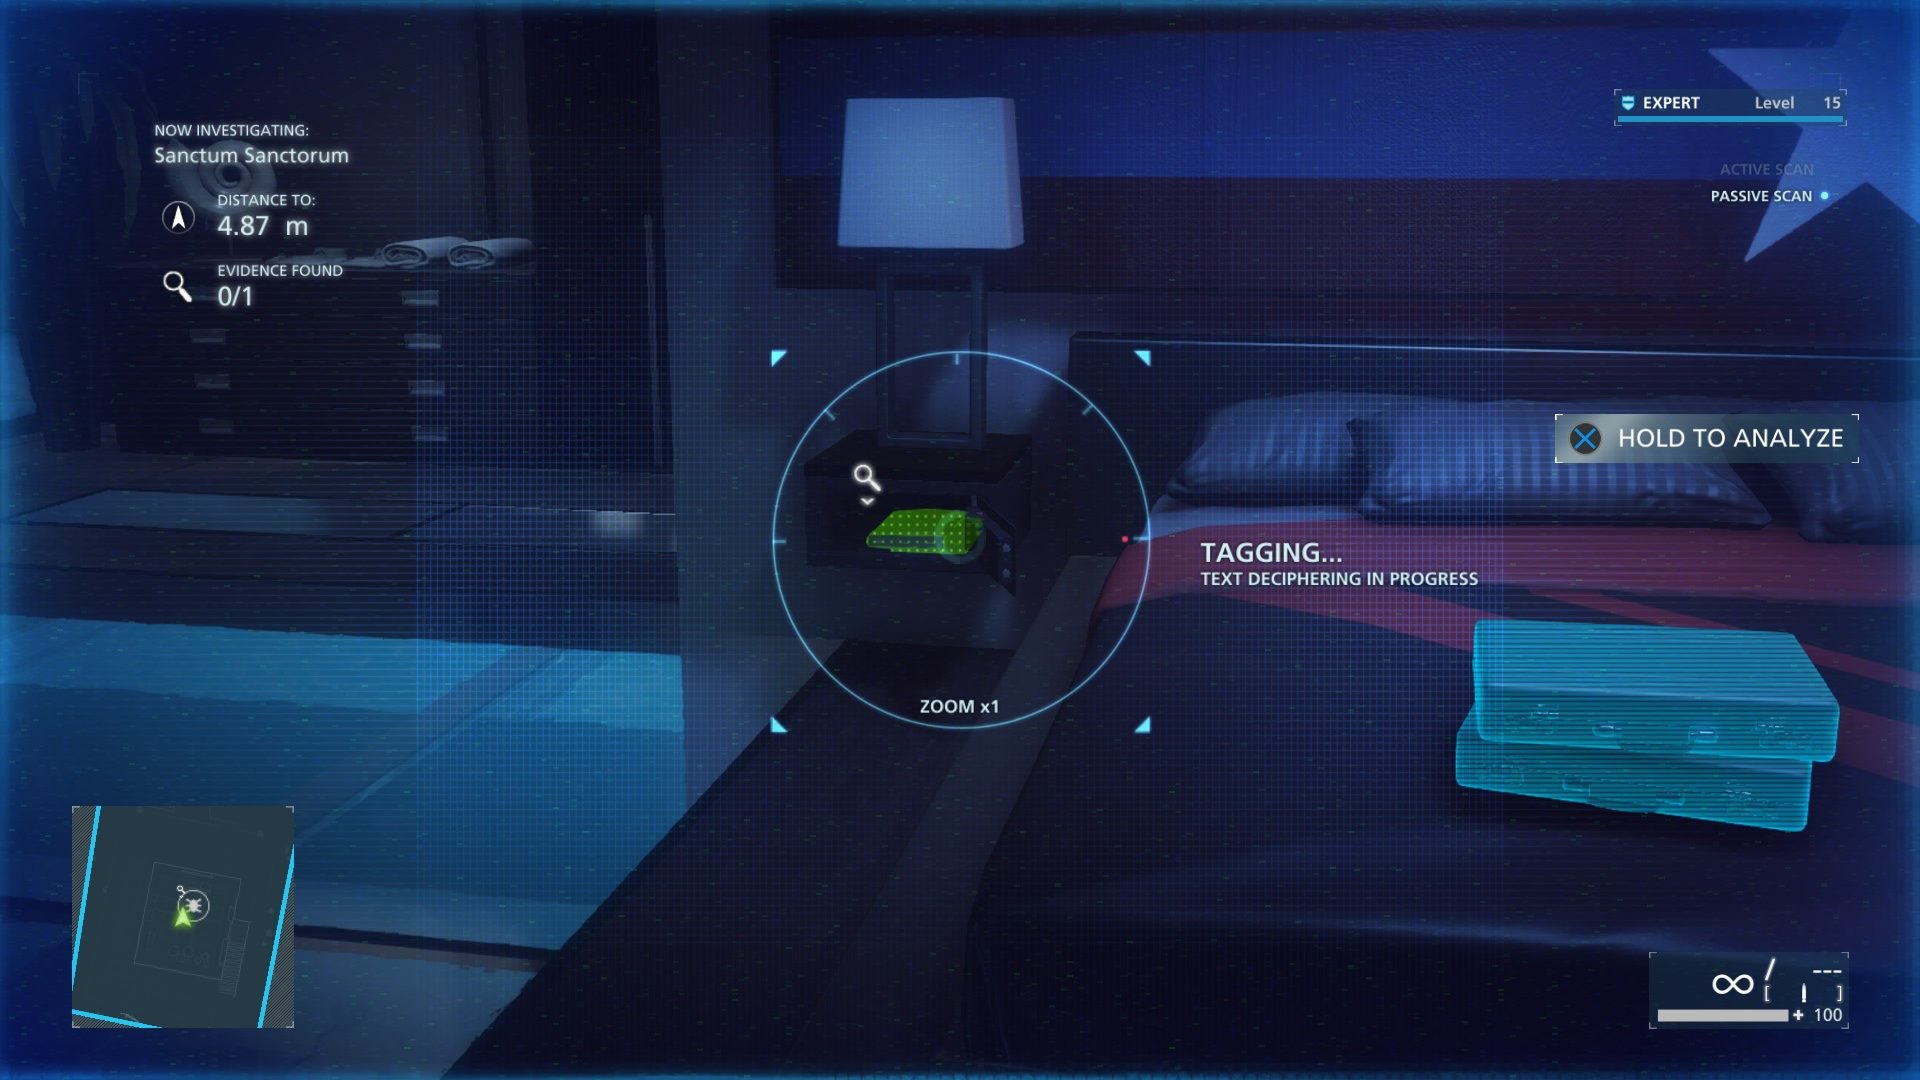
Power Play #17 (File Inside Safe)
The last piece of evidence is located in the pool house right before you put the bug in the phone. It is inside a safe to the left of the bed when facing it. Open it and scan the files. If you activate the phone, then you will have to restart the level.
That is all for Episode 7: Glass Houses, feel free to move onto the next part of our Battlefield: Hardline guide in Episode 8: Sovereign Land for more collectibles.






Published: Mar 23, 2015 05:16 pm