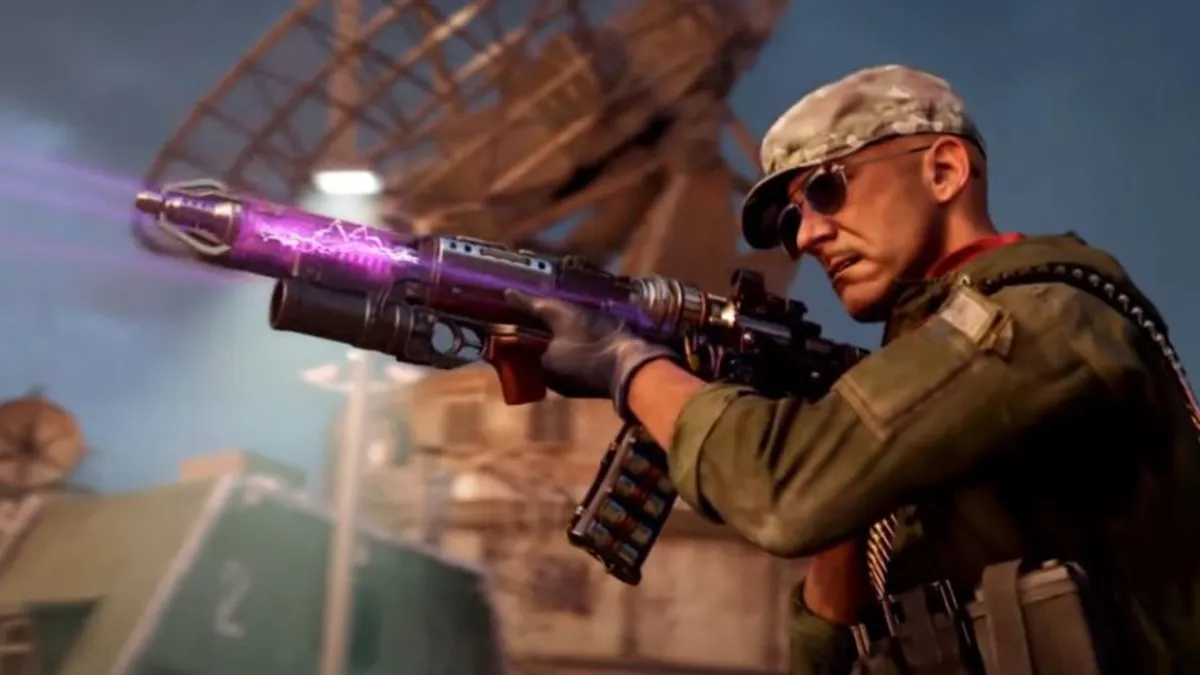
A new zombies experience is upon us! Black Ops Cold War Season One Reloaded has refreshed with additional content. The most exciting piece is undoubtedly the debut of the second Zombies map, Firebase Z.
The Vietnam-based location is hosting more than new monstrosities; it’s packing secrets. One such secret is the mighty powerful RAI K-84 Wonder Weapon, a devastating rifle of otherworldly power. Trust me, you will want this advanced form of weaponry on your side when the hordes begin testing the resiliency of your team.
There are two ways to obtain the RAI K-84 so that the undead masses are the ones left begging for mercy.
How to Get the RAI K-84
Option 1: Mystery Box
It’s hard to evaluate whether this method is the easier or more difficult of the two. That’s because it all comes down to luck. Accessing a Mystery Box and paying the 950 points has the chance of dropping this god-tier weapon. Of course, there are no guarantees when it comes to the random nature of the Mystery Box. Who knows who many attempts it will take before the new Wonder Weapon will appear. The only question you have to ask yourself is, do you feel lucky?
Option 2: Blueprint
Utilizing a blueprint, players can tediously piece together the Wonder Weapon through numerous steps. We’ll meticulously detail how to get that done, if rolling the dice on the Mystery Box isn’t your preference.
First, turn on the power. Three Aether Reactors must be activated at 500 points each and then defended from zombies. The reactors can be found in Mission Control, Data Center, and Military Command.
Once power has been turned on, it’s time to get the blueprint. After all, the pieces of the weapon mean nothing if you don’t know how they are assembled. The RAI K-84 Blueprint is proudly displayed above a workbench in Weapon Lab. Interact with it.
Now head back towards Mission Control, an area visited earlier for the Aether Reactor. Continue to Scorched Defense and seek out the charred corpse of Dimitri Kuhlklay sitting up against the totaled tank. The vibrant, blood-stained ground should help him stand out. A “Retrieve Eye” prompt will appear. Watch as the eyeball is gruesomely removed from its (mostly) incapacitated host.
It’s time to return to the Weapon Lab with your eyeball. The computer will instruct you to “PROVE YOU ARE ME.” Despite the fact that you are not actually Dimitri, you can fool the computer into thinking so by using the eye on the retinal scanner. The screen will turn green and the drawer below will open, revealing the Locker Key. Grab it.
The Locker Key must be taken to the Barracks. Use the key to begin unlocking the lockers. Eventually, a Mimic will spawn. Eliminate Mimics until the Barrel Assembly is dropped. Congratulations! You officially have your first weapon part!
The next step requires reaching at least round 15. It’s at that point that Manglers, identifiable by their arm cannons, begin spawning. Shoot off that mechanical arm to get an Uncharged Power Cell. Take it back to the Weapon Lab. A nearby computer will allow you to juice it up via a “Charge the power cell” interaction. You will know the charge has completed once the purple electricity effect has vanished. You can now pick it back up.
Before you leave the Weapon Lab, observe the computer that has the retinal scanner. The circle on the screen will be highlighting sections. These correlate to a dartboard. The sections highlighted are randomized and will be different each game. Memorize the areas, take pictures, or whatever you need to do to ensure you have the information correct.
Take this newfound knowledge back to the Village Mess Hall, wherein a dartboard can be found. Recalling the data from the computer, shoot the three numbers correlated to the sections notated in the previous step. After shooting the numbers (NOT the black and white spaces between the numbers), shoot the bullseye. This is easier if you have a controllable, accurate weapon. If done correctly, an Aetherium Converter will drop in front of the dartboard.
It’s time to take another trip back to the Weapon Lab. Return to the workbench where the blueprint was originally hanging. An “Assemble weapon” option will now be present. Interact with the workbench and enjoy the hard-earned reward!


Published: Feb 5, 2021 12:04 am