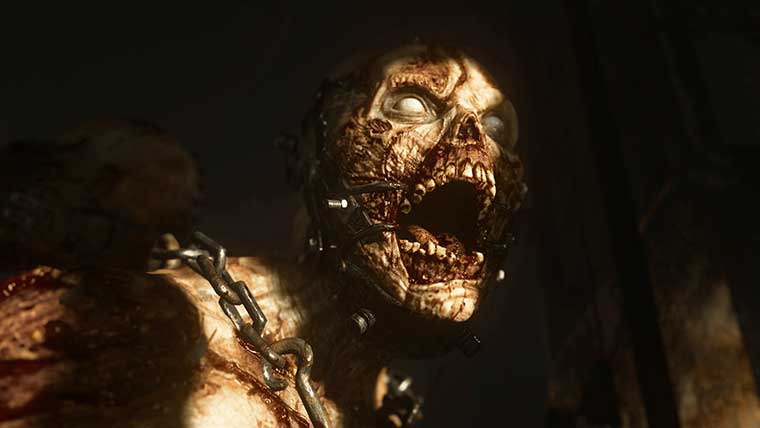
You’ll begin the game in a small area with a handful of Zombies that will attack. In wave one these zombies will be very easy, they can be taken out with your shovel or a single pistol shot. Next you’ll need to head through the middle gate and into the Village Square. Here you’ll need to get the power going if you want to start opening up the main path for the mode. There are three valves that must be turned on. Follow the power cables to the valves, one is behind another locked door.
Final Reich Zombies Walkthrough
Once you got the valves turned you’ll need to hit the pilot light in the center of the Village Square. This will cause an explosion and give you your first battle with a new fast moving type of zombie. Dispatch this group and then you can hop down the hole that was created to turn on the power. Head back up the ramp to the Village Square and you’ll be give access to the Bunker.
Once inside the bunker you’ll come across your first mystery box, three doors, and a contraption with a crank on it. Before doing anything open the crank as you’ll need it for later. Now you’ve got a door in the center and a door on the left and right. The door on the left of the room (from entering) goes towards a laboratory. The door on the right goes to the Morgue. Your objective here is to open both doors and then turn a switch a both sides that will give you access to the main door in the middle for the Salt Mines.
Working with your team open both doors and then find the two switches and pull them before time runs out. This will give you access to the Salt Mines door. Head all the way to the bottom of the Salt Mines and you’ll find the Emperor’s Room. Here you’ll find multiple contraptions that you’ll need to work with throughout the rest of this game.
At this point your party can split up. One group can head to the Salt Mines and release the contraption that is needed to build the Tesla Gun, while another group start to unlock the Pack-a-Punch Machine.
For the team that’s working to build the Tesla Gun, they’ll need to escort the Geistkraft Transfer Device through the Laboratory and the Morgue to spots where the weapon parts are built. The Transfer Device will have a red circle below it. To keep it moving you’ll need to kill zombies within the circle to seemingly power it forward. Once you’ve done both sides with the device and collected the parts for the Tesla Weapon, you’ll head back to the central Command Room to create the Tesla Gun.
For the team that’s working on the Pack-a-Punch, you’ll can get to the machine through the Morgue and then through the Sewers. Once in the Sewers you’ll see a device that’s locked in a cage. That’s the Pack-a-punch machine. There’s a red switch that needs to be pushed to get the process started to unlock the Pack-a-punch. Once you press the red button, you’ll find that there are three tubes that must be traveled down, each will have a button that raises a portion of the gate that the device is locked behind.
The first tube is located in the Command Center.
The second tube is located in the Laboratory.
The third tube is located in the Tower at the very end of the bridge.
Each tube will cost 250 credits to use, and will transport you from the entrance to the Sewers where’ll you’ll need to press a red button upon exiting the tube. Once you’ve done all three you’ll get access to the machine that makes your guns more powerful. After you’ve completed your end of these activities, meet back up in the Command Room as you’ll have a tough fight ahead as a Flamethrower Zombie will be trying to impede your progress of creating the Tesla Gun.
After you’ve assembled the Tesla Gun, you’ll need to head back down into the Salt Mine to Examine the Right Hand of God. Once you do, you’ll be prompted to re-route power to the Tower. You can head back to the Command Center Room and here you’ll find a power grid. What you need to do here is to re-route the power, using four boxes that are scattered across the map. Using the map above and the first station you’ll start this timed quest.
Doing it is easiest in these steps. First turn on the power. Second look at the grid. It shows station one is green, station two is green, station three is red, and station 4 is blue. You can do station one right there. Just turn the level on station one to green and then move to station 2. Station 2 is through the morgue, on the way to the sewers. Stop off, change the switch to green and then move on to station three. Keep running through the sewers to the back entrance which leads outside and flip this switch to red. Finally, the fourth box is right in front of the bridge that leads to the Tower. Flip that switch to Blue and you can progress.
Once you’ve got the power routed to the tower you’ll have another task on your hands. You’ll need to Activate and Defend a Central Lightning Rod as well as the secondary lightning rods on the bridge. After successfully activating and defending the rods, you’ll need to Activate the Right Hand of God in the Salt Mines. This will cause a disturbance to start that you must investigate back up above in Village Square. You’ll find that there’s a Zeppelin now in the skies above the map. You’re then tasked with damaging the Zeppelin and causing it to drop these powerful items called Uberschnalles. The Uberschnalles function somewhat like the Geiskraft Transfer Device. Once you’ve damaged the Zeppelin enough they’ll drop off the aircraft and then you must defend them in a radius. After you’ve defended them for a time, you’ll need to bring them to the Salt Mine Chamber to install them on The Left Hand of God. You’ll need three in total.
Once you’ve got them attached, you’ll have yet another puzzle to deal with. This is “The Voice of God.” This puzzle requires you to examine paintings across the map. Using the Bremmer Heads that are found on the ground after you kill the bigger zombies, you can use them as a light source by pressing the Left Trigger while holding them. Paintings and other items can be examined using the heads. There are four paintings that you must find, and each will have a number and bird symbol on them. You’ll need to use the contraption in the Salt Mine Chamber Room to align the right set of numbers and symbols on the machine. After you do, you’ll activate the Voice of God, and then start the Hilt Quest in the same room.
The Hilt will become engulfed in energy and there’s a group effort that needs to take place where your team shoots the Hilt with the Tesla Gun in unison. Doing so will intimate the final boss fight for the game. This boss fight functions similarly to the Zeppelin sequence where you’ll need to shoot down generators off of the airships. Mostly you can just avoid the boss during this process and proceed to try and cause the Uberschnalles to fall down. Once you do get the generators on the ground, you’ll need to kill zombies within a certain radius. Doing so will cause it to explode and drop a battery. These batteries are what can hurt the Panermorder Boss. Once a battery is available you can shoot the boss, stun him, and then place the object on him. You’ll need to repeat this process three times to defeat the boss for Zombies.


Published: Nov 2, 2017 07:59 am