Destiny 2: Shadowkeep has dropped its first raid – The Garden of Salvation – and it will prove troublesome if you don’t know what to do. Thankfully for you, I’ve sat down and scrubbed every stream, taken every note, and even melted my own face to bring you this comprehensive guide series. This article will be dedicated to the fourth and final encounter: a bloody brawl against the Sanctified Mind.
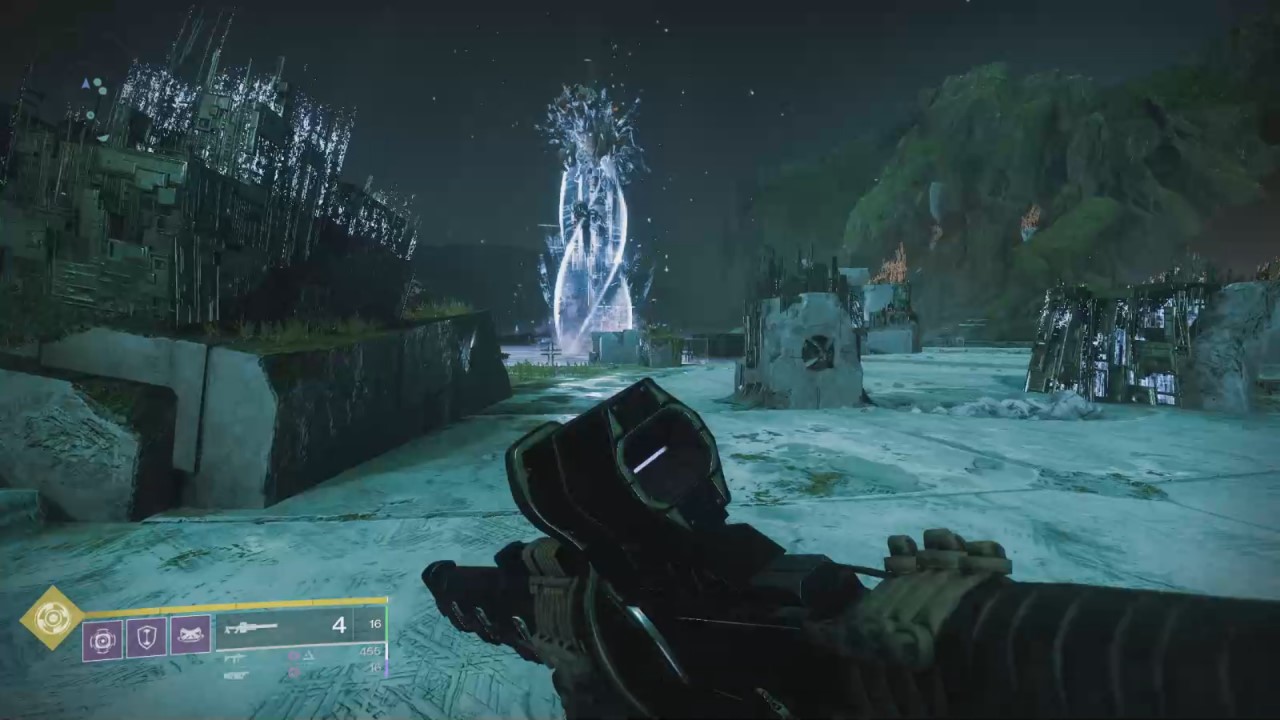
The comprehensive briefing: portals, motes, and rebuilding platforms.
Before we begin: all screenshots have been sourced from Datto’s stream of the raid, whom I believe had the best footage of the encounters for the purposes of this guide: credit where credit is due. Also, I will include brief bullet-points at the end of the article for those who want a quicker reference guide for the final Garden of Salvation encounter.
Lets start with mechanics, for there are many. At the beginning you will need to split into two teams: one for each conflux. You should notice they are different colors – this is important, seeing color matching will be a big deal during this fight. Within your two teams create three sub-roles: The first mote runner, the second mote runner, and the platform defender.
Okay, now to break down why, and it’s a bit of a mess. To start, the boss will have a weakspot on his left shoulder and right knee: breaking these will summon two different colored portals. The shoulder will summon an orange “tainted” portal, and the knee will summon a blue “normal” portal. Remember how I said the color of the confluxes would come into play? Yep, within each portal will be a small arena in the back filled with enemies who drop motes, and those motes are specific to that portal and conflux. The orange portal will give tainted motes that go into the orange tainted conflux, and the blue portal will give normal blue motes that go into the blue conflux. Tracking?
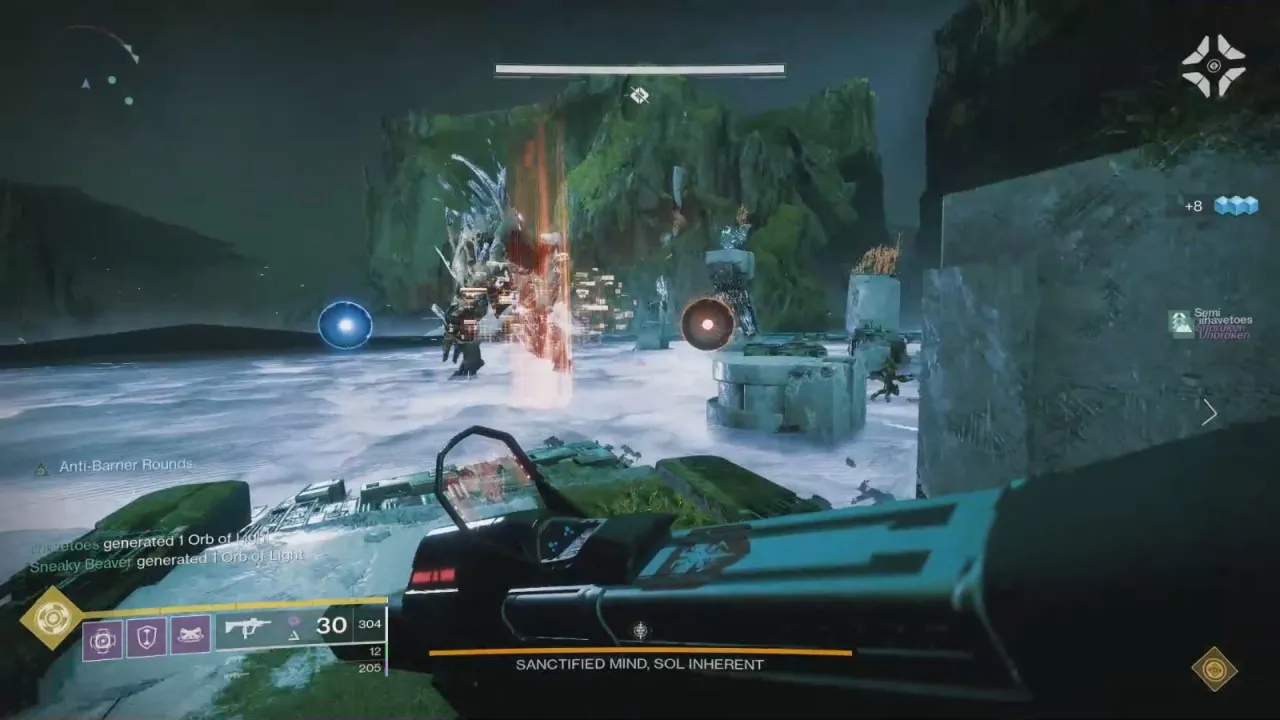
A player can only hold 10 motes at a time, and in order to return to the main arena, the knee or shoulder has to be broken again. This will also summon a new portal. This is why you are in two teams with sub-roles: one team per conflux, and two mote runners to cycle their portal. Furthermore, because this fight has to be more complicated, summoning portals will do two things: a cyclops will appear on a pillar near the conflux, and the boss will remove a platform from the arena. The cyclops will one-shot players, and it’s on the platform defender and non-deployed mote runner to nuke it. These two will also have to shoot the Vex cube above the conflux and draw tethers to the locks on the ground to rebuild the platforms.
Do note that when a platform is about to go it will shimmer with a red glow, and all guardians need to vacate immediately, or else face a swift death. That’s not all you have to worry about, however, because the shielded mobs from the second and third encounter return. Much like the third fight, whomever banks motes will gain the Enlightened buff, and they will be responsible for clearing those enemies. Why? Oh, cause the Vex will sacrifice themselves to the pillar, and if too many do so at either pillar it will result in a wipe.
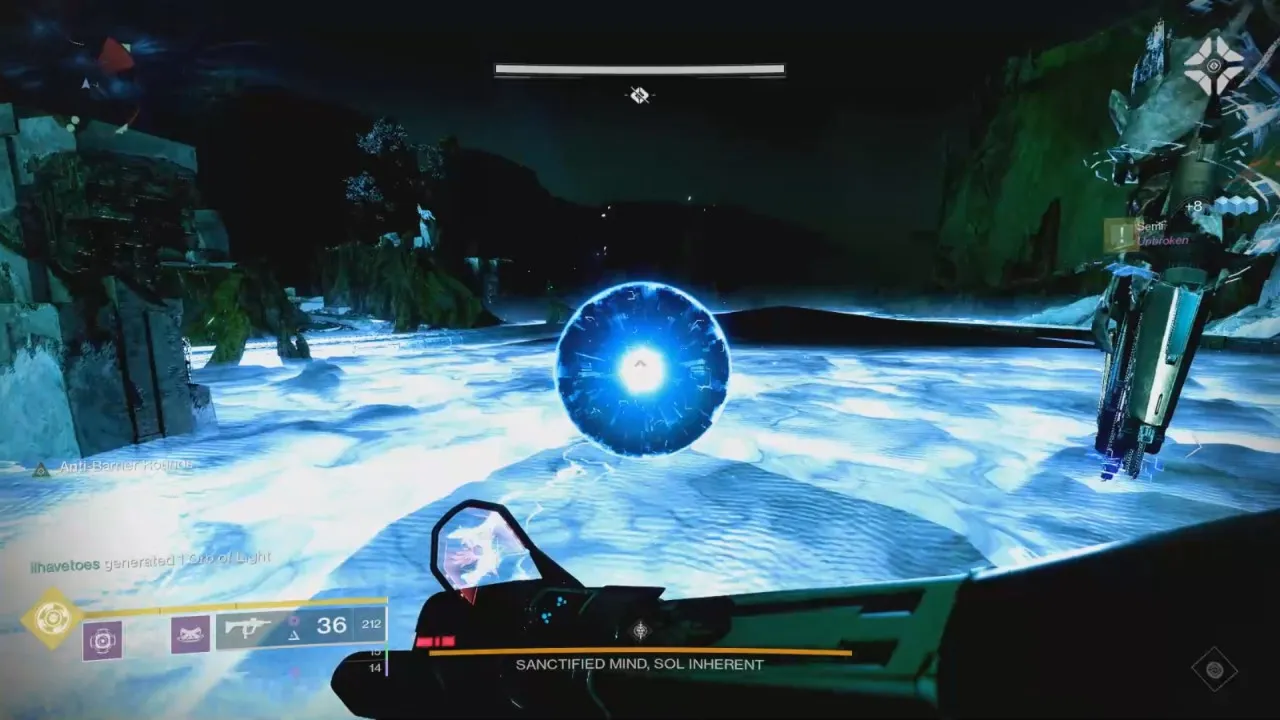
Now that we have the critical mechanics out of the way, it’s time for the actual strategy needed to overcome this trial. First, an Angelic will spawn at the start of the fight. Kill it to free the Vex cubes and to trigger the Sanctified Mind’s shoulder and knee weakpoints. The first mote runners for both sides will need to be ready to move: pop the weakspots and runners deploy. Once inside the arena kill as many enemies as it takes to gain ten motes. Call out when you are about to grab ten or are done, and the two guardians still outside need to pop the corresponding weakspot to bring the runner back.
The second runner will deploy after the first runner banks their motes. The second runner can help clear the cyclops during this, and once the first runner has Enlightened they will repeat the process. While runners are deployed the Enlightened runner and platform defender need to clear enemies and rebuild platforms by shooting the cube and drawing a tether to a lock. If you do not keep up with repairs you will quickly find yourself swimming in a pool of arc damage: no bueno. The enemies here spawn relentlessly, so it’s difficult to repair and defend, but it has to be managed.
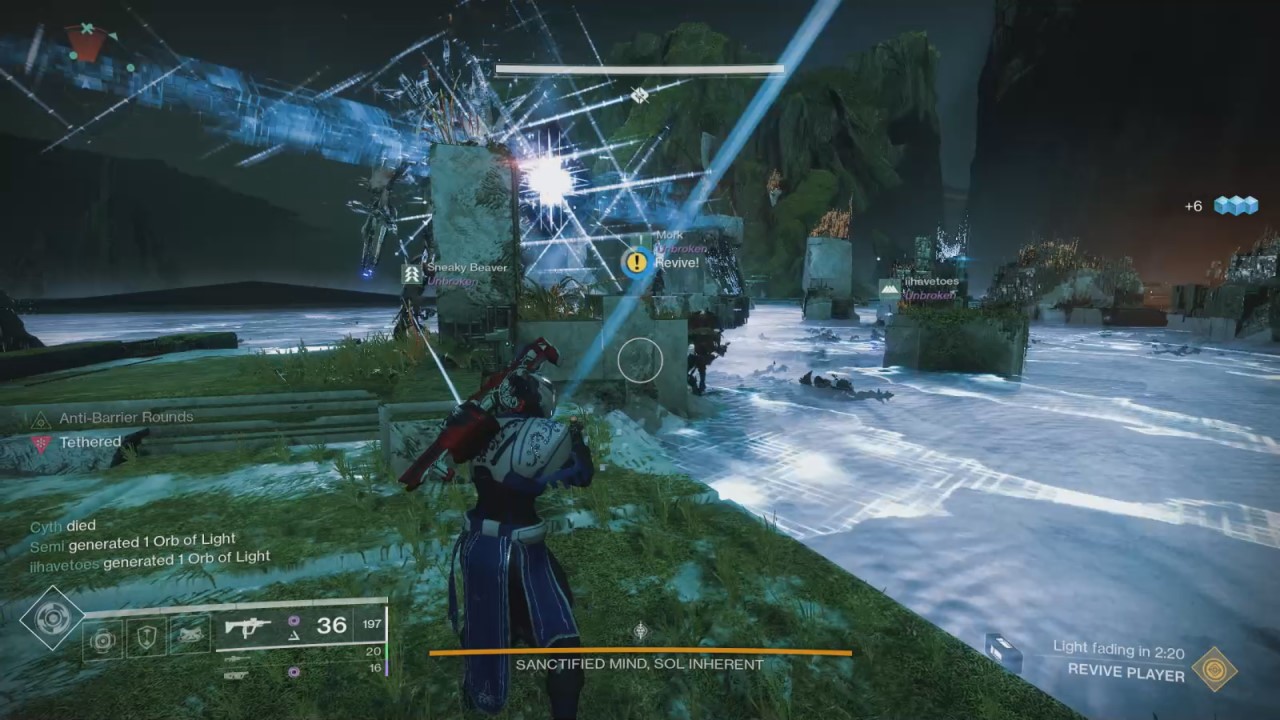
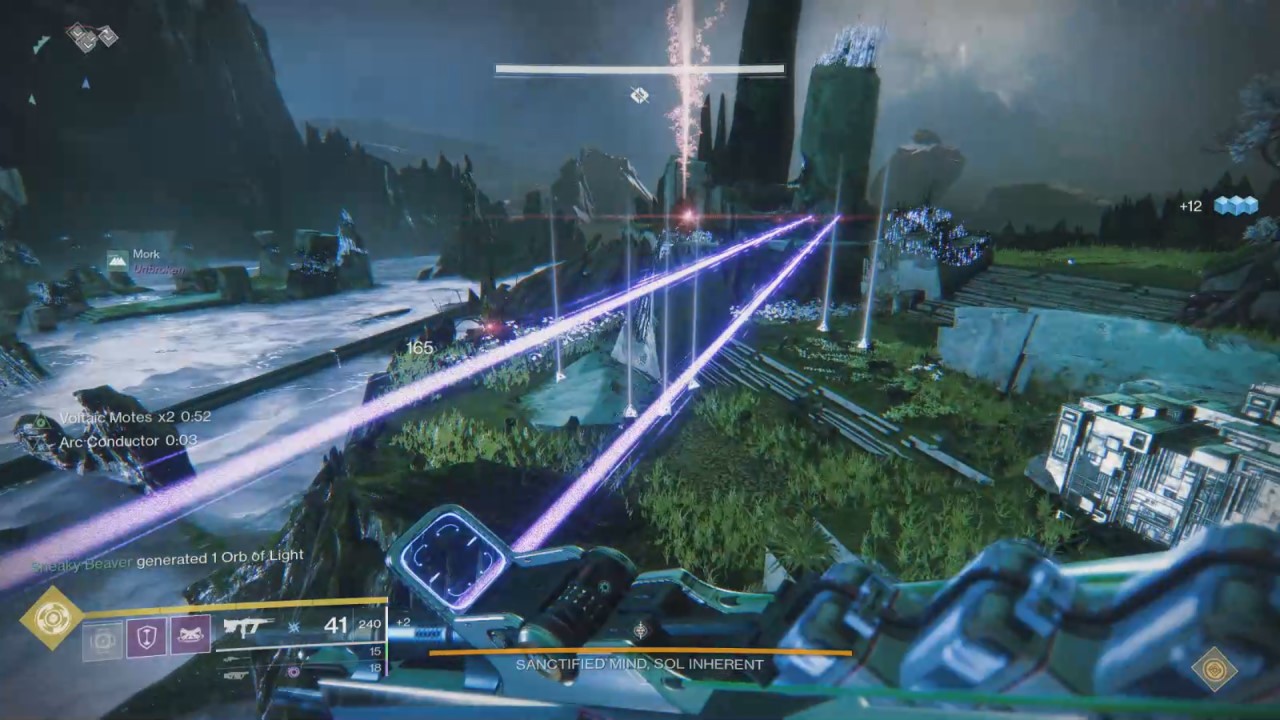
Once both pillars reach 30 motes (and bear in mind, successful enemy sacrifices will remove motes), the boss will enter his damage phase. Well, sort of. He will channel an attack first that will wipe the raid if not interrupted. The key here is to look at the color of the cross in front of him: blue for the normal conflux and orange for the tainted. Use the whole fireteam to draw a tether from the corresponding conflux to the cross and break the attack.
Good news: no more wipe attack. Bad news: you’re gonna need to draw another tether from the opposite conflux to unlock the full damage phase. Sanctified Mind will rise up, and as he does so have the whole fireteam move to the next conflux, while attacking to increase damage uptime, and get the tether ready. Once he rises in the air and the cross appears you should have the finished tether in place, if not close. Pop this cross to access the full damage phase, and go to absolute town: you’ll only get four damage phases to bring him down before he enrages.
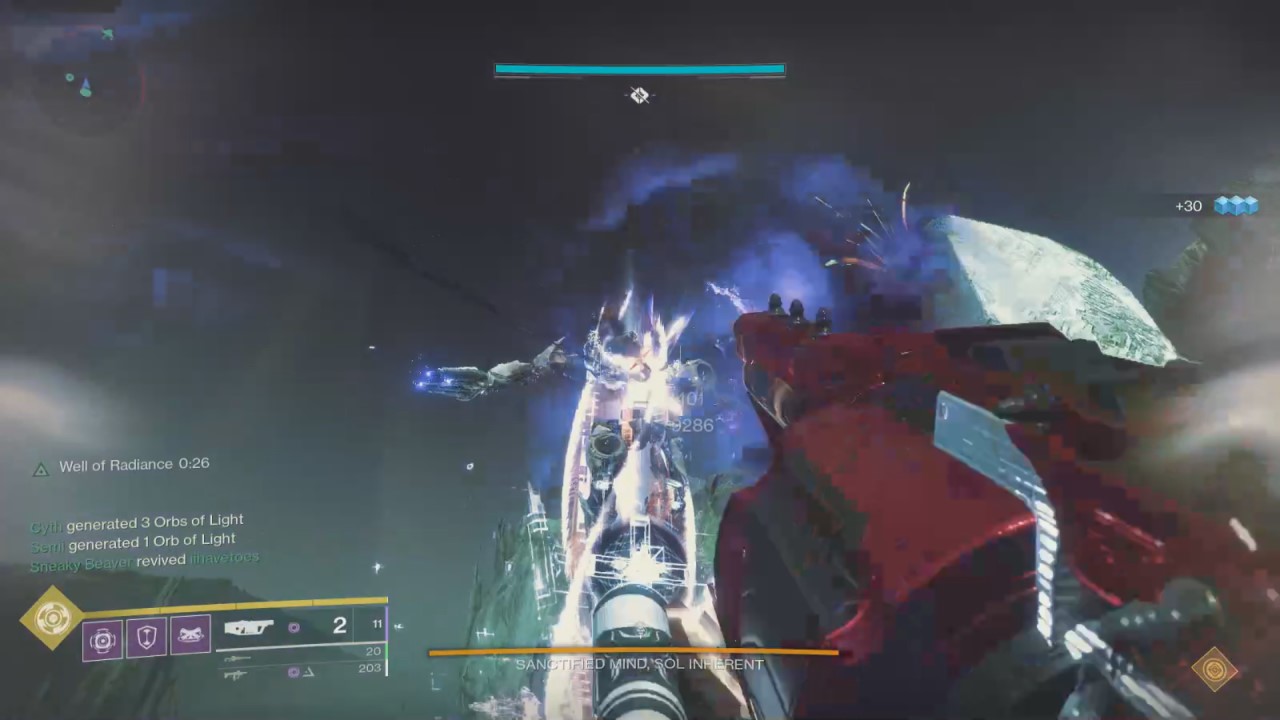
From here the fight repeats itself: pop portals, send a runner, clear cyclops, repair platforms, kill Angelics to keep the Vex cubes up for use, and have runners swap between farming and defending. It sounds like a lot, and it is, but there is a rhythm to the fight that should make sense as you practice it. The hardest part seems to be keeping up with platform repairs: the Sanctified Mind sends wave after wave of Vex after the conflux, and between two guardians it’s still a difficult mess to clean up. It has to be done, however, or you’ll have nowhere safe to stand.
Thankfully, mote running isn’t too bad: they’re normal goblins, hobgoblins, harpies, and minotaurs. Sure, they can still murder the sin out of anyone being foolish, but they won’t be difficult for any competent guardian to handle. It’s worth mentioning too that tethers can be…wonky, so be sure people are not cutting in line or running around erratically during the boss tethers. That will prove the most frustrating part of the fight for most, but if you master that you can clear the Sanctified Mind in little time and finish the Garden of Salvation raid.
 The quick and dirty-bullet points.
The fourth encounter of the Garden of Salvation can be roughly broken down as thus:
- Split into two teams due to the color coding of mechanics: blue team and red team.
- Each team will have a general platform defender and two mote runners.
- The platform defender is responsible for general defense and rebuilding platforms with the available runner.
- The runners are to jump into the portal matching the color of their conflux and farm motes; carry cap is 10.
- Shooting the boss’s knee gives the blue portal and shoulder gives the red; shoot them again to open a new portal and recall runners.
- Runners will deposit motes and gain the Enlightened buff; use it to clear shielded enemies as the second runner deploys.
- Angelics spawn (one at the start); they need to die to keep the cube active for rebuilds.
- Cyclops spawn and platforms are removed whenever a portal is opened. Platform defender will be responsible for mitigating.
- Repairs are done by tethering from the conflux to a lock on the ground; will need the non-deployed runner to assist.
- Defend the confluxes; sacrifices will reduce total motes (need 30 to progress), and too many sacrifices will cause a wipe.
- When both pillars have 30 motes the boss will create a colored cross; draw a tether chain to it from the matching conflux.
- Do this a second time with the opposite conflux to activate the true damage phase.
- You get four damage phases before enrage.
The fourth encounter of the Garden of Salvation is where most world first contestants hit a wall, so don’t be discouraged if this fight proves to be too much at times. It is without a doubt the hardest fight in the Garden of Salvation, and it will take multiple attempts to find your rhythm and establish the needed muscle memory. Press on, and eventually you’ll kill the Sanctified Mind, and clear the new Destiny 2 raid. Best of luck, Guardians; and for more of our Destiny 2 coverage check out our Guides hub for future updates.








Published: Oct 7, 2019 11:40 am