Destiny 2: Shadowkeep has dropped its first raid – The Garden of Salvation – and it will prove troublesome if you don’t know what to do. Thankfully for you, I’ve sat down and scrubbed every stream, taken every note, and even melted my own face to bring you this comprehensive guide series. This article will be dedicated to the second encounter: a tower defense in which coordination is key to success.
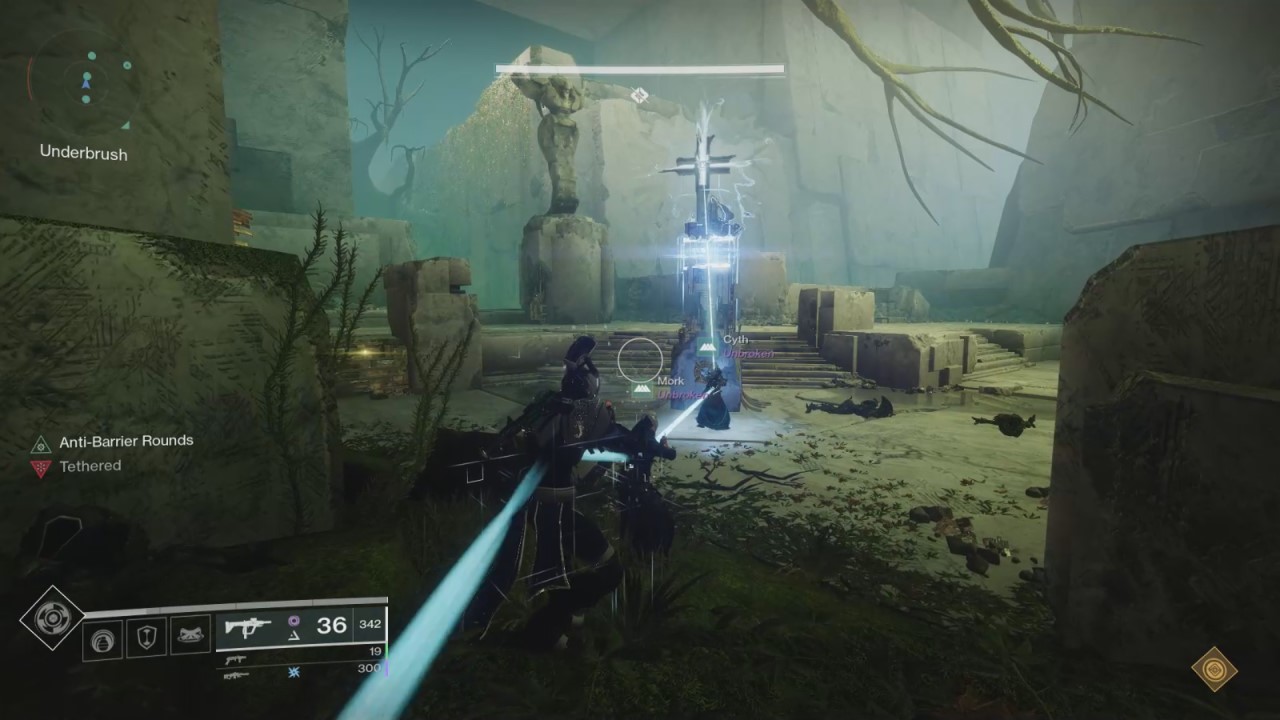
The comprehensive briefing: it’s tower defense with a twist.
Before we begin: all screenshots have been sourced from Datto’s stream of the raid, whom I believe had the best footage of the encounters for the purposes of this guide: credit where credit is due. Also, I will include brief bullet-points at the end of the article for those who want a quicker reference guide for the second Garden of Salvation encounter.
To begin, the map is a diamond, with a Vex Conflux at each point, and one at center. You cannot reach the center conflux at the start: this is normal. The goal of this encounter is to charge the confluxes on the outside points to access the center one. The rub, however, is that the Vex will attempt to sacrifice themselves to the confluxes, and if they pull it off at even one then the whole fireteam wipes.
You will start with the one conflux, and as the encounter progresses you will ramp up to defending all four. The key to the fight is to split the team into four defenders and two rotators. Each defender will be responsible for their conflux, with rotators popping in and out of portals to assist. There are also barrier mobs in this encounter, so at a minimum the rotators should have barrier mods equipped.
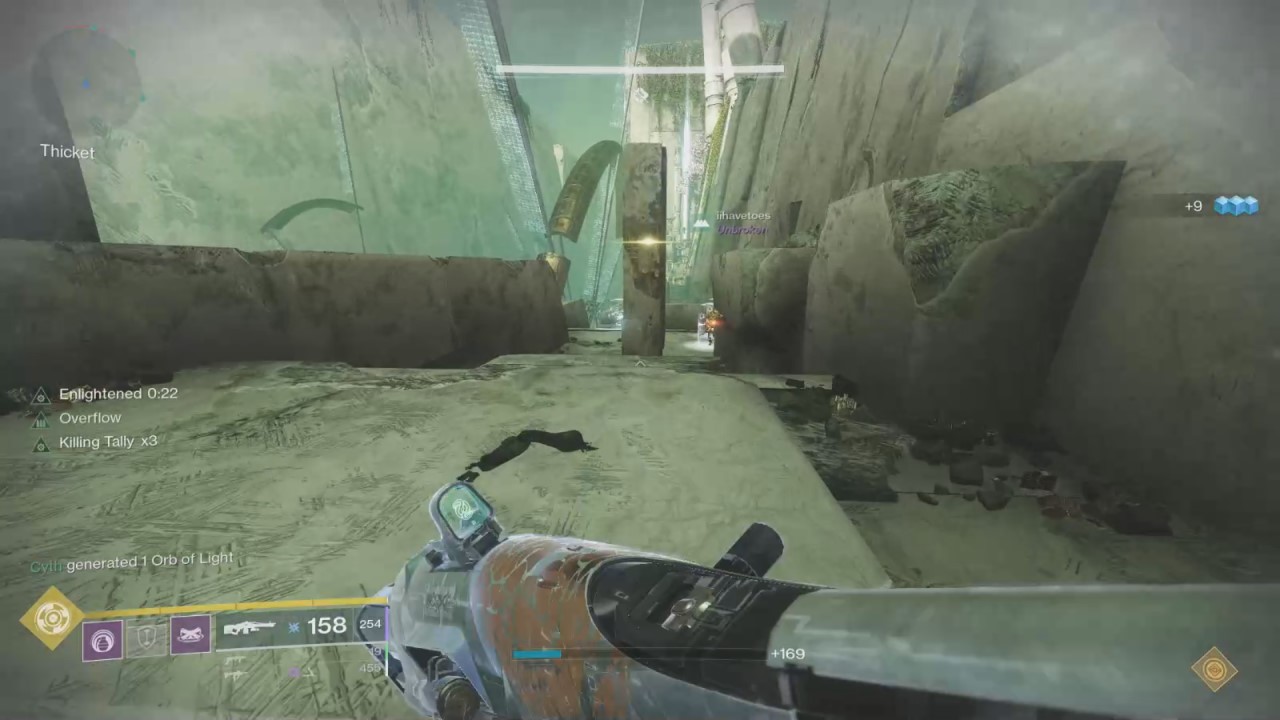
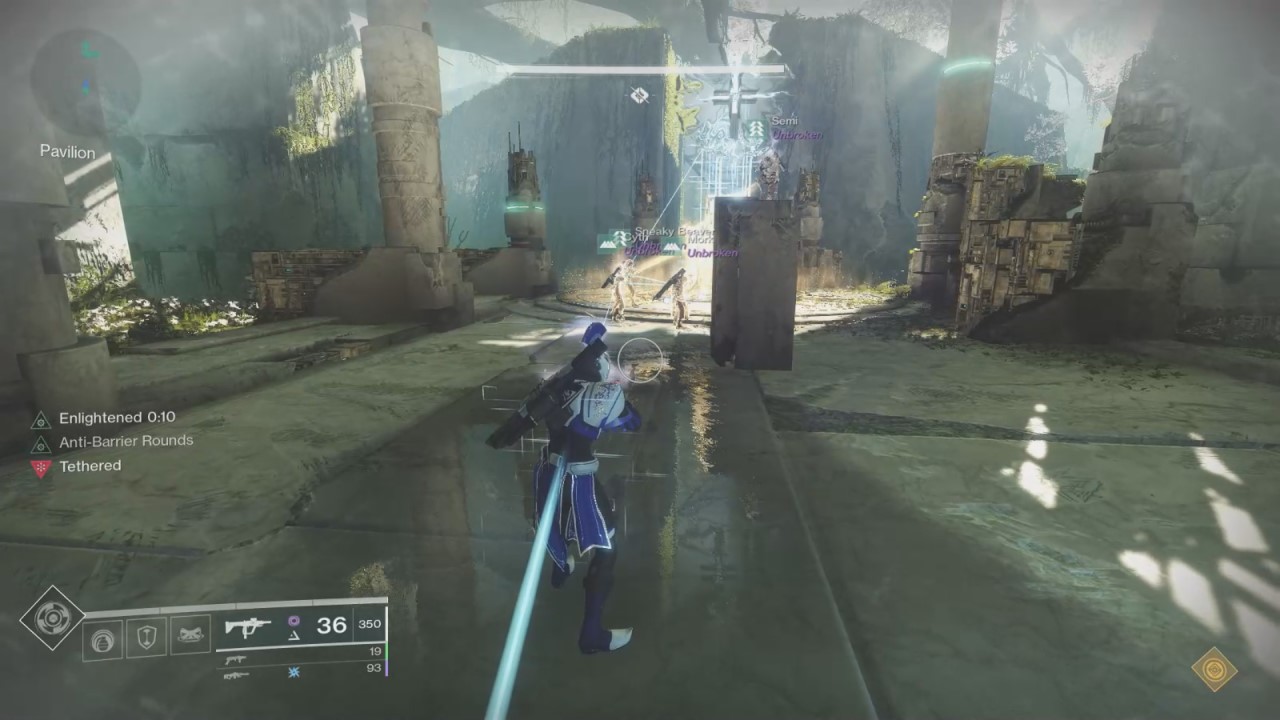
The plot twist to all of this, though, is that enemies will spawn with white cylindrical shields. Normal weapon fire can’t break these shields, leaving the enemies safe to assault the confluxes and sacrifice themselves. Well, remember the tether mechanic from the first encounter? It’s back, and it works in a similar way. This time, however, it will also convey a 45-second buff called “Enlightened.” This is your ticket to damaging the shielded enemies.
Start the fight by killing an Angelic Hydra to clear the Vex cube, and tether it to the conflux with all six guardians in the chain. This will give everyone the buff to start. Have a defender and rotator stay at this first conflux (Undergrowth), and the other four will push down the left lane towards the second (Thicket). Once enemies have been cleared at Thicket charge the conflux with a tether and refresh the Enlightened buff.
This will activate the conflux, and it will slowly start to charge. A portal between it and the first conflux will open: rotators and defenders can use this portal to quickly assist. Leave one person at the second conflux: the rotator from the first one will now be responsible for bouncing between the two, refreshing the buff and helping with enemies. The rotator and first defender should refresh Enlightened before the rotator moves over to help the second defender.
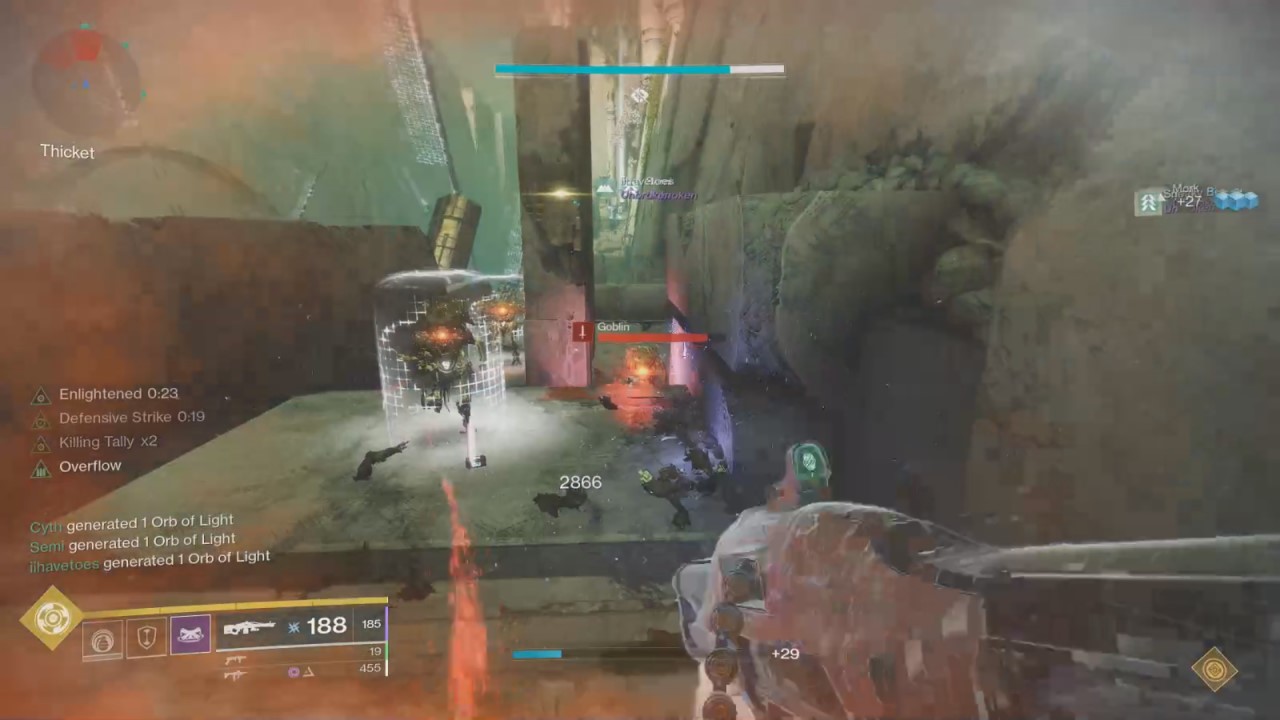
Repeat this process until all four confluxes are active, with a defender at each and a rotator assisting two at a time. There is no limit to how often you can refresh your Enlightened buff, so between waves (there will be a notice in the bottom right saying an attack has subsided) refresh the buff. This should help you avoid needing to do so with enemies on the field. This buff must be up at all times, otherwise you will find yourself swarmed with no way to counter. Of further note: whenever a wave is about to attack there will be a notice that Vex forces are deploying in the bottom left: use this to know when you need to return to your conflux if you leave it.
Communication is key here, and a defender may have to port to a neighbor between waves if a rotator is occupied: call this out and clear quickly. The time between waves is short, so while a defender can help refresh buffs and clear enemies in a pinch, they don’t want to be away from their conflux long. Once a conflux is fully charged three Angelics will assault it: at this point either both rotators need to assist, or a defender who is safe to do so. Once all the confluxes are charged the barriers to the center will drop: everyone at this point needs to collapse on the middle and defend the final conflux.
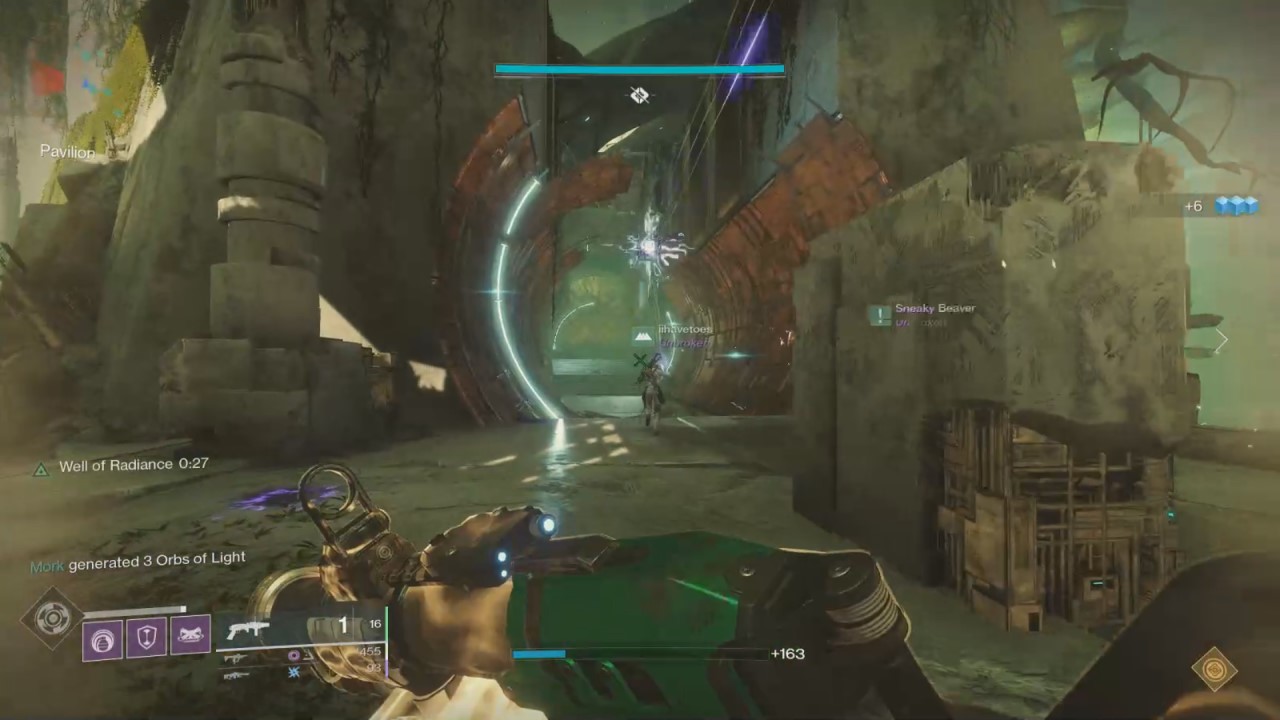
Kill the Angelic and use the cube to refresh the Enlightened buff. The other confluxes are gone, so at this stage everyone needs to knuckle down and defend. Use supers, power weapons, and keep your buff active. There will be Angelics that spawn: kill them. Also, because you are not stressed out enough, exploding Supplicants will start to rush you. Deal with these from a distance, and keep enemies off the conflux. After about a minute the assault will end and you will have completed the encounter. Congrats, you can now move on to the third Garden of Salvation fight.
The quick and dirty bullet-points.
The second encounter in the Garden of Salvation can be summed up at thus:
- There are four confluxes at each point of this diamond shaped arena, enemies will try and sacrifice themselves to them.
- The fireteam will need to be organized as such: four defenders and two rotators.
- There will be a Vex cube at each conflux that can be tethered to it for the critical Enlightened buff, and to activate it.
- Portals will activate between active confluxes: use this to assist, NOT the lanes.
- The Enlightened buff is required to take out enemy shields (they can be damaged without it once shields are down).
- There will be barrier mobs, so at least the rotators will need barrier mods.
- Waves will “subside” and “deploy”, defenders will need to keep an eye on this if they need to assist others.
- Rotators will cycle between two confluxes, refreshing buffs and clearing enemies.
- Once a conflux is fully charged three Angelics will appear: three guardians are advised here.
- Once all confluxes are charged, the middle conflux will open: everyone needs to retreat to it.
- Defend the final conflux and refresh the Enlightened buff: be mindful of Angelics and Supplicants.
And that is all there is to the second encounter within Destiny 2’s Garden of Salvation raid. Hopefully this guide has helped you and your fireteam endure the endless onslaught of Vex. Remember to be flexible with this fight: defenders may have to leave their towers as needed, but with proper communication this encounter should prove more than surmountable. Best of luck, Guardians; and for more of our Destiny 2 coverage check out our Guides hub for future updates.







Published: Oct 7, 2019 03:01 am