Destiny 2: Shadowkeep has dropped its first raid – The Garden of Salvation – and it will prove troublesome if you don’t know what to do. Thankfully for you, I’ve sat down and scrubbed every stream, taken every note, and even melted my own face to bring you this comprehensive guide series. This article will be dedicated to the third encounter: a rematch against the Consecrated Mind.
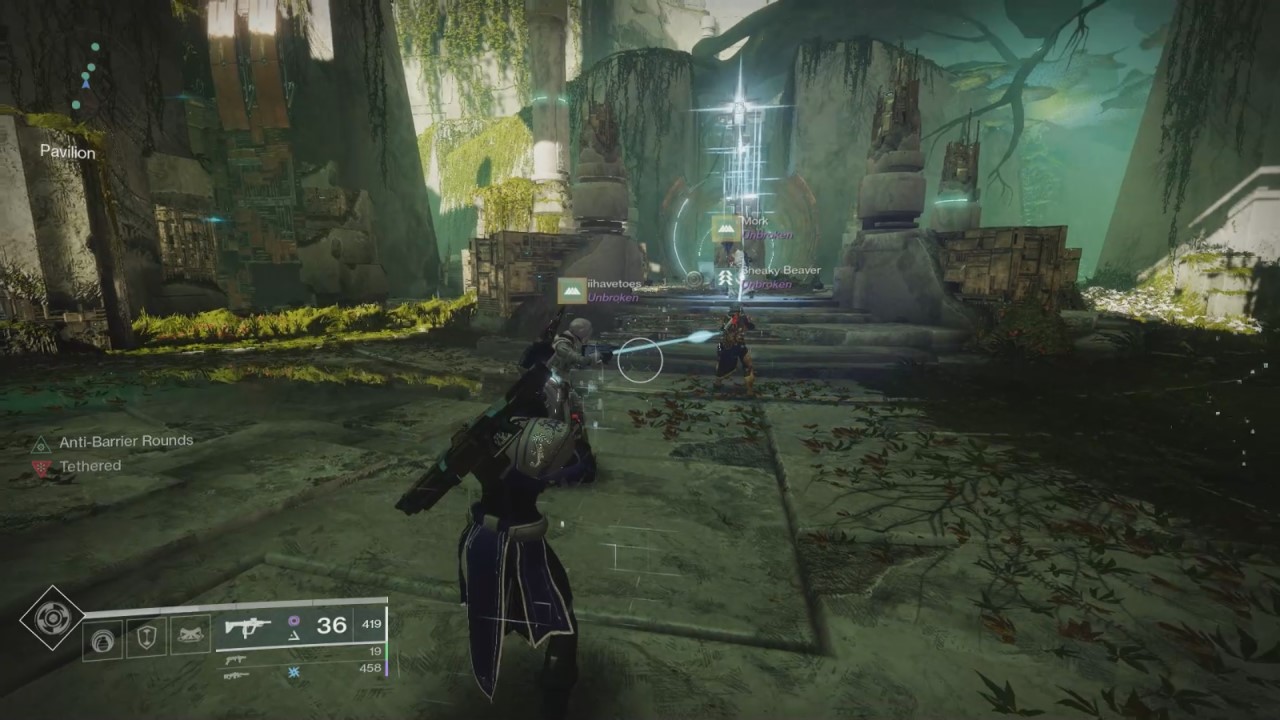
The comprehensive briefing: Voltaic Overflow is back.
Before we begin: all screenshots have been sourced from Datto’s stream of the raid, whom I believe had the best footage of the encounters for the purposes of this guide: credit where credit is due. Also, I will include brief bullet-points at the end of the article for those who want a quicker reference guide for the third Garden of Salvation encounter.
Before beginning the fight your fireteam will need to split into two teams: a mote team and a boss team. The mote team will be responsible for collecting motes, running them to the active corner conflux, and defending it while waiting on the next runner. The boss team will stay in the middle and help with enemies, as well as handle the Consecrated Mind’s Voltaic Overflow: yeah, it’s back, and worse than before.
To start, you will need to tether a Vex cube to the center conflux to summon forth the Consecrated Mind. Once this is completed everyone needs to leave the center: his entrance will kill anyone near it. Once he is active, keep your distance: he will AOE slam nearby guardians. From here the mote team will need to keep an eye on the notifications on the bottom left: this will tell them what conflux is active. Kill minotaurs to generate five motes, and have the mote team collect.
This process is smoother if you identify who will be the first collector (and in turn defender), second collector, then third. You can generate an efficient supply chain this way, ensuring one guardian is hoovering up motes during any give rotation. The reason it’s important to keep a defender is because there will be Vex attacking the conflux, as they did in the second encounter. Banking motes will give the guardian the Enlightened buff, and they can hold off the swarm. You can only hold ten at a time, but don’t necessarily wait: leave to bank once the returning mote guardian arrives in center, but do grab what motes are available as you depart. Keep this rotation up until 30 motes have been banked, which triggers the boss’s damage phase.

The boss team will be dedicated to mitigating his Voltaic Overflow attack, which works similar to the first encounter. Either you absorb it, or it explodes and wipes the fireteam. The boss will run into one of the short alleys that you have to platform across, and walking into the attack will absorb it.
But, there is a new wrinkle: you will be locked in place, and the Consecrated Mind will channel an attack that will kill you, unless you pop his eyes. Yep, there are two eyes on each fin: an Inner and and Outer. The kicker is only the imprisoned guardian can see which set is white and which is red. White eyes will trigger his attack immediately if shot, and all three red eyes need to be destroyed to stop the attack and save the guardian. Don’t stand near this guardian, however: otherwise you will also pick up the debuff and won’t be able to take the next Overflow when needed.
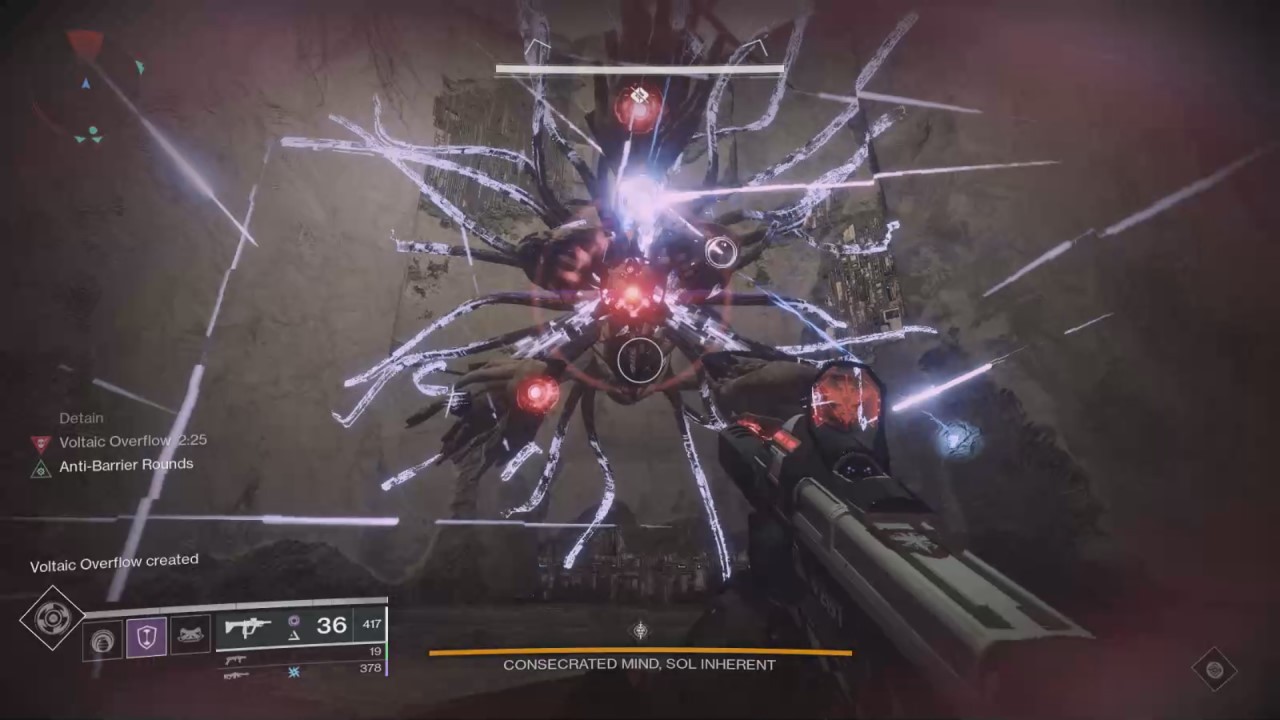
All three boss guardians will need to be ready for this: the trapped guardian will take the upper, center fin, and the other two will stand either left or right of the trapped guardian to indicate which side they are shooting. You can assign a fin to each player for the whole fight, however, if that is easier for your fireteam. The trapped player needs to call out either “inner” or “outer” to indicate which eye needs to be shot. Once the three eyes are quickly dispatched, the guardian will be released and the boss will return to the center of the arena.
Mote team will continue to deposit motes and boss team will continue to counter the Voltaic Overflow. The two things to be mindful of here: if boss team does not have anyone with the debuff inactive during an Overflow phase, then the mote guardian in center will need to assist by taking the attack. Easiest way to handle that is to use the position based method: target will always take the top fin, and allies will stand on the side they plan to shoot. Furthermore, for the mote team, if a goblin does manage to sacrifice itself it will effectively reduce the conflux’s power, and you’ll need more motes to finish, so the active defender must be on their game. Also, if you are near thirty and the boss is doing his Overflow phase, let that be resolved first, then trigger the damage phase.
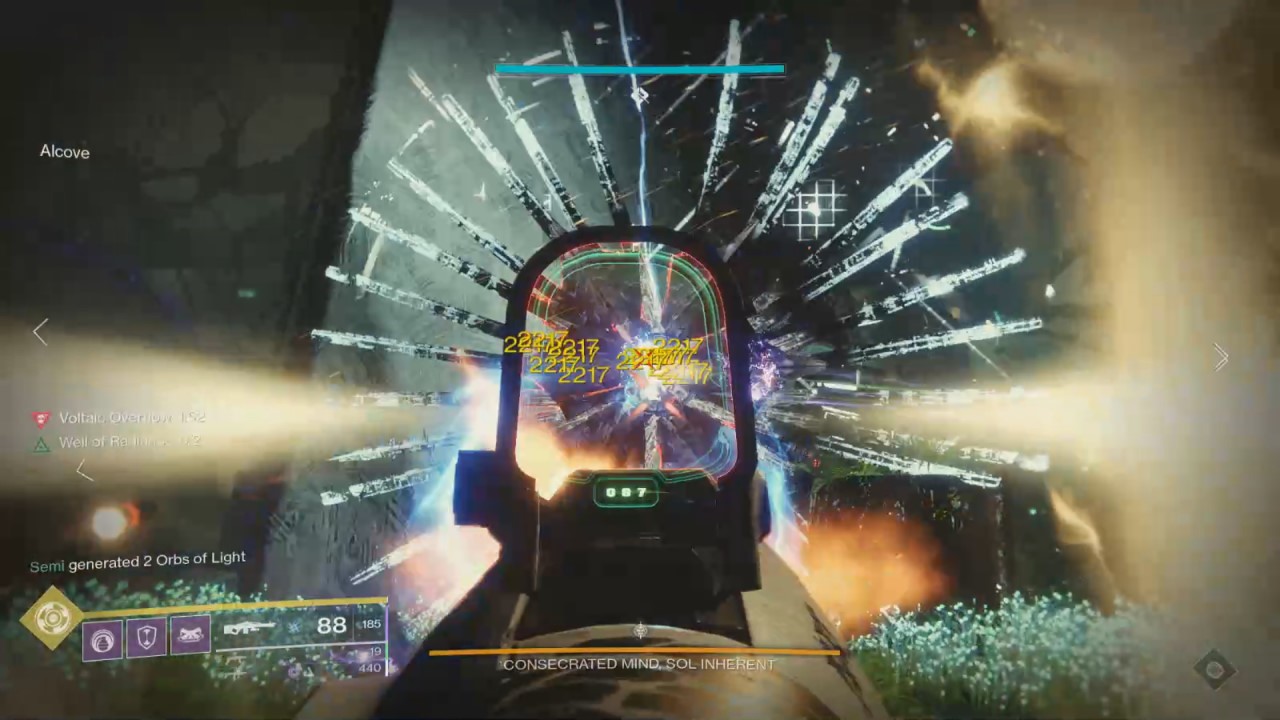
Once the conflux is fully charged the Consecrated Mind will flee to it. All guardians need to collapse on this point and prepare to hammer the boss as hard as they can: you get three damage phases before enrage, so you have to make each count. The boss will start the phase by revealing all of it’s red eyes; pop these to make it vulnerable. Once it starts to glow white all over target the central weakspot and hit it with everything: use supers, buffs, and your best weapons. The boss will flee back to the center during this part of the damage phase, so give chase until it returns to normal. A new conflux will become active, and everything repeats.
Now you just have to do everything you’ve done before until either the boss dies or it enrages. Boss team will need to remember to communicate, and mote team will need to keep a defender with the Enlightened buff on the conflux to keep it safe. That is really all there is to this fight. The hardest part are the eyes: don’t call them out or kill them fast enough and you have a body count that starts to pile up. Enemies in the center are not the worst to deal with, and as long as the mote team is rotating properly then the conflux isn’t terrible to defend. Keep up the rotation and the third encounter of the Garden of Salvation will fall before you.
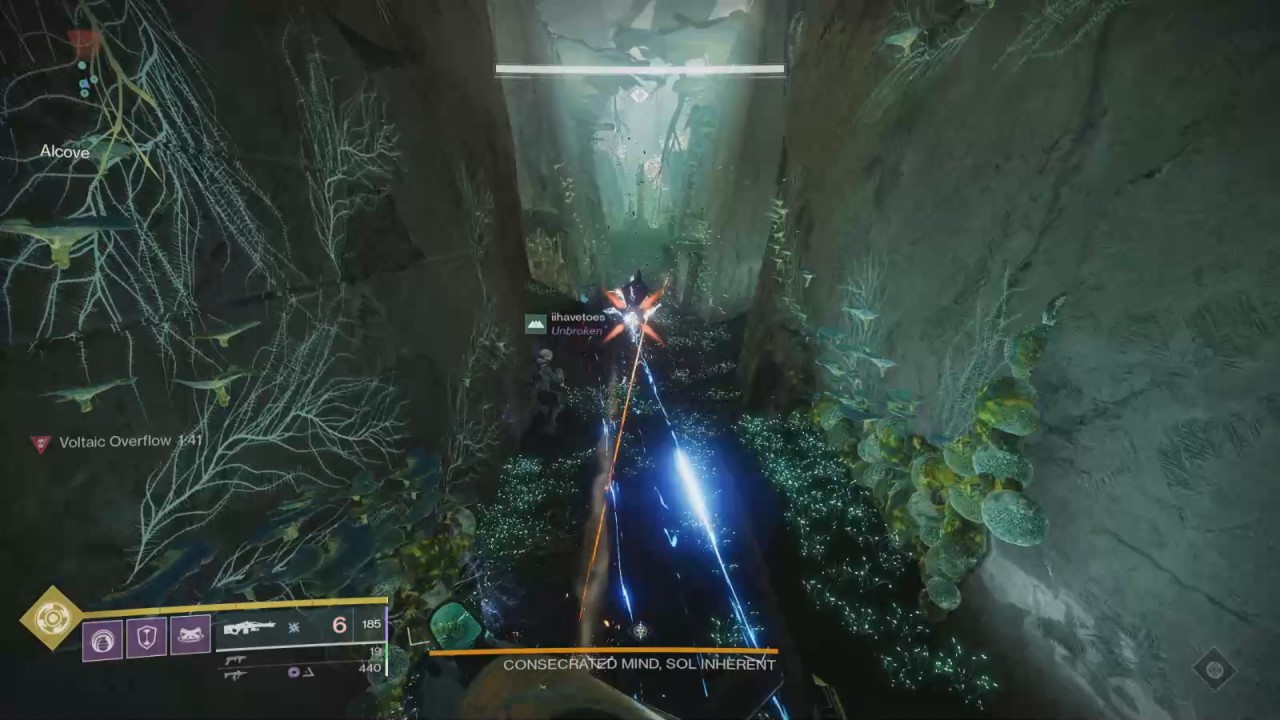
The quick and dirty bullet-points.
The third encounter in the Garden of Salvation can be condensed as such:
- Split into two teams: a mote team and a boss team.
- Mote team will need to keep a defender on the conflux with an active Enlightened buff.
- Mote team should rotate properly; this will ensure there is always a defender and a collector, with a guardian transitioning between.
- Boss team needs to help clear central adds, but prioritize Voltaic Overflow. Do not grab motes.
- During Overflow, a guardian without the debuff will take the attack: set a rotation for debuff management.
- During Overflow, the guardian will be trapped and can see which eyes are vulnerable.
- The trapped guardian needs to call out to the rest of the boss team whether the Inner or Outer eyes are red.
- Boss team needs to destroy red eyes to save the guardian: assign a segment of the boss to each guardian, or go off of position.
- Once the conflux reaches 30 motes, the damage phase begins: chase the boss to the conflux.
- Pop all the boss’s eyes, then give chase, hitting it as hard as you can.
- Kill it within three damage phases, otherwise the boss will enrage.
That’s the third encounter of the Garden of Salvation in a nutshell: two teams following strict rotations and an easy to trigger damage phase. Hopefully this guide has helped you fell the Consecrated Mind once and for all (well, it is also the Vex we’re talking about here). It’s not a cosmic fight, but there is plenty that can go wrong. Best of luck, Guardians; and for more of our Destiny 2 coverage check out our Guides hub for future updates.





Published: Oct 7, 2019 03:32 am