Gelmir Hero’s Grave is one of the most frustrating dungeons in Elden Ring, but once you figure out how to complete its obtuse puzzles, you’ll be rewarded with some useful items and gear. This dungeon is one of many Hero’s Graves in Elden Ring. Rather than strictly combat, these catacombs involve navigating safely around traps while balancing enemies on the side. Gelmir Hero’s Grave has instakill ramp traps and a long lava bed, so it’s not the easiest place to get through. Here’s what you need to know to survive.
Elden Ring Gelmir Hero’s Grave Location
Gelmir Hero’s Grave can be found in the Mt. Gelmir region near Volcano Manor. To reach it, start at the Bridge of Iniquity Site of Grace and then proceed northwest to the First Mt. Gelmir Campsite Site of Grace. You can then find Gelmir Hero’s Grave to the south. You can see its exact location on the map below.

Once you get inside, you will find a massive downward slope with lava running along both sides. Large deadly chariots run up and down these ramps, killing you instantly if you touch them. There are also skeletons and other enemies scattered across the slopes, making things much more annoying than they already are.
How to Get Past the First Rolling Chariot
To get past the first rolling chariot, you must sprint down the ramp and rush to the safe holes in the wall on either side. Wait for the chariot to pass, then repeat the process as you slowly make your way to the bottom. You can touch the lava without dying, but it will slow you down. You will have to jump across the lava occasionally to reach a safe spot, but it’s an easy jump to make. When you reach the bottom of the first ramp, jump into the safe spot on the left side and you’ll find a new room to explore.
How to Disable the Flamethrower
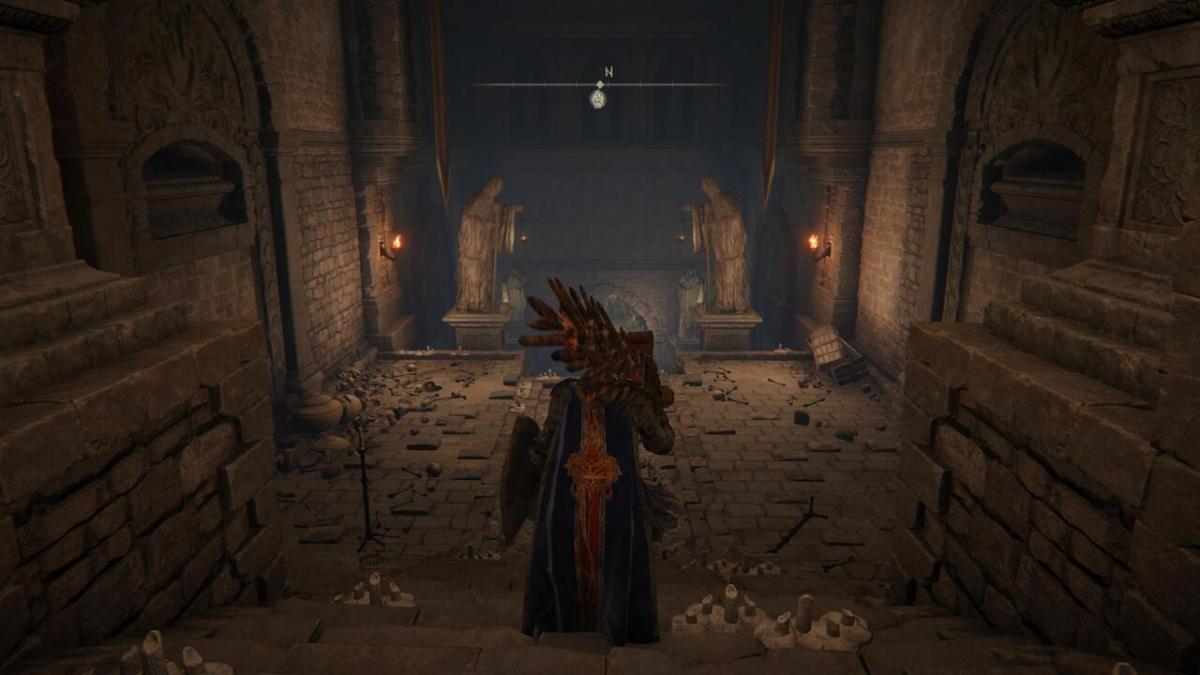
In this room, there are plenty of weak enemies with torches, but also a few enemies that are quite deadly. There’s one waiting to ambush you immediately to your left, so watch out for him. There’s also another one ahead under the stairs. After slaying both of those enemies, you’ll find one last one at the top of the stairs. Be careful here, as there’s a flamethrower trap that spews fire down the upcoming hallway.
You can deactivate the fire trap by attacking it once. Ranged weapons work too, so you can shoot it with an arrow or throw a Kukri or other ranged weapon at it to disable it. If you don’t have any ranged weapons, just wait for the fire to stop and then sprint as fast as you can to the other side. Ignore the room to the right (it’s not worth exploring) and continue straight to find the next ramp.
How to Get Past the Second Rolling Chariot
Be careful with this second chariot because it can stop right in front of the first doorway, killing you if you’re not careful. When the chariot goes left down the ramp, run after it and duck into the safe spot on the right side. Wait for the chariot to ride back up past you, then sprint down and dash for the safe spot on the right. Kill the cemetary shade in the safe zone as you can because it can knock you out into the chariot’s path.
When the chariot passes by and you have a safe moment, turn left toward the ramp as if you were going upward. Don’t go back up the ramp, however. You need to drop down onto the small ledges near the lava below. There should be a few messages left by other players the ledge, so it should be easy to see. Platforming in Elden Ring can be tricky, so you may fall and die when attempting this. It’s the only way forward though, so you have to go this way.
How to Beat Bloodhound Knight
Once you drop down, you’ll reach a crypt where a lone Bloodhound Knight is resting. You can crouch and sneak up to the ladder behind him without getting too close, or you can take him on. It’s a tough fight (reminscient of Bloodhound Knight Darriwil if you’ve done that boss), but it’s doable. He has large, sweeping strikes but you have an easy attack window after he finishes his combo.

After defeating him, you will receive the full Bloodhound Knight armor set. It’s got great Poise and Defense, but it’s super heavy. You can also grab the Gelmir Knight armor set nearby as well, which is also a great set to have. After dealing with the Bloodhound Knight, climb up the nearby ladder. You’re almost done.
How to Cross the Lava
At the top of the ladder, climb out of either of the two windows and very carefully walk onto the rafters. Slowly walk toward the center of the rafters where the two beams intersect and wait for the chariot to stop below you. You need to drop onto the driver’s seat of the chariot so you can ride it across the lava. It’s a very tricky drop, so be careful.

Once you’ve dropped onto the top of the chariot, wait until it carries you across the long lava bed at the bottom of the ramp. When it turns around, jump off and make your way to the nearby ladder. Do not walk off the side of the chariot because the wheels will still kill you. You move very slowly in the lava, but you can safely walk through it for a while.
Climb up the ladder to find a Stake of Marika. Thankfully it’s a checkpoint, but that also means there’s a fight up ahead.
How to Beat Red Wolf of the Champion
When you cross through the fog wall, you’ll come face to face with the Red Wolf of the Champion. This is an easy boss similar to the Red Wolf of Radagon from earlier in the game, so you shouldn’t have too much trouble with it.

The easiest way to defeat this boss is to make good use of your Spirit Ashes. The Red Wolf will aggro onto your summon and give you a huge window to attack. It doesn’t have a lot of health, so you only need a few good strikes to bring it down
If you’d rather not use summons, then the Red Wolf of the Champion has a very predictable attack pattern. It is most vulnerable after it leaps into the air and slams down, so be sure to get a hit in when it does that. All you really need to watch out for are the magic projectiles that the boss summons, as these can stun you and allow the Red Wolf to dive in for a punishing attack.
It’s not a particularly tough fight, so you should emerge victorious after a few tries. When you finally fell the beast, you will receive the Bloodhound Knight Floh Spirit Ashes, a powerful summon that costs quite a lot of FP to use. That’s it for the Gelmir Hero’s Grave, so now you can finally move on from this annoying place!
Elden Ring is available now on PC, PS4, PS5, Xbox One, and Xbox Series X|S.


Published: Mar 6, 2022 12:35 pm