The first major quest in Grounded involves troubleshooting a Mysterious Machine and fixing a few of the machine’s lasers. When you press the first button on the Mysterious Machine, two of the three lasers have issues that you need to sort out, and this serves as the initial tutorial in Grounded teaching you how to craft items to solve problems. Each laser requires a different solution to fix, but both lasers must be working in order for you to progress to the next part of Grounded’s story. The Mysterious Machine appears to be somehow related to your newfound shrinking problem, but you’ll need to fix the lasers and continue through the Grounded campaign to find out why.
Investigate the Mysterious Machine
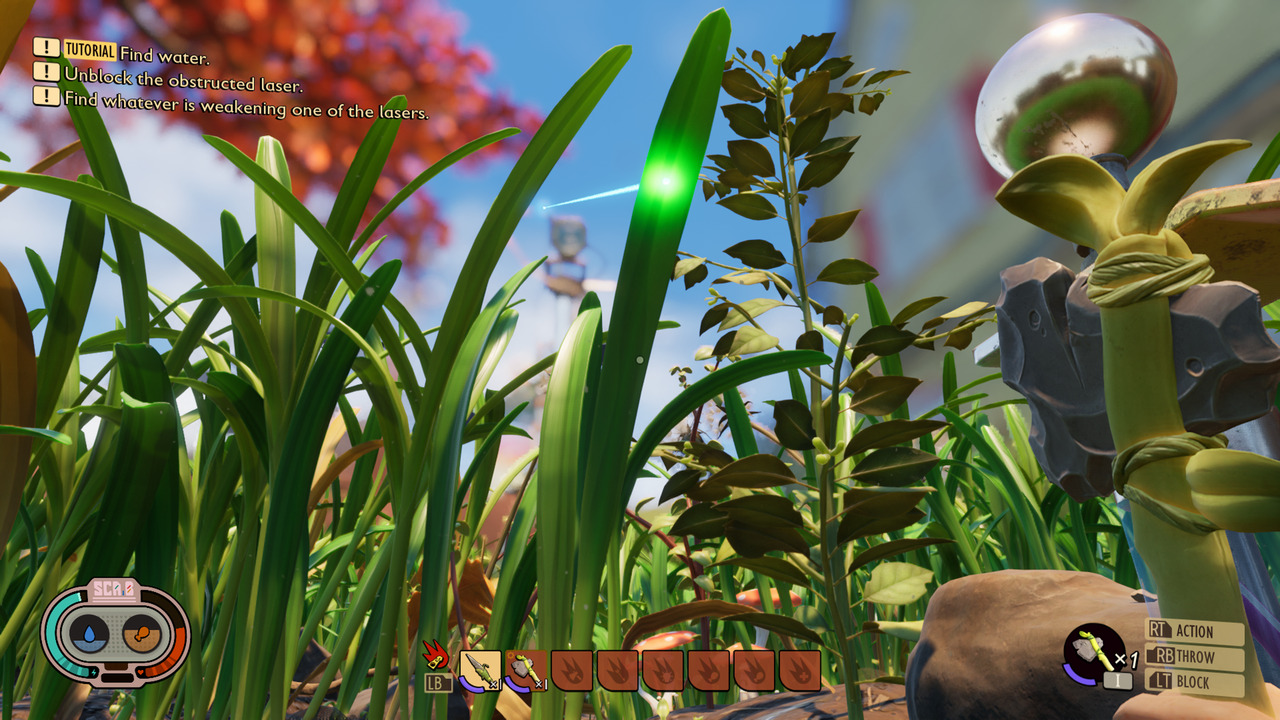
When you first find the Mysterious Machine, you’ll be prompted to interact with it to activate it. Jump on top of the Mysterious Machine and find the power button. There are three buttons laid out next to each other, but only the first works for now. Press it and the three lasers surrounding the machine will spring to life. Unfortunately, only one of them is working without issue. The second laser is obstructed by something, and the third laser is weakened for some reason.
Unblock the Obstructed Laser

Unblocking the obstructed laser is a quick and easy fix, but you need to learn how to craft items in Grounded before you can take care of it. To unblock the obstructed laser, you need to chop down the giant blade of grass that’s blocking it, but you’ll need an axe to do so. Crafting an axe is easy enough, simply open your inventory and navigate to the Crafting tab. A Pebblet Axe, the first axe you learn to make in Grounded, requires 3 Sprigs, 2 Pebblets, and 1 Woven Fiber to craft. Sprigs and Pebblets can be found laying around, but Woven Fiber requires you to craft it from Plant Fiber (see our Woven Fiber guide to learn how to make it). Craft the axe and chop down the blade of grass to unblock the obstructed laser.
Find Whatever is Weakening One of the Lasers

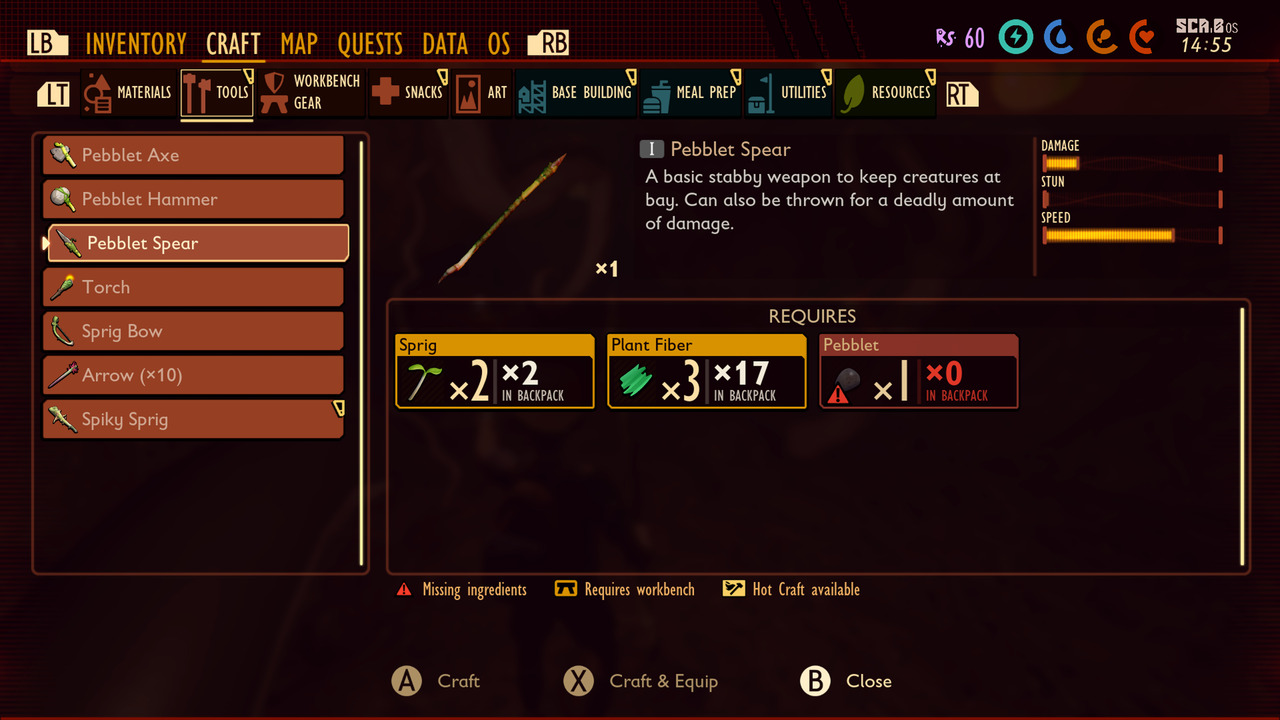
Now that the first laser is taken care of, it’s time to move onto the second and more complicated problem: finding what’s weakening one of the lasers. Before you head out, you’ll want to craft a spear because you’re going to run into some combat. You can use the axe you crafted to chop down the blade of grass earlier, but a spear is much more effective during a fight. You can craft a Pebblet Spear with 2 Sprigs, 3 Plant Fiber, and 1 Pebblet, and you can find all of these materials on the ground without much of a hassle.
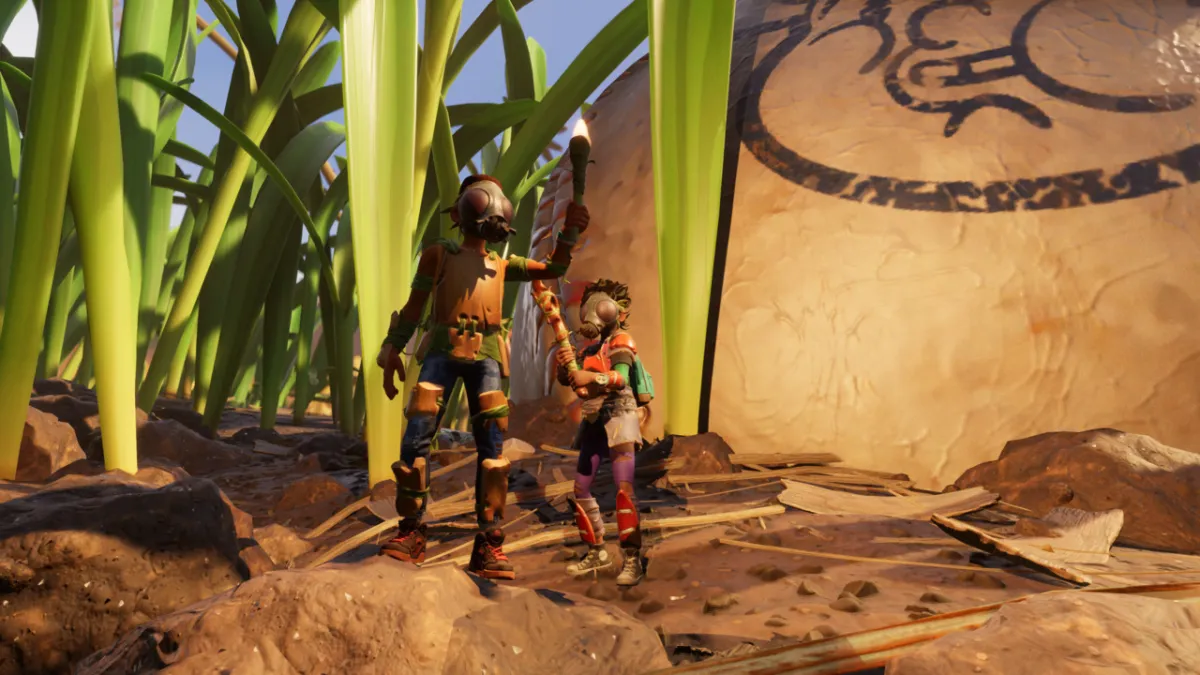
You’ll also need a torch because this part of the quest involves a brief excursion underground. Thankfully, a torch can be crafted fairly easily in Grounded. Crafting a torch requires 2 Sprigs, 1 Sap, 2 Woven Fiber, and 3 Dry Grass Chunks. Sprigs can be found laying around and Woven Fiber is crafted from Plant Fiber, but the other two materials are probably new to you at this point. Sap can be found laying around but it’s rare. Follow the nearby ants and they may lead you to a Sap deposit. Look for small orange orbs. Dry Grass Chunks can be obtained by destroying dry blades of grass (which appear wilted) with an axe. Once you’ve acquired the necessary materials, craft torch and head out.

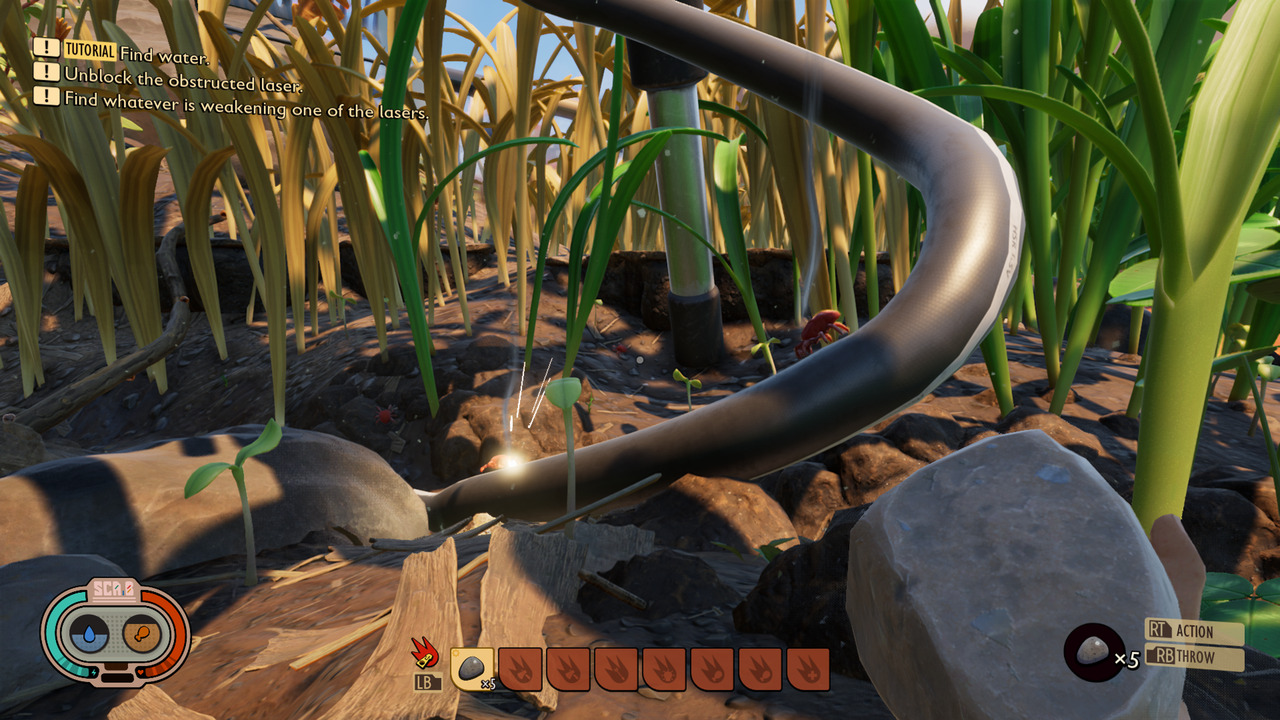
With a weapon in hand, follow the flickering laser to its base. You’ll find an exposed wire underneath with a bunch of Lawn Mites chewing on it. To fix the laser, you just have to kill all the Lawn Mites. As you follow the wire, you’ll be led underground into a dark cave. Equip your torch and continue clearing out the Lawn Mites. You’ll know you’ve reached the end when you come across some boulders blocking the path forward. From there, head back to the surface and return to the Mysterious Machine.
Investigate the Mysterious Machine Further
Now that all the lasers are fixed, it’s time to start up the Mysterious Machine. Jump on top of the machine and return to the button you pressed the first time. Now, the button below it should be turned on. Press the second button and a cutscene will play. There’s been a strange explosion at the oak tree, but for now, the Mysterious Machine quest is completed. Investigating the oak tree explosion is your next objective, but you should probably look into building some shelter or just gathering some more supplies before heading out. You wouldn’t want to run into any spiders unprepared, would you?


Published: Jul 28, 2020 06:36 pm