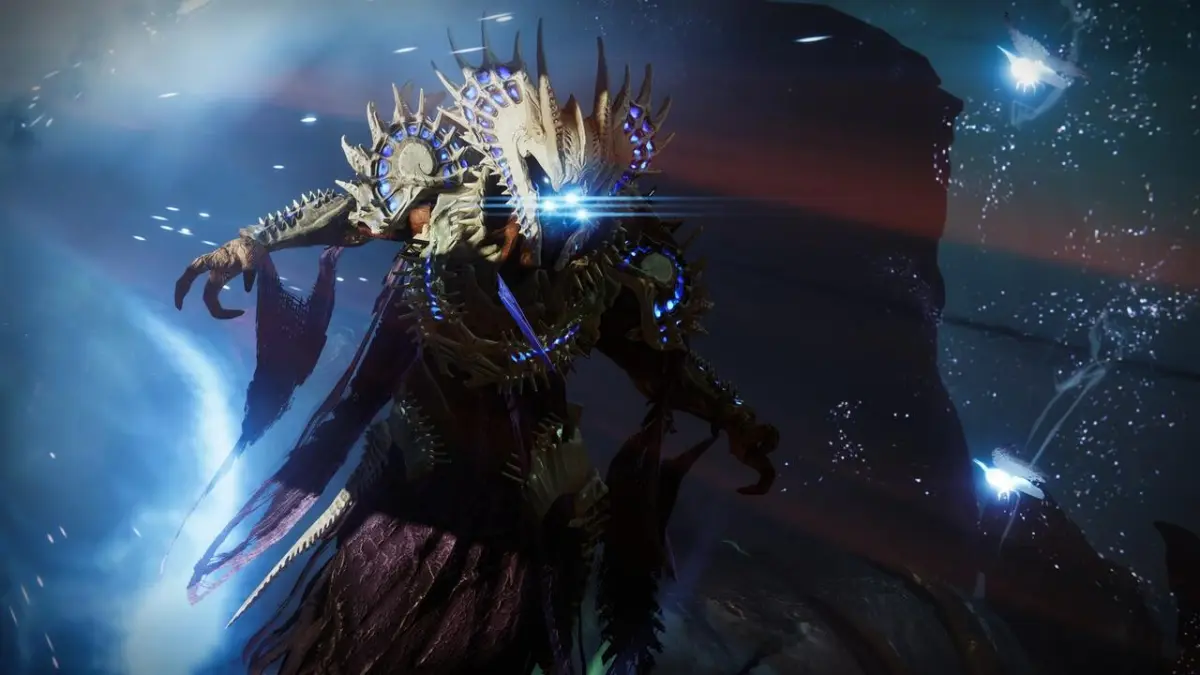
Like all Raid and Dungeon bosses, Simmumah Ur-Nokru in the Destiny 2 Ghosts of the Deep Dungeon requires more than high Resilience and good DPS. You need to know the solution to the puzzle to get to the damage phase. Once you know it, it’s rinse and repeat. Here is how to defeat Simmumah Ur-Nokra in Destiny 2 Ghosts of the Deep.
Related: Destiny 2: How to Get The Navigator and its Catalyst
Destiny 2: How to Defeat the Last Boss in Ghosts of the Deep, Explained
After you have gotten all the secret chests in Ghosts of the Deep, you now need step-by-step instructions on how to defeat Simmumah Ur-Nokru, the final boss and encounter in this Destiny 2 Dungeon. I beat Simmumah Ur-Nokru and cleared Ghosts of the Deep on day one, so I’ve got you covered on how to beat this difficult battle.
Step 1 – Reveal the Triangle
The first step in defeating Simmunmah Ur-Nokru is to use the Deepsight to reveal the green triangle. The Deepsight spot moves around, but it is always near The Taken King’s (or Oryx, the corpse on the battlefield) left knee, right knee, or in between.
The three points of the green triangle are always random, but appear at specific body parts. For example, you might see the three points of the green triangle appear between the chest, head, and right arm.
Step 2 – Defeat Vorlog While By a Body Part
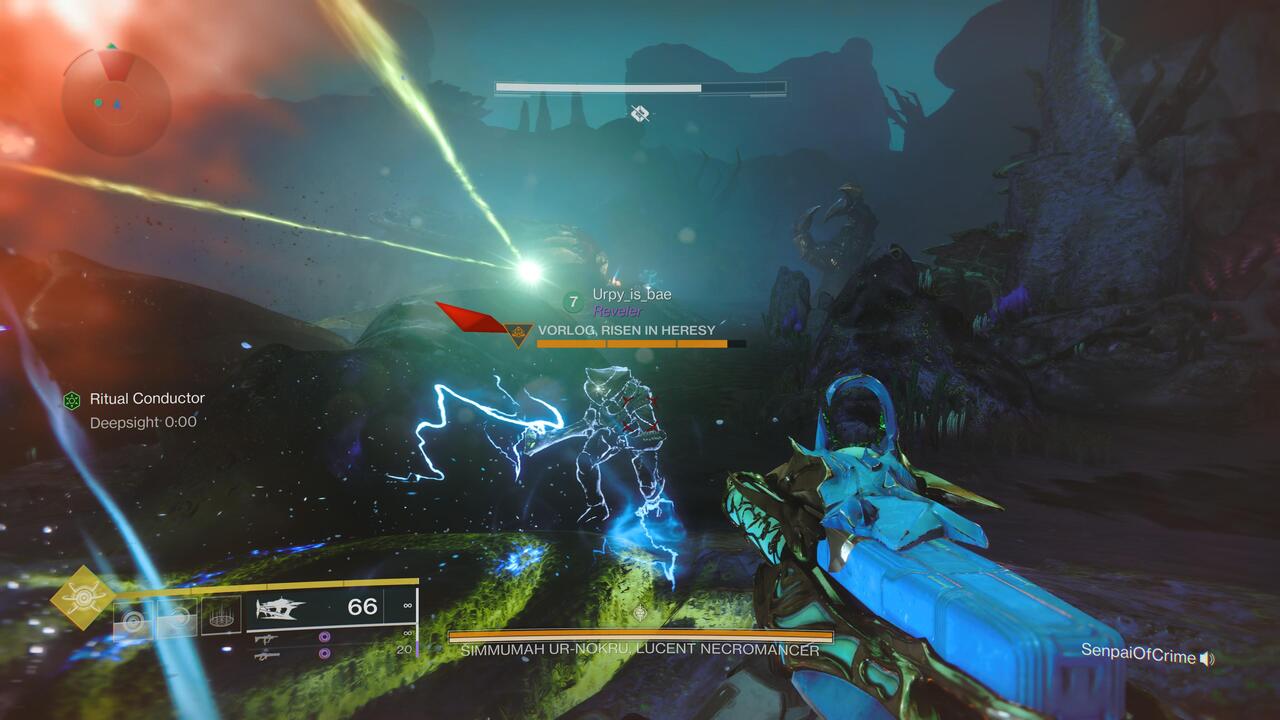
With the green triangle pattern revealed and memorized (you can use the Deepsight again if you forget the three points), you now need to defeat Volrog, Risen in Heresy while by one of the identified body parts.
The goal is to bring Simmumah Ur-Nokru to all three points of the green triangle. To do that, you need to go to the body parts identified by the green triangle and defeat Volrog while in the green circle.
When you are by a body part, you’ll see a green runic circle appear at your feet. If this appears and you are inside the circle, defeating Volrog will teleport the boss to your location.
As a general note for this entire Dungeon, watch out for Simmumah Ur-Nokru’s Arc moths. She sends out six or seven at a time which can instantly kill you and your teammates if you’re bunched up. Just keep your eyes up for the Arc moths and shoot them before they get too close.
Step 3 – Look Through the Circle to the Hive Symbol
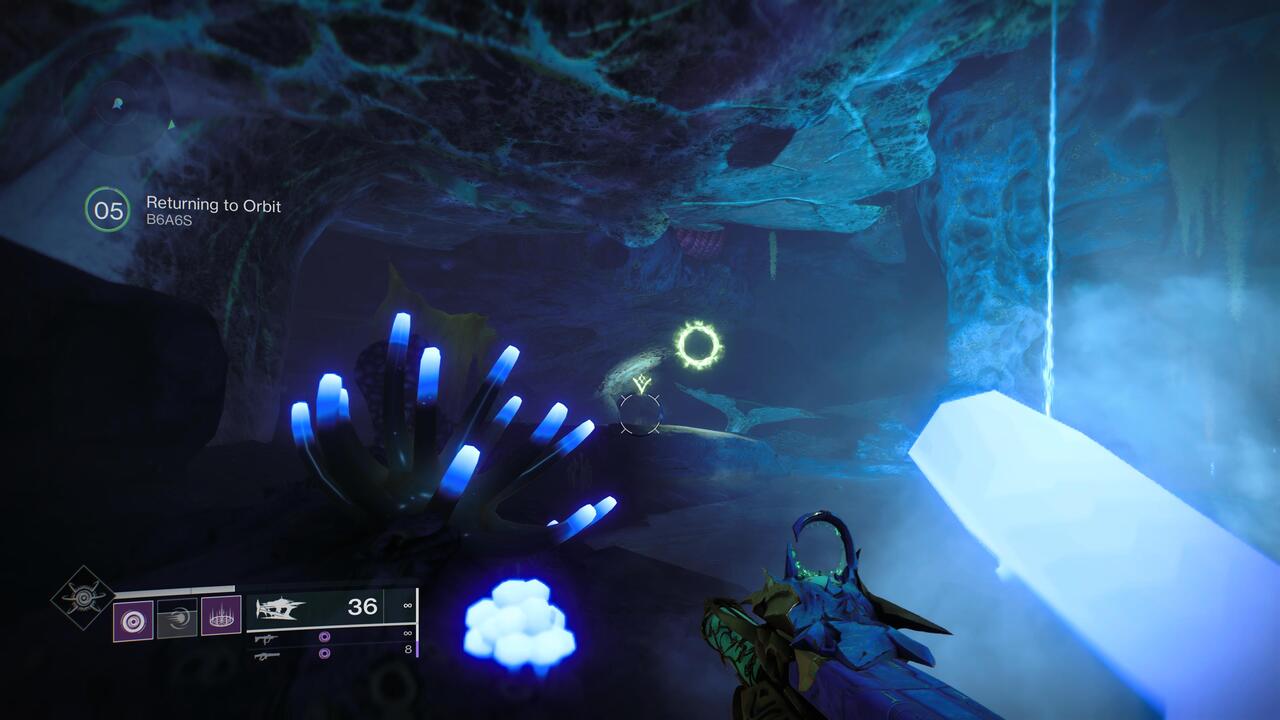
After successfully defeating Volrog at one of the three triangle point body parts, you’ll see a message at the bottom left of the screen saying Simmumah Ur-Nokru has moved. You’ll also see a green circle and Hive symbol pointing to Simmumah Ur-Nokru from where she just came from.
Before you defeat Volrog at another body part, you need to go to where Simmumah Ur-Nokru just was and line up the floating green circle and the Hive symbol. Aim down the sights line up the Hive symbol in the circle. You don’t need to shoot, just look and it’ll disappear, revealing a Hive rune above the body part.
You’re now clear to defeat Volrog at another body part. Do this two more times and you’re ready for the next step.
Step 4 – Defeat the Lucent Hive
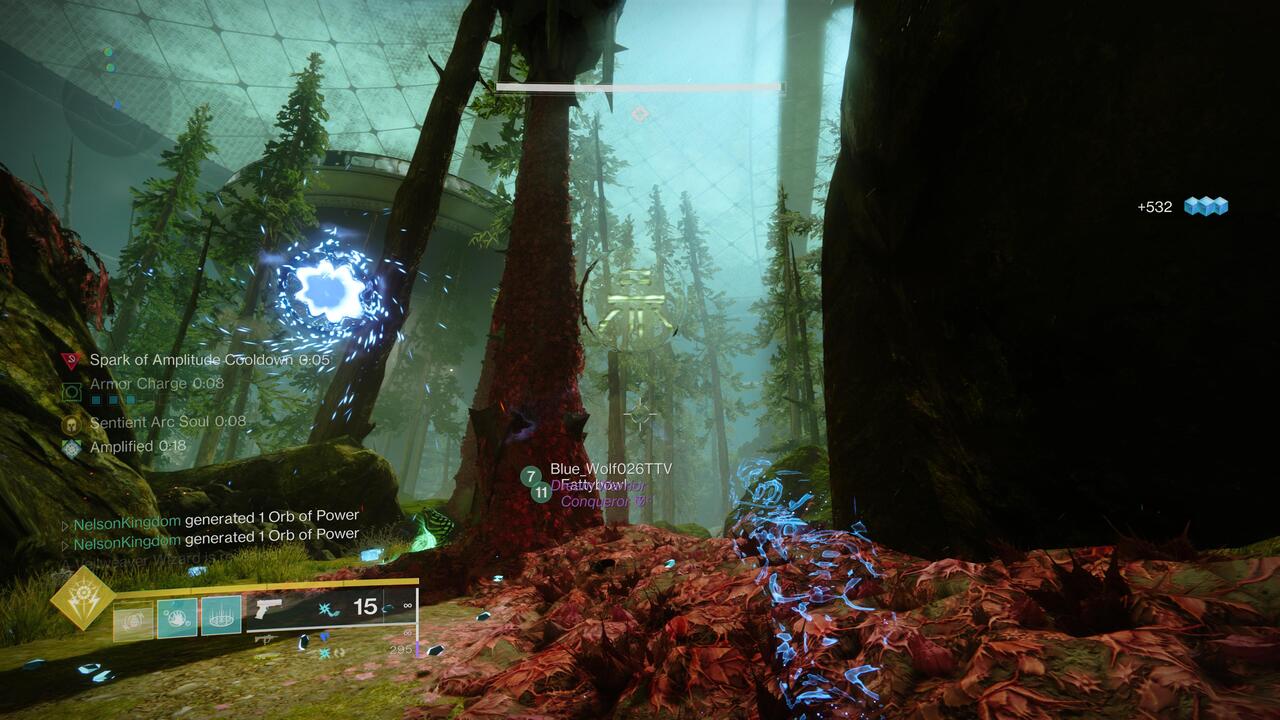
With all three Hive runes active, you now need to journey through the methane sea at the corners of the map and defeat the Lucent Hive on the other side. The methane sea by the head is the Hunter Lucent Hive, the methane sea near the entrance of the Dungeon is the Warlock Lucent Hive, and the methane sea by the right hand is the Titan Lucent Hive.
The most crucially important part now is to look at and memorize the Hive rune in each Lucent Hive room. I have forgotten this many times and it usually ends in unpleasant trial and error.
Once you are confident and can work on speed, I recommend one Guardian take one Lucent Hive each. Though there might be a lot of adds in the main room once you get back, if you are all successful, you can get to the damage phase a lot faster.
Step 5 – Dunk Your Vestige Buff at the Correct Hive Rune
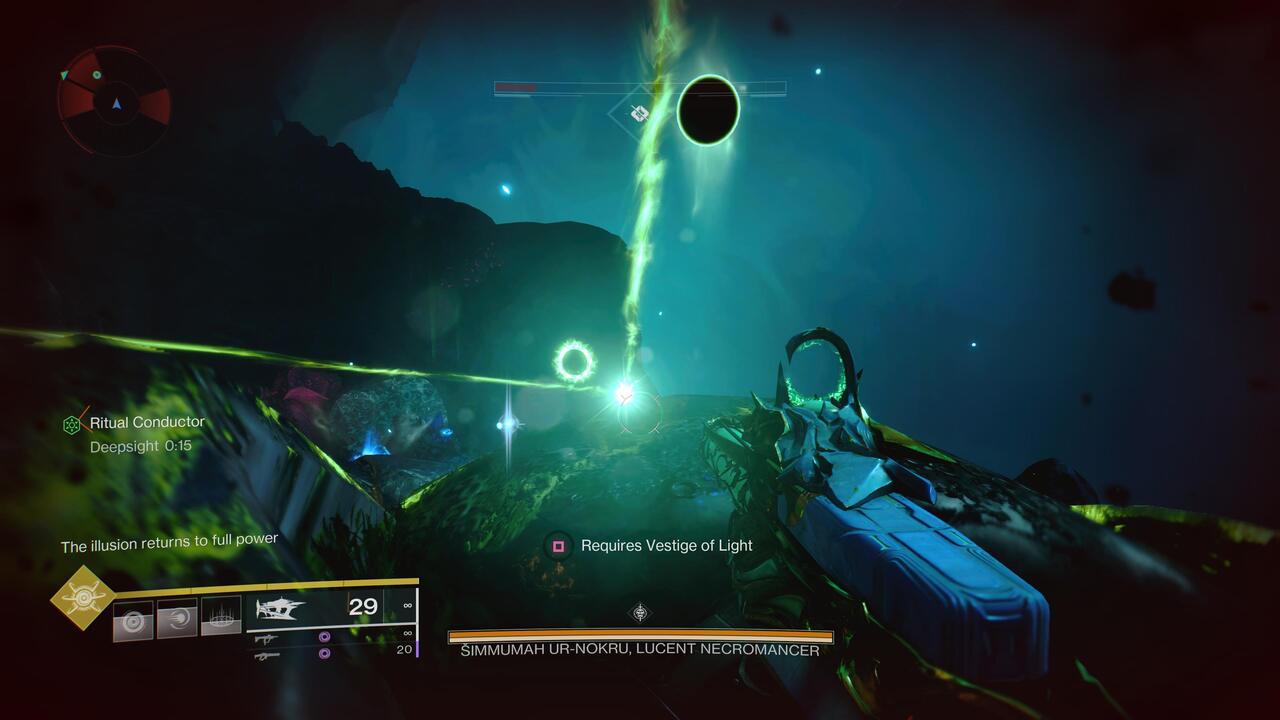
Look at and memorize the Hive rune, defeat your Lucent Hive (remembering to use the finisher on the ghost), and you’ll get a Vestige buff. The Vestige buff lasts for about a minute and a half.
The goal now is to return to the main room and use Deepsight to reveal black balls underneath the Hive runes. This is where you’ll dunk your specific Vestige buff. The Hive rune in your Lucent Hive room matches the Hive rune above the body part you need to dunk your Vestige buff at. If you don’t choose the matching Hive rune, you’ll die and need to defeat your Lucent Hive again.
Deepsight only lasts for about 15 seconds, so you don’t have a lot of time. If you run out of time, simply find the Deepsight again and reveal.
Step 6 – Deal Damage to Simmumah Ur-Nokru
Once all three Lucent Hive Vestige buffs have been dunked in the right Hive rune, you can start the damage phase. First, you need to stand in one of the pools of light and take down Simmumah Ur-Nokru’s invulnerable shield. I recommend standing in the chest spot and using a Solar Warlock Well to deal damage and stay alive. Also, I recommend using Arbelest to quickly eliminate the boss’ shield.
Once the invulnerable shield is down, shoot Simmumah Ur-Nokru with your best Heavy Weapons. I recommend using a Rocket Launcher like Cold Comfort from the Ghosts of the Deep loot pool as these do the most damage.
The most challenging part about dealing damage to Simmumah Ur-Nokru is that she is a small target and she teleports around. In my experience, she mainly goes to four areas: the chest, inbetween the legs, the right knee, and between the chest and head.
Step 7 – Rinse and Repeat!
You now know the process of how to defeat Simmumah Ur-Nokru, all you need to do now is stay alive for the duration of the encounter and continue to deal damage to Simmumah Ur-Nokru.
It usually takes me around four to five damage phases before defeating Summumah Ur-Nokru, so be patient and you’ll get it. If you’ve collected all 12 Ghosts of the Deep messages, you’ll have an increased chance of getting The Navigator Exotic Strand Trace Rifle.




Published: May 29, 2023 02:28 pm