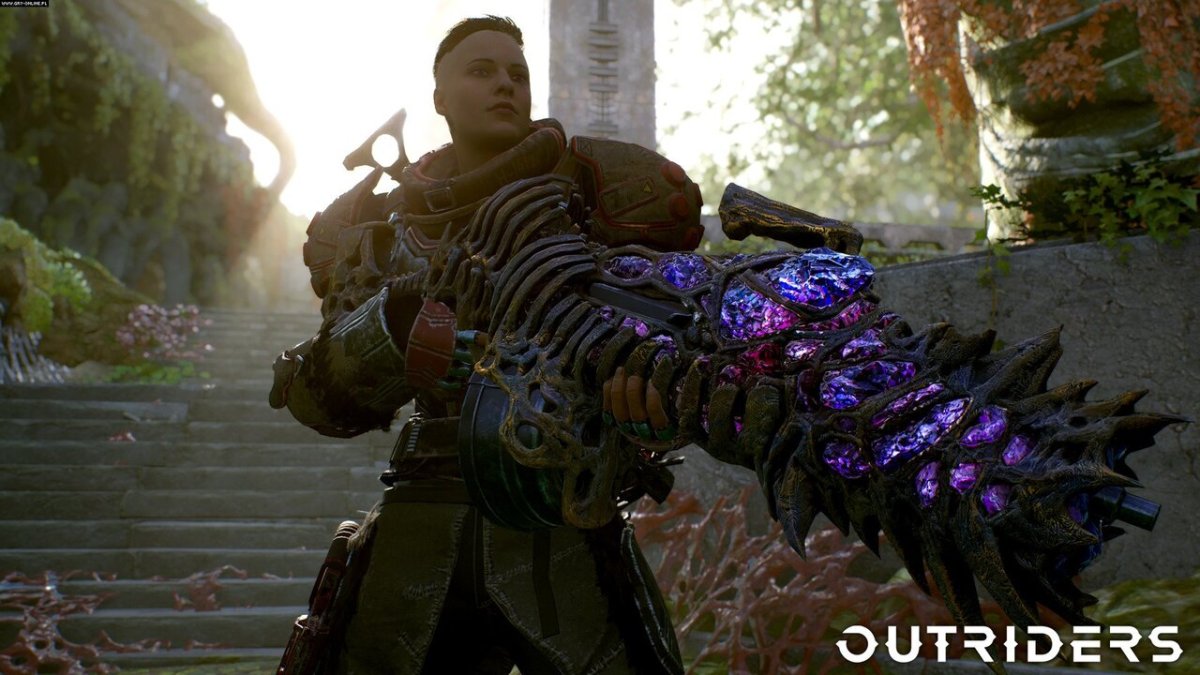
Outriders has a ton of side quests to find and do, others being rather simple with just visiting point A and B, but some like The Outrider’s Legacy, require a lot of effort and many places to visit. Thankfully, there isn’t anything too complicated you need to do in this mission, but it is highly advised to progress through the main quest first for a quite a bit, to unlock all the locations you will need to travel to. Otherwise, you may reach a point to this quest where you won’t be able to continue due to the place needed not been found yet.
The Outrider’s Legacy quest complete walkthrough
There are a lot of steps needed before completing this side quest, so buckle up. You need to visit a lot of different locales with a different task to each one, if you of course have them unlocked at that point. That said, let’s start checking this quest, step by step.
Wreckage Zone
- Find Lucy and ask about the Outriders’ hatch.
- Simply follow the quest marker and talk to Lucy
- Search for Monique in the Wreckage Zone.
- Travel to Wreckage Zone and go inside the cave to find a red-ish door, which leads to Clearwater Springs. For some reason the quest marker sometimes shows the wrong way, so make sure to find this red door, which says “Enter Clearwater Springs”, to confirm you are in the correct place.
- Clear the Caverns. → Clear the Rocks.
- Eliminate the wave of enemies that will appear
- Plant the flag. → Search for Monique in the Wreckage Zone.
- Place your flag to be able to fast travel here in the future and head west. Opening up a certain door found in your path, a cutscene will follow.
- Return to Lucy to collect the key to the Outriders’ hatch.
- Travel back to Trench Town and talk to Lucy to receive a key to continue on.
Quarry
- Search the Quarry for the Outriders’ hatch.
- Travel to Quarry and go south of your camp. Clear some logs found in your way and enter Nesting Grounds.
- Clear the area.
- Eliminate all enemies that appear.
- Open the door.
- Open the door inside the bunker.
- Pick up the clues.
- Pick up the clues on the floor.
- Fast travel to Forest Enclave.
- Head back to the camp and go to Forest Enclave.
Forest Enclave
- Search for Sergio or Mercer Acosta in the Forest.
- Visit Enclave Camp and talk to Mercer Acosta.
- Locate the remains of Sergio Acosta’s expedition.
- Enter Enclave Outskirts in order to proceed further.
- Plant the flag.
- Right after you clear the area, plant your flag to enable the fast travel point. Next, head west to continue.
- Push through the Jungle. → Clear the Path.
- Eliminate all enemies that will appear.
- Clear the Camp. → Clear the Rocks.
- Again, eliminate all enemies that will appear. You can easily be swarmed in this phase, so make sure to keep yourself positioned in such way the enemies will come few by few from the front.
- Clear the Camp. → Find Acosta’s body.
- Clear the last wave of enemies and then investigate the body at the camp.
- Return the photograph to Mercer.
- Go back to Enclave Camp and talk to Mercer.
Quarry
- Return to the Outriders’ bunker.
- Go back to Quarry and get into the bunker. Clear the enemies that will appear in your way.
- Search the Outriders bunker for clues.
- Open the now available second door in the bunker and head further below. Pick up the clues found on the floor.
The Gate
- Search for Sarah Tanner in the Forest. → Take out Kang’s Soldiers.
- Travel to The Gate and follow the quest marker. Eliminate all enemies that will appear.
- Take out Kang’s Soldiers. → Investigate the body.
- Eliminate the next wave of enemies and then loo for a tent in the area. Right next to it there is a body you need to search, and get the master key from.
Quarry
- Return to the Outriders’ bunker.
- Travel to Quarry once more and go the bunker. Eliminate all enemies that will appear.
- Use the master key to reveal the secret in the Outriders’ bunker.
- Head east from the entrance and unlock the third door found, with the master key.
- Investigate the area.
- Enter the room and watch a cutscene.
- Repel the attack and disarm the nuke.
- Eliminate al enemies that will appear, including some insurgents. Get ready for this fight, as it can end up as a tough one if you are not careful. After killing everyone, watch the last cutscene and the quest will be finally completed. Make sure to claim your rewards.
All chests locations during The Outrider’s Legacy quest
- Clearwater Springs – East of the rocks you clear to enter the area
- Crevice – From the fast travel point of the area, head east to the far end of the tunnel
- Outsider’s Bunker – East of the ammo refill crate
- Outsider’s Bunker – Inside the room with the red door, next to the banner
- Enclave Outskirts – East from the blocked path, after eliminating all enemies
- The Gate – In the area where you eliminated Kang’s soldiers, next to the ammo refill crate
With that, we come to an end of everything you need to know in regards to The Outrider’s Legacy quest in Outriders. The quest may take a while, considering all the places you need to traverse through, but doing so will earn you some nice goodies and you will be one step closer to fully completing all of the side content of the game.
Outriders is available now on PC, PS4, PS5, Xbox One, Xbox Series X/S, and Google Stadia. For more information about the game, make sure to check the official page here. If you want to check our extensive list of guides and tips for Outriders, take a look right here.


