The Corrupted Monk is a recurring enemy in Sekiro: Shadows Die Twice. You’ll face him one time in the Ashina Depths as you look to procure the stone for Lord Kuro’s incense. Then you’ll face the Corrupted Monk again when you reach Fountainhead Palace in the Divine Realm. The second fight with the Corrupted Monk is definitely harder than the first because this enemy requires that you get three death blows. This guide will explain all three stages of the second Corrupted Monk boss fight at Fountainhead Palace in Sekiro.
How to Beat Corrupted Monk Second Time in Sekiro
The moves that you memorized from the first fight are going to come in handy here. This is a three part fight, but the Monk is basically going to use the same moves as he did in the first fight. There are some new ones to learn however and you’ll need some basic equipment. Here’s what you should have when taking on the Corrupted Monk.
- Firecracker Tool
- Max Spirit Emblems
- Ako’s Sugar (Optional)
Corrupted Monk Phase One
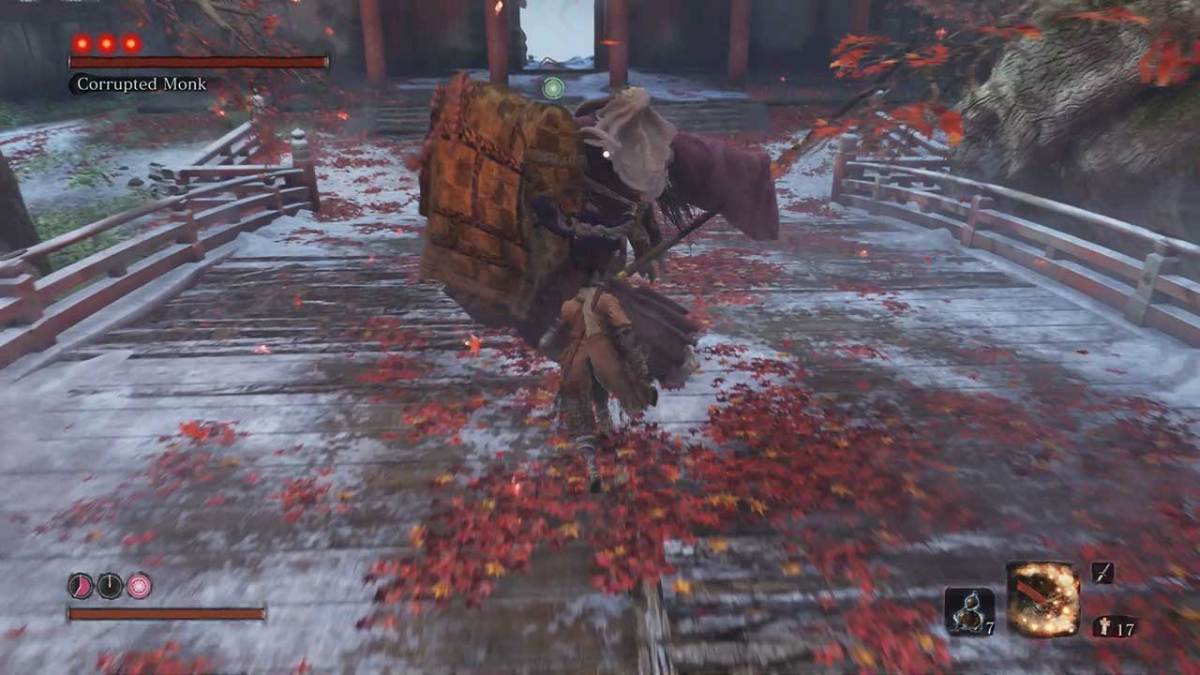
When you encounter the Corrupted Monk the first thing you’ll notice is that this fight is in a much smaller area. The bridge gives you less room to move around and avoid the monks wide sweeping attacks. The first thing to know about this first stage is that you want to keep your distance and attack only after the Monk has tried to attack you. There are three basic moves to look out for. The Monk has three hit and two hit melee combo as his most used attacks and then a couple of jumping attacks. The melee attacks are avoidable. Basically just wait for the two or three hit combo to play out and then rush in for one to two hits of your own.
You can also bait the Monk into jumping at you, which you can slide under and then get in three attacks of your own when he lands and misses his attack. You still have to be careful here though, but the action is the same as the first fight. As a fail safe you can block as he jumps over you, sometimes you will block his attack sometimes he will still miss and you can get in your three hits. If you do block, just take two hits and then dodge away. The important thing to remember here is to not stay close to this boss for too long and don’t get greedy. Three hits should be the max that you take to play it safe, and then dodge back out to create distance and then repeat the process.
Corrupted Monk Phase Two
Phase two can be pretty daunting at first, until you realize that this is as easy as it gets. The Corrupted Monk will send phantoms after you multiple times if you try to fight him straight up here. Instead, jump to the trees on the side of the bridge. A ghostly version of the true monk will be standing on the middle of the bridge. You can jump down from the trees and land a deathblow on him immediately. If you miss the deathblow, hitting him will banish the phantoms.
If you fail to land the deathblow from the trees you will get another chance at it. His moves are exactly the same as the first phase and he’ll call the phantoms multiple times during this fight. Just head to the trees and try to land the deathblow when you jump towards him.
Corrupted Monk Phase Three
The third phase of this fight, the Monk is at its most dangerous. The attacks are much different than the first two phases and the Monk will now add poison to their attacks. This is where you’ll need those Firecrackers that we mentioned earlier so hopefully you’ve got plenty of Spirit Emblems to spend. If not, there is a Sculpter’s Idol before the fight which you can purchase them from. The Firecracker Tool can be used repeatedly against the Corrupted Monk to basically freeze it in place. Depending on how many firecrackers you have you can basically get this boss’s HP down to near nothing before he even moves. Simply get right up next to him at the beginning of this phase and use the Firecracker, hit him four times and then throw another firecracker. Keep repeating this until you are either out of Firecrackers or out of Spirit Emblems.
If you run out of Firecrackers before he dies, you’ll need to employ the same strategy as the first phase in keeping your distance and running in for a single strike once he’s finished an attack. Retreat quickly and keep your distance during this segment and it should be an easy boss to beat. Still having trouble? Check out the video below for more help in beating the True Monk in Sekiro: Shadows Die Twice.


Published: Mar 25, 2019 09:35 am