Super Mario Maker 2 allows you to create any type of level that you want with a ton of different tools and options, but to share those levels with the world you’re going to need to upload your creation. The uploading process in Super Mario Maker 2 is pretty straight forward, but if you’re having trouble finding the upload option it’s probably because of one or two things. This guide will explain how to quickly upload your levels in Mario Maker 2.
To upload a level you’re going to have to have done a couple of things. First you need to create a level. Once you’ve created something that you want to share with other Super Mario Maker 2 players you want to save your level, then you will have the option to upload. But first, the game is going to ask you to clear the stage first to make sure that it’s actually something that can be finished by other players. Once you’ve done these three things you will be able to upload for others to enjoy.

Step 1: Save your Level
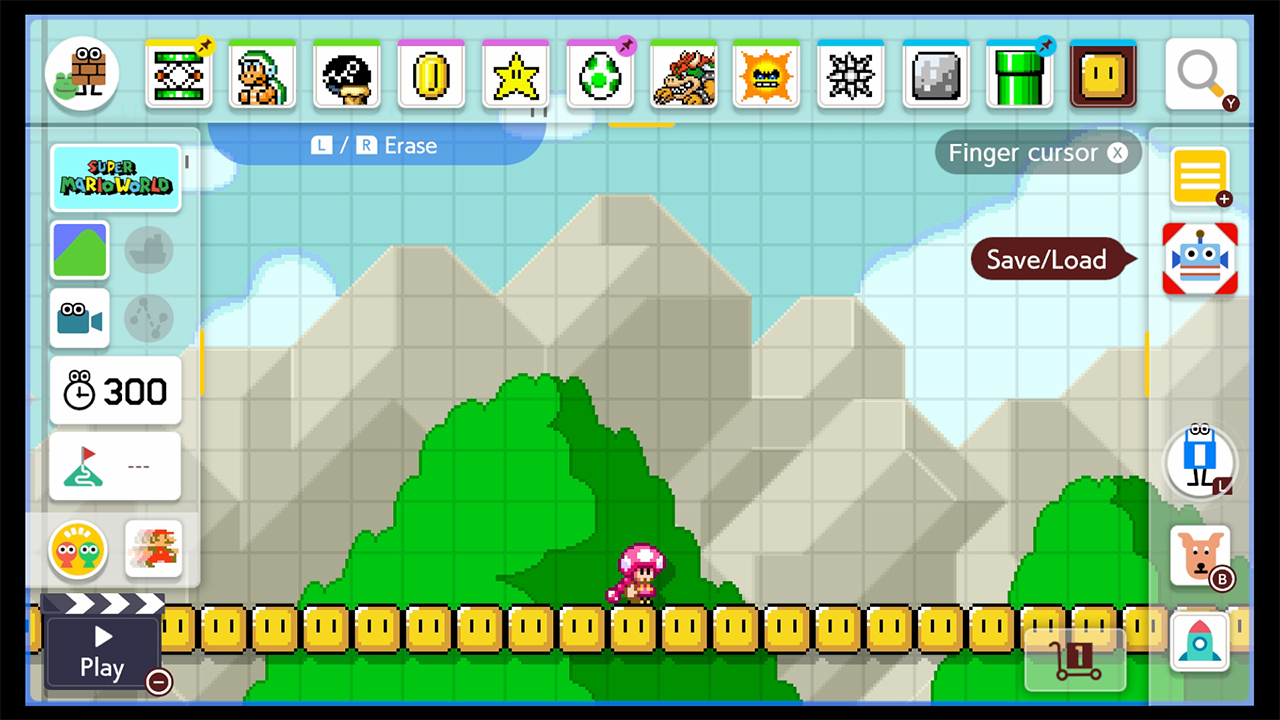
Click the Coursebot Robot icon on the right to save your level.

Step 2: Select Upload Level
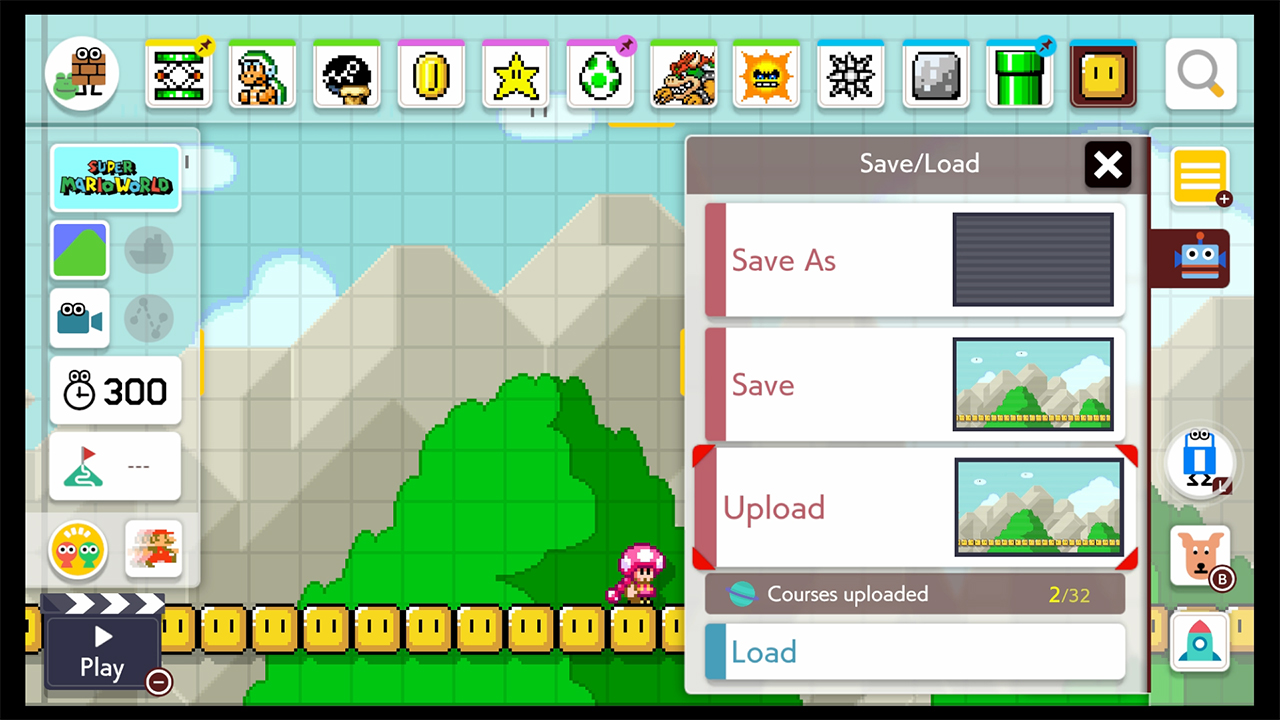
Click the Coursebot Robot icon after you’ve saved and you’ll have the option to upload

Step 3: Clear your own Level
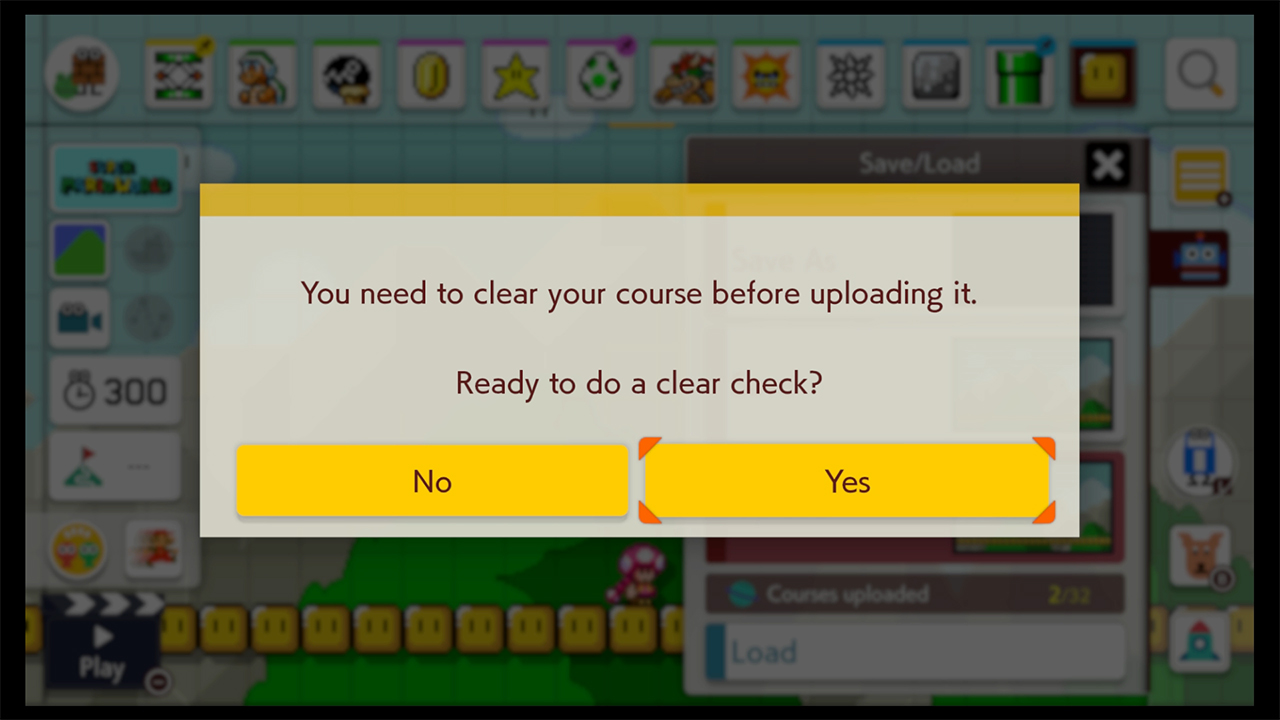
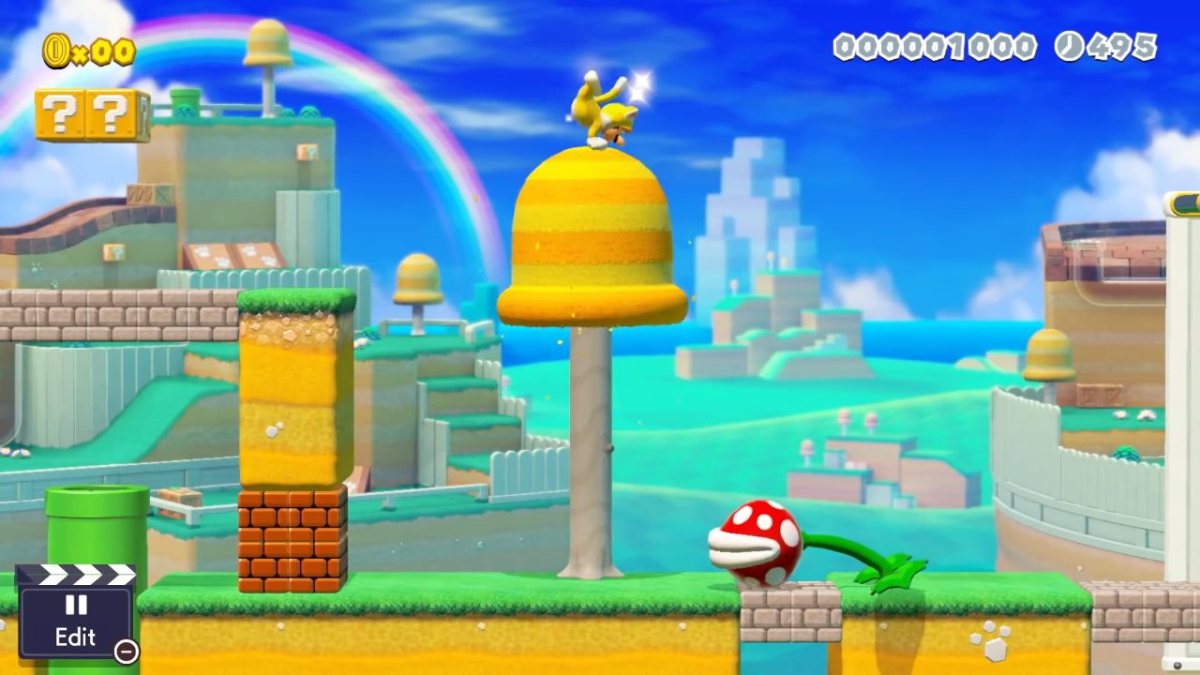
You’ll need to be able to clear your own level before you can upload it. This means that it has to beatable and you’ll need to complete any challenges that you will be issuing to other players.
Step 3: Select Course Name, Description, and Tags
Once you’ve passed your Clear Check, you will need to name the course, write a description, and tag it so others can find it.
Step 4: Upload and Course ID generation
Once you’ve completed the clear check and selected the identifiers for the course, it will be automatically uploaded.
And that’s that for uploading a level in Mario Maker 2. But what if you want to delete something that you uploaded? The process to delete something that you uploaded is fairly straight forward as well. Head over to this guide for deleting a course that you uploaded for the full explanation.


Published: Jun 29, 2019 09:24 pm