You’ve finally made it to Stellar Bay, regardless of if you bought the Nav Key outright, ran errands for errant scientists on Roseway, or braved the wilds and hoofed it there. The Outer Worlds Radio Free Monarch is your next main quest, where you’ll need to assist a couple of factions to get what you want. There will be three parts to this guide (for Nyoka, Sanjar, and Graham), with the other two located on our guides page.
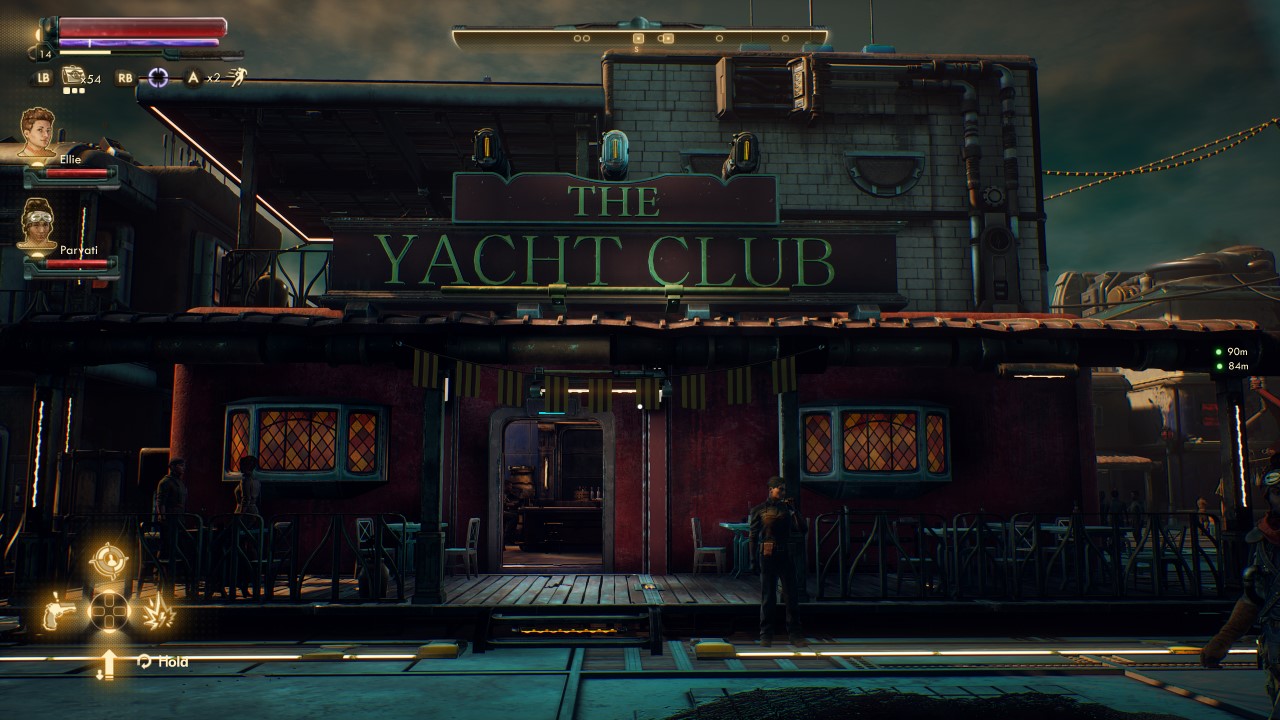
Set course for Stellar Bay to begin Radio Free Monarch.
Once you land at Stellar Bay take the elevator down. A guard named Grimm will try and accost you, claiming you need to register. You can walk right past the eager sentry, but you can net an easy rep boost for the Monarch Stellar Industries and entry code if you allow Grimm to chew your ear. He’ll also offer up a side quest (The Grimm Tomorrow), cause damn near every named NPC in The Outer Worlds has one.
Whether you talked to Grimm or strolled right by, you’ll continue forward towards the Yacht Club, which is apparently a thing even on abandoned, feral planets. Enter and your contact, Nyoka, can be found slamming a beer at the bar. She’s rather sloshed, but she still knows how to reach Blythe.
She’ll ask you to grab her something to assist her in sobering up; if you ask her how much time she needs to sober up Nyoka will just deflect you back to the fetch quest. You can also tell her to piss off and tell you the directions to Devil’s Peak, because you’d rather go alone. NOTE: Nyoka is a potential companion, so in choosing to leave her behind you won’t recruit her.
Assuming you’ve decided to help the drunk hunter, you’ll be tasked with picking her up a “caffenoid” from the MSI Dispensary. Yes, you may actually be carrying some; no, you can’t give them to her. Mercifully, the dispensary is a short jaunt up the road; leave the bar and hook a left. In 80 meters you will have arrived at your destination, a nondescript building with red-bulbed lampposts flanking the corners.
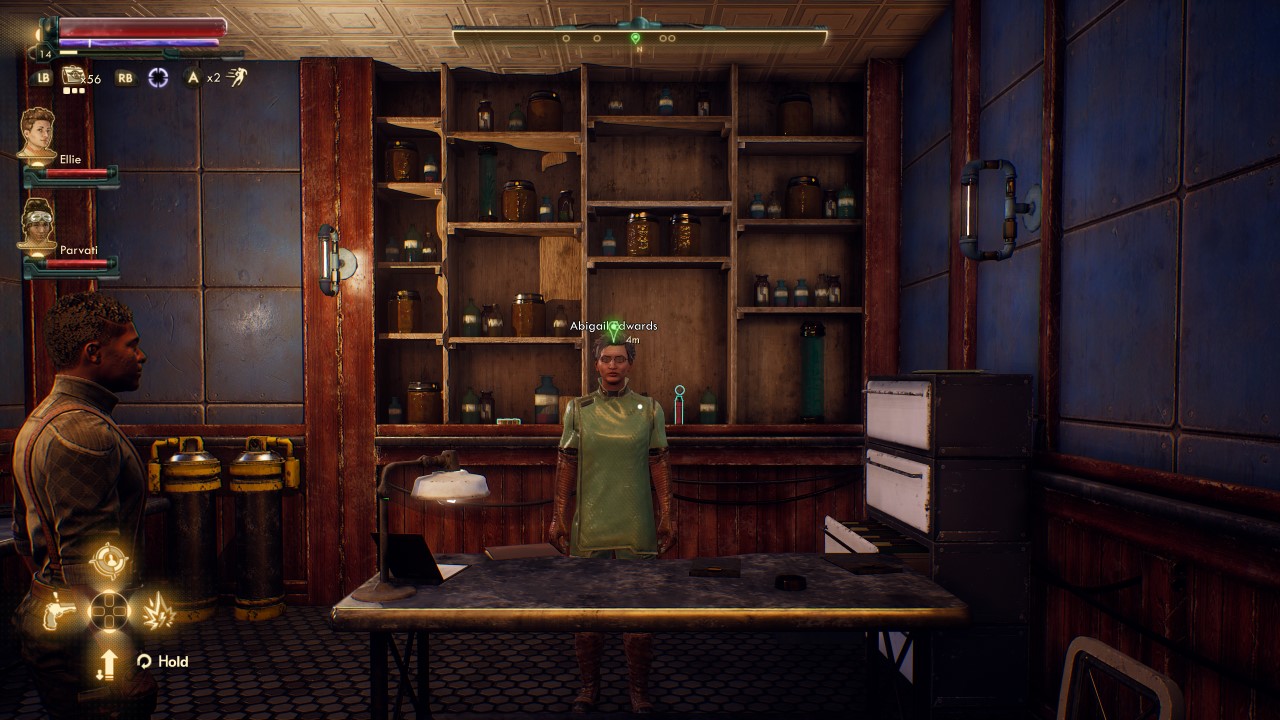
Obtain caffenoids from the dispensary.
Once inside you’ll talk with the clerk, Abigail Edwards, who totally wants to jump your bones. If you have 30 Medical it’ll change the dialogue slightly, but lead to the same conclusion: she will ask who the medication is for. Considering Nyoka has been banned from getting meds for a month, well, a 20 Lie check may seem tempting, but it won’t change the ultimate result: the clinic is low on meds, and a Dr. Williams has locked the remaining stash away in a storeroom, and the terminal that unlocks it is upstairs.
Unfortunately, the good doctor is dead. If you are looking to acquire the drugs in the least dubious manner possible you’ll need to visit the graveyard to “acquire” the terminal code from his corpse, but there are raptidons lurking about. You can also hack the terminal yourself if you have at least 50 in Hack. Furthermore, you can open the door if you have 30 Lockpick.
You can use a 50 Intimidate check to get the pills directly from Abigail if you revealed the pills are for Nyoka. If you’d rather not be a dick about it and have credits to spare then choose the “that’s private,” option; it’ll lead to a 50 Persuade check, and if you can pass it you can bribe Abigail 2545 bits for the medicine.
For the monster’s in the audience, you can kill Abigail and take her code to the door if you don’t want to deal with busywork, and are a complete psychopath. If you have unlocked the pickpocket skill by investing 40 points into Sneak then you can take her code without resorting to violence, assuming you don’t get caught.
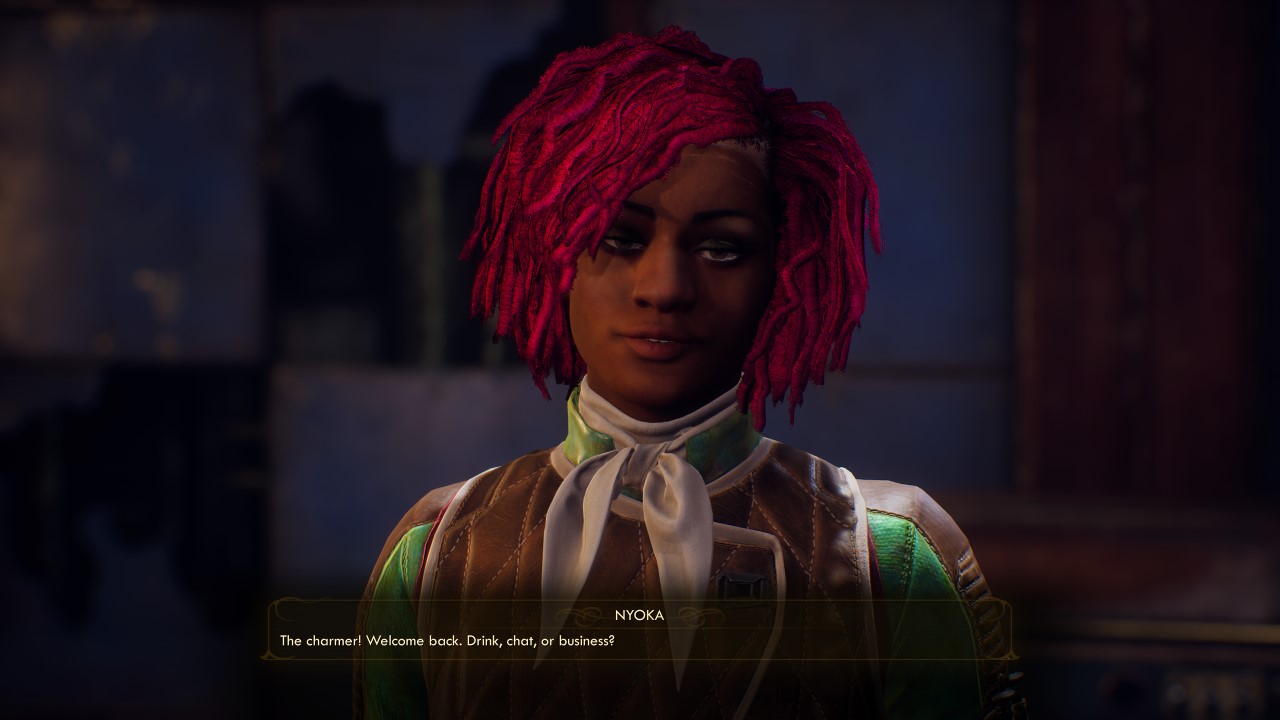
Return to Nyoka and head off into the wilderness.
Return to the bar and give Nyoka the goods; you once again have the option to leave her behind in exchange for the location of the Information Broker; again, she won’t join your crew if you choose to go this route.
Once Nyoka has either joined your crew, or you’ve decided to go on without her, you’ll be directed outside: it’s roughly 725 meters to your next location, so prepare by having plenty of meds, equipment good for damaging creatures, and some patience. You’ll pass by the port of Fallbrook on the way, so if you picked up the Space-Crime Continuum side-quest (earned if you completed the task Salvager in the Sky given to you by Gladys) you can work on in en-route to the Free Monarch Radio objective.
Follow the road out of town and the signposts leading towards Fallbrook. You’ll encounter some marauders and raptidons along the way, but they’re nothing you haven’t seen before. There is plenty to explore in Monarch, and Nyoka will offer a companion quest during your journey (Star-Crossed Troopers), so it’s easy to get off the beaten trail; as long as you have Radio Free Monarch set as your active quest the game will place a waypoint up for where you need to go.
You will come to a crossroads, with Fallbrook to your right and Devil’s Peak up ahead. There be manticores ahead, a much meaner and deadlier creature than you’ve faced thus far (unless you ran to Stellar Bay from Cascadia: you’ve made these bastards acquaintance already). Thing is, the bridge has collapsed, so you need to follow the road to Fallbrook regardless. If you are short on ammo, healing adreno’s, or just want to unlock the landing pad for your ship feel free to enter Fallbrook when you pass it; otherwise, press onward up the mountain to the right of the town to head up the mountain.
Save the Outpost and Hiram from marauders.
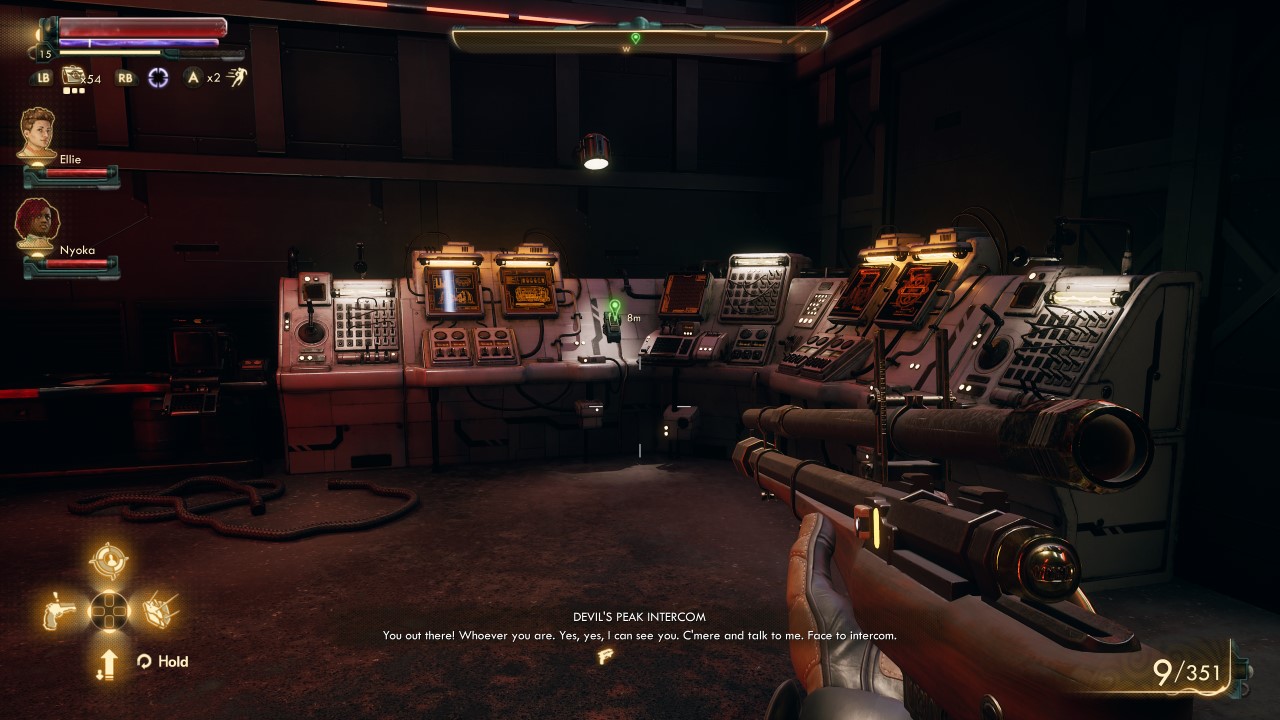
Once you reach the outpost you’ll discover it’s been attacked by marauders: clear them out, head up the ramp, and then to the side door to venture within Devil’s Peak Station and find what has become of Hiram. Turns out out the entire station is lousy with marauders, and therefore in lockdown. Do what you do best and dispatch them. You will eventually find an intercom that’ll allow you to speak with Hiram; he’ll open the elevators to the second floor, allowing you to progress.
Move upwards and clear out the marauders for Hiram. Stealth works great here, but the more aggressive approach is equally valid. There are only seven wandering about the upper levels, so it won’t take long to convert them to corpses. Next to the where you found the marauder ringleader will be another intercom; use it to contact Hiram once you are done.
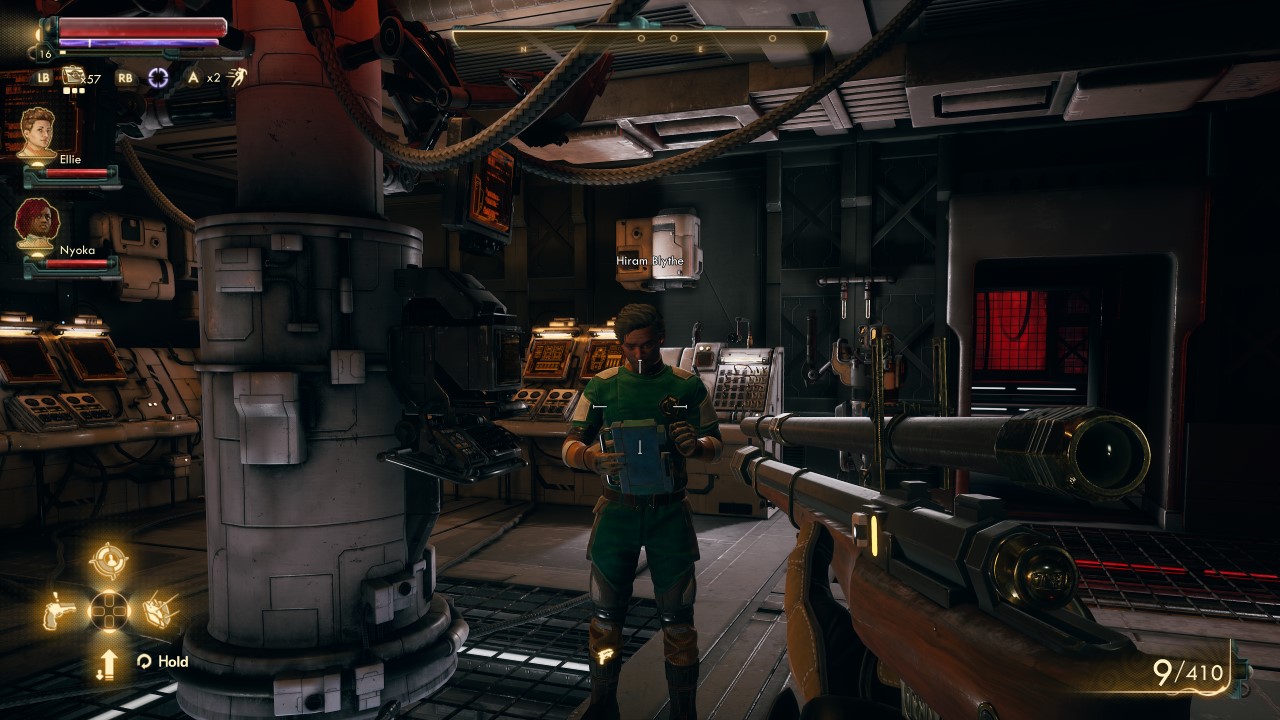
Hiram will unlock the door for you, and he can be found within. Walk up and talk to him to receive your bits for saving him. He’ll inquire as to why you bothered to visit him in the first place. No matter what option you go with, he’ll inform you that acquiring the data you seek concerning Dr. Phineas’ chemicals will take some time. Why? Well, both Stellar Bay and Amber Heights are clogging up the airwaves, and Hiram needs you to convince both settlements to cease their transmissions. You can also press him to work for the Board if you’re working for Akande at this junction.
Guess what that means: time for some divergent choices and side-quests! Naturally, you can just kill the two men involved – Sanjar and Graham – and be done with the whole endeavor. Your choices here WILL affect the final mission and ending. For those of you who would rather try and resolve the issue peacefully, and for better rewards, I’ll breakdown what you need to do for both settlements in part 2 and part 3.
Leave the station, and make your choice: do you start in Stellar Bay or Amber Heights? You will need to do both, but the order is your choice. You’ll have fast travel unlocked for both if you followed the road to the outpost. It also doesn’t matter where you start: you can earn both men’s trust by helping them with the side quests they dole out. For this walkthrough series part 2 will handle Sanjar’s quests, and part 3 will deal with Graham’s tasks and the conclusion to Radio Free Monarch. These guides and all other The Outer Worlds guides can be found on our guides page.


