Thanks to your efforts on Monarch, Dr. Phineas now knows where to acquire the chemicals he requires to thaw out your frozen compatriots on the Hope. You’ve kicked off your next story quest – The City and the Stars – and it’s time for you to visit the seat of wealth and power within the colony: Byzantium.
Set course for Byzantium.
To start The City and the Stars, go to your nav terminal and select Terra 2; Byzantium can be found there. As you are about to leave, Ellie will ask to speak with you, assuming you recruited her back on the Groundbreaker. She will kick off her companion quest, and after a brief conversation you’ll be free to leave the ship.

Your contact for The City and the Stars, Carmen Imagawa, is a few short steps to the right as you leave the Unreliable. Speak with her for information on Minister Clark. Carmen will inform you that your target never leaves his home, and has guards around him constantly. If you don’t mind a little petty theft, you can lift an ID key from a guard at the bar for your cloak. If you rather not be a ne’er-do-well, then you could always talk to the guards outside Clark’s home like a civilized human being.
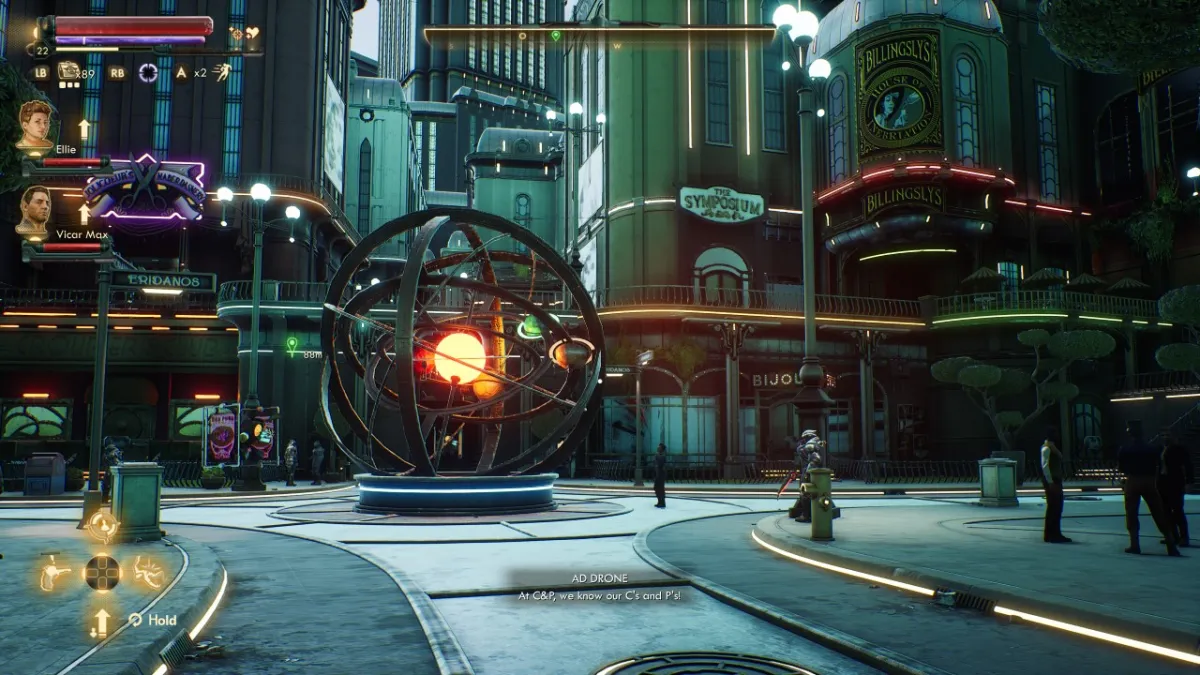
Move on once you are done chatting with Carmen, and make your way through the double doors. Turn right and you’ll find an elevator that leads up to the city proper. Turn left and head straight until you reach the town square, then swing right and up the stairs. You’ll find yourself outside Billingsly’s House of Inebriation, a helluva name for a bar if I’ve ever heard one. Inside you’ll find one of the minister’s guards, Mayfield, putting away a few pints.
You could try and pickpocket him, but there are plenty of eyes on you here, and you’ll very likely get caught. Instead, buy three vodkas from the bartender bot behind the guard, then talk to him. Mayfield is a touch…sloshed. He has nothing of value to tell you about the minister, but he will admit to having an ID chip for the residence (security standards in the colony are woefully lax, it seems). Go ahead and give Mayfield one of the vodkas; he’ll not only appreciate the gesture, but he’ll ask for another.
Yeah, you’re gonna get this man so damn hammered he dies, thus making the key easier to steal. Keep feeding him drinks until he leaves to lie down. I’m not sure if he actually dies, but you can loot him like a corpse, so those of you without the pickpocket skill have nothing to fear. Take his key, then head for the minister’s estate.

Talk to Minister Clark.
The minister’s residence is right outside the bar: turn right after leaving the fine drinking establishment and you’ll see the Restricted Zone across the bridge. Thanks to your Holographic Shroud and newly acquired ID chip, you will be able to walk in uninhibited. Well, mostly. Remember, moving depletes the shroud’s energy, and to replenish it you need to pass a dialog check against a person interrogating you. You get three chances to refill, and the checks get harder with each attempt.
Follow the winding road around and across until you find yourself outside the estate. If you talk to the guard outside the main entrance he’ll drop some juicy intel: the minister was expecting a package. You will get another optional objective, this time suggesting you retrieve his package. If you are not comfortable with using the Holographic Shroud you can pursue this objective as a means to get inside instead. The guard can also be bribed to let you enter for a healthy sum of bits.

The package can be found in the Halcyon Parcel Service, which is across the bridge and below, next to the maintenance tunnels. Inside you’ll find the package is behind a locked door. 60 Lockpicking will get you in, but if you don’t have lockpicking that high do no fret. Enter the first door on the right to talk with Oliva Yates; she won’t give you the package until you press her, and either a 41 Intimidate or Persuade check will be required.
Head back to Minister Clark’s estate, and either sneak in around the back with your shroud, or talk to the guard if you grabbed the anticipated delivery; if you have the minister’s package you’ll be allowed in, no questions asked. Either route, make your way upstairs to talk with Clark. Go left after the stairs to find the man in his office. Ask him about the chemicals, and after a round of condescending conversation you’ll find out that Chairman Rockwell has been signing for the chemical shipments under Clark’s name.

Clark will aim you at the chairman, and inform you that any records you need can be found in Rockwell’s office at the HHC Headquarters. Ask him where it is and The City and the Stars will update with a waymarker leading you where you need to go. Clark will warn you that the entrance is heavily guarded, but there is a maintenance tunnel you could use for a stealthier approach. He will give you a passkey to the HHC offices, enabling you to enter the building and offices therein. You can also give him his package for a minor reward.
As you conclude the conversation, Clark will give you the side quest The Lying Earth, asking you to relay a message to Earth concerning the corruption in Halcyon via a terminal in Rockwell’s office. Since you are heading there, this is an easy 1-2 punch.

Enter the HHC Offices.
Leave his estate; you can choose to either meander on over to the Acropolis District, (where you will have to use your Holographic Shroud to avoid detection, or either use dialog checks or a bribe to convince the guard to let you through), or head for the maintenance shafts below by heading back across the bridge, down, and through the tunnels by the post office (you’ll know you are at the right place if you see Giles; he’ll offer an easy side quest you can complete within the shafts).
The walk from the Byzantium Estates to the HHC offices is absurdly short, and can be done with half a shroud charge if you have the ID chip. If you don’t have the chip, and don’t want to deal with the guard, however, you will need 60 Hack to actually get through the shafts and around the checkpoint, so bear that in mind.
If you decide to brave the maintenance shaft I have good news: it’s not nearly as suicidal as everyone made it out to be! Bad news: it is still loaded with automechanicals, but a shock weapon is more than enough to deal with the threat. Follow the waypoint through the shafts until you find yourself at a locked door. If you have the previously mentioned 60 in Hack, then you are golden. If not, well, the shroud option is hilariously, pitifully short.
Regardless of the choice you made, you’ll find yourself outside the HHC offices, with no one stopping you from entering like you own the place. There is a reason for the lack of security out front, though. Go inside and you’ll see why: there is a security checkpoint you need to pass through in order to access the building proper. Thankfully, that key Clark gave you is enough to convince the guard at the gate to let you through.

After some bluster about registering your weapons, the guard will allow you to pass, but not before reminding you of all the guards posted upstairs. As long as you don’t find yourself coming down with a sudden case of “murder-itis”, you should be fine. Go up the elevator, and the chairman’s office will be directly in front of you across a small lobby. If you wanna skip the foreplay with the receptionist, use Clark’s key to enter his office on the left; there is a giant hole in the wall that will lead into the chairman’s office. If the receptionist does try and stop you he is easy to dismiss.
You’ll find the chairman’s terminal at his desk. If you have 100 Hack you can get some lore that’ll affect dialog with a character later in the game, but if not browse his messages. You can also send Clark’s message (like I said, 1-2 punch). Access his priority message, print off a keycard, and The City and the Stars will update. You’ll be presented with a small cutscene when you try and exit the terminal; turns out the good chairman has his own twisted solution to the mass starvation occurring in Halcyon.

Head to the Ministry of Accuracy and Morale.
You’ll need to head back outside and travel to the Ministry of Accuracy and Morale, where the dimethyl sulfoxide Dr. Phineas needs is being stored. Turn left when you leave the HCC Offices and you’ll see the ministry is right next door. Unlock the door with your freshly printed keycard, and go inside.
Security is pretty lax, so as long as you don’t shoot anyone in the face, you can explore with relative freedom. There are restricted areas, but nothing your shroud can’t handle, assuming you have the ID chip, and the dialog to replenish it. There is a fancy way around this issue, however, and it involves some HR discord. You can also talk to the guard on the right, and either use high dialog checks or an expensive bribe to enter. Seems every guard in The City and the Stars takes bribes…
Assuming you want to go the easier route, go to the left, turn left again, and you’ll find a room labeled “HR”. Within is a terminal you can hack for 46 Hack, and you’ll discover that a scientist in the ministry, Caroline, has an ongoing feud with her coworker Theodore. Head upstairs and go right; you’ll find a staff cafeteria, with our agitated scientist sitting alone in the back corner.
Strike up a conversation with Caroline. If you didn’t have the required hack for the terminal a 70 Science will win her favor immediately, and she will personally escort you into the lab and have the restriction removed (though the guards downstairs in the labs will remain on alert). If you can’t pass this check but were able to hack the HR terminal then ask her about Theodore. Pass a 1 Lie check and she will take you to the restricted zone. This will lead to the same overall result as the science check, but you will have deprived yourself of using cellular division as a pick-up line.
Go through the door and ahead of you is a locked door. It’s an easy enough lockpick at 30, and you’ll find a UDL identity cartridge within the lockers. This will allow you to use your shroud in the lower floors, making infiltration easier. The door on the left end is a 45 lockpick, but is moreorless an additional infiltration route if you are trying to go about this part of The City and the Stars with either your cloak, or pure stealth.

Go to the elevator in the large room with crates and take it down. You’re shroud will activate if you have grabbed the UDL keycard, but if you don’t have it you can either use traditional stealth, or go about this with your weapons doing the talking.
Follow the yellow line on the floor to reach the hibernation lab. You’ll have a few routes here, but taking the elevators will unlock shortcuts back upstairs if you need to refresh your shroud or break line of sight. Be warned, there are automechanical drones throughout the facility: if you are using the shroud be sure if drops near people and not them, otherwise you’ll be exposed and a firefight will ensue. Once at the hibernation lab you’ll see a barred door to your left: unbar it for an easy exit.
Go to the terminal in the lab and transfer the dimethyl sulfoxide into the canister you just passed. You can opt to either transfer all of it – and kill every human test subject in the lab – or you can transfer 26.271% of it. This is one of the ending affecting choices in The City and the Stars, and it’ll affect dialog later with multiple characters: keeping the scientists will be seen as more humane, but it’ll limit what Dr. Phineas can do in the end. Leave the ministry once you have the chemicals and fast travel to your ship.
If you haven’t ratted Dr. Phineas out yet you’ll receive a call from Adjutant Sophia Akande when you visit ADA. Akande will discuss Edgewater if you convinced Adelaide to return and run the show, but ultimately she will present you with an offer: she wants you to turn Dr. Phineas in, and assist the Board’s plan to save the colony. This will influence what ending you get. Say yes and you’ll be asked to send a trace to the Board via Dr. Phineas’ communication terminal; this will unlock the story quest Long Distance (and if she brought up Edgewater you will get the Foundation quest after you complete that, both of which have a guide in our hub). Completing her quests will bring you back around to where you are now, to the same quest you will receive immediately if you say no to her: Secrets Kept But Not Forgotten.
If you remain loyal to Phineas you will be tasked with returning to his lab, where The City and the Stars will conclude, and you’ll move on to Secrets Kept But Not Forgotten. That quest is pretty much the same no matter who you are helping, but the end results will be different. Don’t believe me? Check out the guide for it and the rest of The Outer Worlds guides here.


Published: Oct 24, 2019 10:11 pm