Welcome to Passage to Anywhere Part 2, where Gladys has the Nav Key you need to dock at Stellar Bay, but is charging a small ransom for it. Thankfully, she has given you a chance to earn the required bits: collect secrets from scientists at Roseway, an undisclosed science base on Terra 2.
The Distress Signal/Doom That Came to Roseway.
You can still skip the foreplay and go straight to Monarch at this junction, but it’s a difficult and less rewarding venture. If you decide to continue forward with Passage to Anywhere, head to ADA and listen to the distress signal. After it finishes you’ll get another side quest: The Doom That Came to Roseway. You’ll complete this in conjunction with The Distress Signal, so head to your nav terminal and select Terra 2; the Roseway Landing Pad is accessible there.
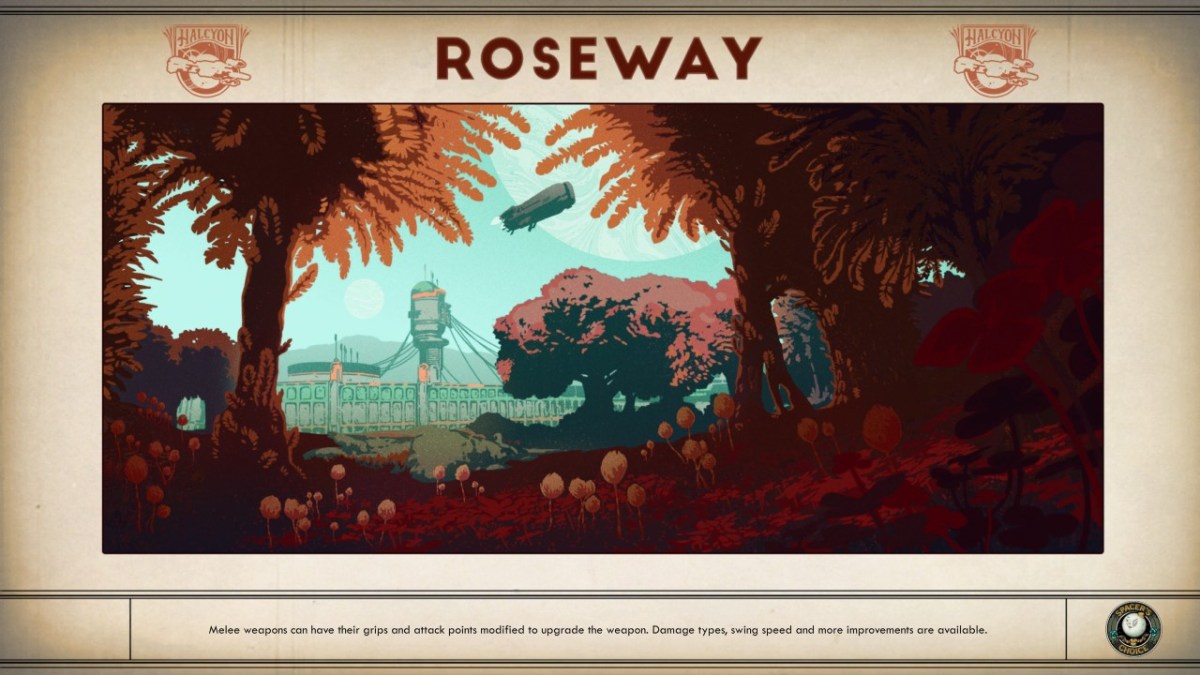
Head on down to Roseway and when you land switch your active quest to The Distress Signal. Upon leaving your ship you’ll find a disturbing lack of living people. Walk down from the pad to the town itself, looting the bodies you come across. As you near the entrance to Roseway you’ll hear gunfire: seems there are survivors after all.
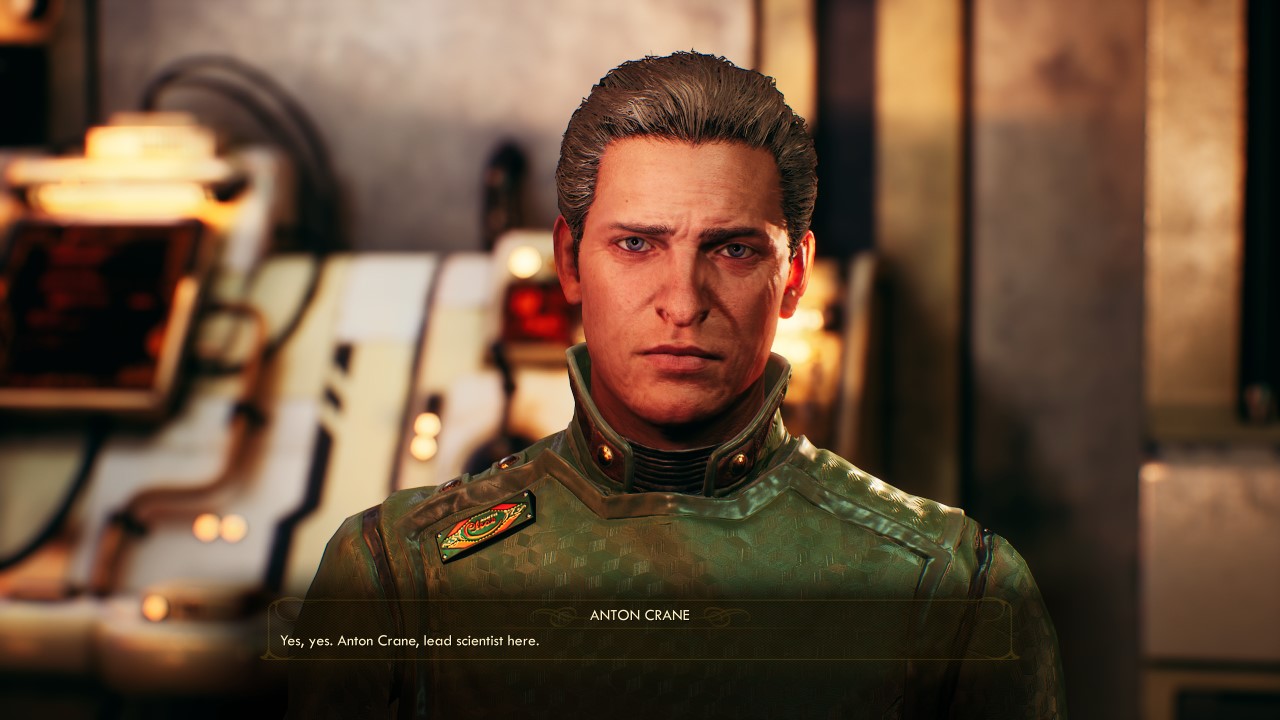
When you are inside Roseway you will see a man named Berke picking at a raptidon corpse. Talk to he’ll point you in the direction of Anton Crane, one of three scientists you will need to speak with in Roseway.
If you’d rather learn what happened to the town, speak with him, and eventually you can make a 25 Intimidate check to get the scientist to cough up the important details about his work. He’ll ask for your assistance recovering his experiment results from the outlaws that raided the town. Accept his offer to move forward.
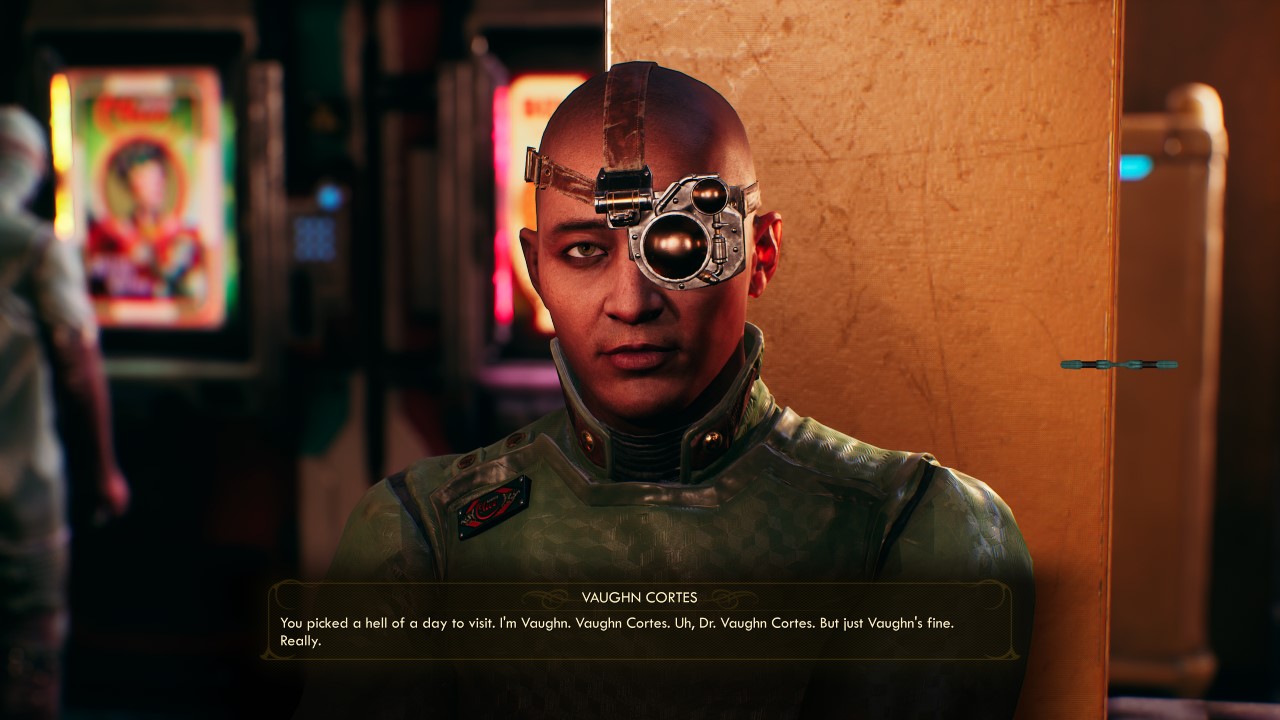
After you’re done with Crane, leave his building and hook a right: the next person you need to talk with for The Distress Signal is ahead within the Roseway Luxury Apartments. Go inside, turn right, and enter the room. You’ll meet Vaughn Cortes, and he isn’t in the best of moods. He’ll ask you to retrieve his experiment results, because this town is full of mad corporate scientists. Go ahead and grab this task as well.
And, because these assholes always come in groups of three, follow the quest marker into the building next to the Cysty Pit to meet Orson Shaw, another shady scientist who is also in need of a mercenary. He needs you to find his weapon schematic in the Auntie Cleo Storage Facility outside town.

The Distress Signal will update to show you have found all the available secrets in Roseway, and you’ll now be tasked with retrieving all three gentlemens’ data: the sort of dirty information Gladys will want to sell. You can go ahead and leave the Roseway settlement now, and head off towards the lab or storage facility.
You’ll have grabbed a minor side quest from each scientist, but these are not required to progress Passage to Anywhere. Do note: you will need all three of the scientist’s research if you want Gladys to pay you exactly the 10k bits needed for the key.
Go to the covert lab in the Roseway Gardens.
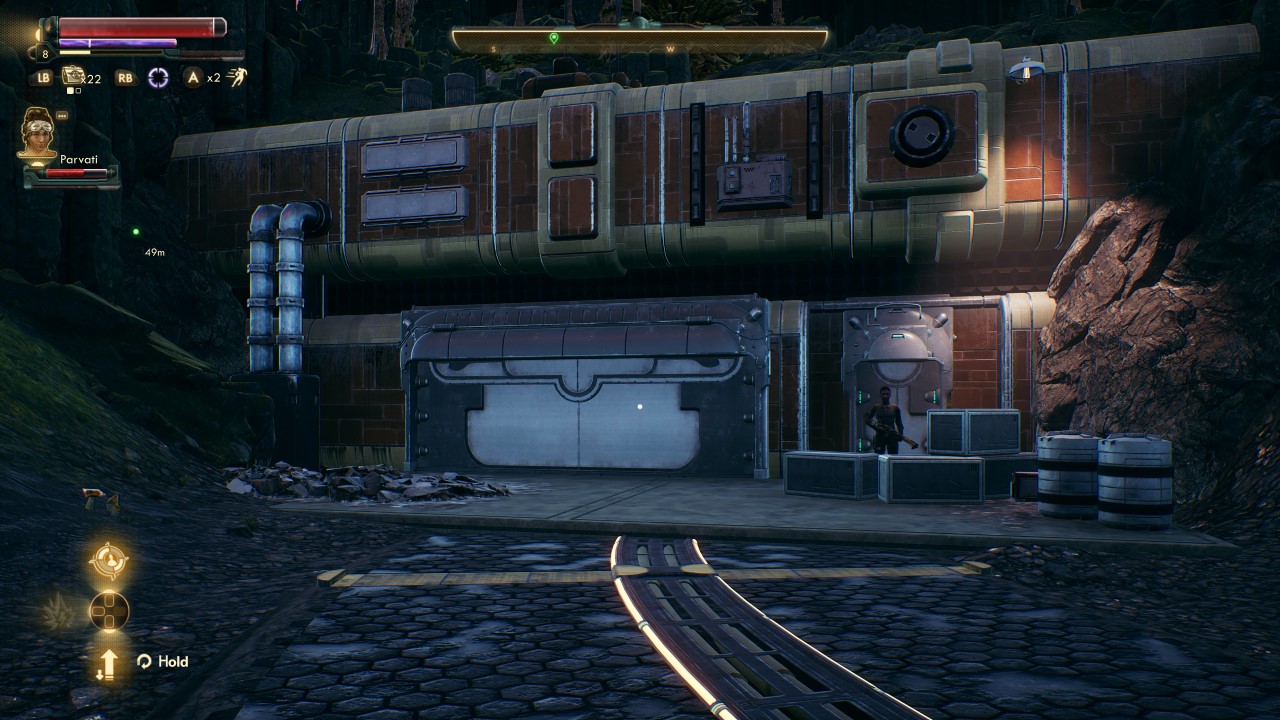
You’ll pass a couple labs on your way to the quest marker, but these are not needed for the main quest. Press forward over the hill until you reach a vent shaft that leads into the Covert Lab, where Anton and Cortes’ data can be recovered. The shaft lefts you enter from the back of the labs, but there is a more traditional entrance further down the hill, where a bandit will tell you about her leader, O’Malley, being stuck inside. This will be important in a bit.
Head down and open the blocked door ahead. You’ll find a bunch of raptidon’s inside; while killing them will complete Crane’s optional objective for The Doom that Came to Roseway, you’ll get a better reward if you pick up the sedative gas canisters lying around and use them put the raptidon’s to sleep, the “mother” especially. Collect these and head to the large containment room in the center: insert the canisters at one end then interact with the main terminal at the other end to sedate the creatures.
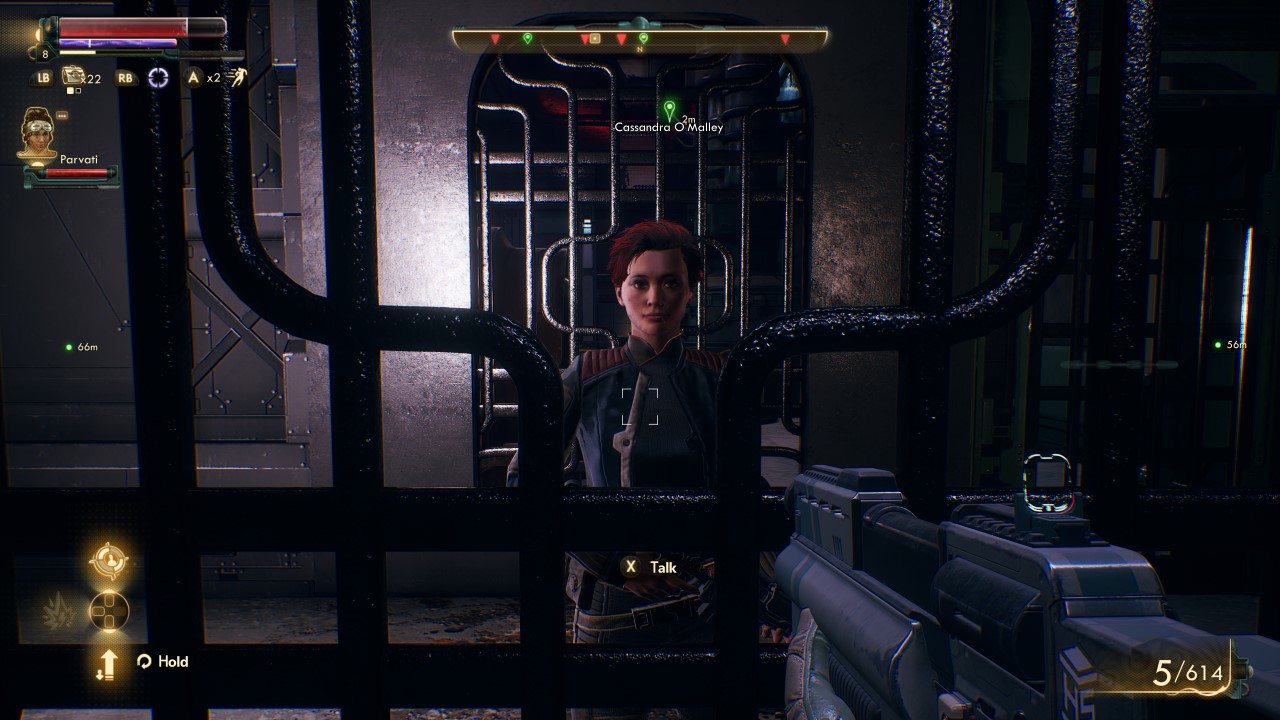
As you explore the Covert Lab you’ll eventually stumble upon the trapped Cassandra O’Malley. Talk with her to learn she has Crane’s research. She will offer it to you in return for helping her escape. You can always kill O’Malley, but you will still need a security key from Chief Porter’s office to access her body.
The office is forward up the ramp, left, and then to the right across from the open double doors leading into the dining hall. You need either 15 Lockpick to get in, the key from Porter himself (via dialog), or you can pickpocket/kill him for it. Porter is on the other end of the lab, holed up in a room with his soldiers.
You could also help her, get an extra reward of bits, then kill her, but you wouldn’t do something so cold, would you? If you opt to save her the quest will say you failed to grab Crane’s date: this is a bit of a lie, but you will need to pass either a 30 Lie, 51 Intimidate, or 21 Persuade to obtain Crane’s research after rescuing her.
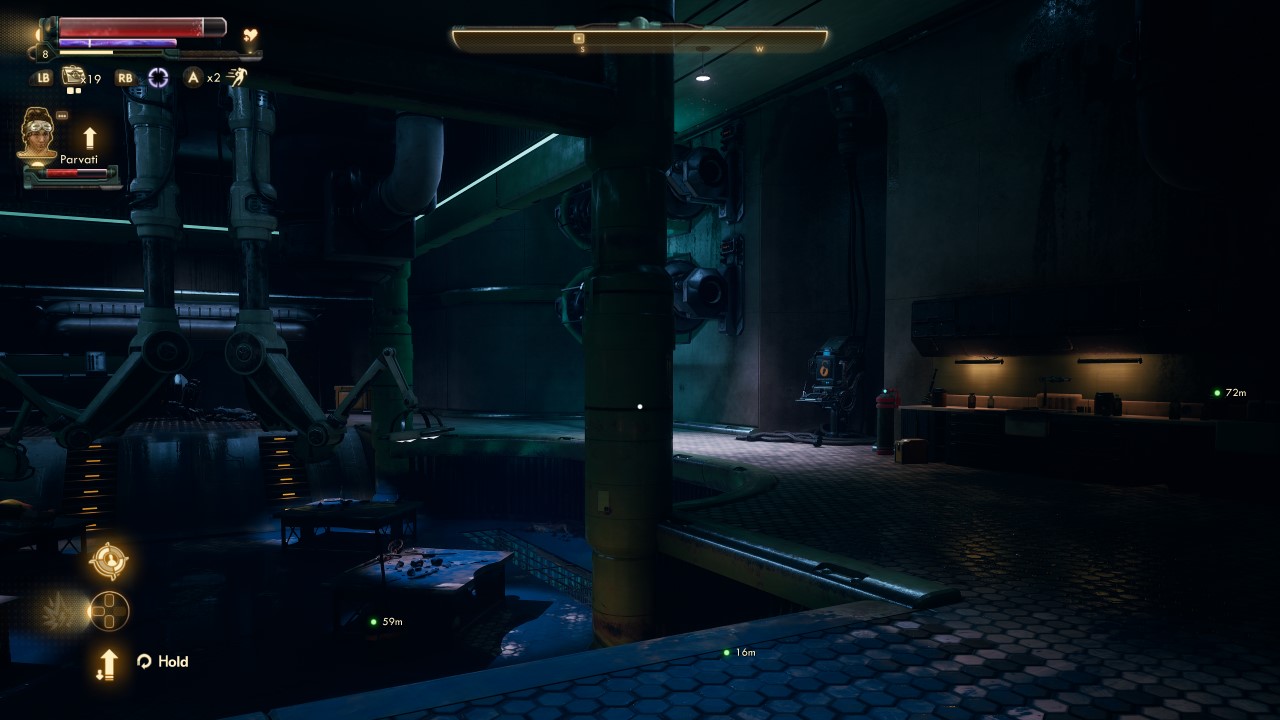
If you go across the room from O’Malley you will find a lab and a terminal: completing the experiment will give you Cortes’ data. If you make a successful 40 Science check you can get double the musk Cortes was making, allowing you to give him some of his data without losing what you need to make Gladys happy, but it’ll require a successful Lie check while talking to him.
Go to the storage facility.
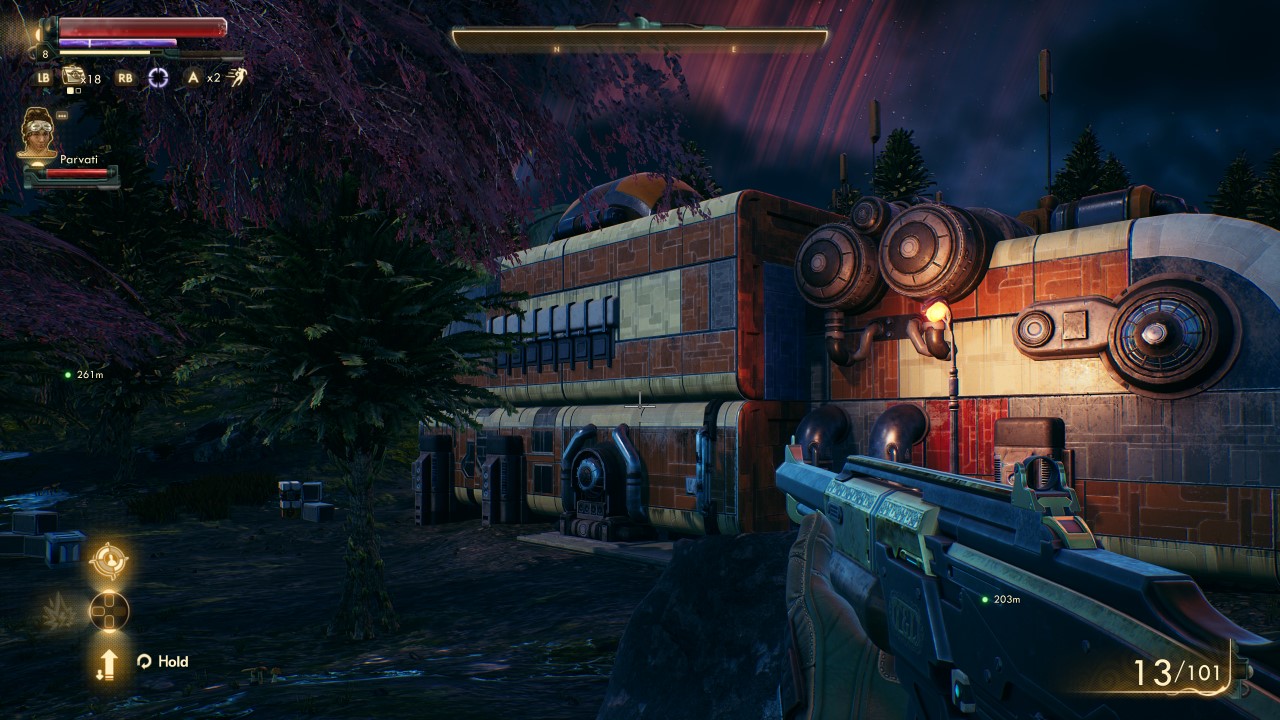
Head out of town and follow the waypoint to the storage facility; it’s just south of the landing pad on the map near the broken terraformer. Marauders patrol this area, so clear them out, and be wary of their mines. Inside you’ll work your way through some more mauraders, and turn right to cross through a large storage area. Go through the first door along the far wall and hook another right to reach a locked door. A 35 Lockpick will open it, or read the note next to it for the passcode. Go through, down the stairs, and find a few mechanical guardians protecting your prize.
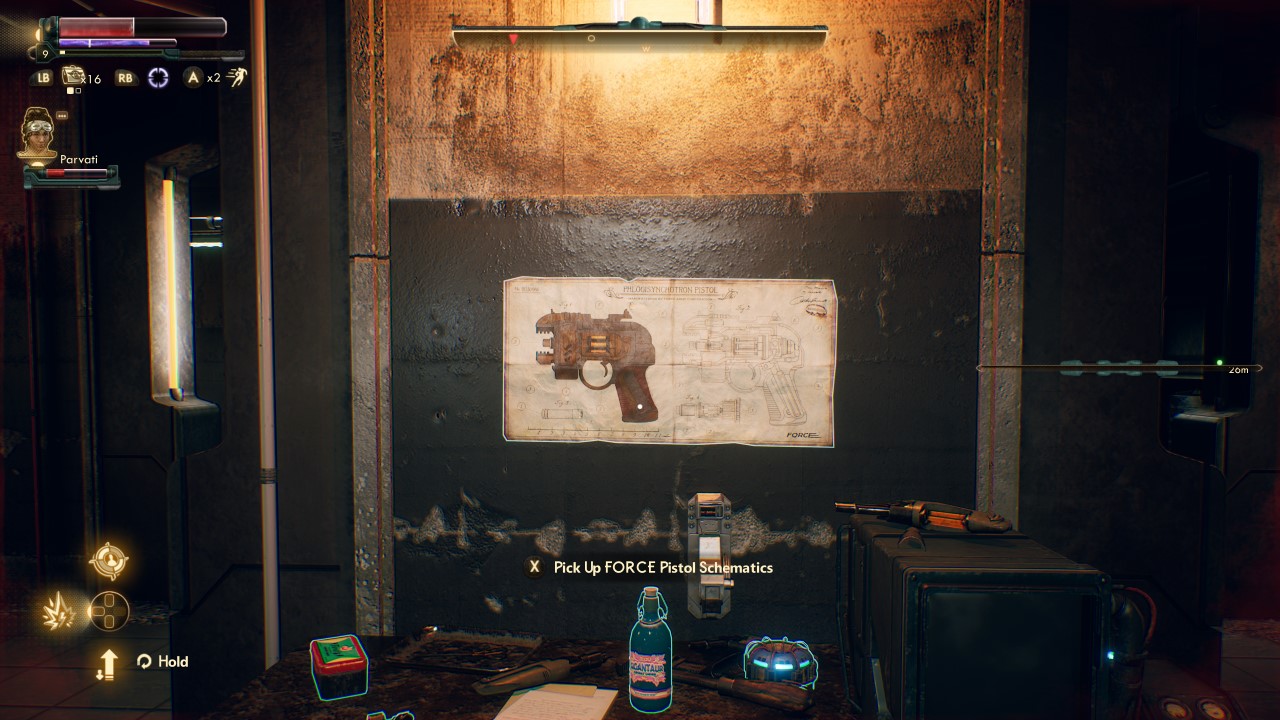
If you you picked up the crew quest to repair the S.A.M. unit in your ship you’ll find the Acid Steeper upstairs in this same building. Once you have Shaw’s diagram (and the Steeper if you needed it), go ahead and leave the facility and either fast travel back to Roseway if you want to complete the scientist’s quests, or head to your ship and return to the Groundbreaker.
Remember: altruism means you’ll need to buy the key with bits out of pocket, because Gladys pays you 10k bits if give her all three pieces of data. That means lie, persuade, or intimidate your way into keeping the valuable data. If you have low dialog and charm, then it may be best to not talk to the men. You will fail the side quests associated with each scientist (unless you were able to get double the musk for Cortes; go you), so if xp means more to you than bits feel free to return the data. They will pay you, just not as generously as Gladys (though, Shaw does make his super-weapon for you, which is helpful for you aggressive types).
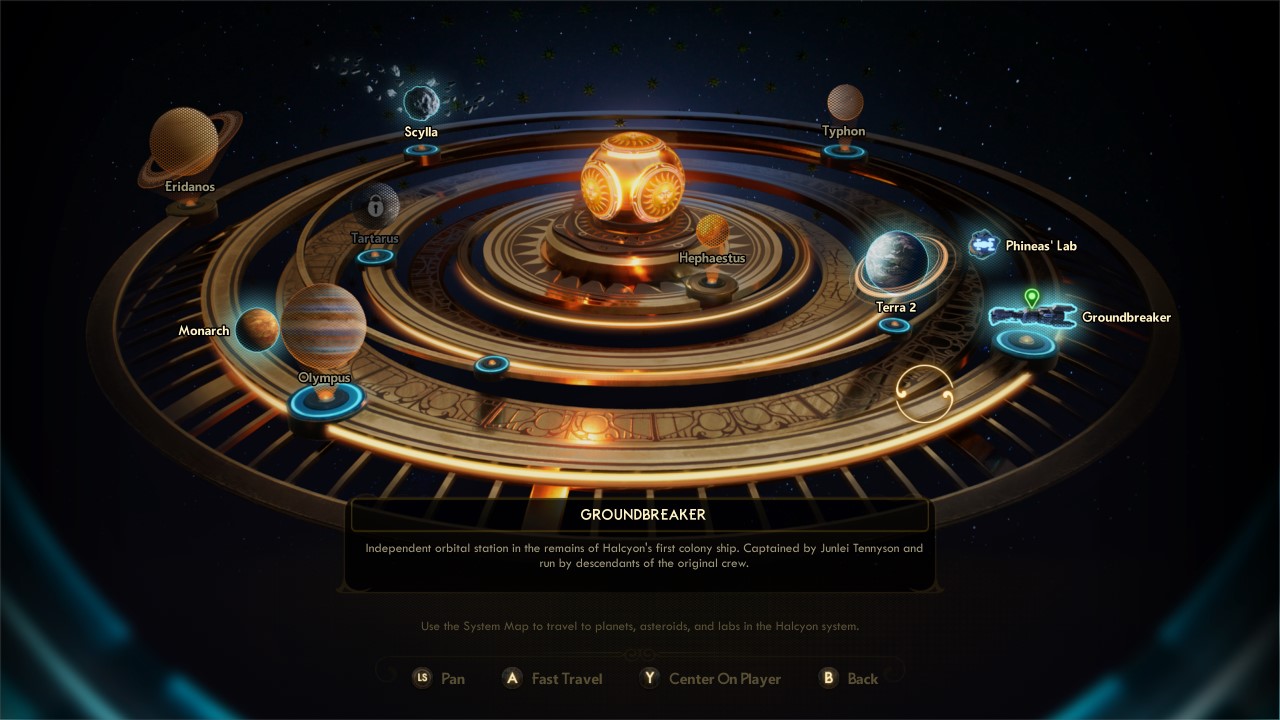
Return to the Groundbreaker, then go to Monarch.
Return to the Groundbreaker and visit Gladys: you can finally advance Passage to Anywhere. You can give her the data you have on hand, and you’ll be rewarded with the credits you need to purchase the key, some xp, and a few restorative items. She’ll give you a task – Salvager in the Sky – but you can safely ignore it if you are pushing the main quest.
Return to your ship and talk to ADA to call Dr. Phineas. If you’ve skipped straight to Monarch Dr. Phineas will ring you up to warn you about the dangers ahead. He will try and encourage you to visit Gladys once again, but you can tell him to buzz off. Whether you called him or he called you he’ll tell you to meet with a Mr. Hiram Blythe, an information broker who can tell you where the chemicals Dr. Phineas needs are located. Thing is, Hiram is hard to reach, so Dr. Phineas will point you in the direction of Nyoka: another potential companion you can unlock if you follow the quest chain.
Once you get off the line and go to Monarch you’ll get a broadcast from an unknown individual: it’s a story beat, so don’t worry about any choices just yet. At this point you’ll unlock the next story quest: Radio Free Monarch.
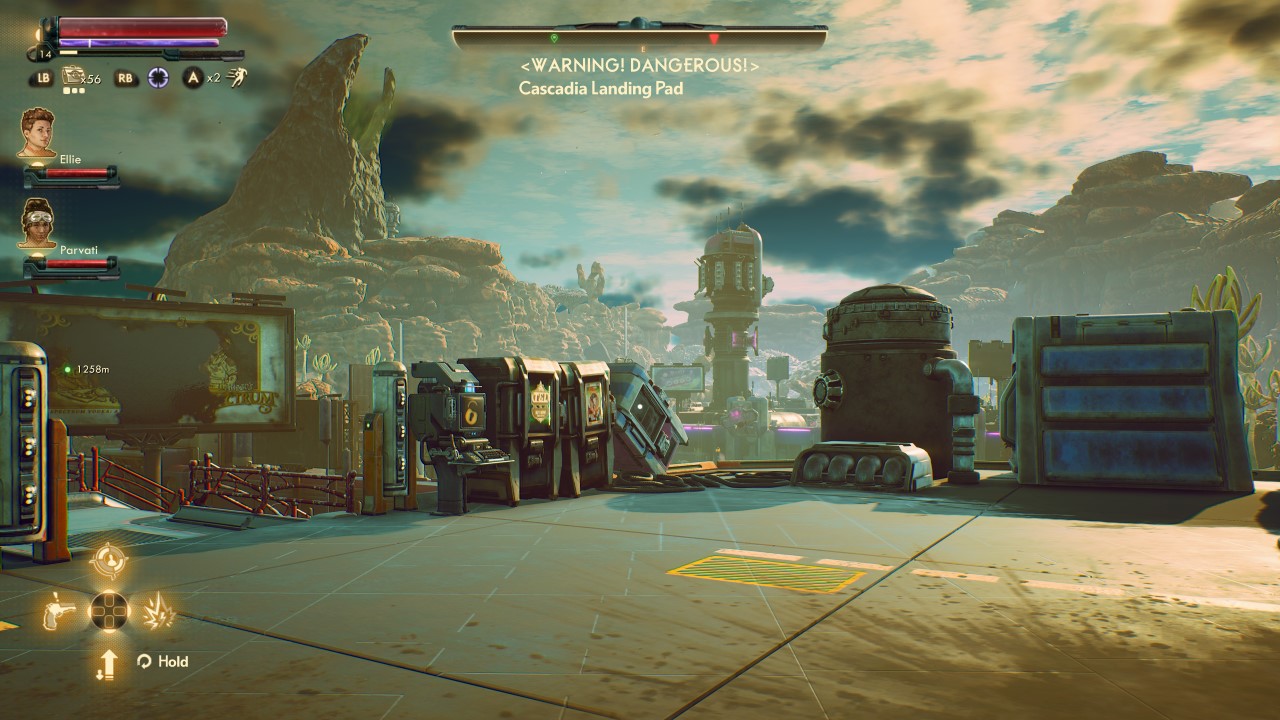
Passage to Anywhere will remain, however, if you are skipping straight to Monarch without the Nav Key until you reach Stellar Bay, in case you rethink your decision to trek 1260 meters across Monarch on foot. Be sure to have powerful weapons, plenty of ammo, and inhaler charges if you are skipping straight to Monarch: everything here is level 20+, aggressive, and hits like a small truck due to you being dramatically underleveled.
For anyone who finished Passage to Anywhere and are now arriving at Monarch you’ll land directly in Stellar Bay, and will start the Radio Free Monarch quest.
For more The Outer Worlds guides and walkthroughs be sure to check out our guides page!




Published: Oct 24, 2019 09:01 pm