Welcome to Radio Free Monarch Part 3, where totally-not-a-cult-leader Graham of the Iconoclasts needs help spreading the good word. If you are starting here and have yet to assist Sanjar, Part 2 of this walkthrough series can be found here.
Help Graham obtain printing press rolls.
When you enter Amber Heights you’ll be accosted by Rose, who is trying to spread the good word about philosophism, yet is all out of pamphlets. She’ll tell you the Iconoclasts are the only “free people” in Halcyon, so be ready for some anti-corporation cult shenanigans. You can ask her about the Iconoclasts, Graham, and even his second-in-command, Zora: you’ll get a waypoint leading to them if you ask Rose where to find them.
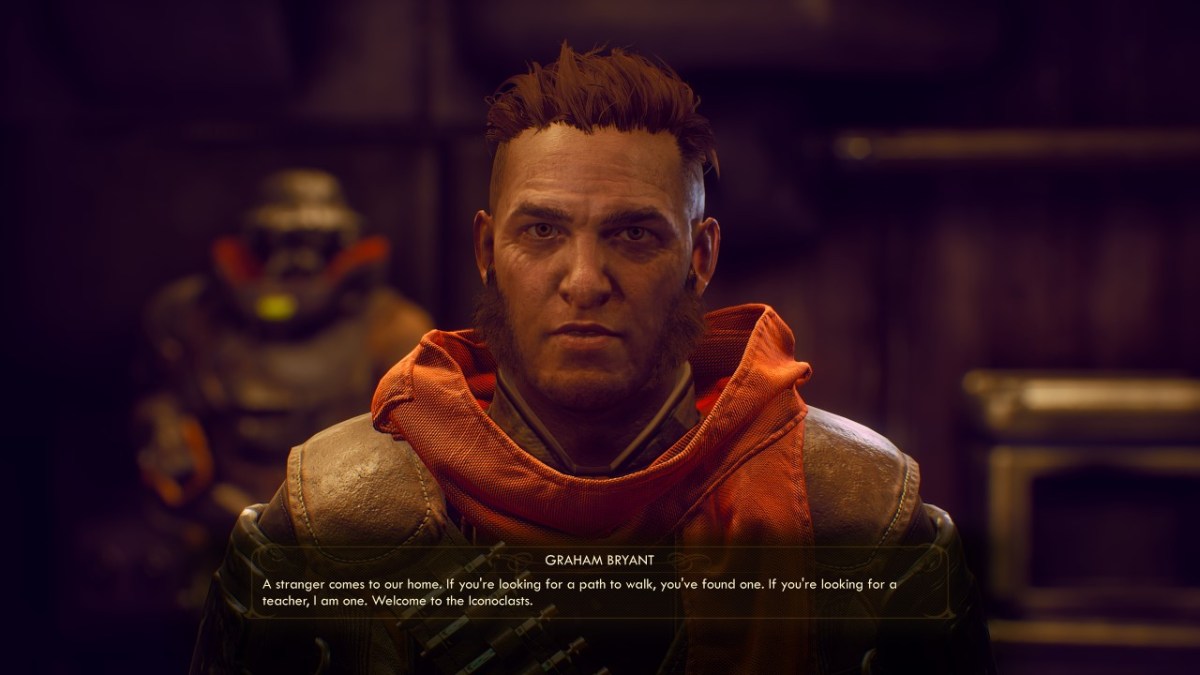
Head up the hill to the building directly ahead and find Graham on the second story. Speaking like a proper cult leader, he will try and sell you on the Iconoclast’s philosophy, and you can indulge him if you wish. When you ask him to take down his broadcast he will argue with you, saying his message is needed to combat the Board’s propaganda. Even attempts to convince him no one is listening fall of deaf ears.
Alright, so we can strike “will do it out of the kindness of his heart” from the list. That means it’s time to perform some favors, at least for you peaceful sorts. Graham is convinced that repairing the broken printing press will allow him to better spread his message – via the Board’s own magazines – and he is willing to shut off his broadcast if you get the press back up and running.
Naturally, there is a wrinkle to all of this: his runner has gone missing (unless you helped Sanjar first, in which case this next stage of the quest won’t occur), so it will be up to you to meet with his MSI supplier, Carlotta. She can be found in the Bayside Terrace ruins to the north. Agree to Graham’s request and you’ll get The Commuter side-quest. He’ll also ask you to purchase high-capacity cartridges from Carlotta to pirate radio plays, but Zora will ask for extra food and medicine instead.
You can also attack him and be done with the whole ordeal, but the iconoclasts will become permanently hostile to you, and this will affect the final mission and ending.
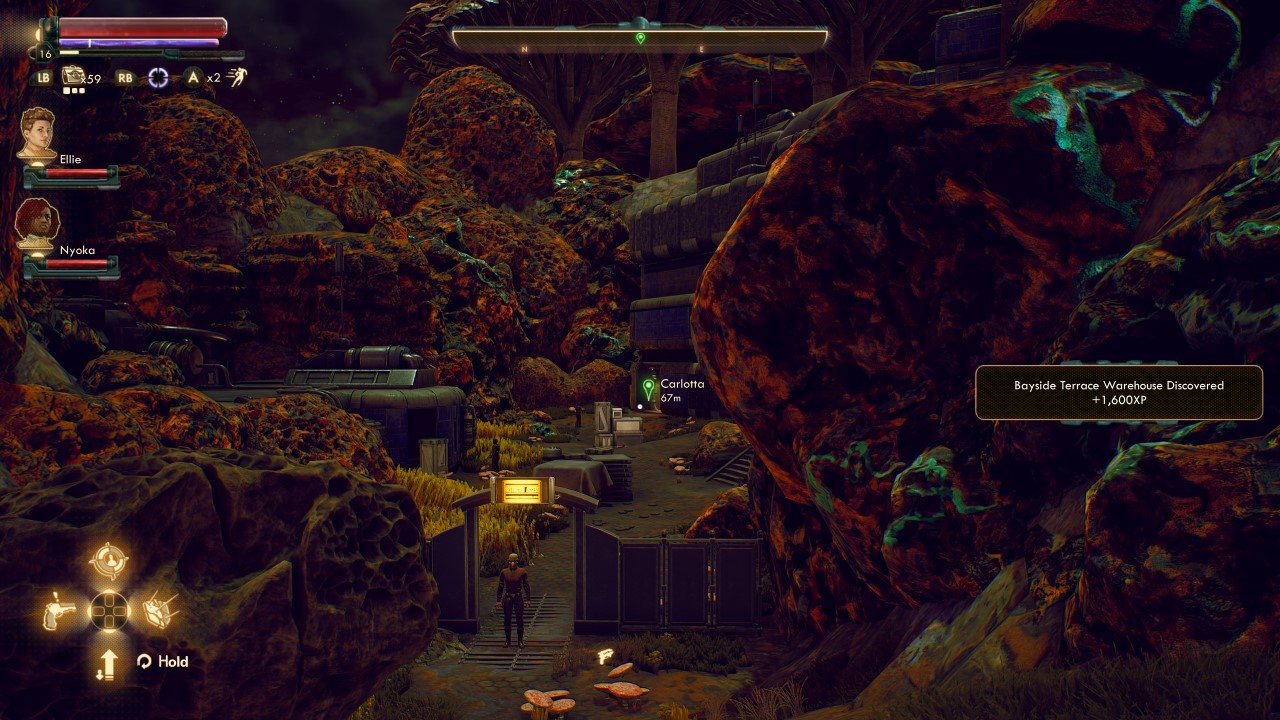
Either leave the Amber Heights and walk north, or use the fast travel option if you passed the Bayside Terrace ruins when leaving Stellar Bay. No matter how you get to the Bayside Terrace Ruins, you’ll need to venture up a small path that cuts into the mountain. As you begin to work your way back down you’ll see a non-hostile man guarding the gate.
This man, Niles, will initiate a conversation once you approach. Because nothing is ever simple, he will not only inform you that the “generator is leaking” (and, therefore, he won’t let you through), but that his boss also wants to void Carlotta. You can attack him and lose SubLight rep, or you can talk your way in. You’ll need either 55 Lie, 55 Persuade, or 2478 bits to get Niles to walk away peacefully. Pass any of these to see him and his cronies leave the area without a fight.
You now have unimpeded access to the ruins. Go to the building ahead to find a locked door and intercom. Interact with the intercom to talk to Carlotta, who is a bit concerned with the recent silence outside. Talk to her and tell her you are there for the supplies – doesn’t matter how you do – and she’ll unlock the door.
Go inside and talk to Carlotta. She’ll tell you this is officially her last run, because Sanjar has recently placed a ban on helping the Iconoclasts. Carlotta will eventually ask which of the two extras you want delivered: the cartridges for Graham, or the food and medicine for Zora. Make your choice and Carlotta will leave. Go ahead and fast travel back to Amber Heights when you are ready to talk to Graham.
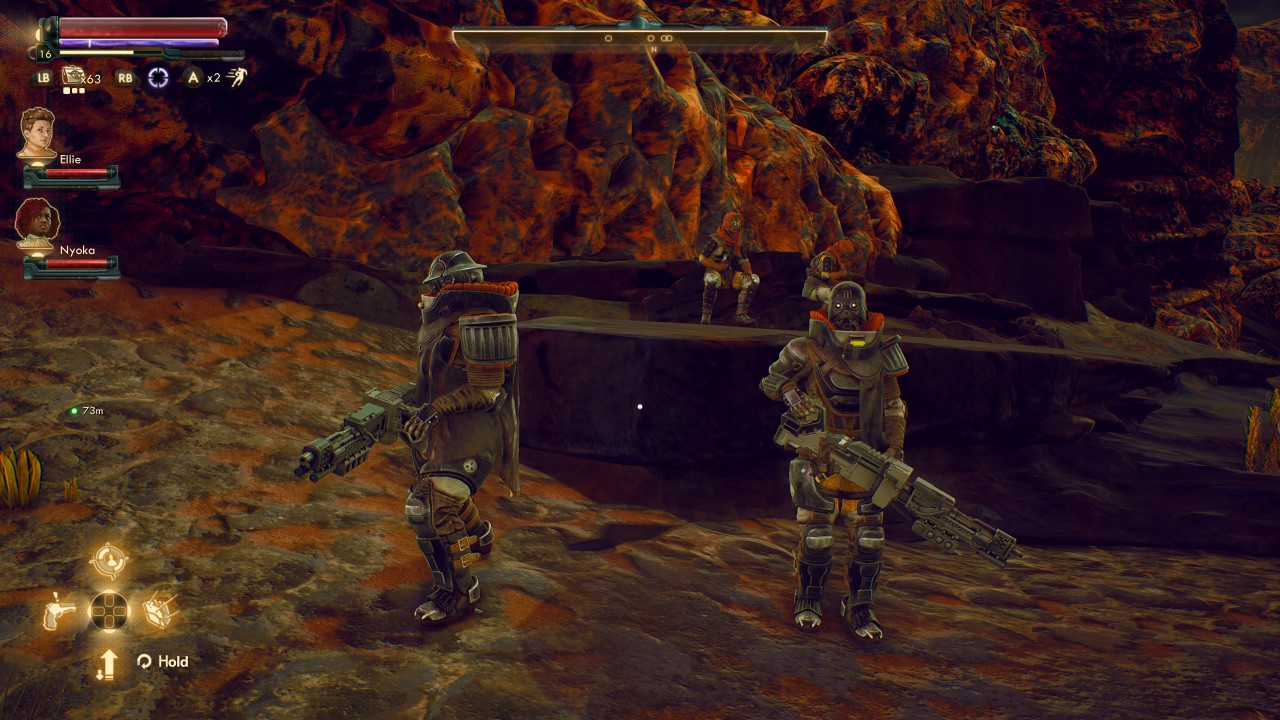
Repair the printing press and find the missing twins.
Oh, would you look at that: another wrinkle. Graham and Zora are arguing over some missing people – The Van Noys – when you walk in. They’ll stop squabbling once they notice you have arrived. After you tell Graham you have the roller’s for the printing press (and whatever you extra you chose to order, to either Zora’s delight or chagrin), Zora will ask when the next shipment from Carlotta is coming. No matter which dialog choice you go with the end result is the same; Graham and company are now righteously upset with Sanjar and Stellar Bay.
After the two bicker over this new information, Graham will ask you to go to the press and repair it, completing The Commuter and triggering Pay for the Printer . Turns out the missing Van Noy twins the duo were arguing over were sent to the press. Zora will request you save the Van Noys while you are out there. You don’t have to, but it’s a good way to earn extra favor with the Iconoclasts.
Once you leave Amber Heights and check your map you’ll see that the press is, well, it’s a bit of a ways North. You can fast travel to Stellar Bay to cut off some of the travel, but no matter what you choose to do you’ll need to cross the river and head into the wilderness to get there.
If you crossed the river near Stellar Bay, head west to find the missing Van Noy twins resting outside the settlement that has the printing press. Talk to May, and you can either send the twins back to safety, or you can ask them to assist you in taking the press. If you want them to leave, they will ask you to find their medic first, who went missing hours ago.
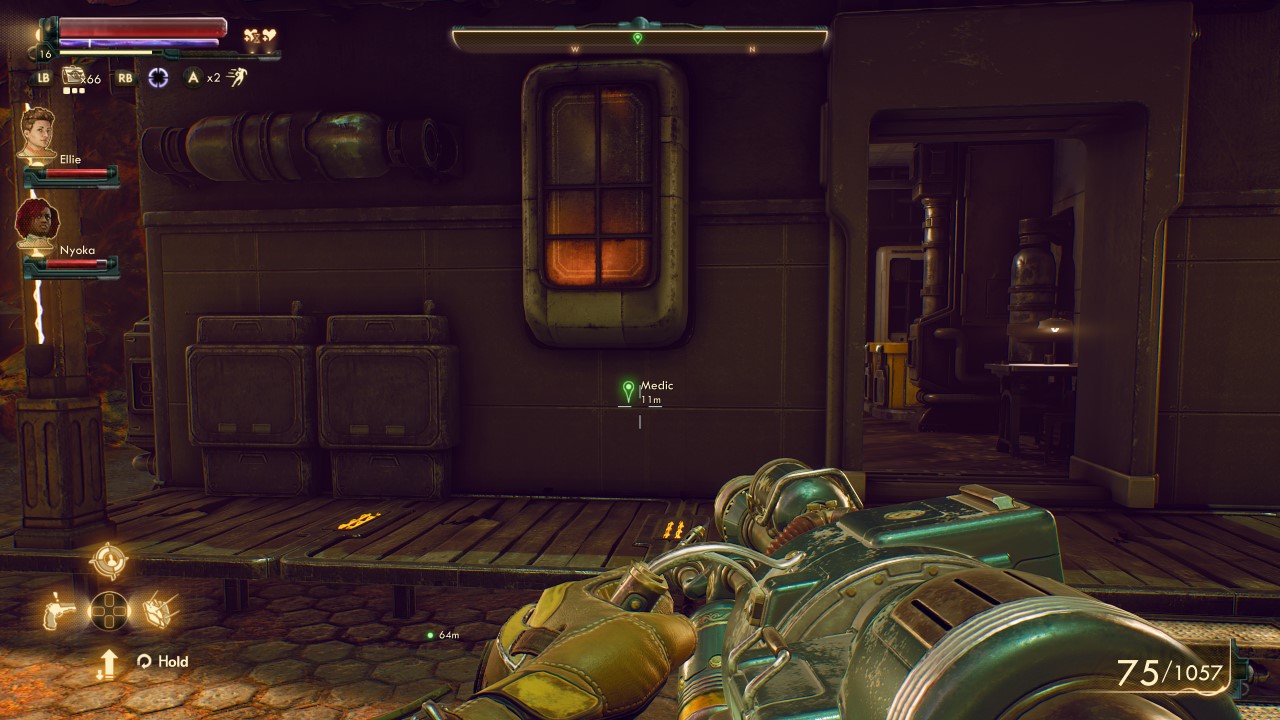
Thankfully, the missing man is in the northern part of the settlement up the hill to the right of the press building, so you do not need to go far. There are raptidons standing between you and the medic, so it behooves you to delete them. Move up the hill towards the shacks, dealing with the two raptidon colossi and their friends when you get to the top. Go inside to find a corpse where the medic use to be. Loot the body, and take what you found back to May.
Give her the bad news, and she’ll inform you her and the team will leave once they are patched up: consider them saved! You can also ask for their help instead of breaking the news to her if you still feel you need backup, but do run the risk of the twins dying in the attempt.
Whichever you choose, head back up to the large building – Terra One Publications – and head on inside. You’ll be shocked to see everyone is dead, and that your raptidon woes are far from over. Once through the set of double doors ahead of the entrance you’ll find a gaggle of the bastards: killing them isn’t necessary, but it’ll make the repairs easier.
Whether you creep by stealthily, or take the loud approach, you’ll want to head upstairs and towards the back where you’ll find a terminal. Access the terminal, install the rollers, then pat yourself on the back: you can return to Graham in Amber Heights with the good news.
This may come as a shock, but Graham and Zora are arguing again, and it seems Zora is adamant about dealing with Stellar Bay. Go ahead and pick of Zora’s side quest, Sucker Bait, if you want to continue helping the Iconoclasts outside the main quest. This quest will also influence the rest of the MSI and Iconoclast faction quests, which ultimately affect the final mission and ending. Repairing the press has officially concluded this part of Radio Free Monarch.
Return to Harim.
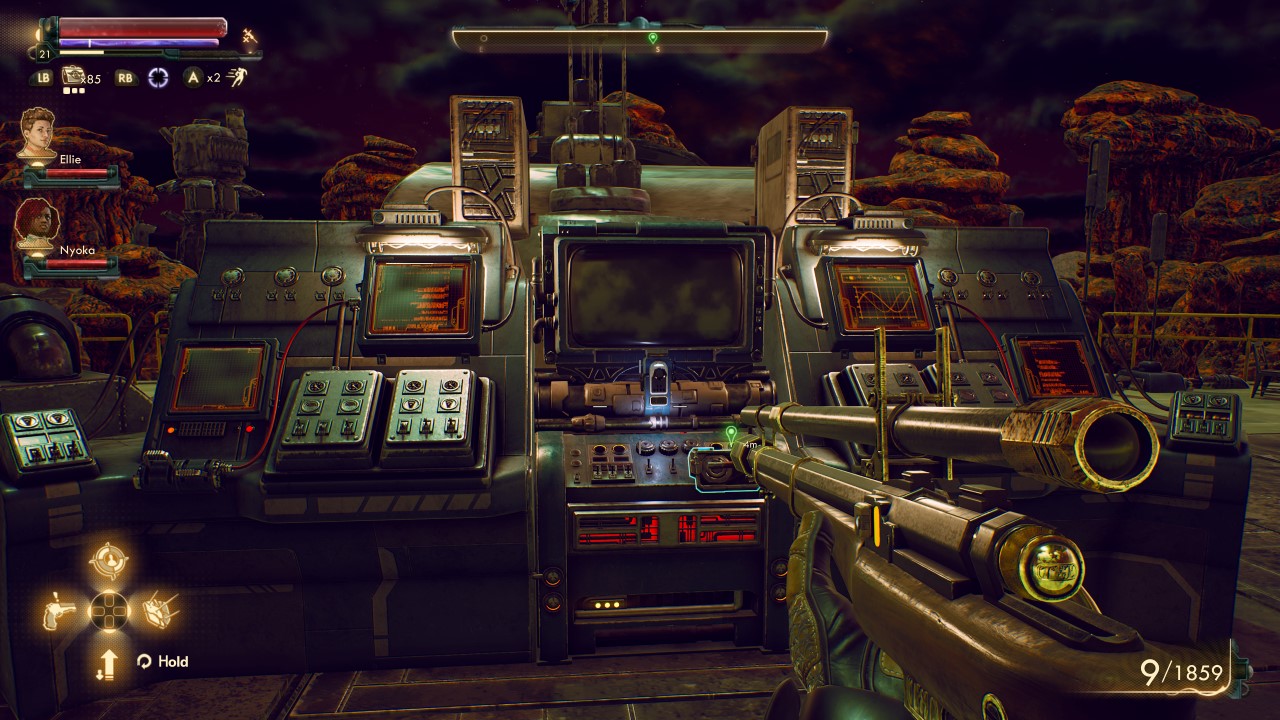
Fast travel back to Devil’s Peak Station once you are ready to move Radio Free Monarch forward. Happy to finally have radio silence, Hiram will ask how you handled the job; tell him what you have done, and he will ask you task with fixing the antenna’s receiver. If you’ve been doing Signal Point in Space for Akande, be sure to remind Hiram who is truly running the show to move Akande’s quest chain forward. For Phineas’s intel all you gotta do is go outside and throw a switch, no leg-pulling here. The radio will come back online and Hiram will send Dr. Phineas his data. Signal Point in Space will task you with returning to Akande.
Depending on your choices, Graham, Sanjar, or both will contact you before you finish talking to Hiram. If both are alive and chattering you will get a quest to retrieve a crashed gunship’s targeting module (Canid’s Cradle). This quest will determine who ultimately controls Monarch, and it does affect the final mission and ending, so do it as you see fit (and, good news, you can bring the two factions together, despite what the quest may initially advertise).
Head back to your ship and fly off to Dr. Phineas’ lab. Talk to the good doctor when you arrive, and he will send you on to your next task: stealing the chemicals he needs from Byzantium. Radio Free Monarch will conclude and you’ll advance to the next story quest: The City and the Stars.
For more The Outer Worlds guides and walkthroughs be sure to check out our guides page!




Published: Oct 24, 2019 09:21 pm