In Chapter 2 Part 1 of Bravely Default 2 you arrived in Wiswald and confronted Galahad, who didn’t quite seem himself according to a concerned Elvis. That guide was a wee bit shorter than usual, and that’s because Part 2 includes a whopper of a dungeon.
Since Bravely Default 2 is a narrative-heavy game, I will try to keep all further spoilers to a minimum. Cutscene details will be scarce, and characters will only be named as required. Additionally, this walkthrough will follow a checklist format to keep things short and concise.
I will list monsters encountered along the critical path (to include their weaknesses), and treasure chests (as well as what they contain). Enemies and bosses are natural but necessary spoilers, so I’ll go ahead and tag this article with a mild spoiler warning here, and I will precede every boss with a more obvious spoiler warning.
Bravely Default 2 Chapter 2 Part 2 Walkthrough
Investigate Wiswald
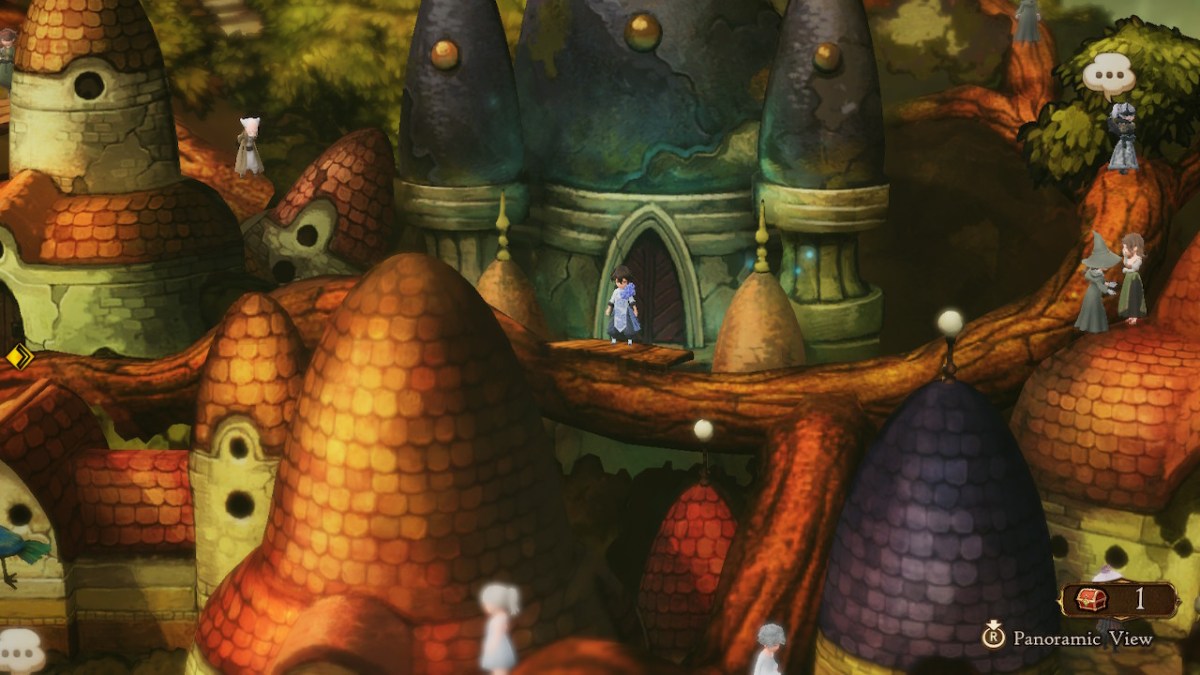
- After the team retreats from battle and the cutscene that follows ends head down the branch until it forks, then go right to the Institute of Magical Inquiry to speak with Elvis’ old friend Roddy.
- Enter to start a cutscene.
- You’ll find yourself back on the streets of Wizwald once the cutscene ends. Now you need to go to the shop to the left of the Institute to speak with Lily.
- Before you do you can head down the branch below the Institute to reach the second chest in Wiswald (Justacorps)
- Go to the shop by working your way left on the branch, then back up at the split. Enter to start a cutscene that will provide some insight into the current situation in Wiswald.
- Odd things are afoot, so the team decides to speak to both Roddy and Lily again.
- You have the choice to speak with either, but Roddy is not only in town, but will lead to the next dungeon. So, we’ll start with him.
- Return to the Institute of Magical Inquiry to trigger a brief cutscene in which Elvis will share a method to get inside.
- Yep, you’re about to go crawling through the sewers.
- Go back towards the entrance to Wiswald and go left in the direction of the Sewers (Elvis is standing along the path). Enter the opening at the end of the lane to enter the your first Bravely Default 2 Chapter 2 dungeon.
- Don’t forget to rest at the inn, and to stop by the shop for supplies.

The Sewers and Institute of Magical Inquiry
- The sewers are a hazardous place to explore: you should be level 21 and Job level 6 or higher if you want to go in without struggling too much.
- A cutscene will play once you enter the area that leads to the sewer entrance. Once it is over head down the stairs on the right and talk with the child to enter the Wiswald Sewers.
- You can grab a chest here. Go up to the tent right of the stairs, and head to the right behind the trees to loot the hidden chest (Earth Mallet).
- A short cutscene will play, then you’ll be free to explore the sewers.
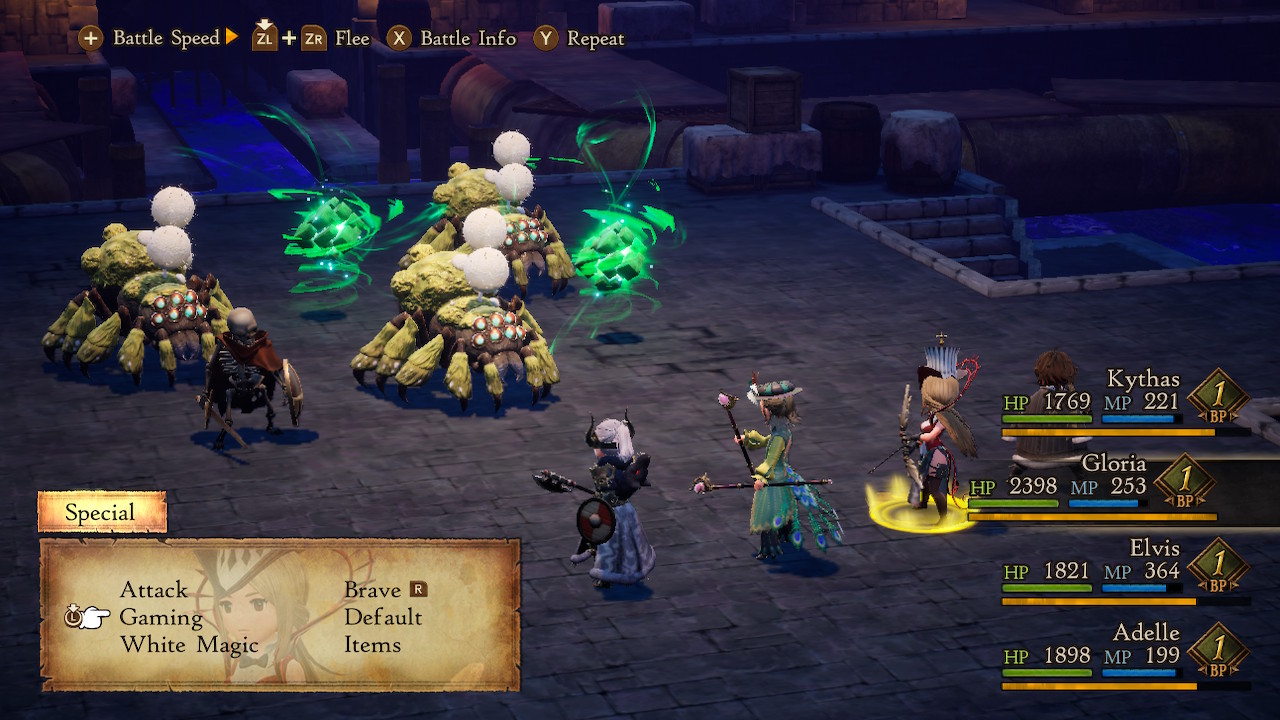
- The sewers and Institute are full of all sorts of nasty monsters, such as Mantraps, Skeleton Sellswords, Ventus Elements
- Mantraps (Plant) are weak to Fire, Wind, Darkness, and Swords. Take half damage from Earth, are immune to Lightning, and absorb Water and Light.
- Hands Off is a counter attack (Physical Attacks) that has a chance to inflict Berserk and Poison on a target.
- Skeleton Sellswords (Undead) are weak to Fire, Light, and Staves. Immune to Darkness.
- Occasionally counter Restorative Magic.
- Moulder (Insect) are weak to Water, Swords, and Axes.
- Ventus Elements (Spirit) are weak to Earth and Staves. Take half damage from Bows, Fire, and Lightning, and absorb Wind.
- Gigantos (Demon) are weak to Earth, Darkness, Swords, and Bows. Absorb Light.
- Can counter Physical Attacks with a one-shot attack.
- Golem (Spirit) are weak to Water and Axes. Take half damage from Fire and Light, are immune to Lightning and Darkness, and absorb Earth.
- Mantraps (Plant) are weak to Fire, Wind, Darkness, and Swords. Take half damage from Earth, are immune to Lightning, and absorb Water and Light.
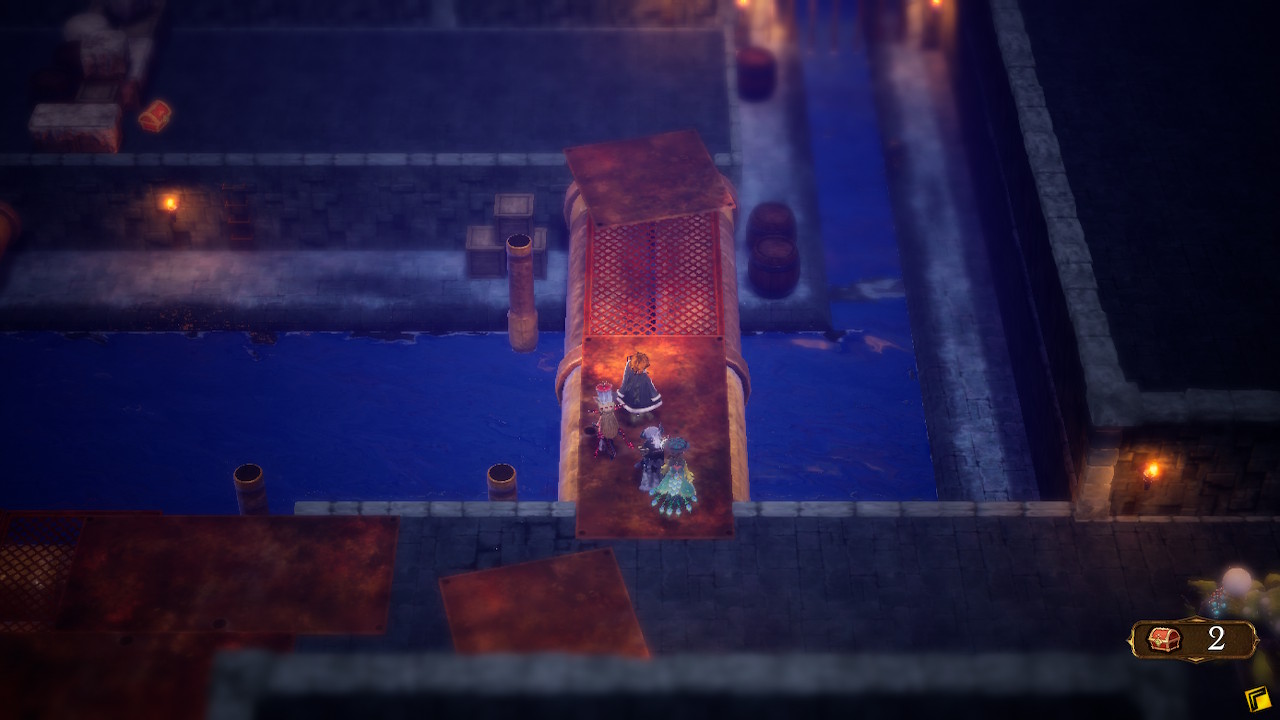
- There are 18 chests in this dungeon: 4 is the sewers, 14 in the Institute of Magical Inquiry.
- The first is early on in the dungeon. Follow the path across the first grate, then go left on the second one to reach the chest (2x Teleport Stone).
- Follow the (relatively) linear path until you reach a split that only goes left or right. Go left then down, then left again and around to the second chest (Medium JP Orb).
- Get back on the path that heads right and keep on it till you see a narrow path leading down just before a path ahead that splits up. Go down then turn left and keep going until you reach the third chest (4x Animator).
- Go back to the fork and continue right until you get to a junction that heads down or keeps going right. Skip the path down and go until you reach a path leading up. Head left for the forth chest, which will have four Skeleton Sellswords within. Kill them for an Orichal Dagger.
- The other chests will be listed below.
- Move on to the next area, which is via a door to the far, far right.
- Use the Dungeon Portal as needed to return to town and either heal, stock up on items, or both.

- Welcome back to the Institute of Magical Inquiry. You’ll be crossing through here from now on.
- To skip the sewers whenever you want to leave head downstairs and talk to the man in the front of the entrance to the Institute to have him unlock it.
- The first chest in the Institute can be looted by going down the stairs to the left, then into the lowest portion. Open the chest for a Mythril Bow.
- Head back upstairs and pass through both doors on the right to enter the Institute’s labs.
- The four chests in this section are simple enough to grab:
- For the first chest head up and right, then follow the path leading forward until you can head up. It may not look like it, but you can shimmy to the left, and you’ll find the chest on the far end of the path (Mortarboard).
- Return to the right and continue that way until you can only go up or down. Head down and around for the second chest (1330 pg).
- Now head all the way up and go right, following the long path that leads to the third chest (5x Mini Ether).
- Go right after looting the third chest for the fourth, which has four Ventus Elementals within. Kill them for Rod of Fire.
- You’re done with this floor of the labs, so head back round till you see the stairs on the left. Head up to reach the second floor of the laboratory.
- Once up top head left and around, following the path to the next set of stairs. Instead of taking them head to the top portion of this floor just above them to find the chest tucked away in the bottom-right (3x Dark Drops).
- Fall back to the stairs and go up to the next floor. There is a Dungeon Portal here, and I recommend using it to fall back, use the inn, resupply, and save.
- There are 6 chests on this floor, and most are along the critical path.
- Head down and left around the spiral to reach the first chest here (Earthing Rod).
- Go back up past the entrance and follow the path until you can turn right, where the second chest rests (1840 pg).
- Now head left and continue until you can go down. Go as far down as you can, then go left. The third chest is in the first room above, and it has two Skeleton Sellswords and three Ventus Elements within. Kill them for an Academy Gown.
- Continue left until you reach the very last room, where chests four and five wait (4x Devil’s Delights and Courage Ring).
- Head right then up the first turn. Continue up till you see a path to the right, then follow that till you come to what appears to be a dead end. There’s actually an arch to your left; slip under it for the sixth and last chest (Mirage Vest).
- Circle back around from the last chest and head straight left once able, then up and left. You’ll reach a Dungeon Portal and save spot.
- I recommend at least using a Tent and saving here.
- You are back in the Institute, but the next door on the left will lead to a boss fight.
- The second Institute chest is up here with you (Teleport Stone).
- Go through the door and down to confront Roddy, who is none too pleased to see you.
SPOILER WARNING FOR THE UPCOMING BRAVELY DEFAULT 2 BOSSES AND JOBS.

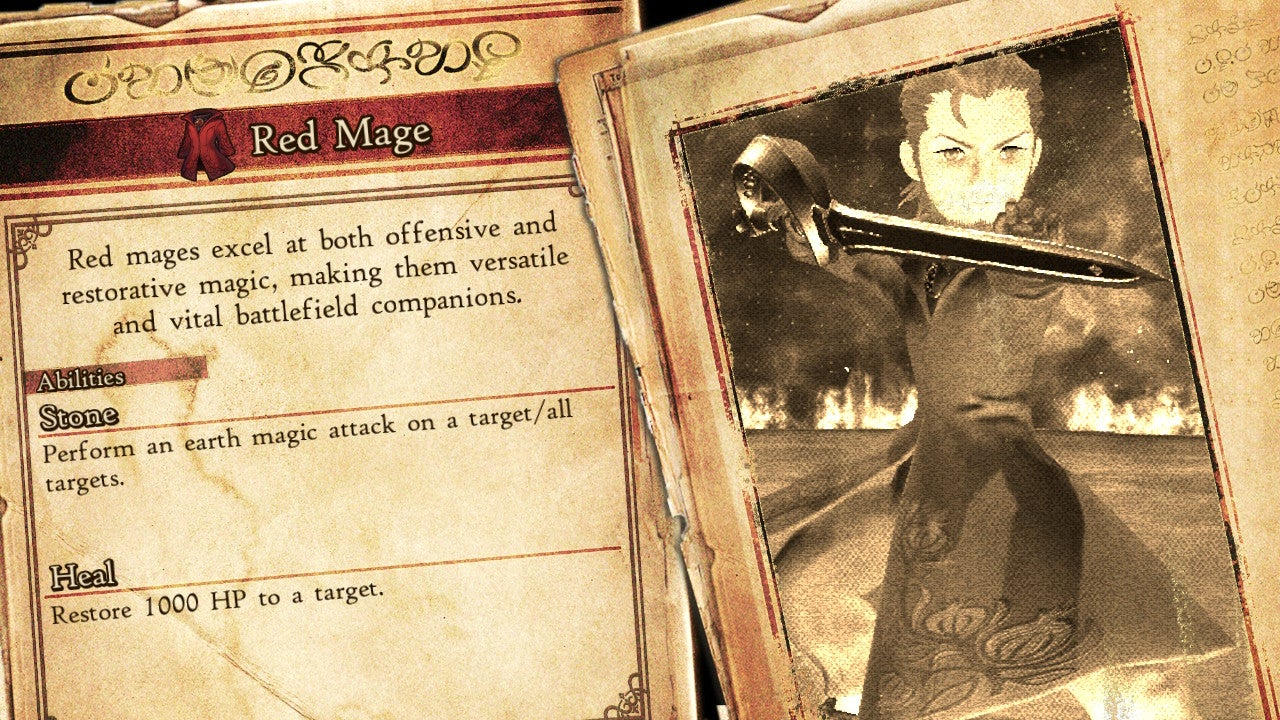
Roddy (Red Mage)
We have a full guide for how to take down Roddy here, but to summarize:
- Roddy: 17936 Health, is weak to Fire, Light, Spears, and Bows. Takes half damage from Earth, Wind, Thunder, and Ice. Absorbs Darkness.
- Picto-Beleth: 12048 Health, is weak to Lighting and Light. Immune to all Weapon types, and is immune to Darkness.
- Both predominately use magic for damage, so you’ll want to use White Mage’s Shell and/or Bard’s Don’t Let Them Trick you to mitigate the damage.
- Both use Nuisance to stack ailments after elemental attacks.
- Wind: Silence/Sleep
- Earth: Slow/Stop
- Roddy is easier to take out first, since he’s not immune to every weapon-type and can cast Healara on the Picto-Beleth.
- He also casts Disaster at low health, which will one-shot characters.
- Thief’s Godspeed Strike works amazing against him, as does Firaga from Black Mage.
- Once Roddy is out of the picture focus on the Picto-Beleth by hitting it with lightning and attacks that don’t rely on weapon damage.
- Gambler’s Flash the Cash works wonders in this regard, but you will drain some of your pg.
- Godspeed Strike and Monk skills are also helpful here.
Bravely Default 2 Chapter 2 Part 2 Walkthrough Finale
After you literally beat the sense back into Roddy you’ll unlock the Red Mage Job, and a lengthy cutscene will play. Someone has clearly been up to no good in Wisward, and now you’ll need to confront Lily at her home in the forest. Thankfully you’ll have Roddy along for the excursion.
Part 3 of the Chapter 2 Bravely Default 2 walkthrough will see you through the next bit of the conspiracy in the Wisward Woods. You can check it out via the link here.
Bravely Default 2 is available now on the Nintendo Switch.


Published: Mar 2, 2021 09:19 pm