The Division 2 is officially in Season 3 and that means we now have access to The Summit. For those unaware, The Summit is a 100-story skyscraper that throws increasingly difficult enemies at players as their agents ascend. The randomly generated mode is sure to test character builds, squad synergy, and maybe even friendships.
Access The Summit Via Fast Travel or Snag a Ride From the White House Pilot
Since you’re here, I imagine you want to know how to get started. Before Division agents can access The Summit, a couple prerequisites must be met. First, the player must have achieved level 40, the increased cap that accompanied the Warlords of New York expansion. The second and final requirement is the completion of Warlords of New York, which lasts around 10 hours depending on exploration and side quests. Once both conditions have been satisfied, the high-rise building will become accessible.
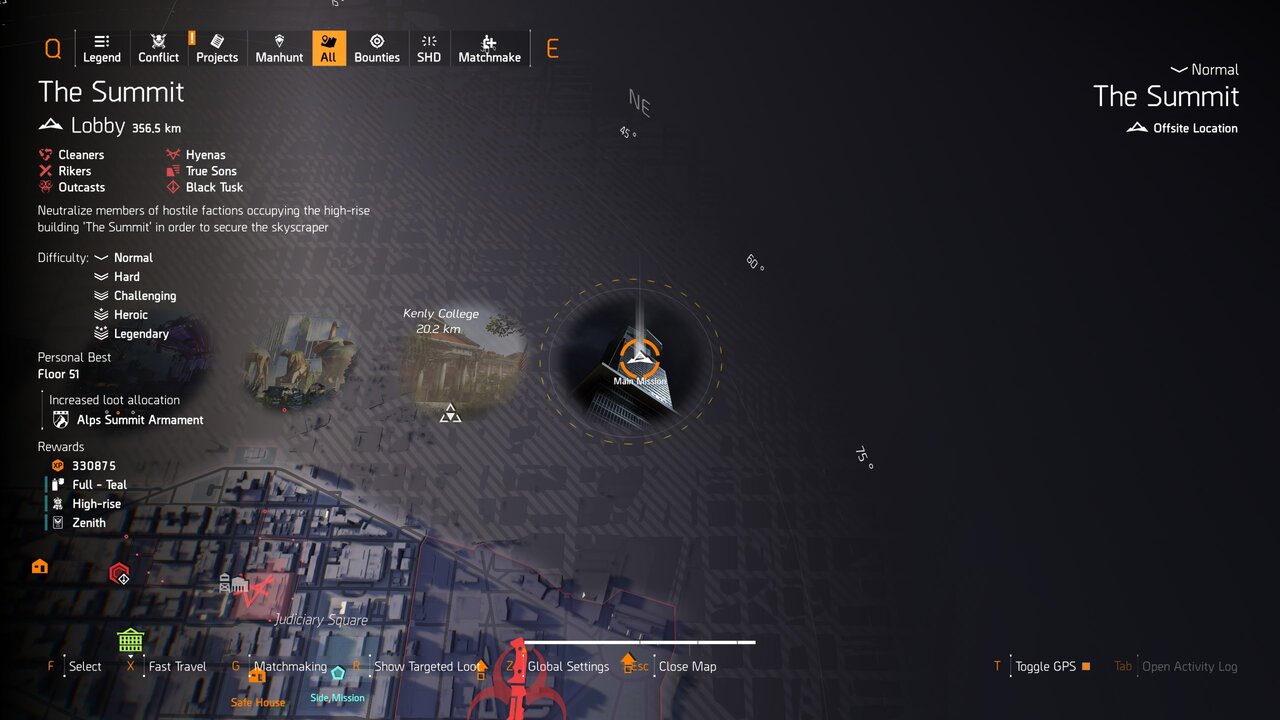
You can access the towering structure in a couple ways and, fortunately, both are straightforward. Simply pulling up the map in either Washington D.C. or New York reveals a new selection at the top-right (as seen below). Highlight the encircled skyscraper image and select Fast Travel.
If immediately launching into a loading screen from contested city streets diminishes the immersion sought by serious Division agent roleplayers, seek out the helicopter pilot posted outside of the White House Base of Operations. She will gladly launch you into a loading screen give you a lift to The Summit just as she would for Offsite Main Missions, Expeditions, and Raids.

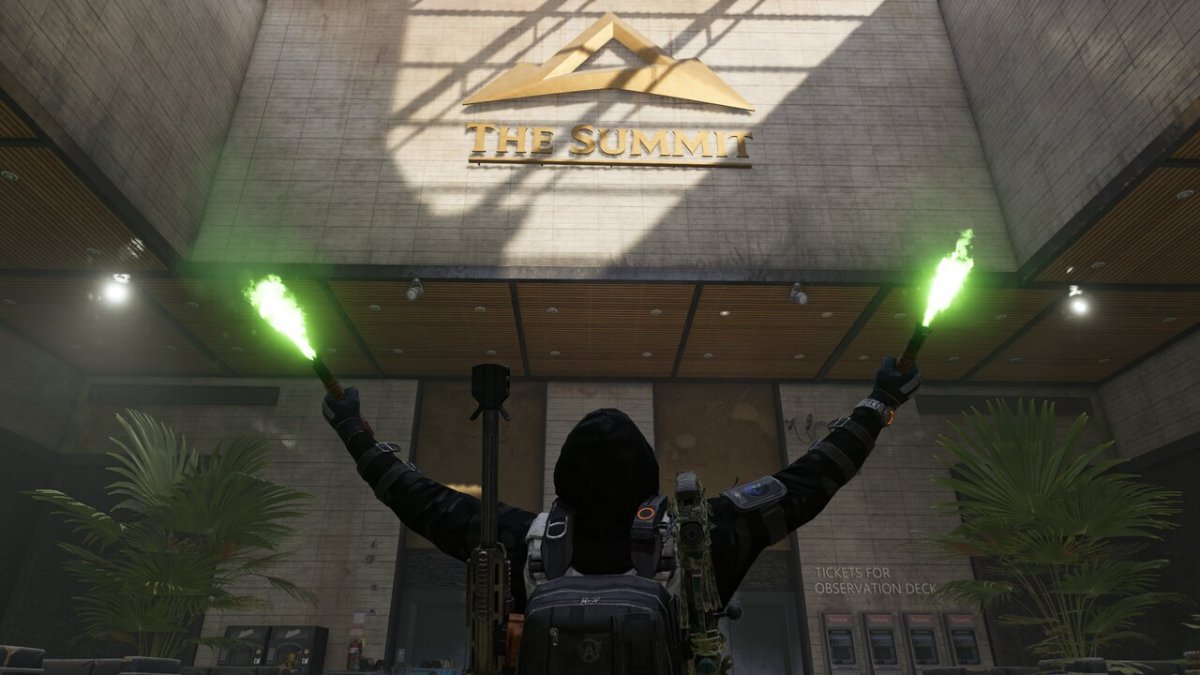
Players will arrive in the building lobby where they can prepare for the formidable challenge ahead. Present in the initial area are a Vendor, Crafting Station, Matchmaking Station, Recalibration Station, and Stash. In regards to the vendor, don’t bother looking for an NPC sitting behind a counter. This vendor appears as a weapon locker and only allows players to sell off their inventory if they would rather make extra cash than store gear. The lack of purchasing options is understandable since the impending 100-floor journey is teeming with loot.
Now you are ready to take on Division 2’s latest addition. Keep in mind that progress is saved at Rally Points every 10 levels and Checkpoints exist on every third floor in case the entire team is downed. Emerge from the 100th floor victorious and you may find yourself in possession of a shiny new exotic as well as several cosmetics.
If you need a refresher on anything else related to Division 2, be sure to check out our guide hub.


