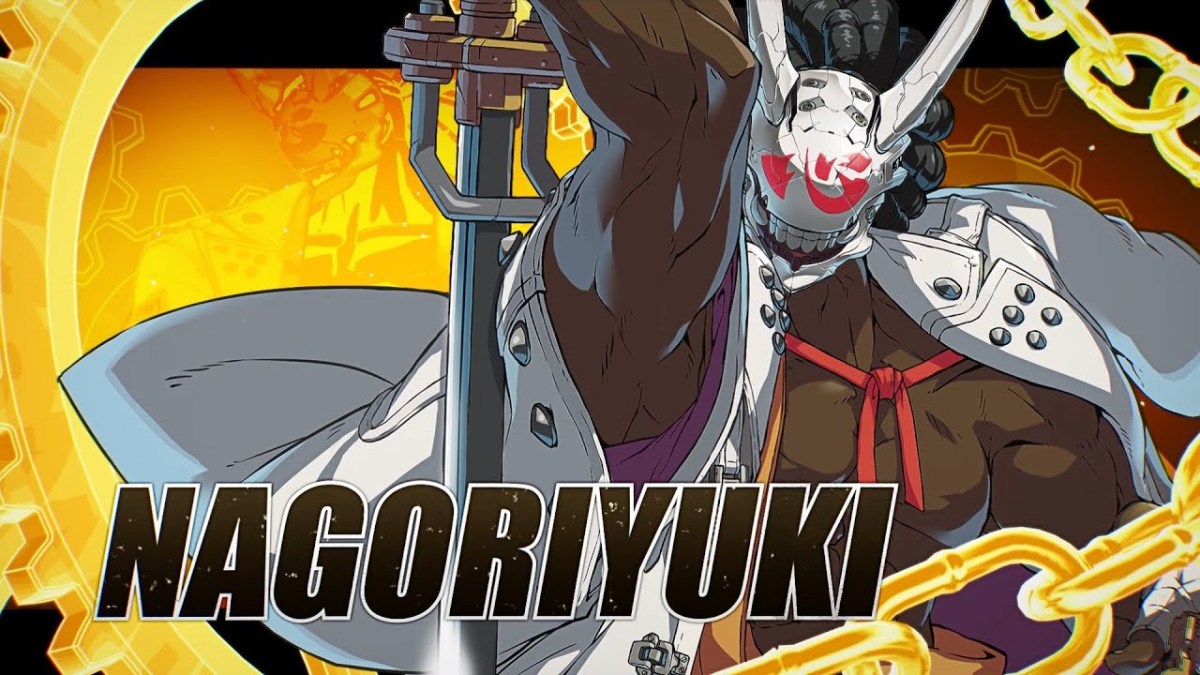
Nagoriyuki is the Samurai vampire introduced to the franchise in Guilty Gear Strive. He is aesthetically one of the coolest characters in the game and is a ton of fun to play, but Nagoriyuki also lacks many of the universal mechanics other characters share, like running and air dashes. He also has blood rage to manage. When the blood rage meter is filled, it gives him a damage and range boost at the cost of rapidly draining health. While Nagoriyuki’s blood rage attacks and powerful options are his greatest strength, they can also be the reason for his downfall. So how should beginners approach Nagoriyuki?
How to Play Nagoriyuki in Guilty Gear Strive
Nagoriyuki is a slow and reactive character. Most of what you aim to do when playing him is punish the opponent’s advances towards him. He cannot dash in a traditional manner but has a special attack, quarter-circle forward and back kick, allowing him to move quickly in either direction at the cost of filling his blood rage meter. Nagoriyuki can also cancel specials into one another, meaning it can be easy to overuse them and fill the meter. Nagoriyuki’s special attacks fill this meter, and when it maxes out, he rages out, which functions similar to a burst, pushing the opponent away. In this mode, he cannot use specials but has a slightly better range. More blood rage makes him stronger. Players with a careful style of play will try and manage this resource wisely, while more aggressive types will try and stack blood rage quickly and abuse its advantages. The key to good Nagoriyuki play lies somewhere in finding this balance. If entering the rage state does not push the opponent back or leaves him at a large health disadvantage, it can cost him the match. Thus, entering rage is a make-or-break strategy at times. Similarly, abusing his fast movement special can leave him in a sticky situation as certain characters have an easy time punishing it. If he can get in close, his command grab depletes his blood rage and allows him to continue pressuring. While getting in to manage his blood rage with a command grab is an important tool, he is best at midrange. Optimally he would like to keep the opponent in range of his neutral slash attack. Because his range is quite large, this places most characters at a disadvantage at that distance. Nagoriyuki, however, can still launch into combos at this distance. Below is a bread and butter combo and a few variations on it, his command list for specials, as well as a few other utilities.
Combos and Commands for Nagoriyuki
Key
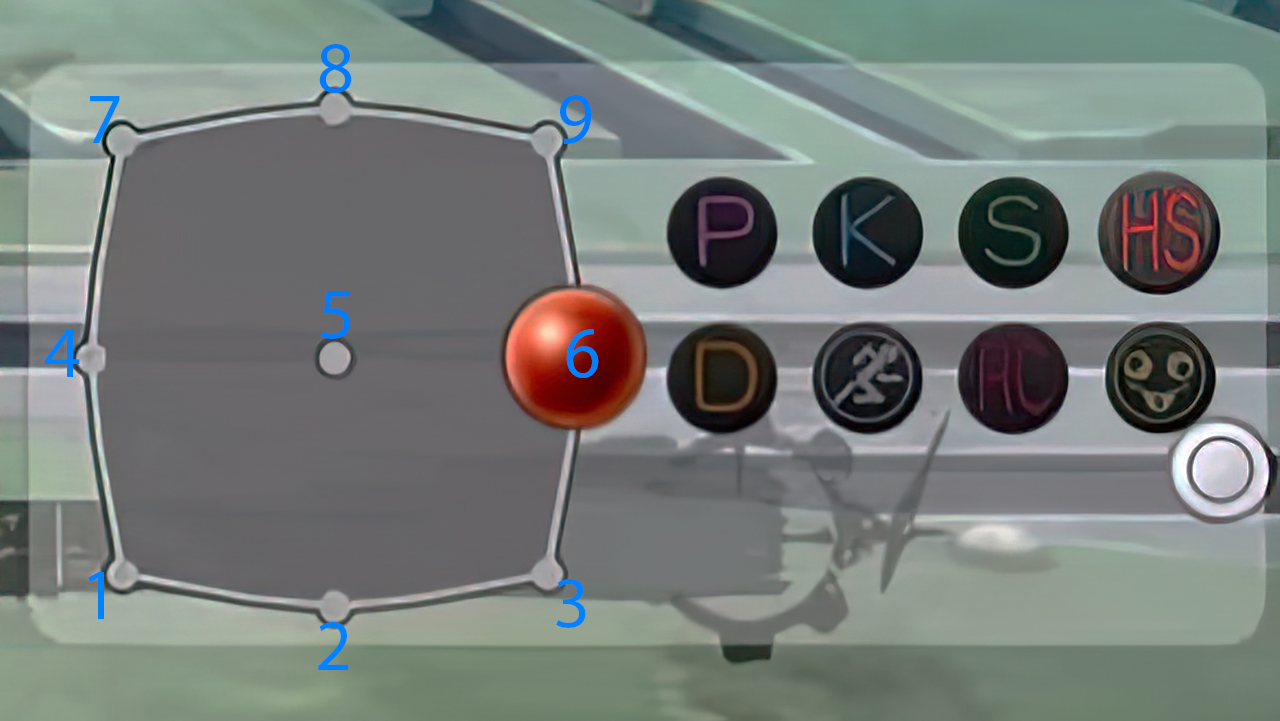
The numbers indicate each direction on the stick below and are considered standard notation for fighting game combos. The stick is currently at 6 or forward. Combo guides assume you are on the left side. Directions are reversed on the right. The easiest way to remember this is that it is the same layout as a Numpad on a keyboard.

- P= Punch
- K= Kick
- S=Slash
- c.S= Close Slash
- f.S= Far Slash
- HS= Heavy Slash
- D= Dust
- RC= Roman Cancel
- J= means that the attack is the jumping variation, i.e., j.S= slashing while in the air.
Command-List for Specials
- Zarameyuki: 236S- Nagoriyuki fires a clone of himself as a projectile.
- Kamuriyuki: 214HS- A lunge attack that will knock the opponent down on contact.
- Shizuriyuki: 623HS- A mid to long-range anti-air. Offers invincibility on the upper body during the attack.
- Bloodsucking Universe: 623P- A command grab that absorbs health and decreases blood rage.
- Fukyo: 236 or 214K- Allows Nagoriyuki to dash in either direction depending on directional input.
Overdrive Attacks:
- Wasureyuki: 632146S- Nagoriyuki does a large slash that, if it connects, launches a cinematic super move. If the move connects and completes, it lowers his blood rage.
- Zansetsu: 632146HS- Nagoriyuki does a close to full-screen slash. Only accessible in blood rage state.
Bread and Butter Combos
- 5S, 5S, 5S
- 5K, 6K, 214HS
- 5S, 5S,623HS, 214HS
- 5K, 2D
These combos will help you get started with Nagoriyuki while you learn to manage his blood rage. The third combo can be stopped after the third attack to try instead to get a command grab. This is useful if the opponent is blocking or you need to get your blood rage under control. While Nagoriyuki is challenging for new players, keeping your game plan simple at first will help you learn to play him. Once you do so, there is a lot to learn outside of this guide and some more things you might discover while testing these out. If you need a place to practice, check out our guide for using training mode.


Published: Jun 16, 2021 03:09 pm