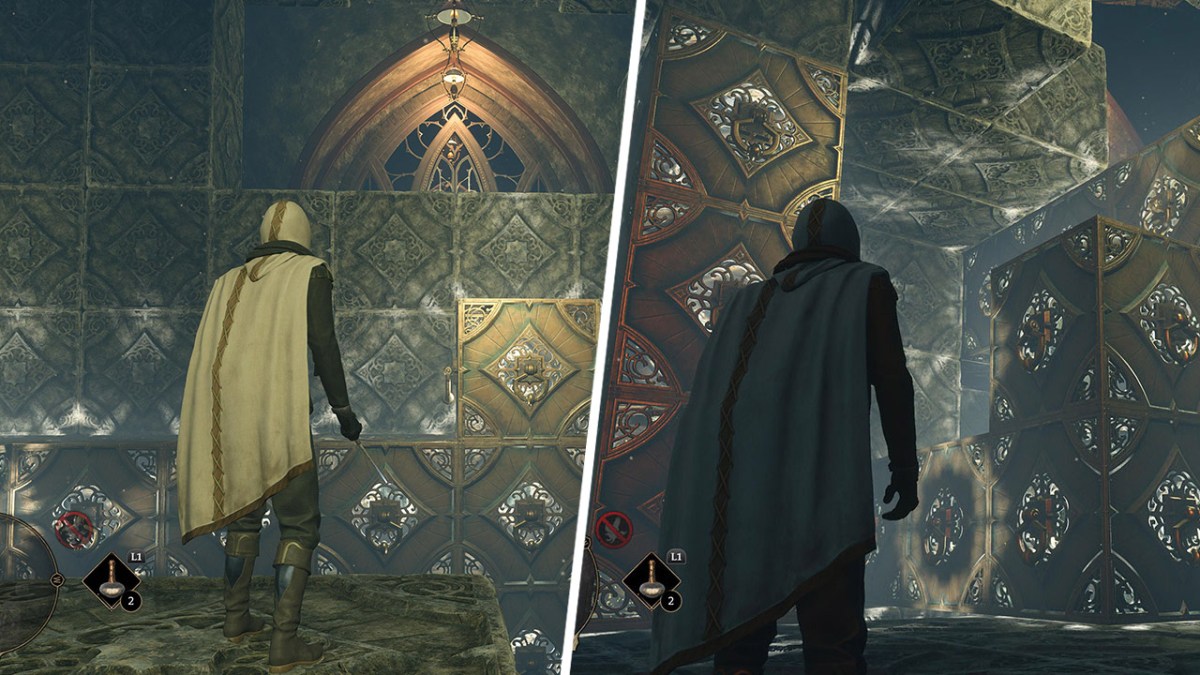
In Hogwarts Legacy, players will be able to come face to face with a wide array of puzzles as they explore both the world’s most famous Wizarding School, as well as its many surrounding regions. With that said, among the many puzzles available in the game, the ones featured as part of the second Depulso Room are among the hardest, so in order to help all players currently tackling it, here’s how to finish the Depuslso Room 2 and get to all of its treasure chests in Hogwarts Legacy.
Where to Find and How to Finish the Depulso Puzzle Room 2 in Hogwarts Legacy
Depuso Room 2 Location
First of all, it’s important to point out that the Depulso Puzzle Rooms will only be available after you complete The Hall of Herodiana side-quest. You will be able to trigger the quest by talking to Sophronia Franklin in the hall outside of the Charms Classroom.
After completing the quest, you will be able to find and then unlock the entrance to Depulso Room 2 by heading to the Transfiguration Classroom Waypoint. Once there, enter the first door located on the left of the entrance to the classroom, which will lead you to North Hall. After reaching the hall, just head to the first door on your left and then continue forward towards a large room, which will feature the entrance.
You can also find the entrance to Depuslso Room 2 by heading to the History of Magic classroom and then opening the door opposite to the entrance.
Related: Herodiana Puzzle 3 Solution in Hogwarts Legacy
Depulso Room 2 Walkthrough: How to Complete the First Puzzle
Upon entering the room you will be able to solve the first half of the puzzle by using Accio on the L-shaped structure on the left until it connects to the T-shaped structure on the right. Once the connection happens, just cast Accio and then jump on top of the structures in order to reach the chest at the left and complete the first half of the room puzzle.
Once you reach the first chest, the room’s layout will change, thus presenting to you your next goal, the door. In order to reach the door, make your way down to the room’s lower level and then use Accio on the T-shaped structure. This is a must as it will allow you to build up the new structure without the worry of getting it locked.
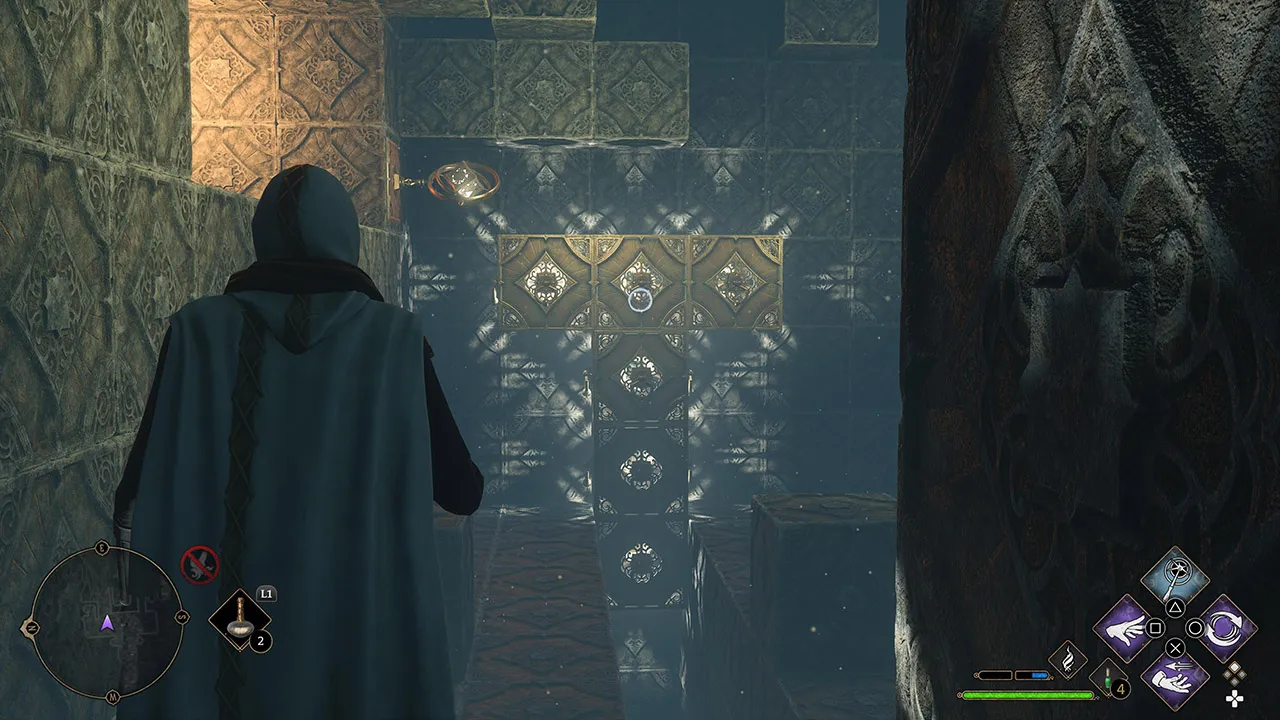
Now that the T-shaped structure is out of the way, you need to use Accio/Depulso on the two series of blocks located below the entrance of the room in a way that they will form the composition below on the opposing side.
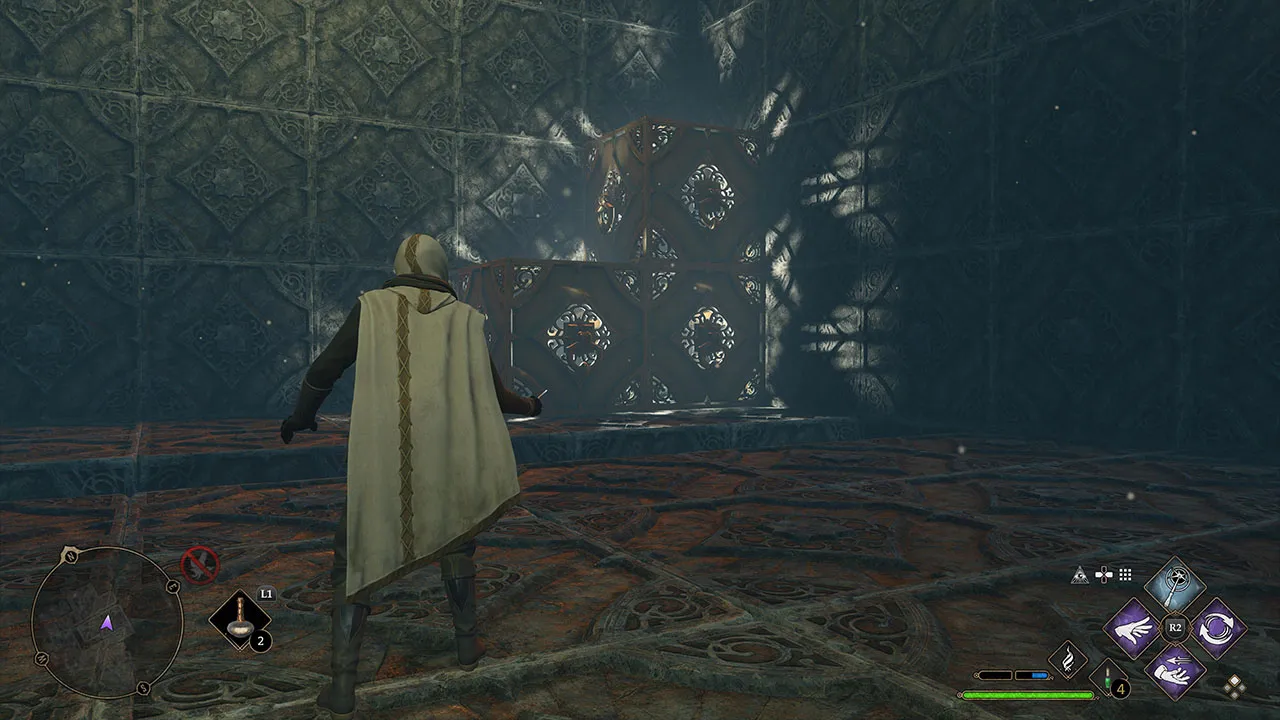
Once the above part is over, shift your focus to the two-block structure located right off the room’s entrance and then use Accio to pull them to the middle.
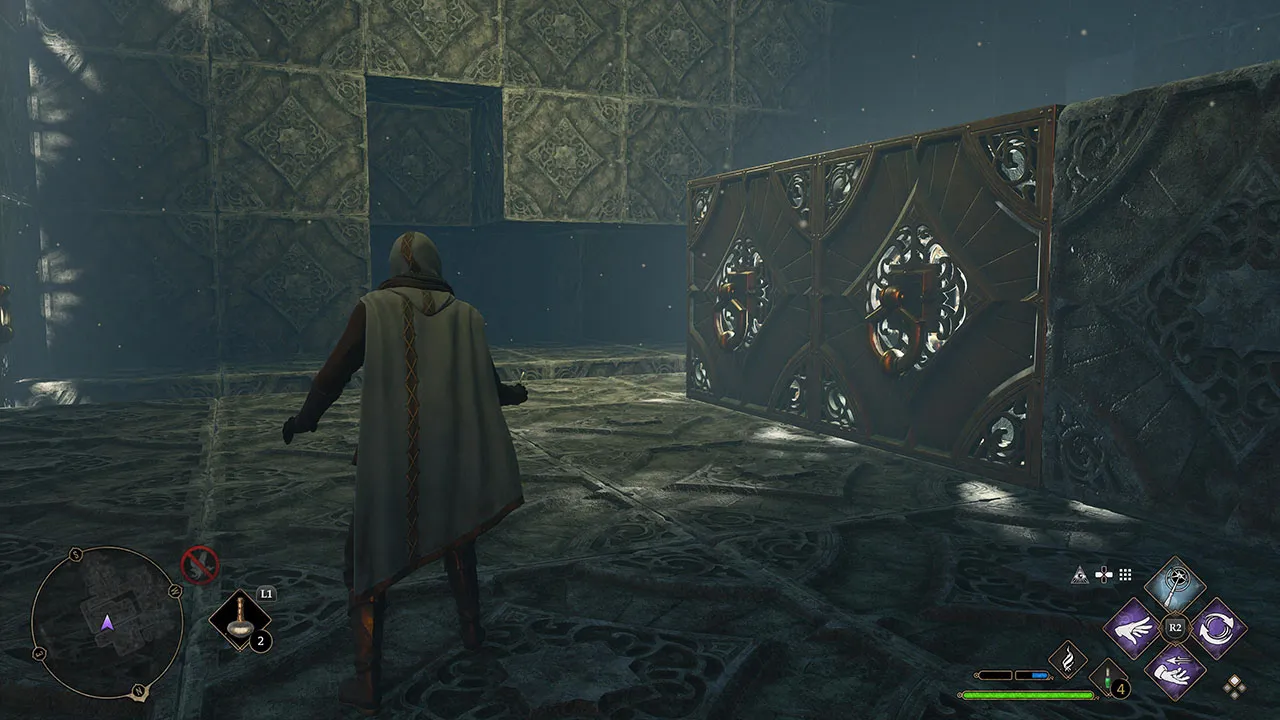
Now, use a few Depulso in order to make them join the 3-block composition you assembled earlier. In the end, your new structure should look like the one below.
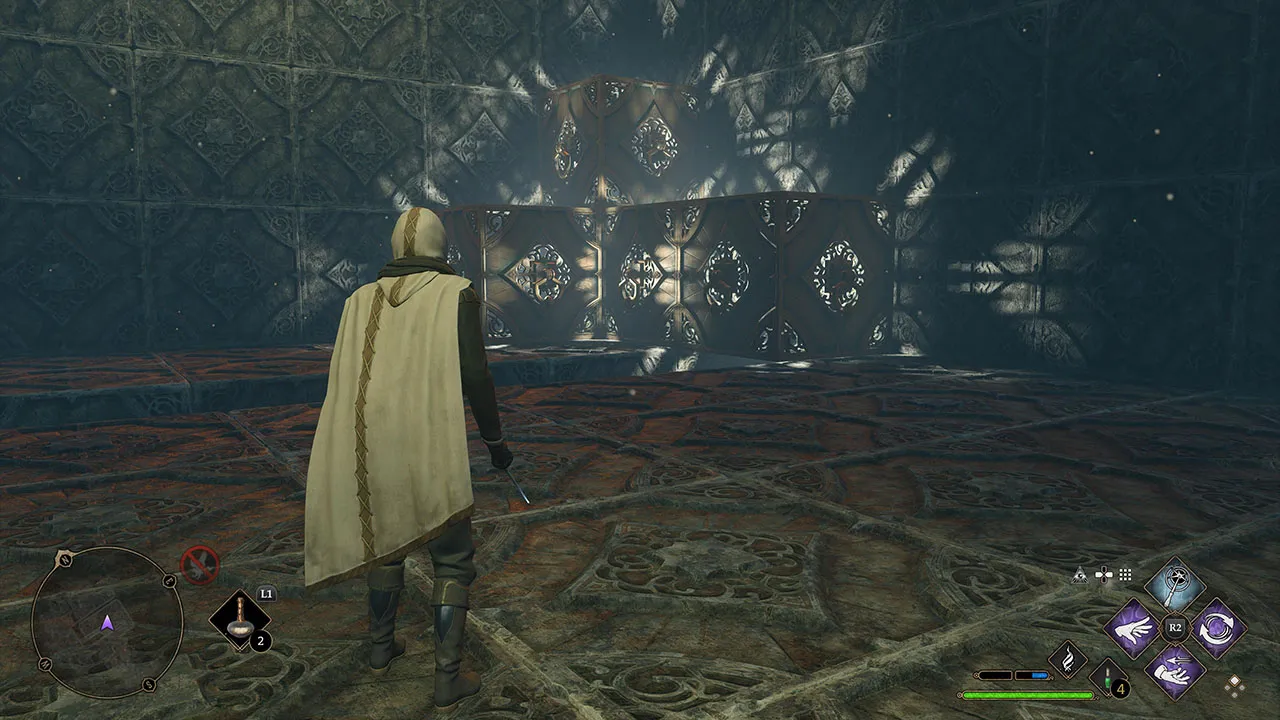
Before shifting our focus to the final step of the puzzle, use Accio to pull the structure back a few spaces and then use it again in order to place it on the other side of the room, in the spot showcased below.
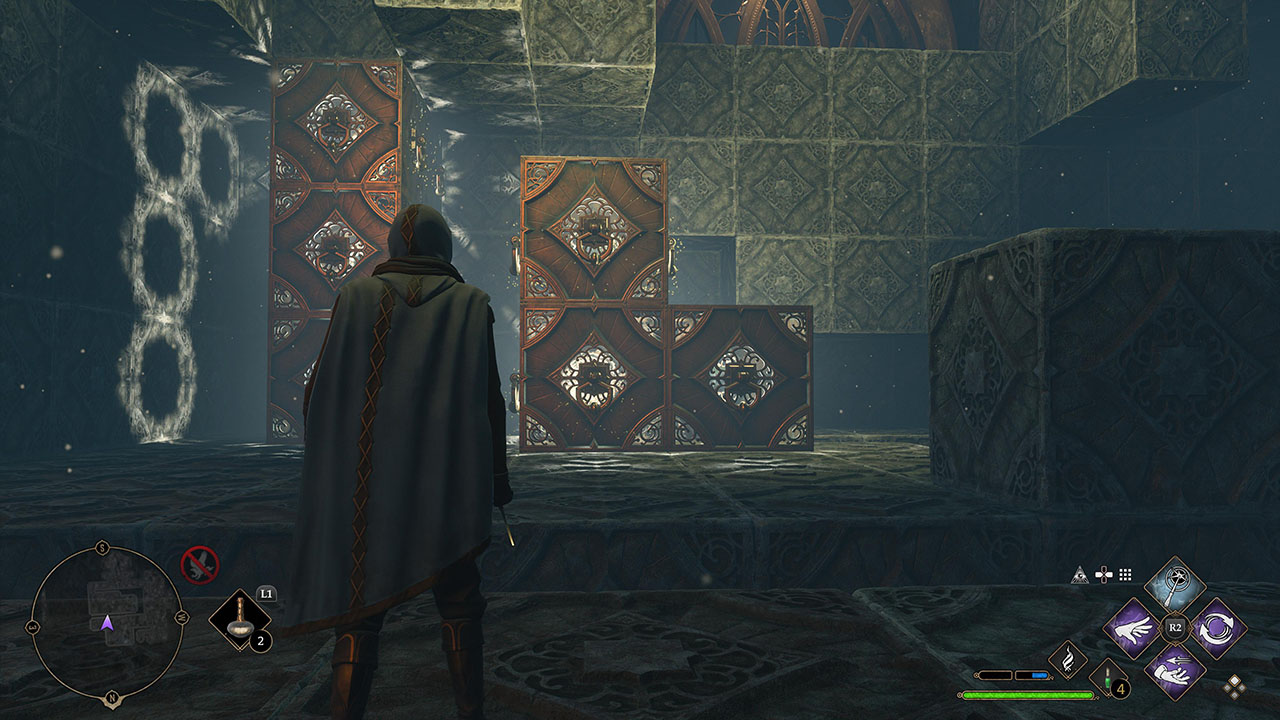
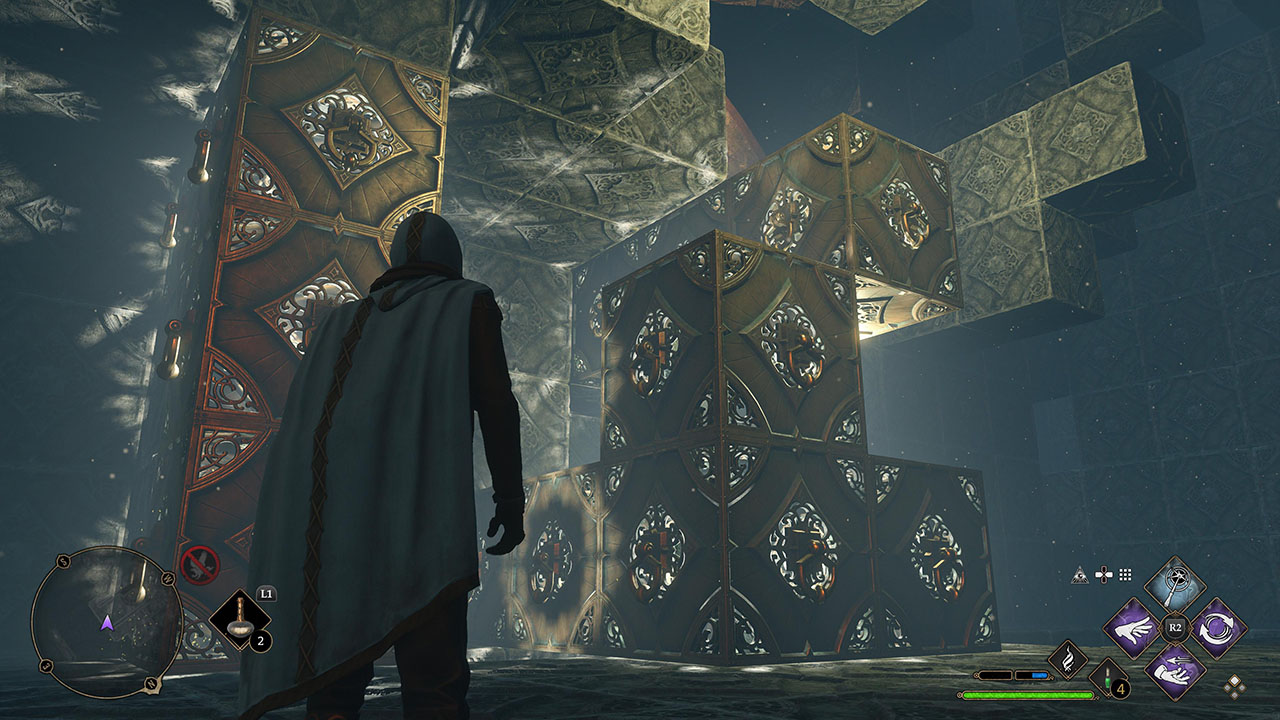
Now, in order to finish the puzzle, just move the T-shaped structure toward your newly assembled one and then climb it up in order to reach the door and unlock the final room. Overall, in the end, the path toward the door should look like this:
Depulso Puzzle Room 2 Walkthrough: How To Solve the Final Puzzle
Now that you reached the final room, it’s time to solve the puzzle and get to the door leading to the final treasure chest. In order to do that, you just need to first cast Accio on the cubes on the right, so they will be placed in the way featured in the image below.
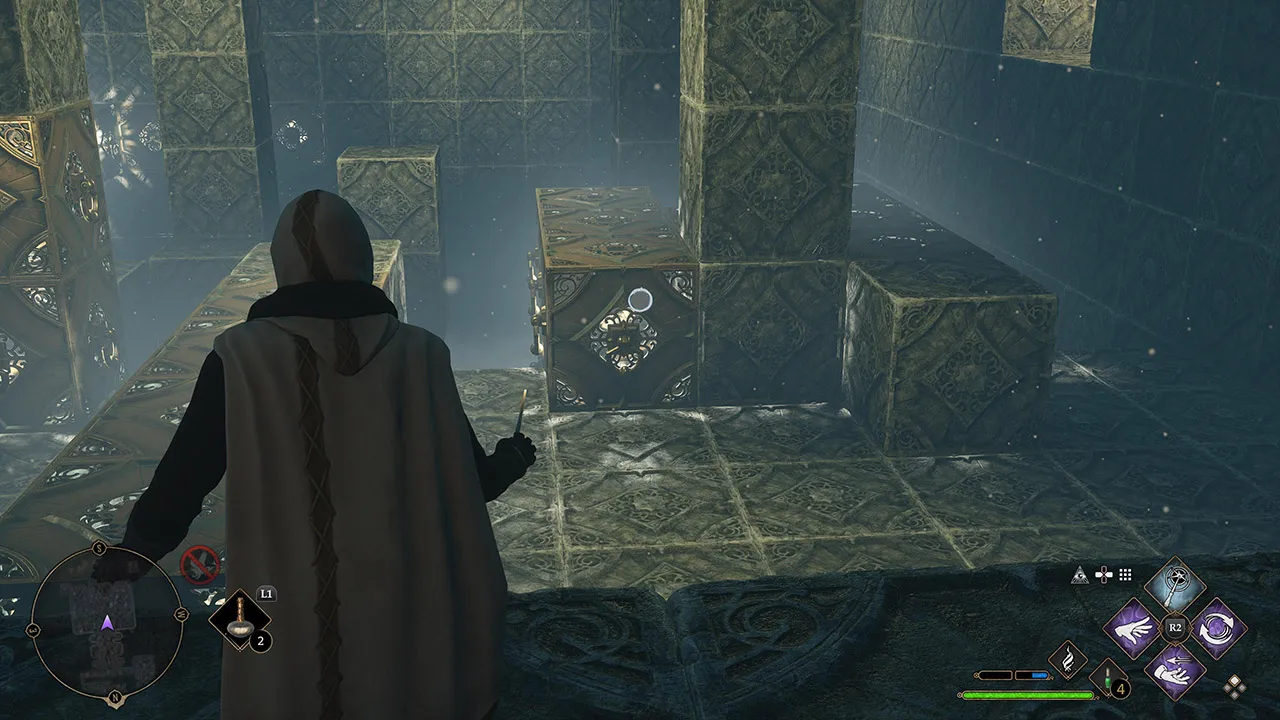
After that, focus on the vertical structure on the right by using Depulso twice in order to send it to the far left of the room, to the spot showcased below.
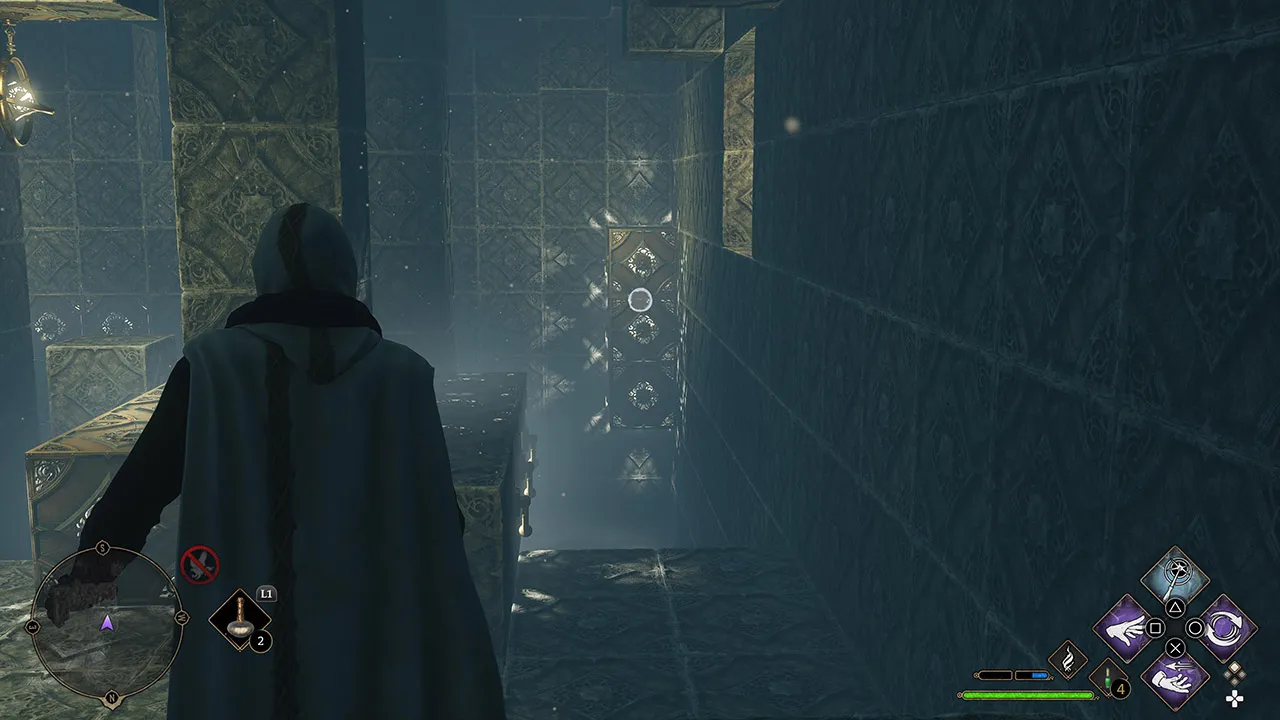
Now that half of the job is done, go toward the horizontal series of cubes in the middle and cast Depulso twice in order for them to connect with the ones below the door.
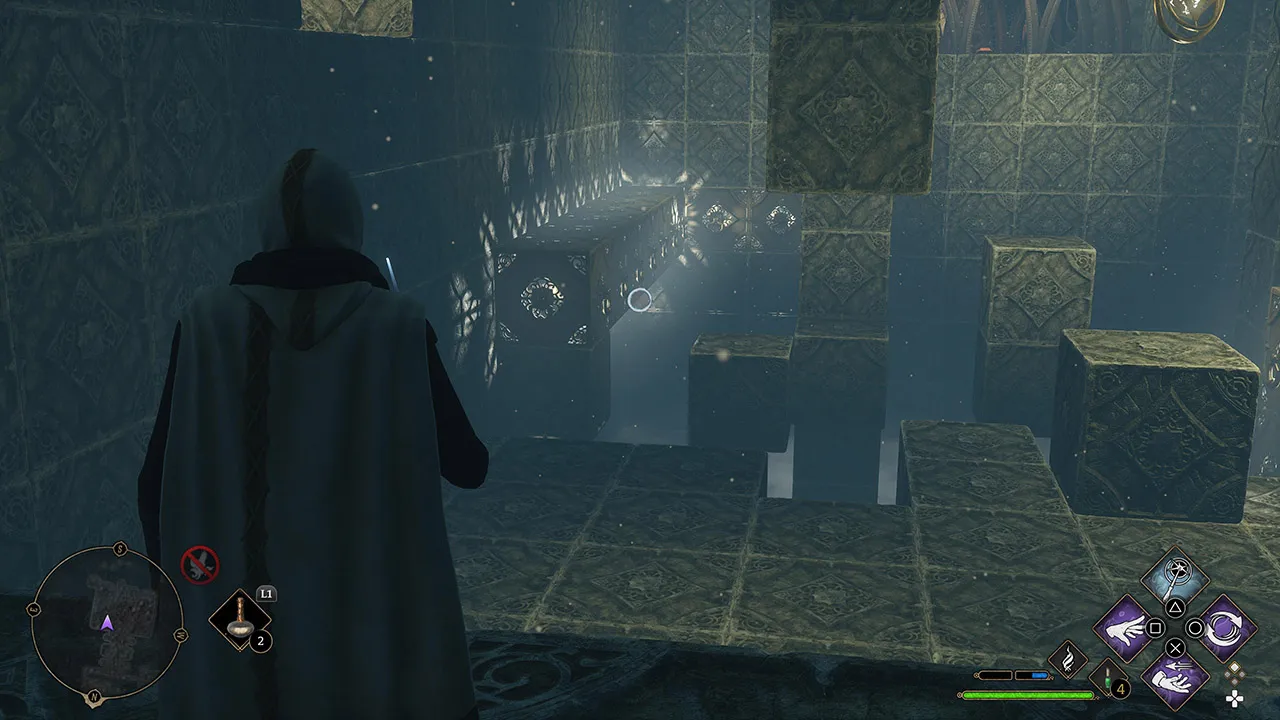
Once the structures are connected, use Accio twice in order to pull the structure back and then move it to the right, in that order.
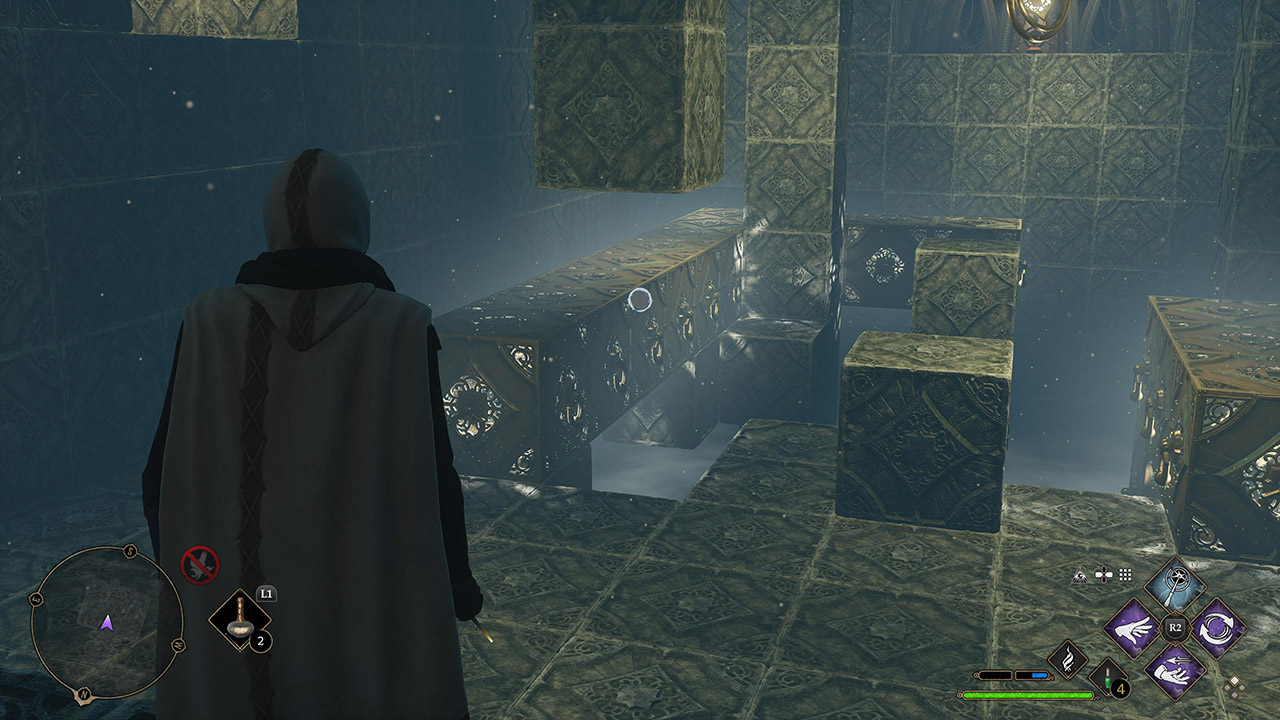
Now that all the cubes are in place, use Depulso to push the structure towards the door, and then use Accio in the vertical structure so that both sets will be connected, as showcased below.
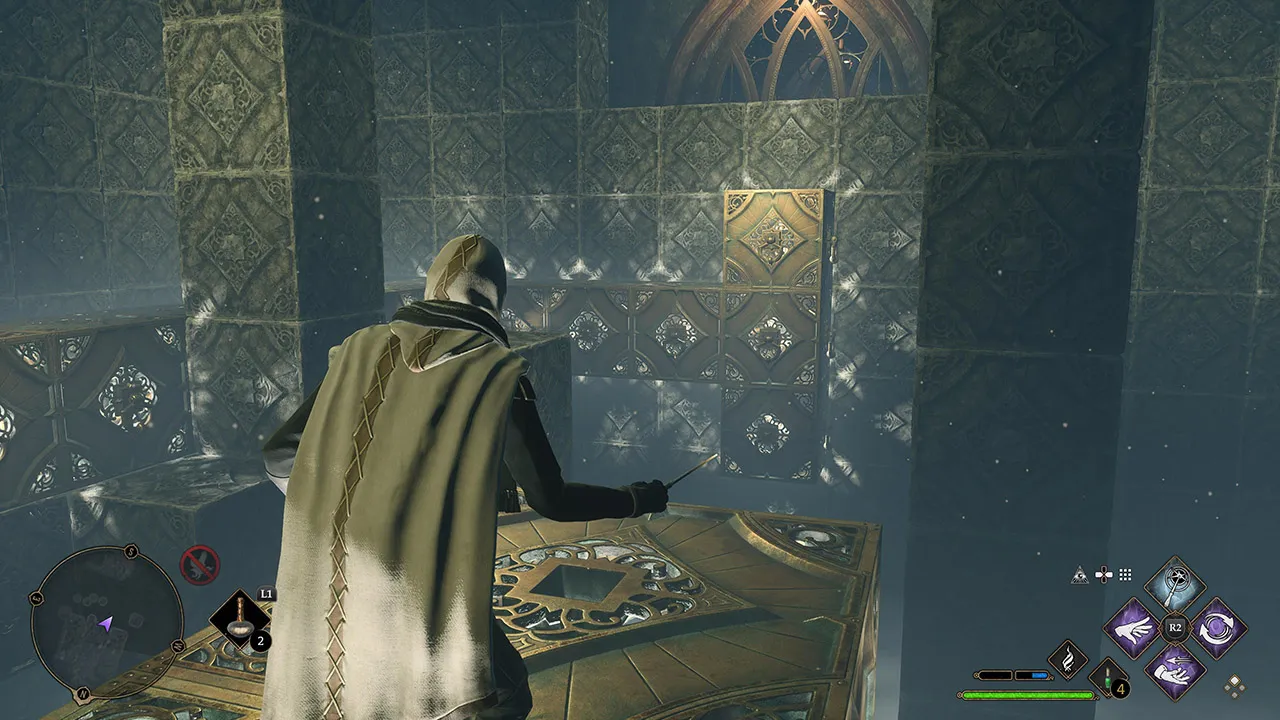
Once that happens, you will be able to complete the puzzle by simply casting Accio to push the newly formed T-shaped structure back, before jumping on top of it and heading to the stone cube showcased below. Once in the cube, cast Depulso on the structure to push it towards the door and then jump to the right in order to get access to the pathway leading to the exit.
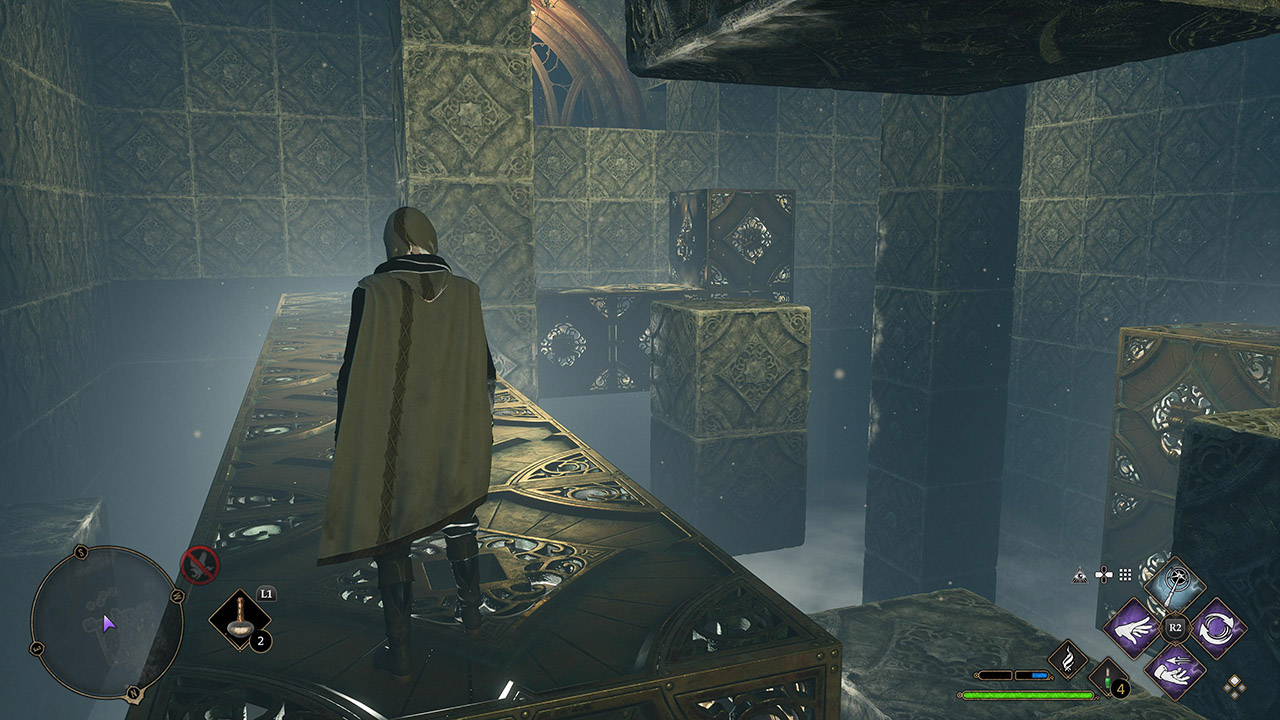
How To Get All the Depulso Room 2 Missable Treasure Chests in Hogwarts Legacy
Upon reaching the final puzzle room, you will be able to get the missable chest at the right by pushing the cubes to the right towards you with Accio and then using Depulso twice on the vertical structure until it hits the left wall. After doing that, just use Accio to pull the 4-cube structure at the center towards the right and then climb towards the chest.
Once you finish all the steps, the path should be as follow:
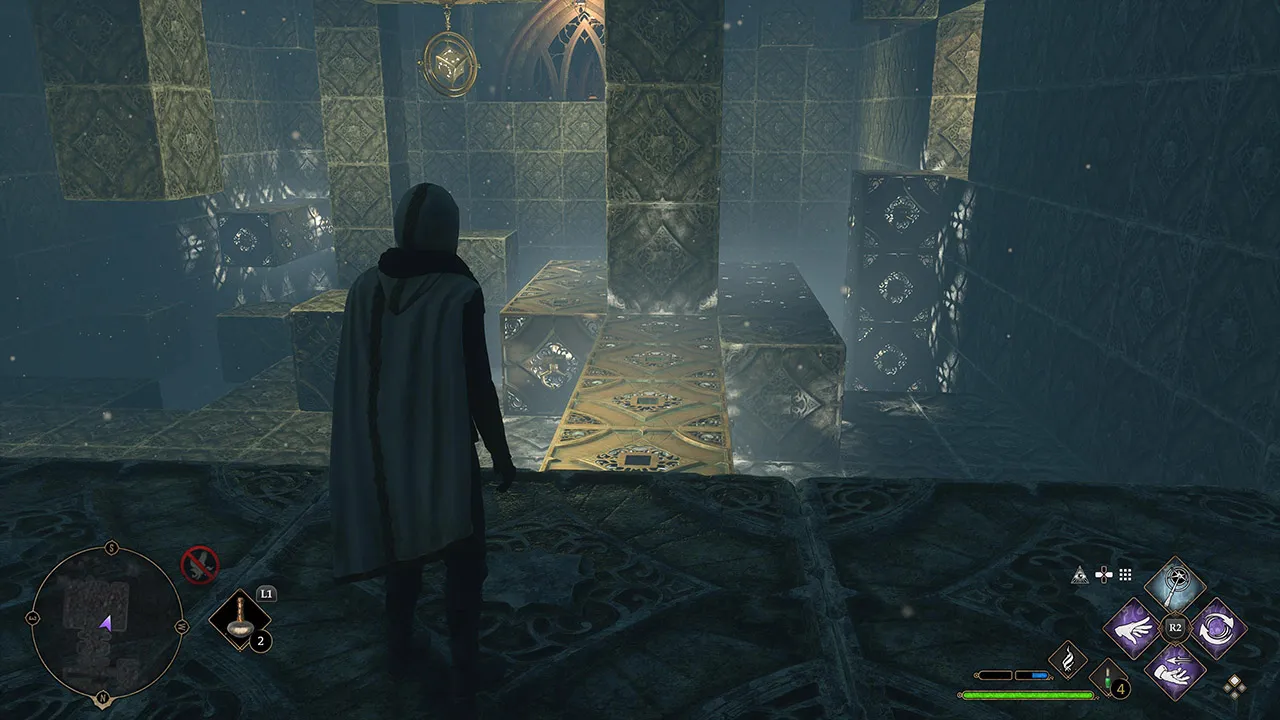
Now that you got the treasure on the left, it’s time to get the one on the right. To do that, restart the puzzle and then perform the first two steps you did in order to get to the left chest.
After doing that, use Depulso to push the 4-cube formation at the center towards the right wall, before connecting it to the formation ahead. Once it connects, use Accio twice in order to push it towards you and then to the right, like you did when solving the room’s main puzzle.
Once you do that, use Accio on the Vertical formation until it reaches the right extremity of the room, and then use the charm again to push it towards you until it reaches the spot below.
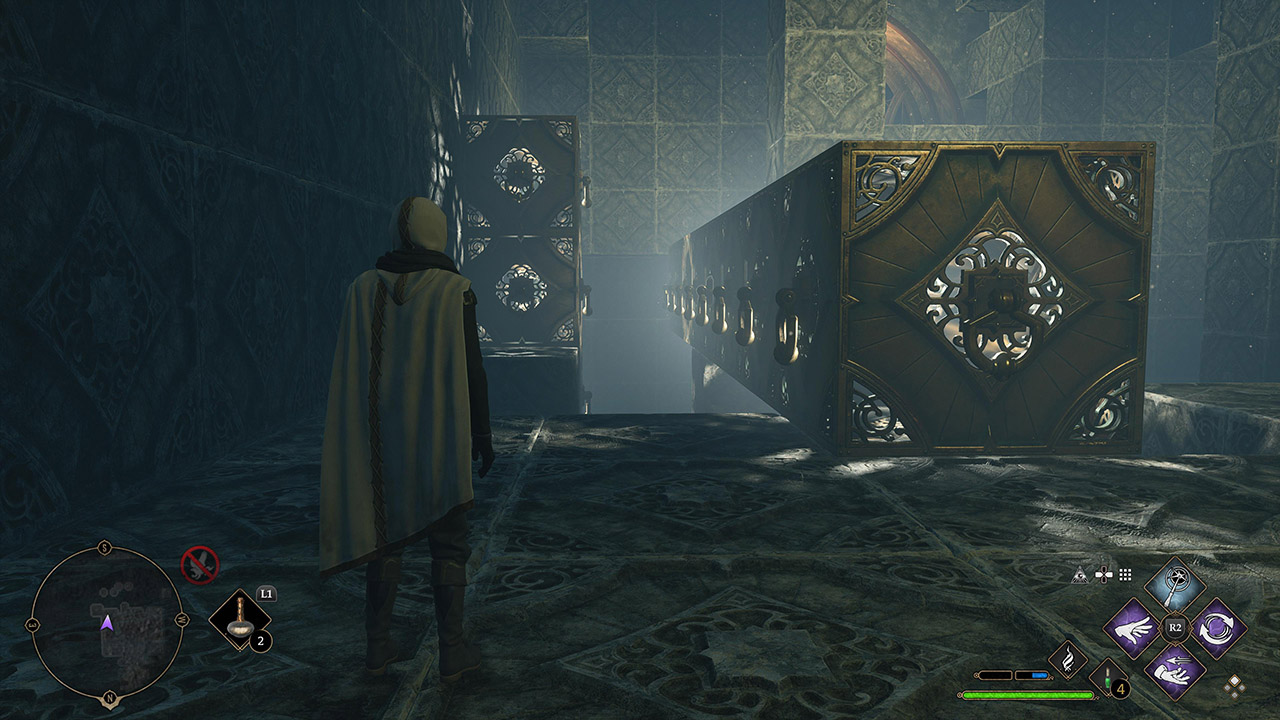
Now, just use Depulso to push the horizontal structure forward and then use Accio to unite it with the vertical one, before using Accio again in order to move it to the right and then using Accio + Depulso in order to push the structure towards you once again and then towards the left wall.
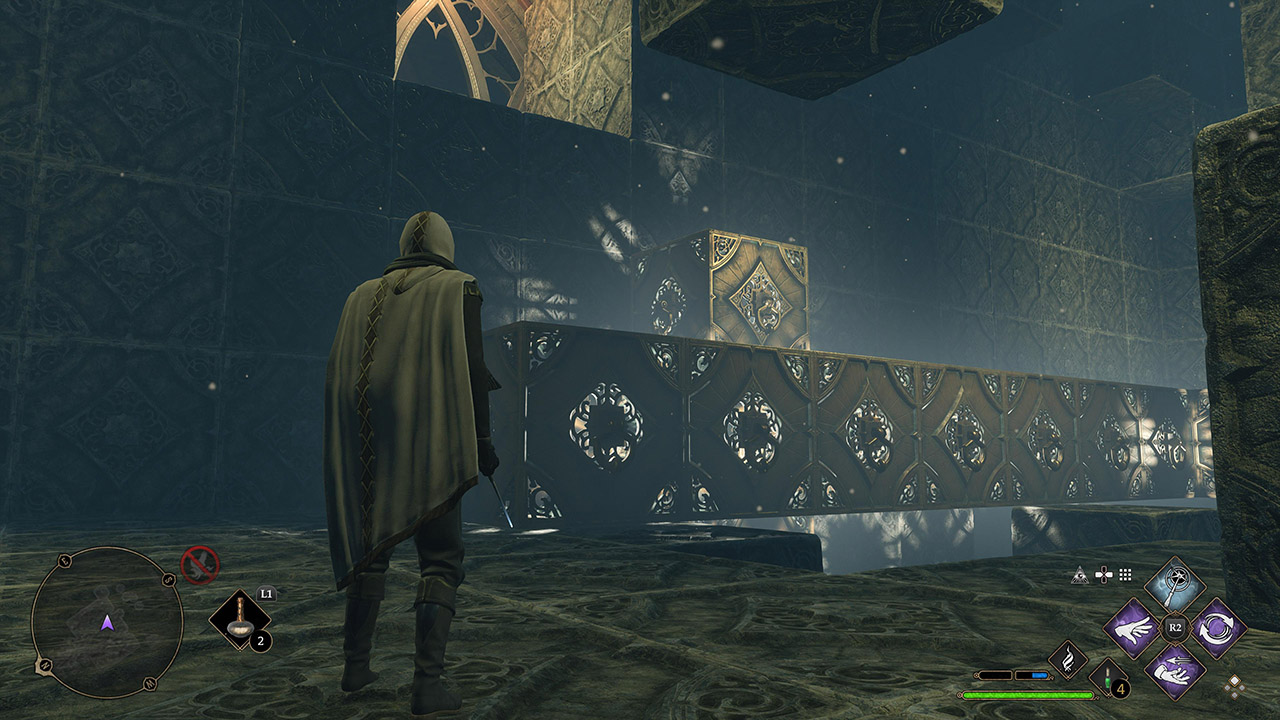
Once that’s done, just climb the cubes in order to reach the second and final missable treasure chest featured in Hogwarts Legacy’s Depulso Puzzle Room 2.


