Each dungeon in The Legend of Zelda: Link’s Awakening for Switch feels like its own puzzle before you even enter it. Simply getting the key to open the door and then walking through that door can be the most challenging part of the journey. This is certainly the case for the Angler’s Tunnel, the fourth major dungeon in the game. This one takes a bunch of steps and feels like one of the biggest puzzles in the whole game. To help, here’s how to get to Angler’s Tunnel in The Legend of Zelda: Link’s Awakening for Switch.
How to Get to Angler’s Tunnel
Given the multi-step process to open the door and make your way into Angler’s Tunnel, this is gonna take a few breakdowns to explain. First off, Angler’s Tunnel is found behind a waterfall in the Tal Tal Heights area of Koholint Island. But before you even go there you’ll want to be sure you have the Angler Key, which can be found in the desert. Once you have it head to Tal Tal Heights via the path to the east of Bottle Grotto, the second dungeon in Link’s Awakening.
Once there you’ll find the keyhole that you need to use the Angler Key on to open the waterfall. Of course, things aren’t that easy. Once you use the key you still need to work on getting inside Angler’s Tunnel, which will require some more exploring. You need to make your way through the cave system in Tal Tal Mountains. The entrance is west of where you used the Angler Key, and a bit north once you come across a large apple tree. Enter the cave system and prepare for some puzzle solving.
The first room contains a rock puzzle. Be sure you know how to move rocks, but if you made it this far you probably do. Push the first rock out of the way, then the second. Break the purple crystal at the top and move the third rock into its former place. Now you can make it to the stairs, but you might want to move the rock closest to the stairs so you can also grab the heart piece. Head out and then into the next room you come across, then look for an exit along the bottom of the screen. Keep following this path, interacting with Papahl if you haven’t already, and eventually you’ll find an open spot where you can jump down in front of Angler’s Tunnel.
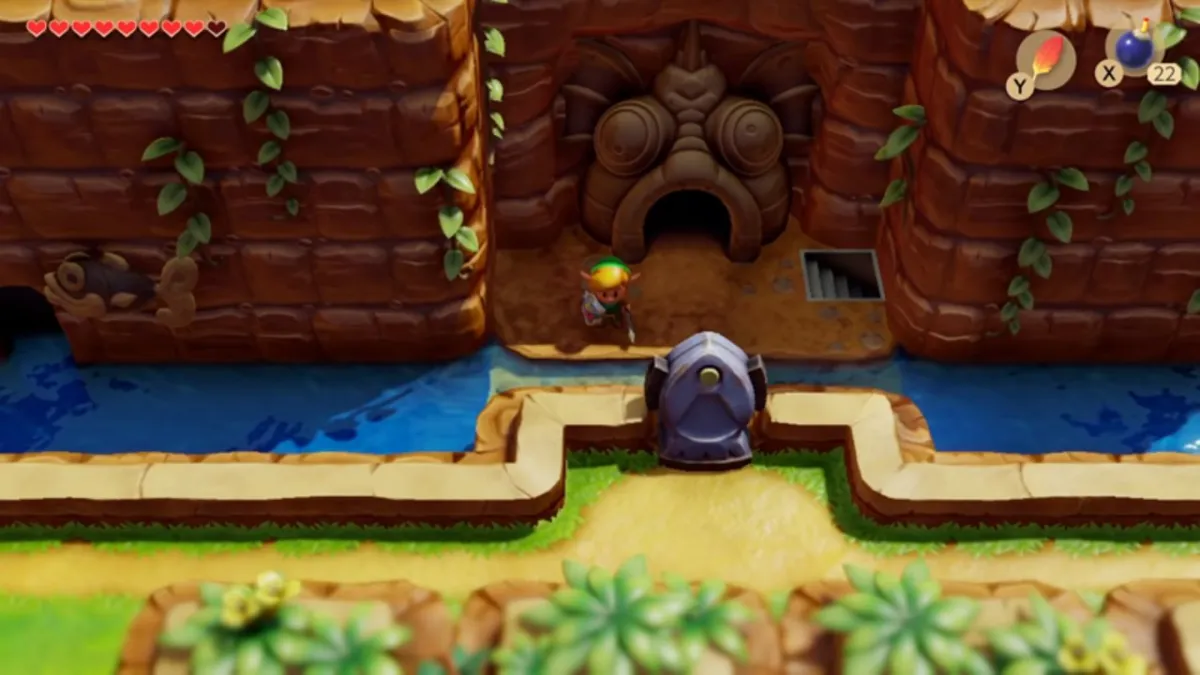
And that’s how to get to Angler’s Tunnel in The Legend of Zelda: Link’s Awakening for Switch. Once inside you’ll find an extremely useful item that allows you to swim.


Published: Sep 20, 2019 10:13 am