With the release of Red Dead Redemption 2 on PC, Rockstar has added a new Photo Mode that allows players to capture perfect screenshots. It’s a fairly robust tool, and it’s simple to use.
Press F6 to access Photo Mode anywhere in Story Mode.
Pressing F6 at any time in Story Mode will freeze the game and bring up the Photo Mode menus. You can do this either out in the world, or during your favorite cutscenes (“Lenny!”), with the only limitation being within Online; Photo Mode cannot be used in the Online Mode. From here you will have three sub menus you can cycle through with the Tab key:

- Basic:
- Orbit/Free Cam – Either have the camera orbit Arthur, or move it freely around him by pressing V (there is a 15-meter limit, so you can’t just fly off and take screenshots wherever you please).
- Zoom – Self-explanatory: zoom the camera in or out with [ or ].
- Reset – Click R to reset the camera to it’s default position.
- Lens – 16mm to 75mm range, adjusting lens width with Z and X.
- Roll – The roll of the camera, if you want to tilt your photo just right; done with Q and E.
- Advanced
- Focus Distance – 0.1m to 50m range, allowing you to bring either distant or nearby objects into focus with the Up and Down arrow keys.
- Blur Strength – On a scale of 0 to 100, adjusting how blurry the image will be using Page Up and Page Down.
- Exposure – Adjustable between 0 and 160, increasing how much light the camera “lens” allows in with the J and K keys.
- Lock Exposure – Lock the exposure level set with L.
- Effects
- Contrast – tweak image contrast between 0 and 14 with [ and ] keys.
- Filter Intensity – adjust the strength of your chosen filter between 10% and 100% with the Up and Down arrow keys.
- Filters – 39 options, including none, which are cycled through via the Left and Right Arrow keys.

In all three tabs you can hide the hud with H (screenshots never capture it, however), view your photos in the Social Club with G, and take the photo by clicking the Left Mouse Button. Hitting Backspace or Escape will take you out of Photo Mode, and you can access the Social Club at any time from the pause menu if you wish to upload your photos to the service, or edit them with Spacebar.
Editing will allow you to rename the photo, delete it, or edit it with text and a selection of sticker/tags. Bear in mind, this doesn’t save to your drive (at least anywhere easily found), so if you wanna save your screenshots to your computer you will need to use an outside tool, like GeForce.
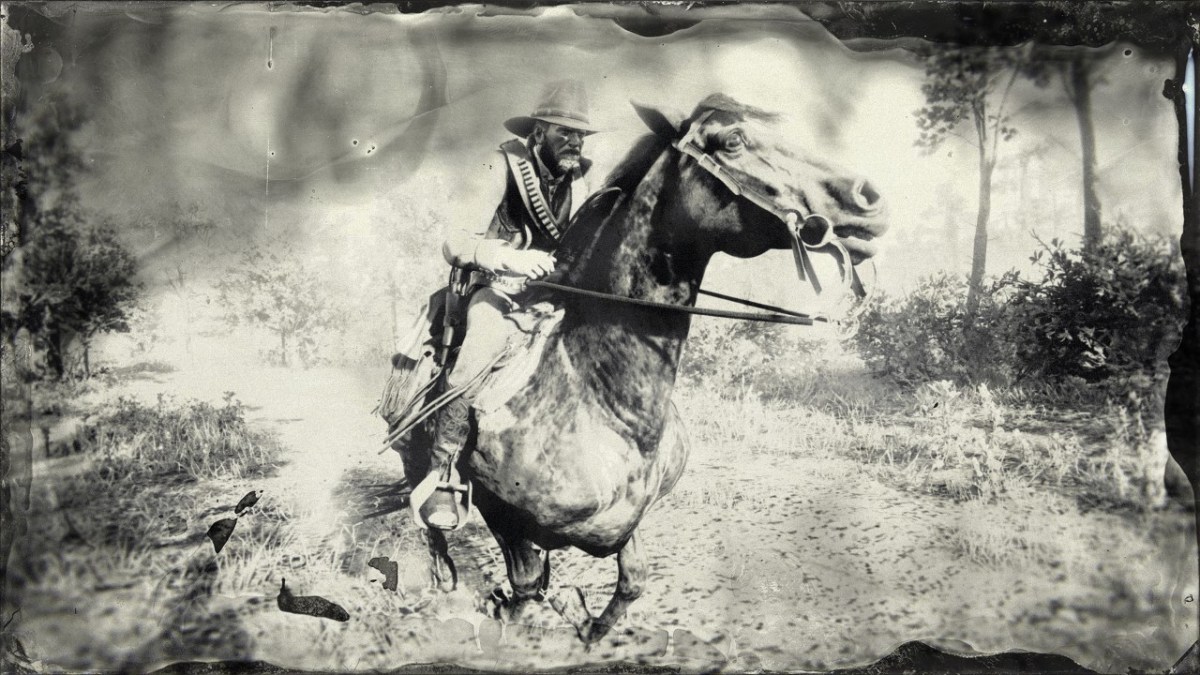
That quibble aside, Photo Mode will allow you to take stunning screenshots of your single player exploits, and if you can push Red Dead Redemption 2 for PC’s graphics into the stratosphere you’ll be able to share the pretty with the whole wide world (or Reddit; likely Reddit).
That’s how to use the Photo Mode in Red Dead Redemption 2 on PC. Be sure to check out our performance guide if you are trying to squeeze the most beauty out of the game without melting your computer, and stay tuned for our upcoming review!


Published: Nov 8, 2019 03:31 pm