Valheim has taken Steam by storm, and its inherently cooperative design means plenty of fans want to start their own Dedicated Server. There are plenty of ways to spin up your own Valheim dedicated server, such as using SteamCMD and manually creating the files yourself. Here’s the thing: you don’t have to do any of that. Developer Iron Gate has actually made creating a dedicated server for Valheim painless and easy (well, relatively), so even complete idiots like myself can get one up and running.
Download the Valheim Dedicated Server application from your Steam library after purchasing the game.
Iron Gate has a standalone Dedicated Server application for Valheim, and it’s accessible to everyone who owns the game. Simply search for Valheim in your Steam library and you’ll see it listed alongside the game proper. It’s roughly 1 gig in size, much like the main game itself. Just download the Valheim Dedicated Server app in Steam to get started (oh, and yes, it works with Linux). If you can’t find it make sure you have the “Tools” filter in your Steam library selected.
Once you’ve downloaded the Valheim Dedicated Server application you can click on it to convert your personal computer into a persistent Valheim server for your friends and community. That said, there are a few things you should do prior to firing up the Dedicated Server application to ensure everything runs smoothly. You’ll need to open the installation folder for the Valheim Dedicated Server to access the file you need to tweak, which should follow this path: Program Files (x86) > Steam > steamapps > common > Valheim dedicated server. If you’ve manually adjusted where your Steam games are installed then head to the drive you used, find your Steam folder, and follow the rest of the path just mentioned.

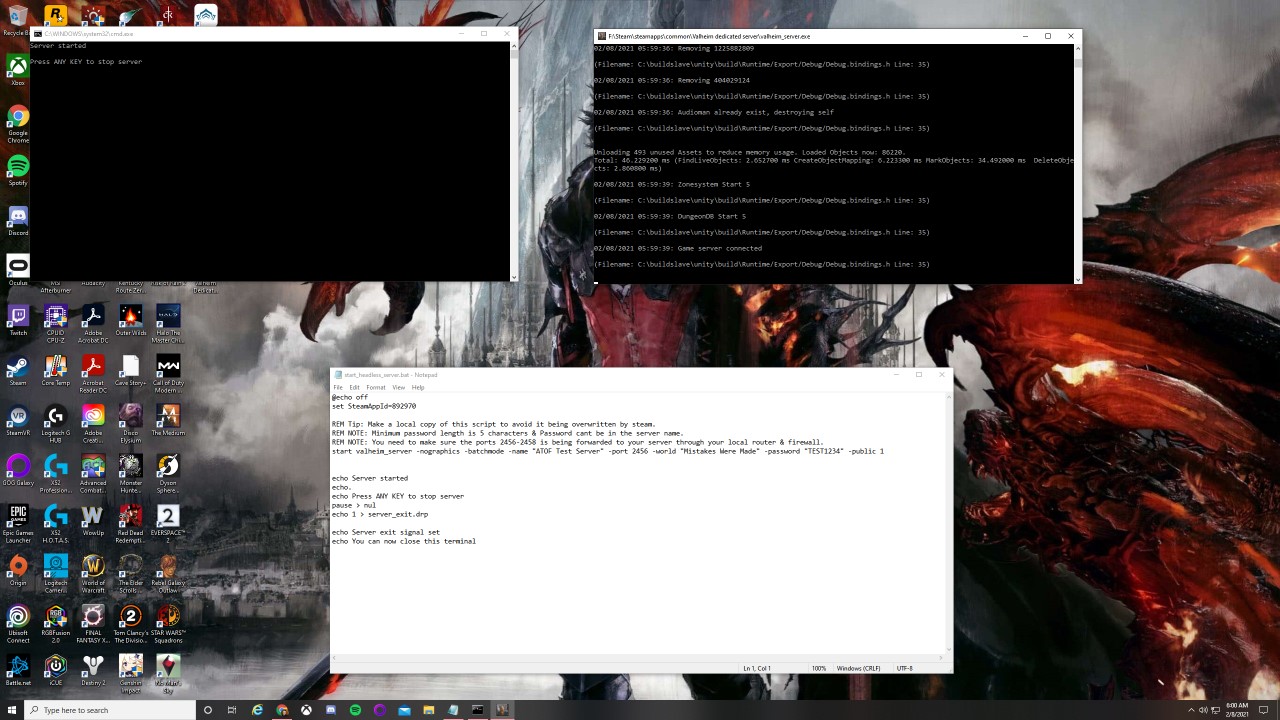
Edit the “start_headless_server.bat” file in Notepad to ensure your Valheim server runs smoothly.
In this folder is the file “start_headless_server.bat” (or “start_server.sh” on Linux). Save a copy of this file before doing anything to it, just in case things go sideways, and save it in a different folder. It’s also important to note that any changes you make to the file within the Valheim Dedicated Server installation folder will reset whenever you update the app in Steam, so save a second copy of the file once you’ve finished making the adjustments I’m about to describe below.
First, right click the “start_headless_server.bat” file and select Edit to open the file in Notepad (Linux users will want to open a terminal in the server directory and run the bash script: “./start_server.sh”, per Iron Gate). Once the file is open for editing locate line 7, which starts with “start valheim_server…”. This line has all the properties we want to adjust to get our Valheim Dedicated Server running smoothly. If you don’t see lines just search for “start valheim_server”. These properties are:
- -name “My Server”
- Enter a name for your server. You can’t use duplicate words from your password or World name.
- -port 2456
- This is the default port, but you’ll want to change it to whatever port your router is using for Port Forwarding. Simply log into your router and select the Port Forwarding setting to figure out what this is. Also be sure this port is open in your firewall.
- -world “Dedicated”
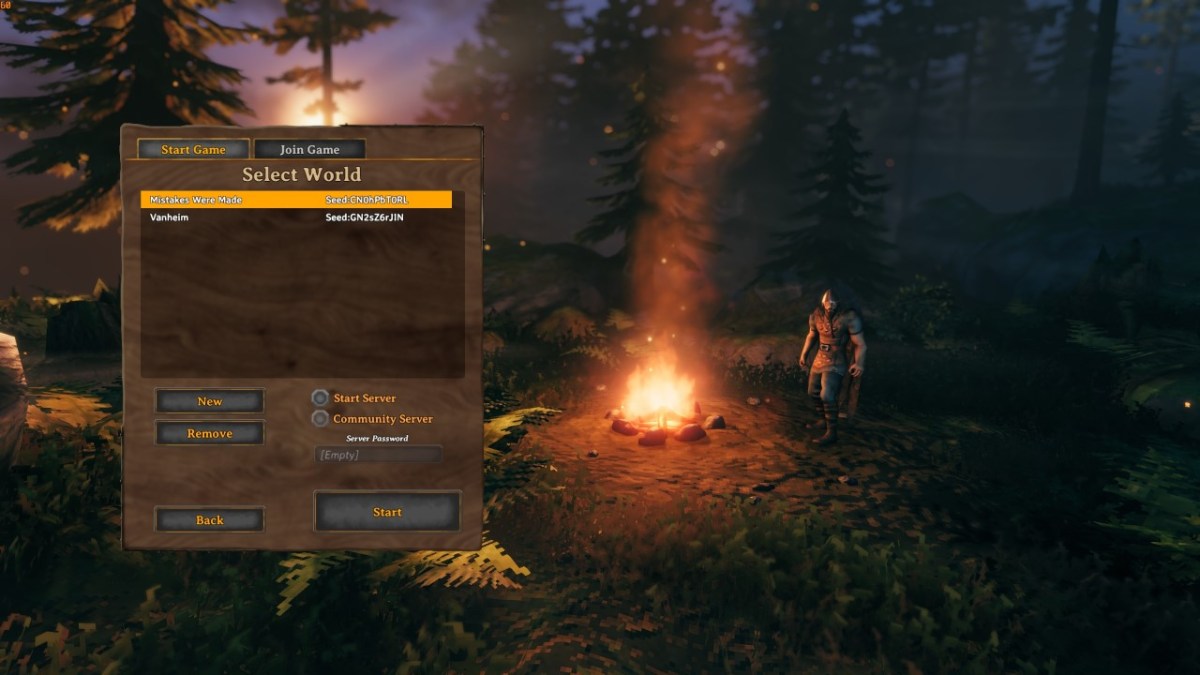
- The name for your world. You can also choose a world that already exists by entering its name.
- -password “Secret”
- The password for your server. If you leave this empty you will run an open server.
Save the file, create a duplicate for backup purposes (and save it elsewhere), then fire up the Valheim Dedicated Server application either from Windows or within Steam. Let the Command Processor do its thing, and once you see “Game Server Connected” at the bottom your Valheim dedicated server is up and running! Bear in mind that closing the Command-window won’t kill the server: you have to press Any Key (or the ENTER KEY in Linux) within the command prompt window to shut down your server. Also remember that the idea behind a dedicated server is it’s something you leave on, so if you are using your home PC be sure to alter your power settings to ensure your friends don’t get the boot because your computer suddenly decided it was shutdown time. And, yes, you can play in your server while also running it in the background.
Before we go, here are some console commands (opened by pressing F5) to help you administer and run your server more efficiently:
- help – Show all available commands.
- kick [name/ip/userID] – Kick the user.
- ban [name/ip/userID] – Ban the user.
- unban [ip/userID] – Unban the user.
- banned – Shows a list of banned users.
- ping – Send a ping to the server to get your latency.
- info – Print system info


