Among the many shrines players will explore during their journey in The Legend of Zelda: Tears of the Kingdom, very few are as vital as the first four, as they will reward you with distinct abilities for Link’s new arm as well as provide you with the power needed to open the door on the Temple of Time. Now, so that you can get one step closer to finding Zelda, here’s where to find and how to complete the In-isa Shrine in The Legend of Zelda: Tears of the Kingdom.
The Legend of Zelda TOTK: In-isa Shrine Location and How to Get There
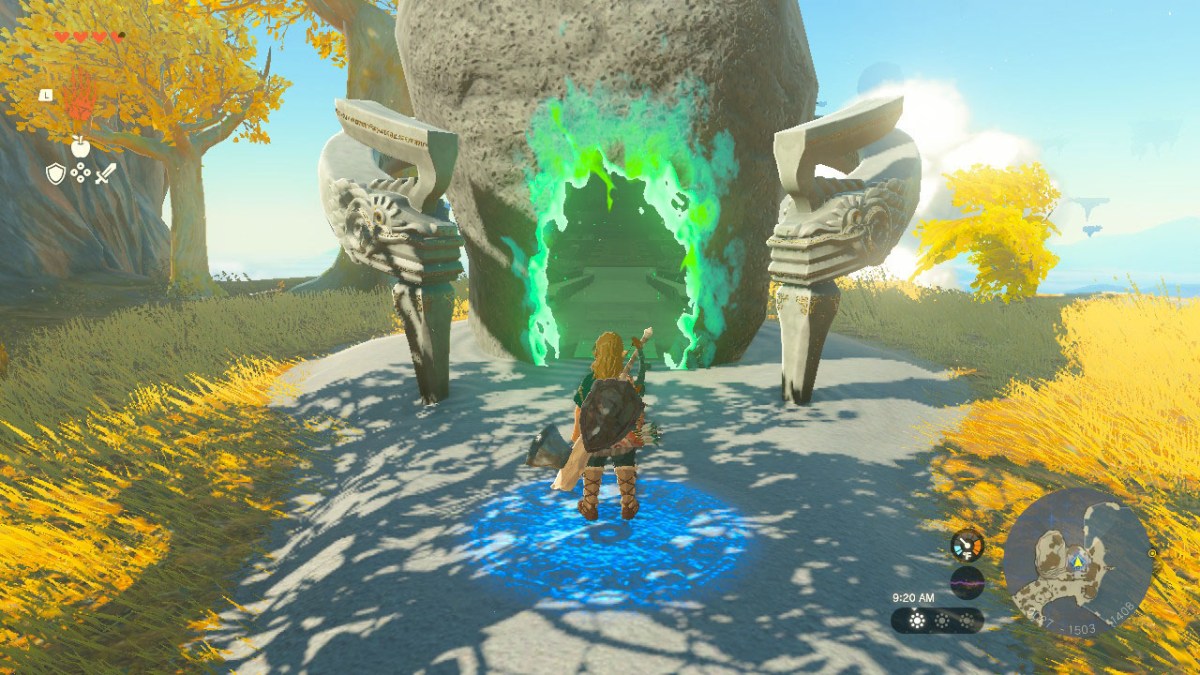
You will be able to find the In-isa Shrine in The Legend of Zelda Tears of the Kingdom by heading to the westmost portion of Great Sky Island, as you can see below.

How to Reach In-isa Shrine
We managed to reach the shrine from The Temple of Time by first heading to Ukouh Shrine, before heading down towards the large river bank. When doing this route, it is vital that you make constant use of Link’s Ultrahand in order to create bridges capable of filling the gaps between the areas and thus stop them from hindering your progress.
Once at the large river bank, head to the area marked by the cursor below in order to find two logs and a couple of sails which will be more than enough to make a small raft. Once is done, just climb aboard and sail to the shore of In-isa Shrine.

Related: How to Make Fan Boats in Zelda Tears of the Kingdom
In-isa Shrine Guide: How to Complete the In-isa Shrine in Zelda Tears of the Kingdom
After entering the Shrine and getting the Fuse ability — which will allow you to fuse objects and add proprieties and durability to your weapons — you will be able to get to the area’s second room by destroying the rocks blocking your path.
To do that, grab the Rusty Claymore, get close to one of the boulders, open the shortcut wheel, and then combine them to form a Boulder Hammer. Once created, the weapon will be able to destroy the wall in a single hit.

After passing through the once-blocked path, you will notice that the main door to the next section is locked and the key is nowhere to be found. To get the key, head to the room on the right and grab as many Fire Fruits as possible, as well as a new Old Wooden Bow.
Now that you have a few extra arrows, equip the bow, imbue your shot with fire, and then shoot at the vines located in the north wall as showcased below. Once the vines are burned, a treasure chest will fall. Just head to it and open it to get the key.


After getting the key, you will be able to open the main door. But before doing that, use the Ultrahand to grab a small rock located in the water and then attach it to the treasure chest located above the left pillar. After bringing the chest down and opening it, you will be rewarded with 5 Arrows (the more the merrier, Am I right?).
For those looking for a more destructive approach, hitting the pillar with your Boulder Hammer will destroy it, thus also making the chest available.
Related: How to Increase FPS on Zelda Tears of the Kingdom
After passing through the previously locked door and going right, you will be greeted by a Captain Construct, who is capable of using both Fuse to strengthen its attacks and performing ranged shots. The enemy will also be your last ruddle before being able to complete the shrine.
It’s important to point out that, although the Captain Constructs will become far too common as you progress through Tears of the Kingdom, he is on this stage through and through the shrine’s boss.
How to Defeat the In-isa Shrine Boss
We were able to beat it by making use of the enhanced arrows, embued with the Fire Fruits. As the enemy will have increased range thanks to the fuse ability, We recommend that you focus on performing continuous shots while also moving diagonally (in order to avoid his ranged shots).
Hitting the dry leaves located in the ground with a Fire shot can also allow you to deal a good chunk of damage in a large area while performing any kind of headshot will startle the enemy for a while.

After defeating the enemy, you will be able to grab the usual drops plus both a Construct Bow and a Captain Construct I Horm. Now, all you need to do is head to the altar and interact with it in order to complete the In-isa Shrine.
As you will exit the shrine after interacting with the altar, don’t forget to also go up the ladders by the right and left sides of the boss room’s entrance in order to get a few handy materials (weapons) and a few more Fire Fruits.
This guide was made while playing The Legend of Zelda: Tears of the Kingdom (Ver 1.1.0) on a Nintendo Switch OLED.


Published: May 12, 2023 12:18 pm