The Barren Temple is a dungeon you’ll visit early in Nier Replicant, and it contains multiple trials that restrict your abilities. Most of these trials revolve around destroying red crates, but certain trials will restrict your ability to run, jump, guard, or perform other basic moves. This makes things a bit more complicated and turns each trial into a puzzle of sorts, but they’re not too difficult once you figure out what to do. The boss battle in this dungeon is also fairly straightforward, so you should be able to rescue the Prince of Facade with ease. Here’s how to complete all the Barren Temple trials in Nier Replicant.
Barren Temple First Trial
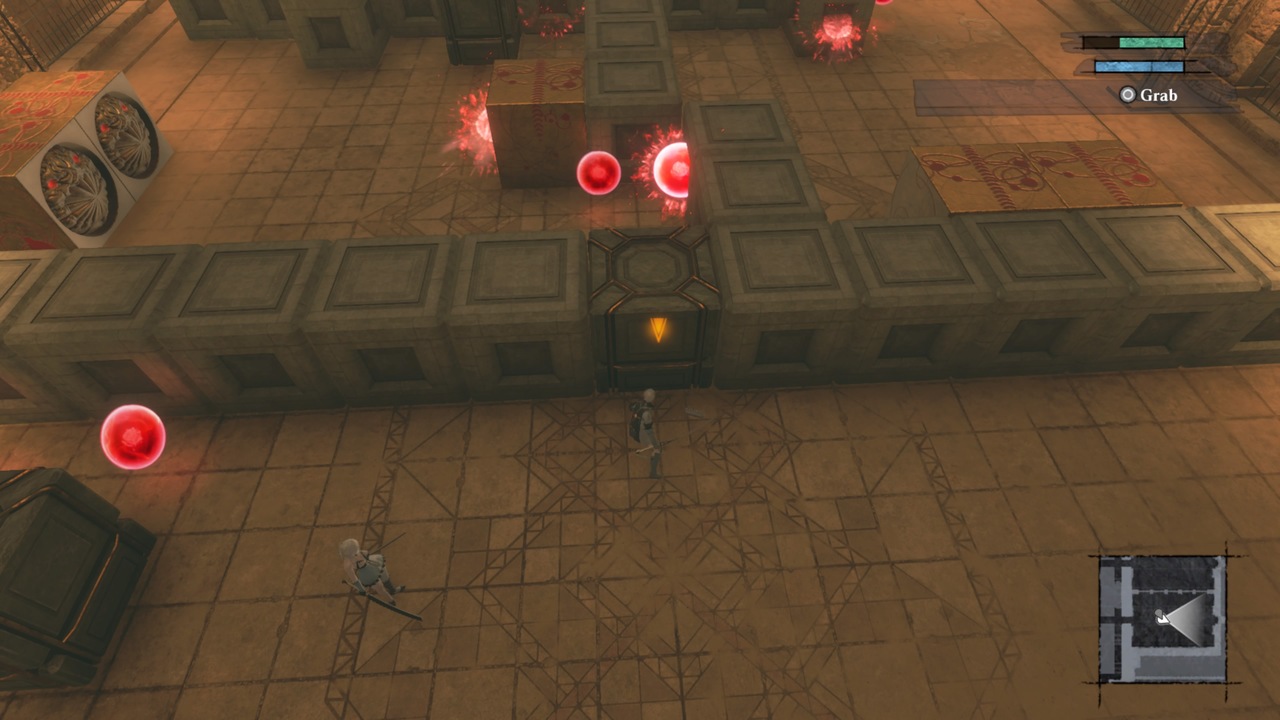
The following actions are prohibited in this room:
- Leaping Rabbit (Jumping)
This room is a fairly standard block puzzle. The only prohibited action is jumping, so that means you can’t just hop over the walls to solve this puzzle. Follow these steps to successfully navigate through the block maze.
- Push the first block forward to block the projectiles coming from the left.
- Push the next block through the gap so you can get through the wall of blocks.
- Pull the northernmost block down and to the right to protect yourself against the projectiles being shot north.
- With the projectiles blocked, push the next block through the gap and cross over to the right.
- Using the same block you pushed through the gap, block the two projectiles right in front of you.
- There are two blocks blocking the next hallway. Pull the one in the corner out of the way and then push the other block down the hallway, using it as a shield against the projectiles.
- Avoid the last line of projectiles and destroy the red cube.
Once the red cube is destroyed, you can move onto the second trial.
Barren Temple Second Trial
The following actions are prohibited in this room:
- Leaping Rabbit (Jumping)
- Stationary Owl (Standing still)
This trial begins with a short cutscene involving the Prince of Facade. Once the cutscene is over, you can start this simple challenge. You can’t jump and you can’t stand still, so you’ll have to constantly stay on the move to avoid getting reset. Just sprint toward the red cube on the other side of the room and use magic to protect yourself from projectiles. We recommend using Dark Blast to shoot the projectiles out of your way or Dark Gluttony to just absorb any potential damage from the red orbs. Just destroy the red cube to move onto the third trial.
Barren Temple Third Trial
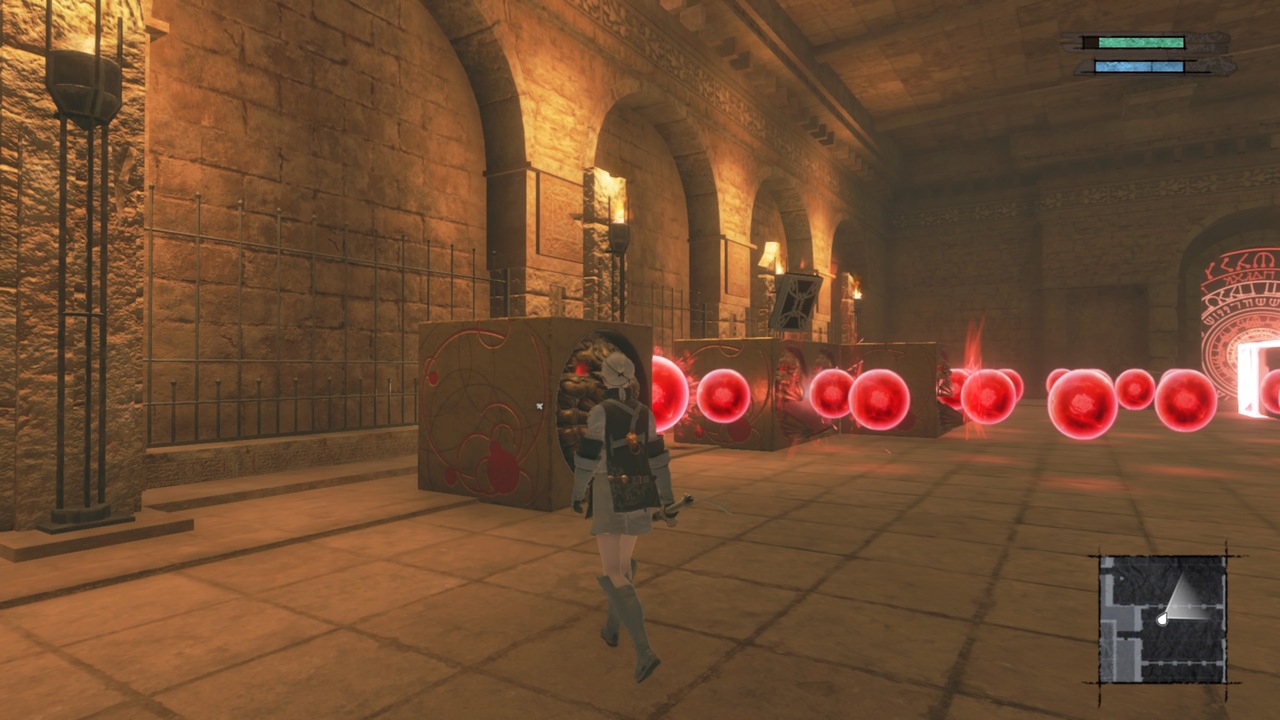
The following actions are prohibited in this room:
- Racing Wolf (Running)
- Evasive Mouse (Dodging)
- Magic-Spewing Bat (Magic)
Many Nier Replicant players get stuck on this Barren Temple trial. You are forced to slowly walk through the entire room and cannot dodge or use magic. Be careful when stopping because your character will move forward a few inches when you let go of the analog stick, which can cause some frustrating deaths. To get through this room, simply walk to the left side of the room and jump over the boxes that are shooting projectiles. You’ll still need to dodge some projectiles along the way, but you can just hop over most of the boxes and save yourself a lot of trouble. Again, make sure you don’t run so you don’t get reset. Once you reach the other side of the room, destroy the red cube to move on.
Barren Temple Fourth Trial
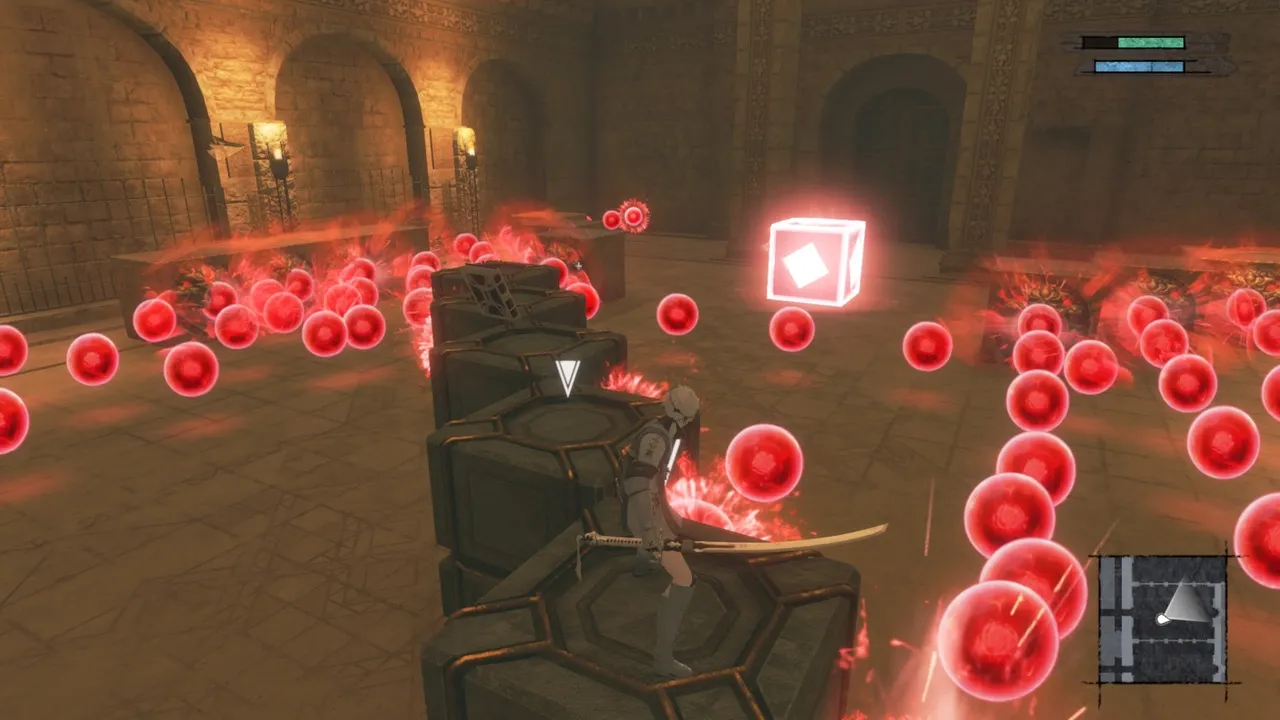
The following actions are prohibited in this room:
- Protected Turtle (Blocking)
- Magic-Spewing Bat (Magic)
This trial prevents you from blocking or using magic. There are a lot of projectiles in this room and it looks overwhelming at first, but there’s a very simple solution. Push the farthest right block forward a short distance to block the closest projectiles to you. Then, push the rest of the blocks and align them in a diagonal pattern as pictured above. This will create a bridge that will carry you over the projectiles. Just hop on the boxes and jump over to the red cube so you can destroy it and continue.
Barren Temple Fifth Trial
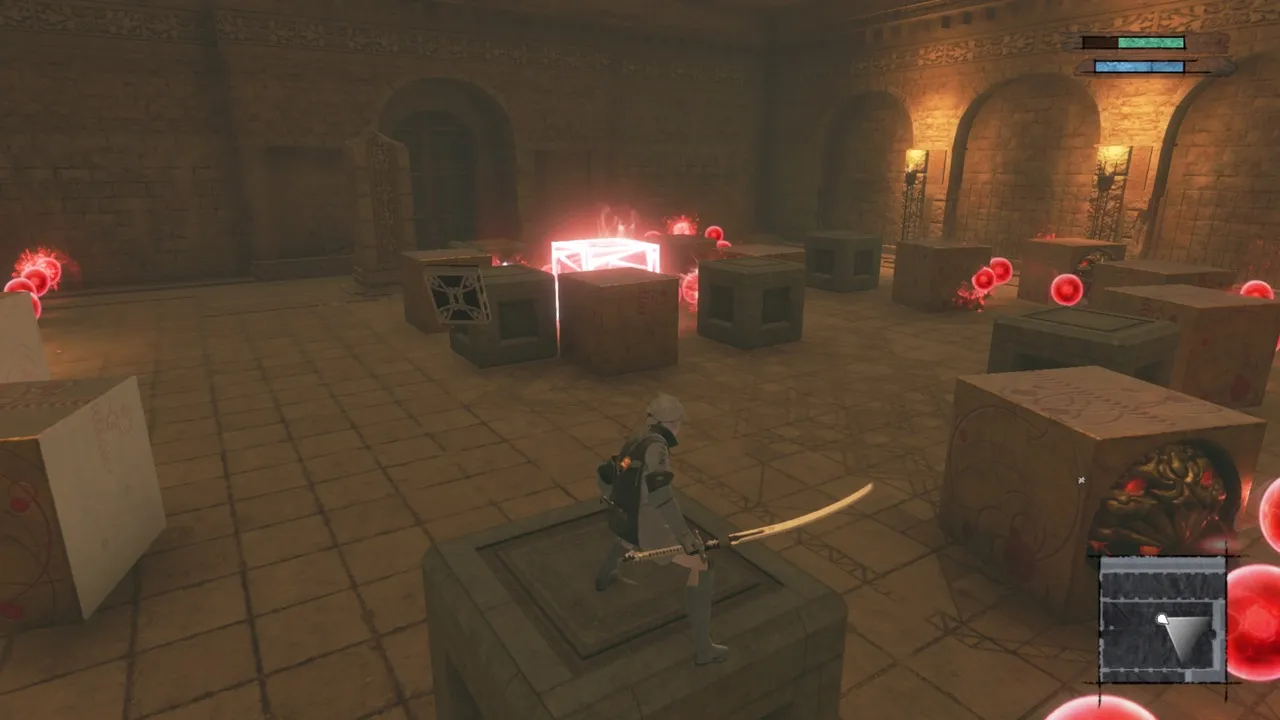
The following actions are prohibited in this room:
- Evasive Mouse (Dodging)
- Magic-Spewing Bat (Magic)
The fifth trial prevents you from dodging or using magic. This is a very straightforward room. All you have to do is jump on the boxes and use them as stepping stones to reach the other side of the room. You shouldn’t have to come down to the floor at all. Keep in mind that projectile shooting boxes will disappear if you stand on them, so make sure to jump off of them as soon as you can. Once you reach the other side of the room, destroy the red cube to move on.
Barren Temple Sixth Trial
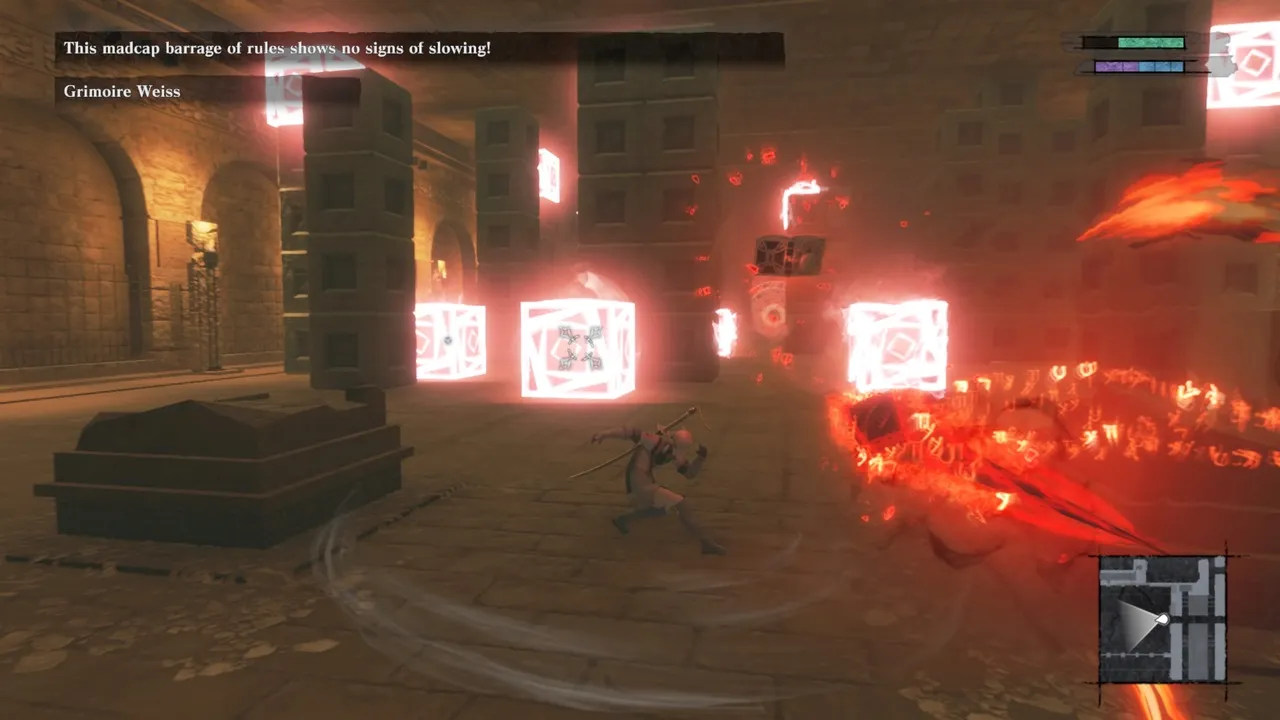
The following actions are prohibited in this room:
- Blade-Wielding Tiger (Sword)
This is another straightforward room. You can’t attack with your sword during this trial, so you’ll have to use magic to destroy all of the red boxes in this room. There are a few boxes that shoot projectiles, but you can easily avoid them. Make sure to check the ceiling for any red cubes you may have missed. Once they’re all destroyed, you can move onto the seventh trial.
Barren Temple Seventh Trial
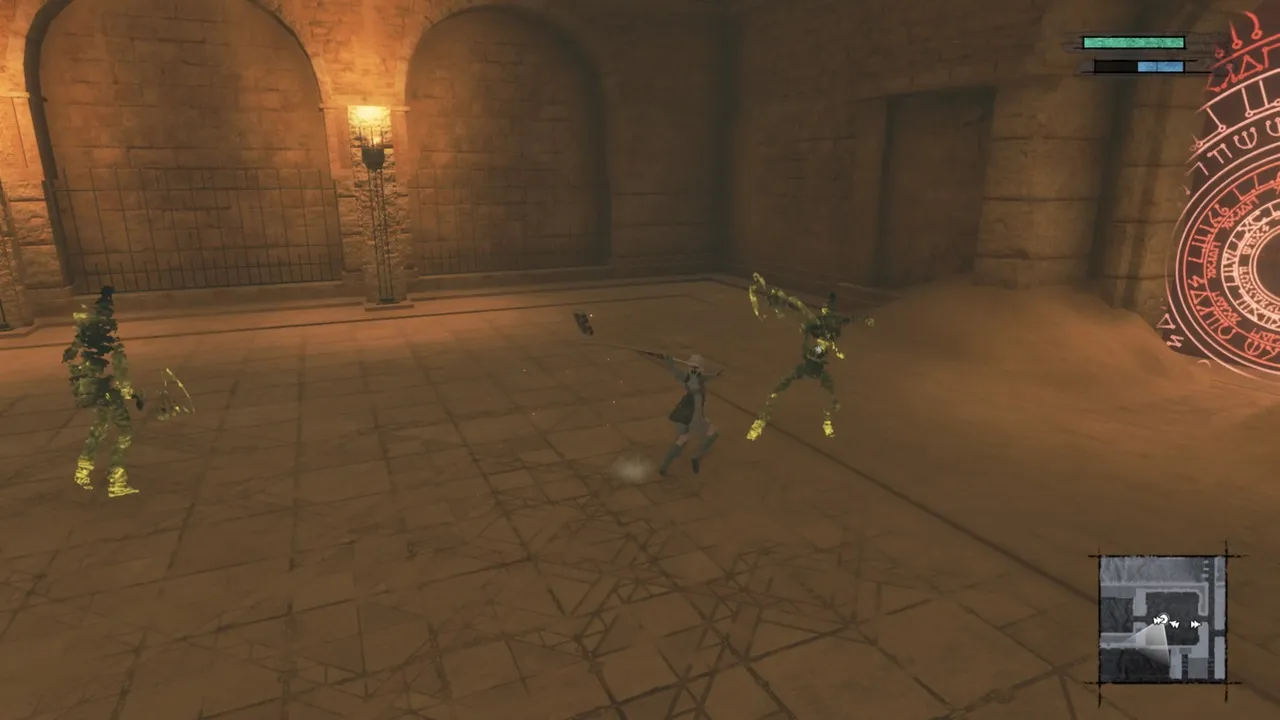
The following actions are prohibited in this room:
- Evasive Mouse (Dodging)
This is a combat trial that pits you against a few waves of Shades. The only catch is that you cannot dodge. You can still guard and parry though, so this battle should be a breeze. The game will throw a handful of weak Shades at you before a final encounter with a miniboss, but even that foe is easy to vanquish. Watch out for this boss’s slam attack that marks the ground with red circles. If you stand in these circles, you’ll take damage. Try not to evade out of habit so you don’t get reset. Once this fight is over, it’s time for the final boss of the Barren Temple.
Barren Temple Boss Fight
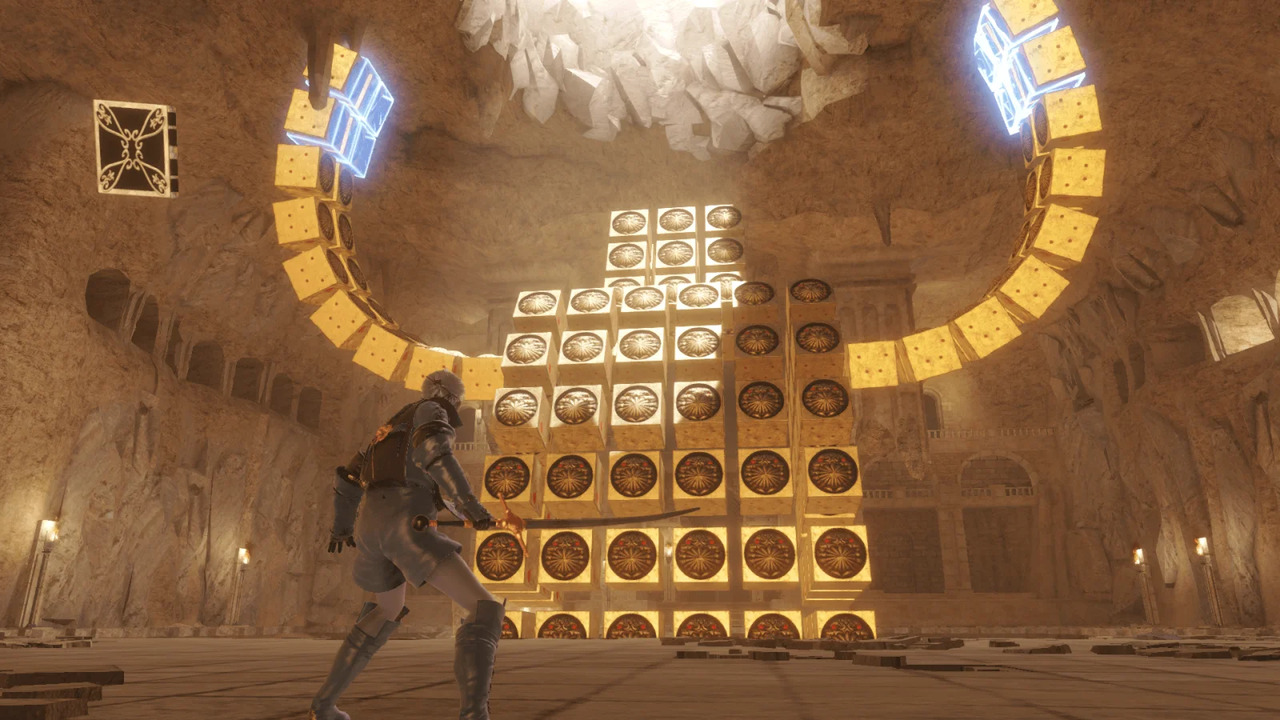
The Barren Temple boss fight in Nier Replicant is very straightforward. It’s an amalgamation of the projectile shooting boxes you’ve been dealing with, and you need to attack the glowing red boxes to damage the boss. Halfway through the fight, the boss will change forms and Kaine will join you. With Kaine by your side, keep targeting the red boxes to defeat this boss.
Nier Replicant is available now on PC, PS4, and Xbox One.





Published: Apr 26, 2021 02:54 pm