Atlas Fallen gives players the chance to soar through both sand and skies with incredible ease. As they travel through this desert-filled world, they’ll gain upgrades to their movement abilities. Finding out where these upgrades can be difficult, even with some of them being required for game completion. Early on, players should learn exactly where to find Gauntlet Shards to get the Enhanced Air Dash upgrade in Atlas Fallen.
Locations of Gauntlet Shards for the Enhanced Air Dash Upgrade in Atlas Fallen
Very early on in Atlas Fallen, players will be directed towards shards of their gauntlet. These shards can be found through beacons of light displayed by the player’s sensing ability, but they won’t appear on the map. Other shards found later are also displayed by this ability, so trying to track down the fragments you need can be a bit confusing.
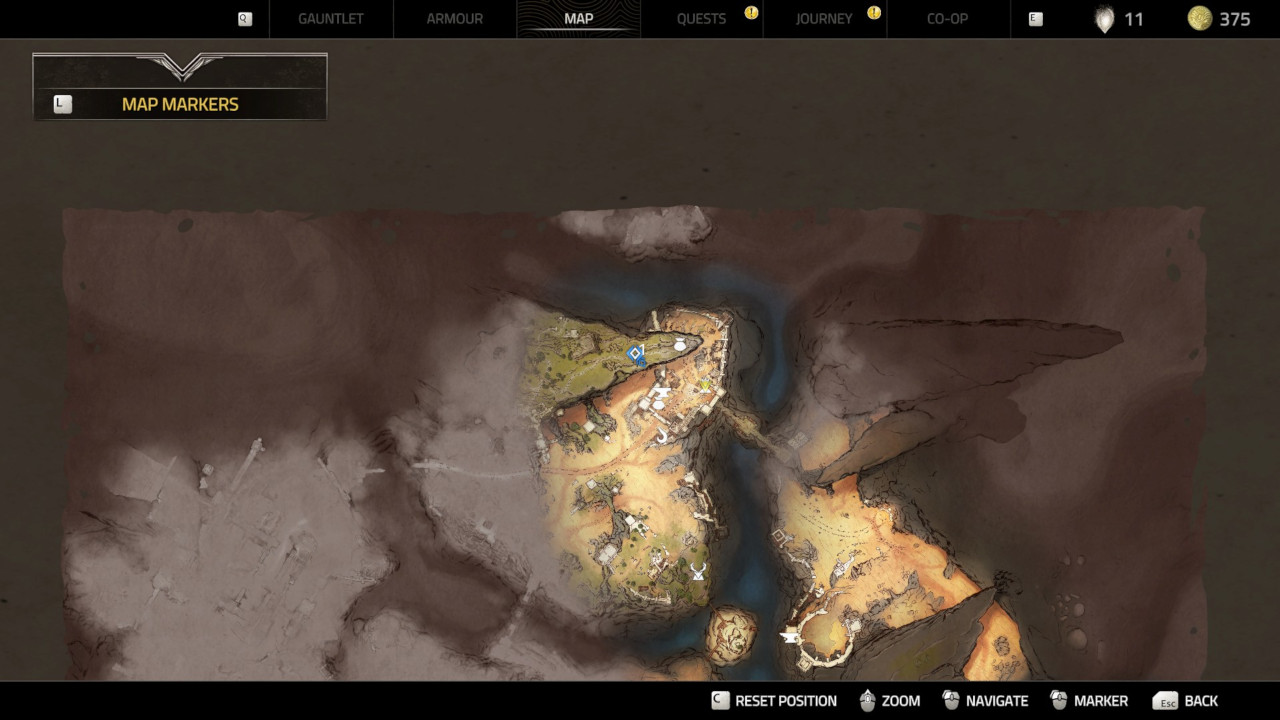
One shard is found on the outskirts of the ruined city in the north. You shouldn’t even need to talk to the nearby NPCs to learn its location, as it’s situated just next to one of the main exits.
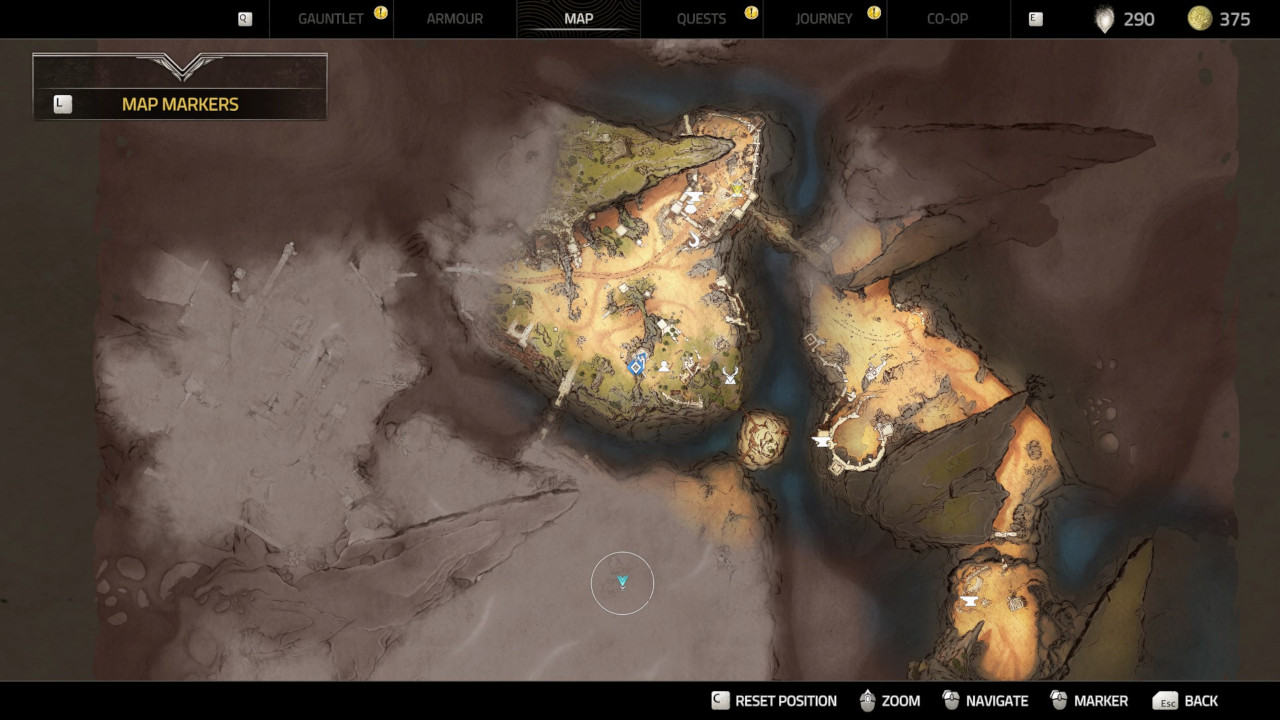
Another shard is found south of the town. As is the case with all of these shards, you’ll need to fight through a horde of wraiths to collect it, so make sure you’re well-equipped with strong weapons and powerful perks. Don’t let the other beacons confuse you, as you can’t go past the western cliff just yet.
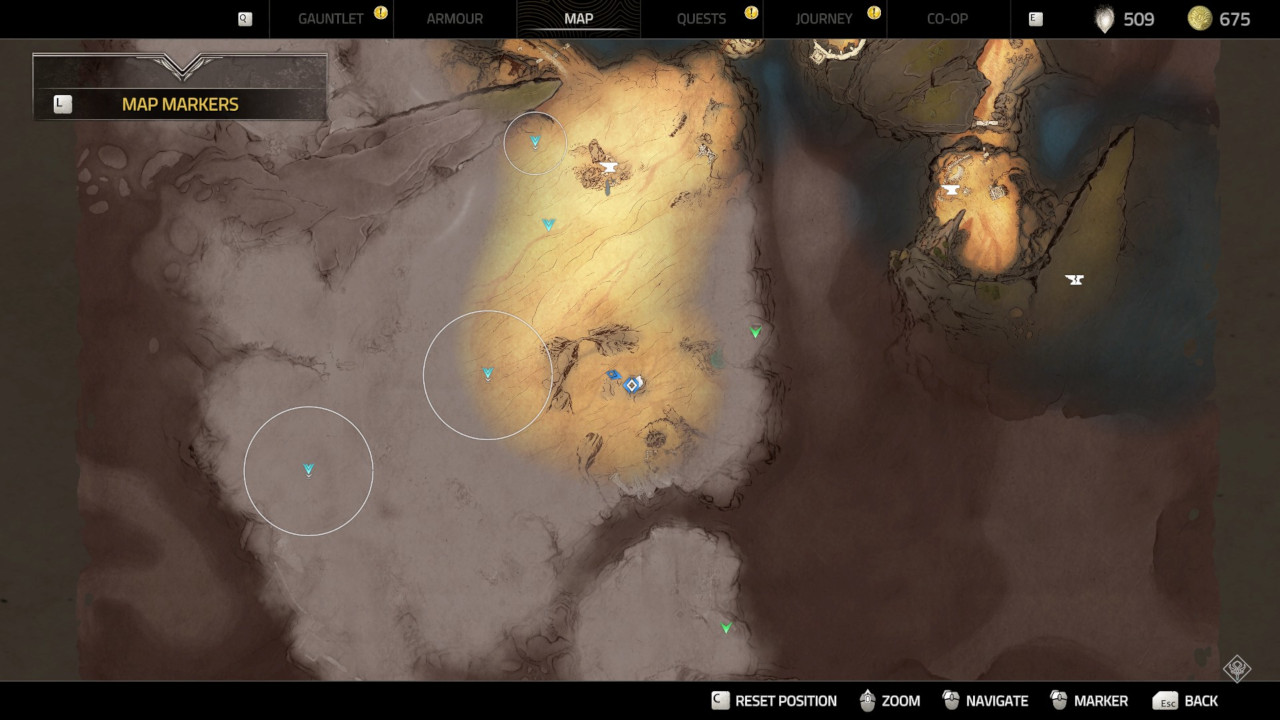
One more shard is found at the large southern landmass. You can access this location through the small island southeast of the town. Its ruined bridges are still close enough to grant you access to the large landmass, unlike the western bridge that prevents you from collecting the next shards.
Related: What are the Three Words for the Spy’s Report in the Tithe Road Secrets Side Quest?
Collecting all three shards and upgrading the gauntlet at an anvil will give you a second use of your Air Dash, allowing you to cross the aforementioned western bridge. It will also grant you access to the next major weapon and three more shards, allowing you to continue the story. To top it all off, the Enhanced Air Dash simply makes battles even more manageable, letting you avoid attacks from tougher wraiths with extreme ease.
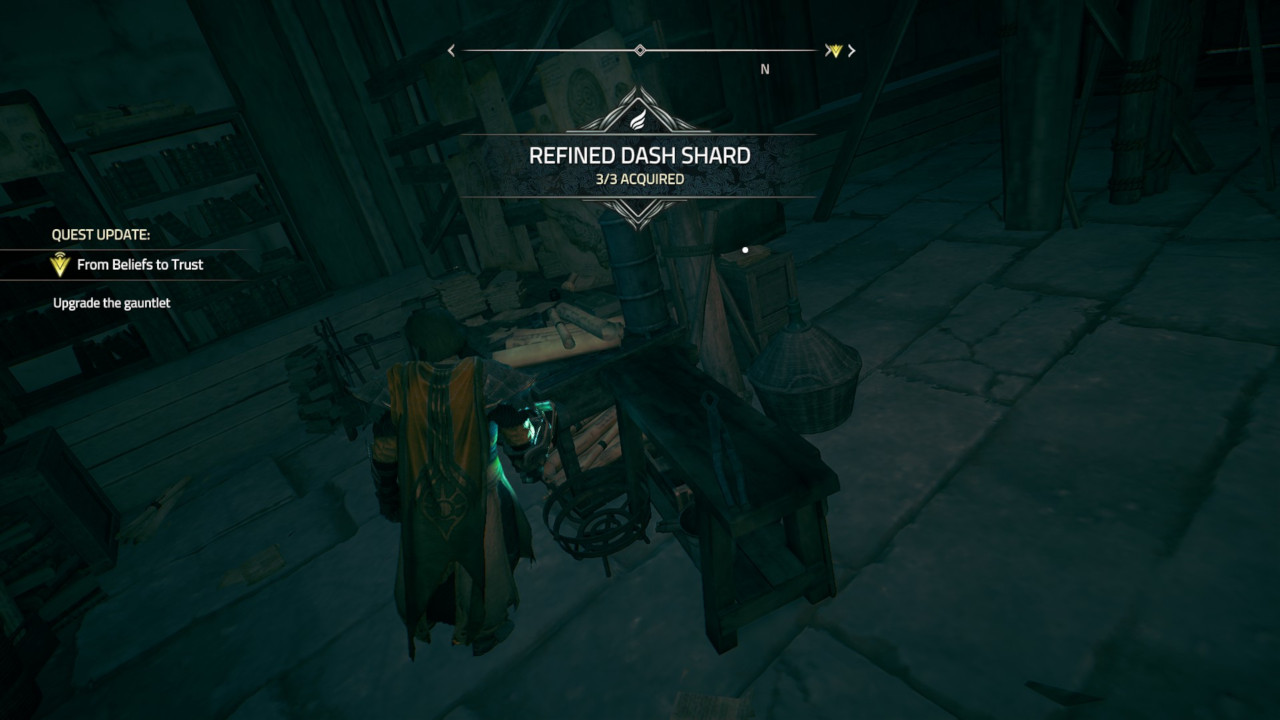
Later on, you’ll find another upgrade to the Air Dash. This upgrade is far easier to collect as all three major pieces are found in the same place. Simply play through the story and you’ll have no trouble taking full control of the skies!




Published: Aug 9, 2023 01:27 pm