The only Dead by Daylight Killer Tier List you will ever need! With a whopping 29 killers currently available, it may be hard to know which one to use. We have ranked every killer based on their perks which provide the best ability to prevent survivors from escaping a trial.
DbD Killers Tier List: 29 to 11
Since there are so many killers, we will only provide full details on the top 10 killers. We did, however, want to rank the remainder of the killers so you can see how useful they are at a glance.
-
- The Trapper
- The Onryo
- The Clown
- The Shape
- The Pig
- The Doctor
- The Ghost Face
- The Nemesis
- The Mastermind
- The Legion
- The Trickster
- The Cenobite
- The Cannibal
- The Deathslinger
- The Twins
- The Plague
- The Demogorgon
- The Artist
- The Executioner
Top 10 Killers in Dead by Daylight, Ranked
The below ten killers have proven themselves to be the best regarding their ability to kill every survivor in a match.
10. The Hillbilly
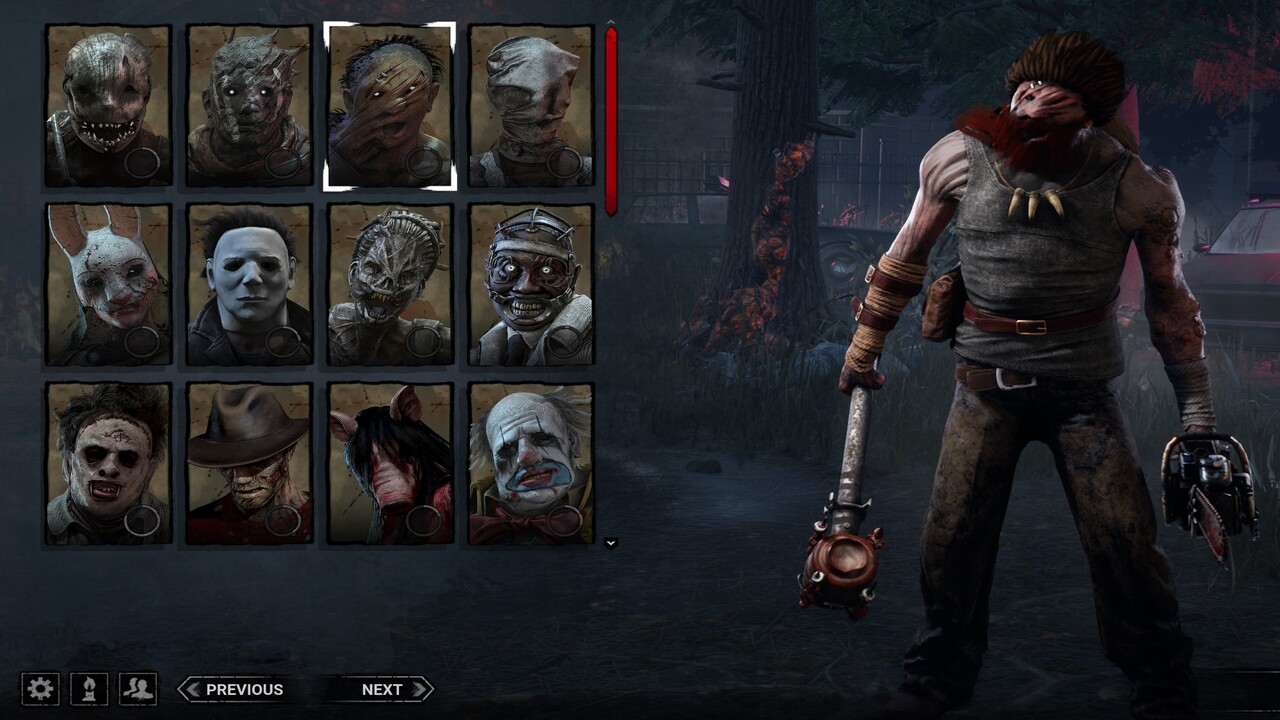
The Hillbilly’s Kit
- The Hammer: The Hillbilly’s primary weapon is the Hammer which will take 1 base Health state away from a Survivor when hit.
- Chainsaw: Allows the Hillbilly to sprint at 9.2 m/s Movement. Any Survivor hit will automatically be put in the Dying State by the Chainsaw. He will become overheated after the Overheat meter is filled by actions like revving, sprinting, and starting). Don’t use the chainsaw to lower the Overheat meter.
The Hillbilly’s Perks
- Enduring: Pallet Stun duration is lowered by 40/45/50%.
- Lightborn: Grants immunity to the Blind status effect from items like Blast Mines, Flashbangs, Flashlights, and Firecrackers. The Aura of a Survivor who attempts to blind the Hillbilly is shown for 6/8/10 seconds.
- Tinkerer: When a Generator is repaired to 70% the Hillbilly receives a Loud Noise notification and gains the Undetectable status effect for 12/14/16 seconds. This perk can only be triggered once on each Generator per trial.
Why The Hillbilly Is Good
The Hillbilly can cover a lot of distance very quickly which gives him a good map presence. He punishes survivors caught out in the open or operating in dead zones. The Hillbilly’s chainsaw prevents Survivors from getting to a loop spot (other Killers just injure them, whereas the Hillbilly downs them).
The perks that reduce pallet stun and give him blind immunity are good. We recommend that you play him in a custom game so you can practice walking forwards and backward with his charge at 99%. It is also possible to not Overheat when using no add-ons, just need to practice!
9. The Huntress
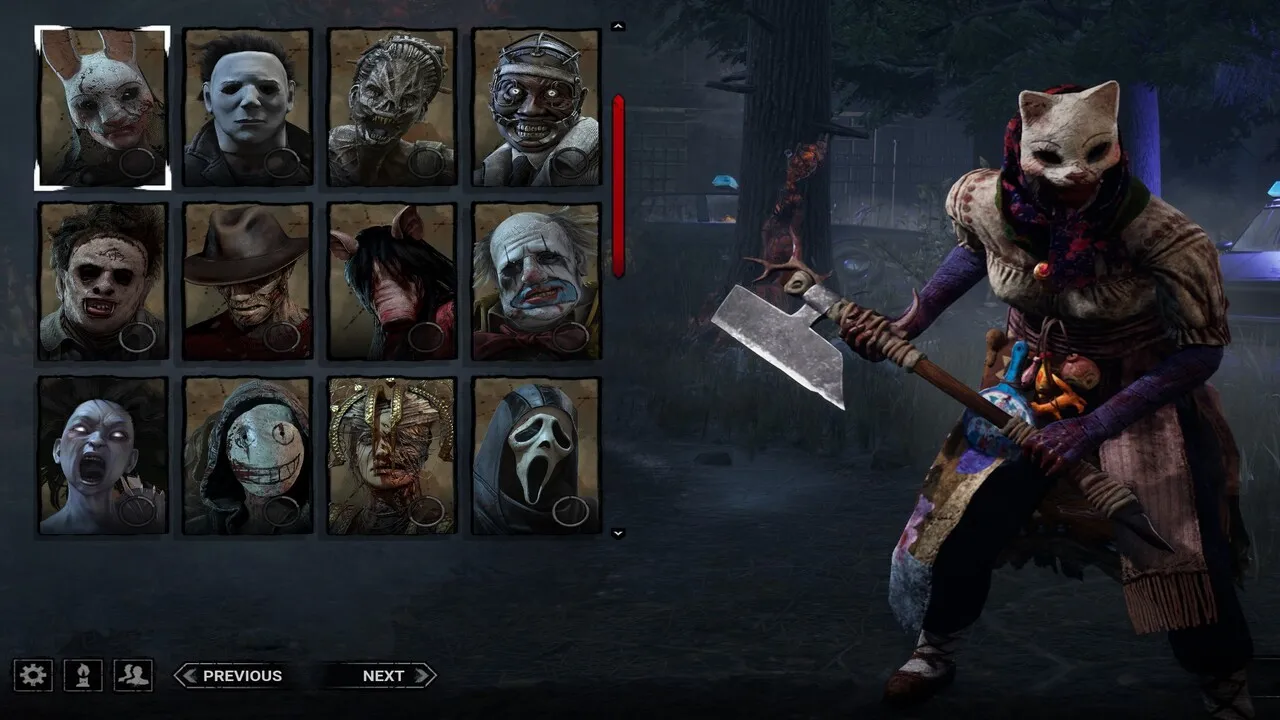
The Huntress’ Kit
- Hunting Hatchets: The Huntress begins the Trial with 5 Hunting Hatchets. She can charge up a throw for a maximum of 40/ms throwing speed. The throw can be canceled mid-charge, and the Huntress can refill her Hunting Hatchets by interacting with any Locker in the Trial.
- Lullaby: From 0 to 45 meters, survivors will hear the Huntress’ Lullaby. She won’t sing her Lullaby if she uses a Special or Basic Attack.
The Huntress’ Perks
- Beast of Prey: This perk activates when you gain the Bloodlust status effect. It provides the Huntress with Undetectable as long as Bloodlust is activated. She also gains 30/40/50% bonus Bloodpoints for all actions in the Hunter category.
- Territorial Imperative: For 3 seconds, the Aura of a Survivor is revealed to you when they enter the basement if you are at least 32 meters away. Territorial Imperative has a 30/25/20 second cooldown.
- Hex: Huntress Lullaby: Gain one 1 Token every time you hook a survivor. 1 Token shortens the Warning sound before a Survivor is given a Skill check by -14%. 2 Tokens shortens it by -28%. 3 Tokens shortens by -42%. 4 Tokens shortens by -56%. 5 Tokens completely disables the Skill check Warning sound
Why The Huntress Is Good
The Huntress is slow, but her ranged attack is the best in the game. When you master throwing her hatchets, you won’t need to refill very often, which gives you the advantage when hunting Survivors. Remember that the hitbox for her hatches is frustratingly good (for you, that is).
You’ll never forget the first time you hit a Survivor who thinks they are safe across the map (hint: you don’t need to charge fully). From downtown! If timed well, you can prevent a survivor from dropping pallets or completing certain objectives, which gives her powerful map awareness and control.
8. The Wraith
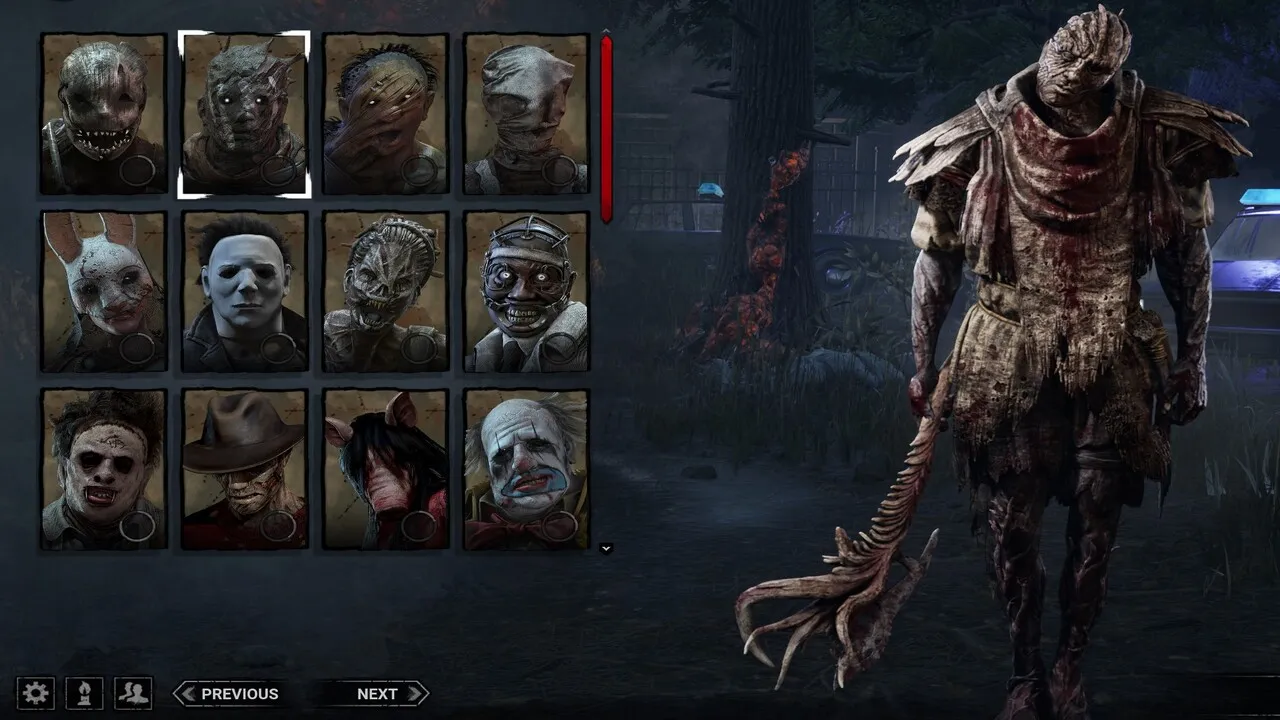
The Wraith’s Kit
- Wailing Bell: Allows the Wraith to cloak and uncloak. The Wraith lunges after 1 second of uncloaking. Wailing Bell can be heard up to 24 meters, and the Wooshing sound up to 40 meters away.
- Cloak: Provides the Wraith with different levels of invisibility based on the distance away from the survivor. He is invisible more than 20 meters away. Cloak also grants him a 6.0 m/s buff to his Movement speed and the Undetectable status effect. The Wraith is unable to attack but can interact with environmental objects
The Wraith’s Perks
- Predator: Survivors’ Scratch marks are slightly/moderately/considerably closer together, making it easier to track Survivors who run.
- Bloodhound: Survivors’ Pools of Blood can be tracked for 2/3/4 seconds longer than usual and are bright red in color.
- Shadowborn: The Wraith’s Field of View is increased by 9/12/15 degrees.
Why The Wraith Is Good
The Wraith is the best stealth killer in the game and becomes very powerful with the right add-ons. He is also good for new players learning how to play the Killer and against Survivor players who don’t understand how to counter his kit. There’s also nothing more terrifying than hearing the noise of Wailing Bell or seeing his Predator cloak appear out of nowhere… Bing bong!
7. The Oni
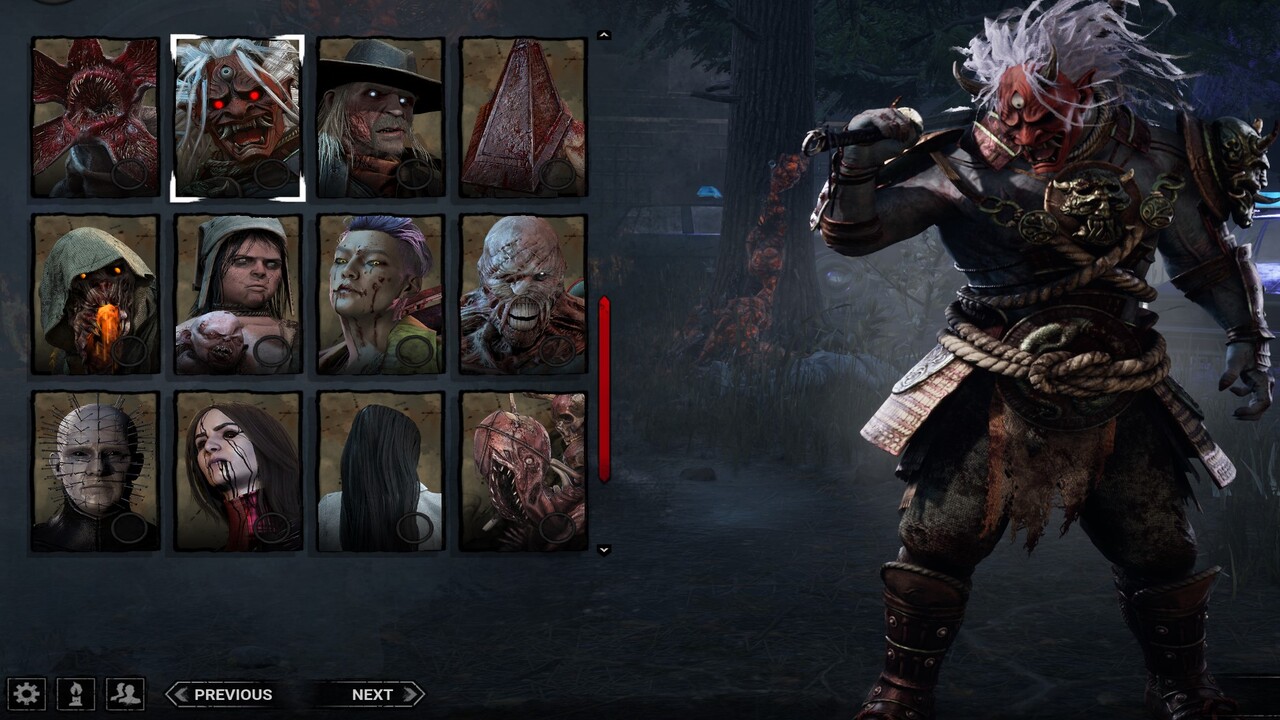
The Oni’s Kit
- Yamaoka’s Wrath: Yamaoka’s Wrath provides the Oni with two different modes: Absorption and Blood Fury.
- Absorption Mode: This mode allows the Oni to collect Blood Orbs using the Power button. Once Blood Orbs fill up the Power gauge, then Blood Fury activates.
- Blood Fury: When Blood Fury is activated, the Oni gains access to his Demon Dash and Demon Strike abilities.
- Demon Dash: The Oni can quickly cover large distances with Demon Dash. It is activated by holding the Power button when Blood Fury is active.
- Demon Strike: Demon Strike is a powerful attack that will immediately put Survivors into the Dying State. Its range is in the form of a Lunge.
The Oni’s Perks
- Zanshin Tactics: The Oni will see the Auras of Windows, Breakable Walls, and Pallets within 24/28/32 meters.
- Blood Echo: Injured survivors will suffer from Exhausted and Haemorrhage for 45 seconds after hooking another survivor. This can be triggered every 80/70/60 seconds.
- Nemesis: A survivor will become the Obsession after stunning or blinding the Oni. That Survivor will suffer from Oblivious for 40/50/60 seconds and are revealed to you for 4 seconds if they are no longer the Obsession for any reason.
Why The Oni Is Good
The Oni has the best Survivor tracking because of his Blood Orbs mechanic. Keep in mind that he is slow to start, and you must hit survivors to snowball into the latter stages of the trial. If you feel are getting constantly looped or struggling with pallets, then break the pallet and Demon Dash to the Survivor.
6. The Dredge
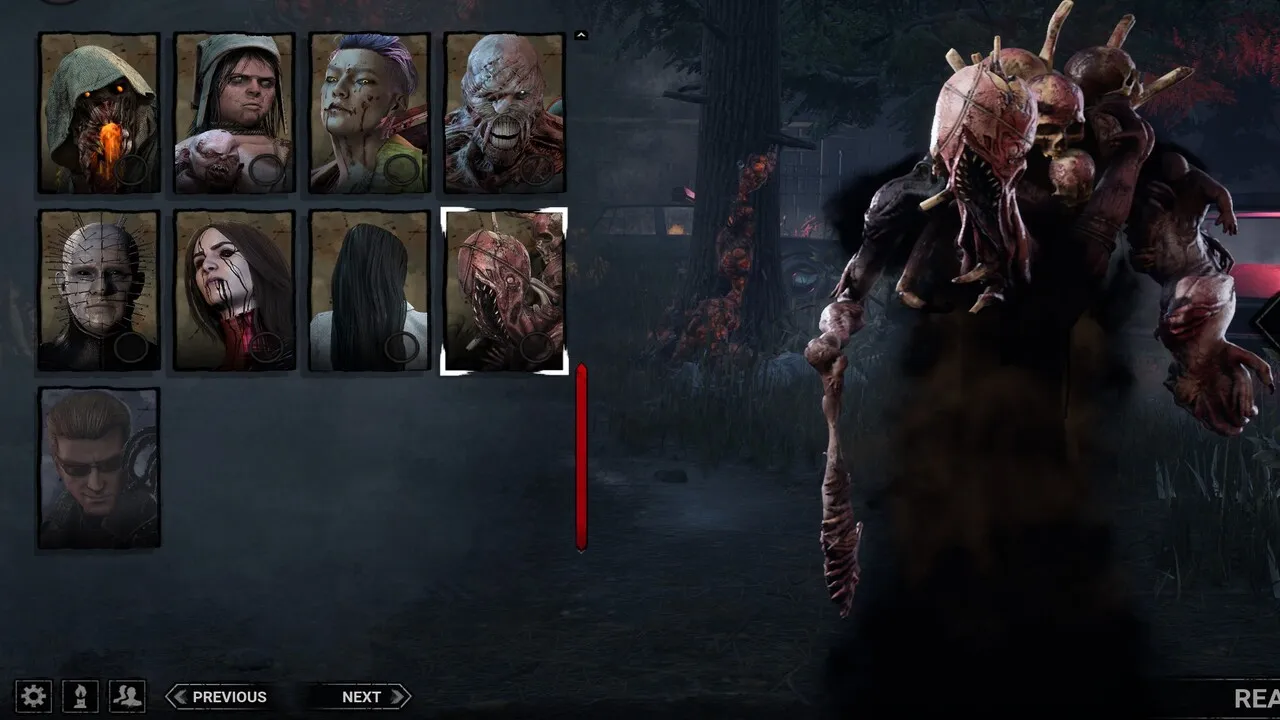
The Dredge’s Kit
- Reign of Darkness: The Dredge starts the trial with 3 Tokens
- The Gloaming: The Dredge leaves a Remnant behind and can roam the map. The Dredge can teleport inside of a locker. It can then teleport to another locker or return back to the Remnant, which will cause a cooldown of 12 seconds to start. Every token is charged after the cooldown is over. Each teleport consumes 1 Token
- Grabbing Survivors: If the Dredge teleports to a Locker that has a survivor entering it or already hiding in it, then it will grab the survivor and be able to leave the locker with the survivor grasped
- Locking Lockers: Survivors can lock each locker once per trail. This will cause the Dredge to be delayed when exiting it, the lock will break at this time. The Dredge can break locks from the outside with a basic attack. If the Dredge is inside a locker, when a Survivor attempts to lock it, the Dredge will grab the Survivor
- Nightfall: The Nightfall Meter will fill every time a Survivor is Hooked, the Dredge teleports, or a healthy Survivor is injured. Once full, Nightfall put the entire map in near darkness for 60 seconds. Survivors can reduce the time Nightfall is active by getting rid of Remnants. The dredge obtains the Undetectable status effect, and its teleportation time is 4 seconds quicker (both time to teleport and cooldown)
The Dredge’s Perks
- Dissolution: Dissolution activates for 12/16/20 seconds 3 seconds after injuring a Survivor. The Entity will break a Pallet after a Survivor fast vaults over it within the Dredge’s terror radius. Dissolution deactivates after this happens
- Darkness Revealed: The Auras of all Survivors within 8 meters of the Dredge are shown for 3/4/5 seconds when it searches a locker. Darkness Revealed has a 30-second cooldown
- Septic Touch: A Survivor suffers from the Exhausted and Blindness status effects for 6/8/10 seconds whenever they heal within the Dredge’s terror radius
Why The Dredge Is Good
The Dredge’s ability to leave Remnants around the map while it teleports to lockers gives it an extremely good map presence. The remnants also make it extremely hard for survivors to loop. Nightfall adds additional difficulty in completing objectives and saving other survivors, which buys you time to earn more sacrifices.
A killer strategy is to lock down the survivors by only letting them finish Generators on the outskirts of the map. It will be almost impossible for them to finish the remainder of the inner Generators due to how quickly the Dredge can teleport
5. The Blight
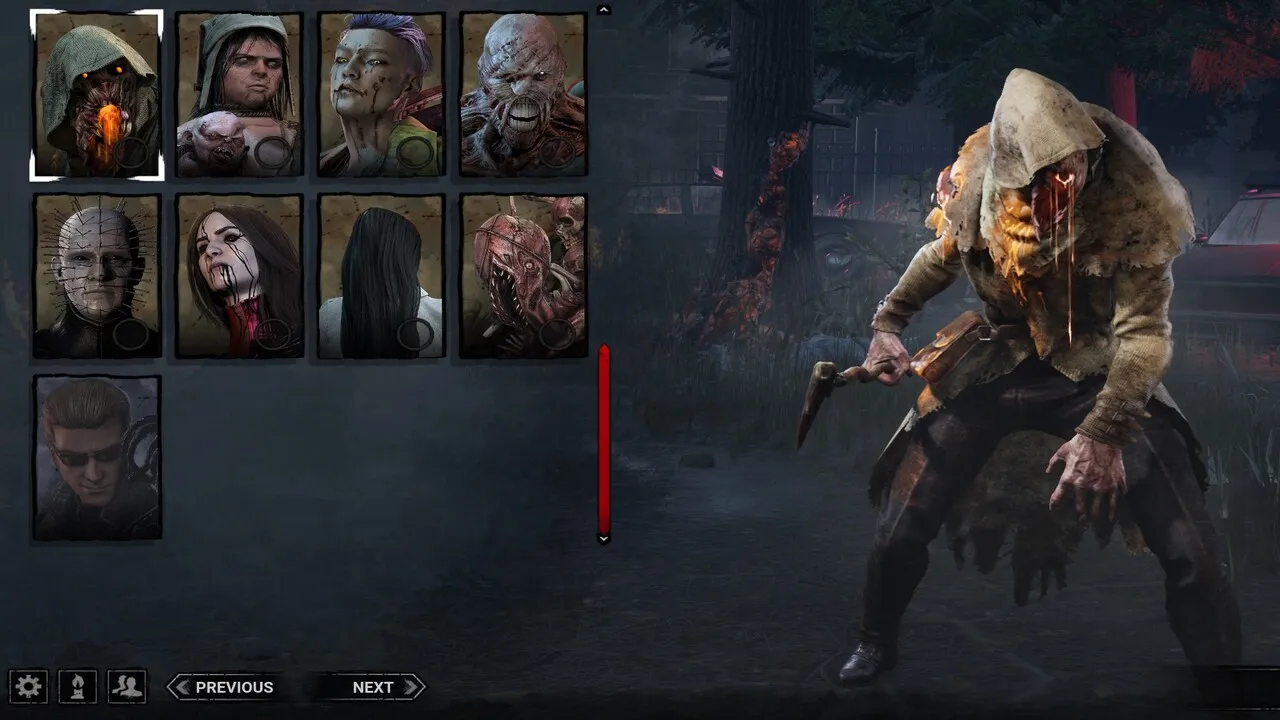
The Blight’s Kit
- Blighted Corruption: The Blight starts with 5 tokens which are consumed for his other abilities
- Rush: When the Blight has all 5 tokens, he dashes forward at great speed. He is unable to attack when this is activated
- Slam: A Slam occurs when the Blight is rushed into walls or obstacles. This starts the Chain Rush Window
- Lethal Rush: The Blight can activate Lethal Rush, consuming 1 token, when the Chain Rush Window is open. The Blight can Attack while in this phase. He can also destroy Breakable Walls and Pallets by attacking as he rushes into them
- Fatigue: The Blight enters Fatigue and recharges his tokens after Lethal Rush is finished or the Chain Rush Window is over
The Blight’s Perks
- Dragon’s Grip: A survivor will Scream and have the Exposed status effect after they start repairing a generator you just broke. This perk has a cooldown of 120/100/80 seconds
- Hex: Blood Favour: The Entity will stop all pallets from being pulled down within 24/28/32 meters of a Survivor who just lost a Health State for any reason. This perk is active until its Hex Totem is cleansed (or Hex: Undying’s is cleansed).
- Hex: Undying: Survivors’ Auras are revealed to you when they are within 2/3/4 meters of a Dull Totem. When another perk’s Hex Totem is cleansed, it is transferred, with any tokens, to Hex Undying’s Hex Totem. This perk is active until its Hex Totem is cleansed.
Why The Blight Is Good
The Blight is one of the fastest killers in the game. A perfectly timed Chain Rush Window can be devastating and guarantee a hook. Hex: Undying is also very strong for those killers that run other builds outside of his perks or to prevent those pesky survivors from cleansing your totem right at the start of the match.
4. The Nightmare
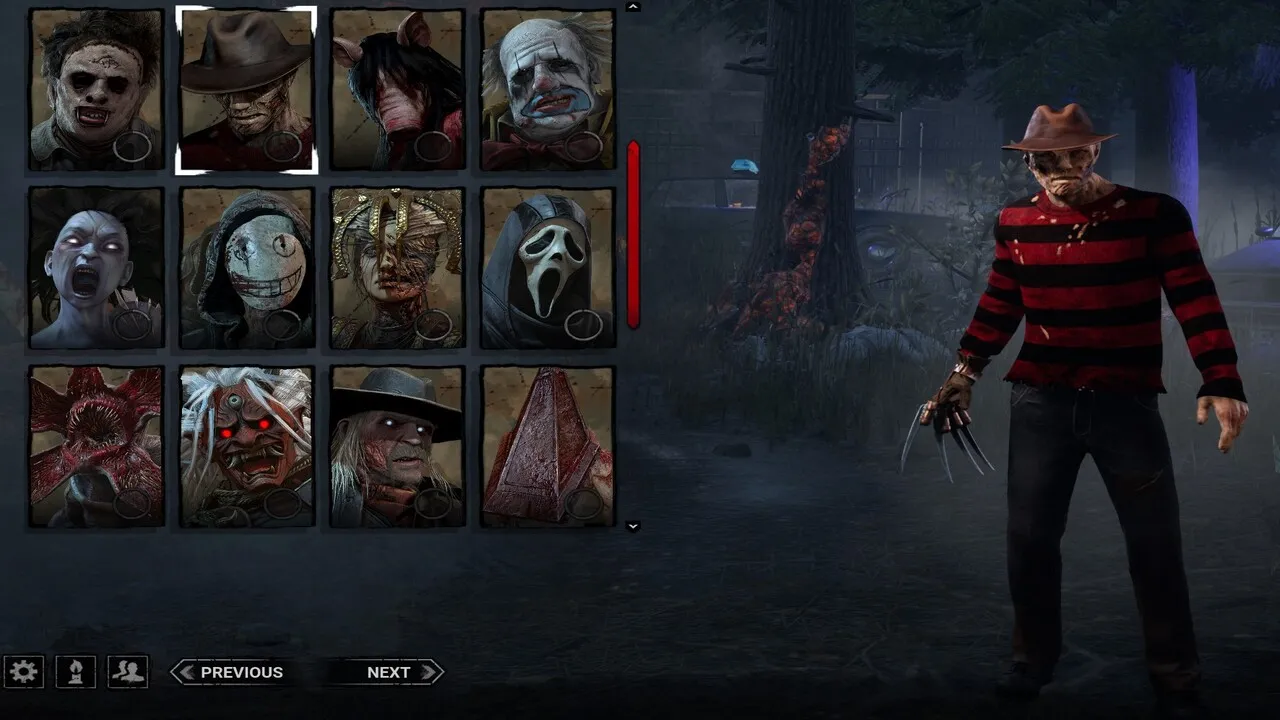
The Nightmare’s Kit
- Dream Demon: The Nightmare is cloaked from survivors who are currently Awake. He is invisible to survivors when he is over 32 meters away, partially visible from 16 to 32 meters away, and fully visible within 16 meters. Survivors enter the Dream World after 60 seconds and suffer from the Oblivious status effect. Survivors will only hear his non-directional Lullaby and can be affected by Dream Traps. Survivors must wake themselves up using several different methods like failing skill checks, finding the alarm clock item, or being woken up by another survivor
- Dream Snare: Survivors who trigger dream snare are affected by the Hindered status effect while in the Area of Effect and for a short period after leaving it
- Dream Pallet: The Nightmare can place dream pallets at available locations. They will be destroyed and not stun the Killer when used by a Survivor
- Dream Projection: The Nightmare can teleport to a Generator in view. Each survivor in the Dream World reduces this abilities cooldown by 15% (stackable)
The Nightmare’s Perks
- Fire Up: This perk grows in power every time a Generator is completed. 3/3.5/4% Action Speed bonus to dropping and picking-up survivors, breaking Walls and pallets, and vaulting Windows. Stackable up to a maximum of 15/17.5/20%
- Remember Me: When the Obsession loses a Health State, this perk gains 1 token. The time to open Exit Gates is increased by 4 seconds for every token, a maximum of 8/12/16 additional seconds. The obsession is unaffected by the penalties applied to this perk
- Blood Warden: The Aura of survivors within the exit gates is revealed to you. The Entity blocks the exit gates for 30/40/60 seconds when you hook a survivor while this perk is activated
Why The Nightmare Is Good
This may be a controversial pick, but his kit is just too disruptive and very fun to use. His abilities give him a strong presence throughout the map, which puts pressure on survivors. His snare and pallet abilities make it harder for survivors to loop or run from him for extended periods of time. Dream Demon is also disruptive as it requires Survivors to do something other than complete objectives, which is their primary goal. Depending on how they wake themselves up, they will show you their locations, adding even more to their disruption and providing you with possible kills.
3. The Hag
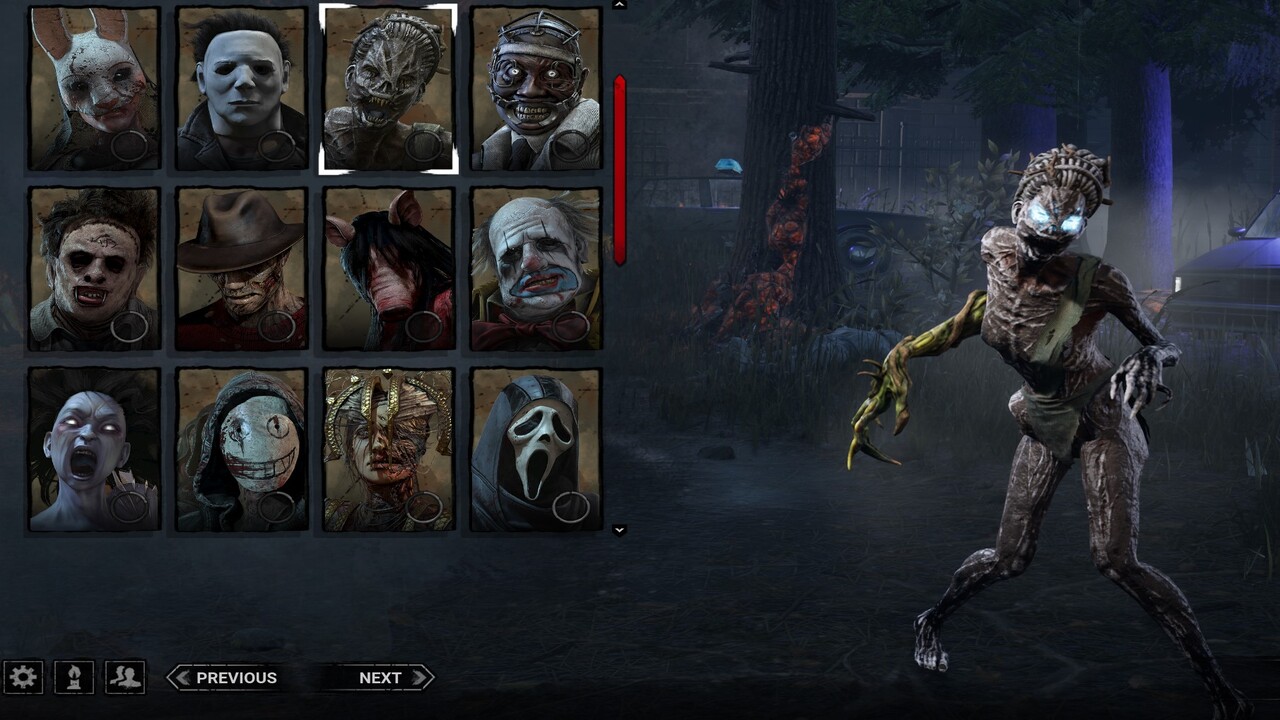
The Hag’s Kit
- Blackened Catalyst: The Hag can place 10 Phantasm Traps, creating a Mud Phantasm when triggered. A Mud Phantasm will pull the survivors’ camera towards it, and they will hear a fake Terror Radius.
- Teleport: The Hag can teleport to a triggered Phantasm Trap within 40 meters of her location
The Hag’s Perks
- Hex: The Third Seal: The last 2/3/4 Survivors injured by your attacks suffer from Blindness. The effect goes away if this Hex Totem is cleansed
- Hex: Ruin: A generator will regress at 50/75/100% of the normal Regression speed when not being repaired by a Survivor. This perk is deactivated when a survivor is killed or its Hex Totem is cleansed
- Hex: Devour Hope: Gain 1 token every time a survivor is unhooked if you are over 24 meters away. 2 tokens provide 3/4/5% Haste for 10 seconds after hooking a survivor. 3 tokens force the survivors to suffer from the Exposed status effect permanently. 5 tokens provide the ability to kill the survivor with your own hand.
Why The Hag Is Good
While the hag is one of the slower killers in the game, her traps make her map coverage the best. Having ten traps allows her to place them throughout the map so she can easily teleport to them when triggered. Her traps are also the hardest for survivors to see, which means they will trigger more often and interrupt objectives from being completed. Hex: Devour Hope will be modified when the changes to the Mori system and the Last Standing phase are implemented. A survivor will be instantly sacrificed when Devour Hope is at five tokens.
2. The Nurse
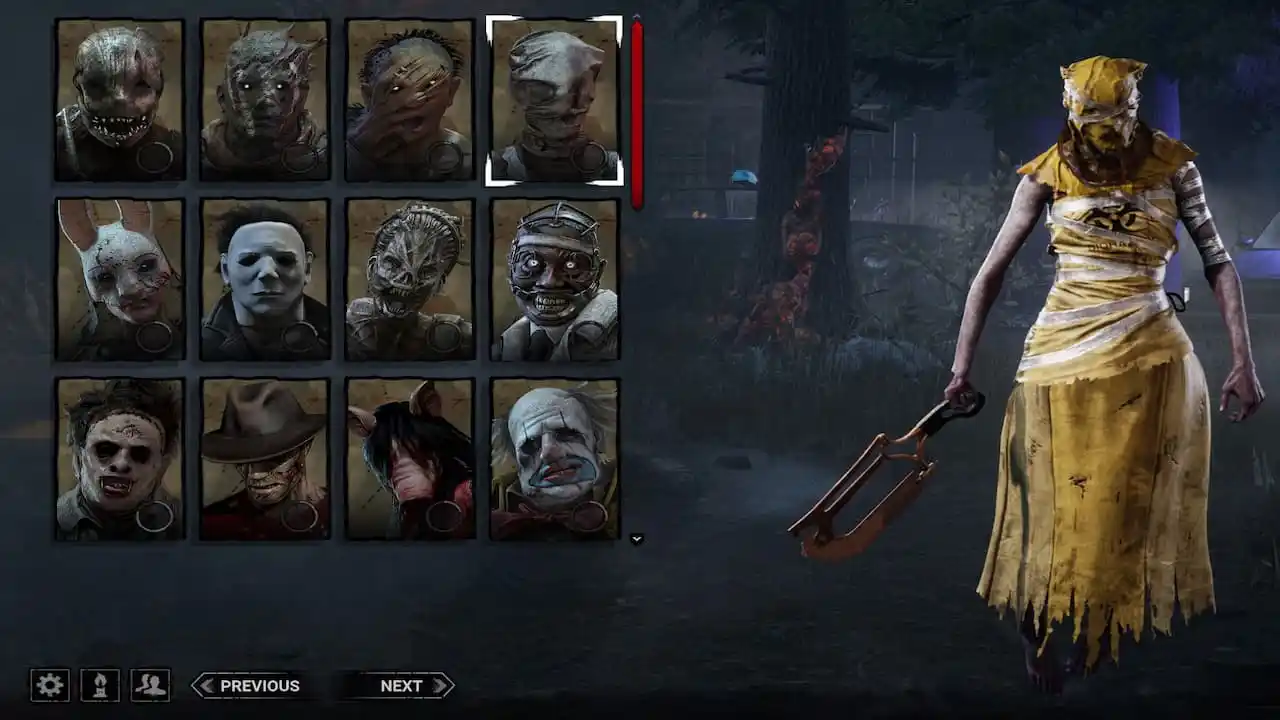
The Nurse’s Kit
- Spencer’s Last Breath: The nurse can blink up to 20 meters when this power is activated. A player can chain a blink of up to 12 meters during the Chain Blink Window
The Nurse’s Perks
- Stridor: The volume of survivors’ grunts of pain is increased by 25/50/50%. The volume of survivors’ normal breathing is increased by 0/0/25%
- Thanatophobia: 1/1.5/2% action speed penalty is applied to all survivors for each dying, hooked, or injured survivor up to a maximum of 4/6/8%. Another 12% increase to this penalty if all four survivors are dying, hooked, or injured at the same time
- A Nurse’s Calling: The Auras of healing survivors are shown within a range of 20/24/28 meters
Why The Nurse Is Good
Spencer’s Last Breath allows the Nurse to teleport through most objects on the map and cover a lot of distance, making her one of the most dangerous killers in the game. The Nurse’s kit is a perfect match for the Last Standing phase as her perks scale well, and it will allow her to find the lone survivor much quicker.
1. The Spirit
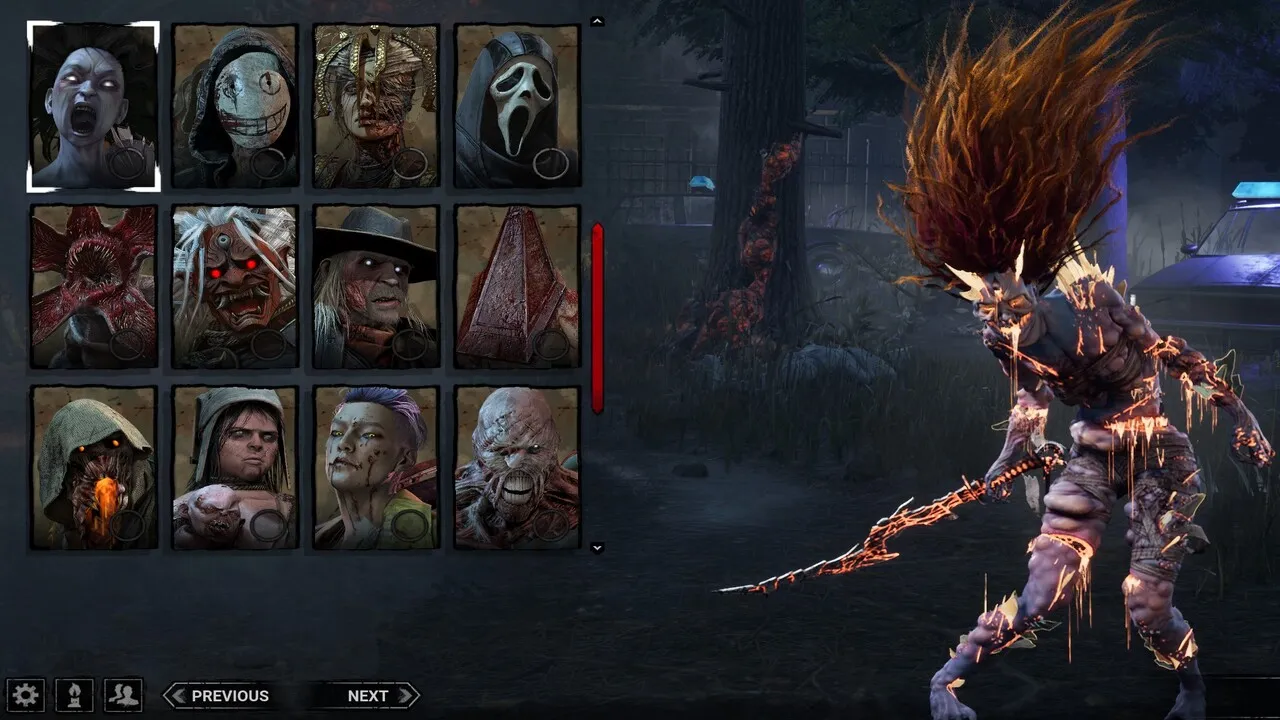
The Spirit’s Kit
- Yamaoka’s Haunting: The spirit will phase-walk, causing players to lose sight of her and her survivors. Survivors can hear her, and she can see their Scratches
The Spirit’s Perks
- Spirit Fury: The Entity will instantly break a pallet the next time you are stunned by it after you break 4/3/2 pallets
- Hex: Haunted Ground: Two trapped Hex Totems will cause all survivors to become Exposed for 40/50/60 seconds after one of them is cleansed (the other one will turn into a Dull totem)
- Rancor: Each time a Generator is finished, your Aura is revealed to your Obsession for 5/4/3 seconds. The Aura of all survivors is revealed to you for 3 seconds. Once all Generators are completed, your Obsession will permanently have the Exposed status effect, and you can kill them
Why The Spirit Is Good
The spirit is one of the fastest Killers in the game. Her phase-walking makes her incredibly hard to deal with, and she does a great job of interrupting survivors from completing objectives. Nothing is more satisfying than picking up a survivor who isn’t paying attention while preparing a generator! Rancor will be modified when the changes to the Mori system and the Last Standing phase are implemented.
Dead by Daylight is currently available for PC, PlayStation 5, PlayStation 5, Xbox One, Xbox Series X|S, Nintendo Switch, Stadia, iOS, and Android.











Published: Sep 29, 2022 03:06 pm