Once you have acquired The Hidden Shape in Destiny 2, you’re now free to start the activity called Operation: Seraph’s Shield. You’ll need to complete this activity if you want to progress and acquire Revision Zero. Here is how to complete Operation: Seraph’s Shield in Destiny 2.

Destiny 2 Operation: Seraph’s Shield – Infiltrate the Launch Facility
The first part of Operation: Seraph’s Shield requires you to infiltrate the launch facility. To do that, head directly straight and hide behind the rocks to avoid getting lasered by the towers. Kill the Ogre and head inside. Continue forward and avoid the lasers as they will immediately kill you.


Destiny 2 Operation: Seraph’s Shield – Reach the Launch Pad Control Room
Once inside, take the first door on your left. Continue forward, carefully dodging the lasers, and enter the launch room. Clear out all of the enemies and pick up the Scanner Augment. With the Scanner Augment, you are able to see consoles that need to be hacked. Only one will show at a time and they will be highlighted in yellow.
Hack the console at the top left, then the middle of the room, and then the one at the top right of the room. When all three consoles have been hacked, enter the drop pod.

Destiny 2 Operation: Seraph’s Shield – Board and Gain Access to Seraph Station
After entering the drop pod, you’ll ascend to the Seraph Station. Go to the right side of the room and use the Augmentation Terminal. This will get rid of your Scanner Augment and open the door.

Destiny 2 Operation: Seraph’s Shield – Access the Engineering Sector
Continue through the door and clear the room. Acquire the Scanner Augment and hack the first console at the back of the room near where you came in. The second console is found through the vent on the left side of the room. Shoot the vent and crawl through.
After crawling through the vent and accessing the second room, hack the second console. With that done, head back through the vent to get to the room you came from. The third and last console is at the back of the room straight ahead.
With the door open, kill the Sentinel and jump across the gap. Use the Augmentation Terminal to lose the Scanner Augment and open the door.


Destiny 2 Operation: Seraph’s Shield – Access the Decontamination Chamber
Continue forward and clear out all of the enemies in the yellow room. Acquire the Scanner Augment again and hack the first console which is at the left side of the room toward the door you came in. With that done, kill the Shanks that spawn in and jump onto the platform and shoot the vent.
After traveling through the vent, you’ll need to navigate past the lasers. Wait for each row of lasers to disappear to get to the second console at the back of the room. Once hacked, the lasers will vanish and the door will open. Kill the enemies and use the Augmentation Terminal.
With the door open, you’ll notice that it has a clear filter. Passing through doors with this eliminate any Augments. With Scanner still equipped, look through the glass into the room just left of the Augmentation Terminal. Notice the position of the hackable console.
Now travel through the door and get to the second floor. You’ll see four terminals available to hack. Hack the one that matches the location of where the hackable console is. If you hack the wrong terminal, you’ll get lasered. If you got it right, you’ll be able to leave and enter the now-open door on the left.
Climb up through the blue room and destroy all of the turrets.


Destiny 2 Operation: Seraph’s Shield – Access the Security Sector
After the blue room with turrets, you’ll enter a big room. Clear out all of the enemies and acquire the Scanner Augment which should be on the second floor near the glass wall. With the Scanner Augment, look through the glass into the room on the second floor. Notice the position of all three hackable consoles.
Then travel down to the first floor and look through the glass into the room. Notice the path on the floor. If you don’t walk on the yellow tiles, the room will heat up rapidly and kill you. Now that you know the position of the consoles and the correct path, you can enter the room and hack the correct consoles. You’ll enter through a door that takes away your Scanner Augment, so you’ll need to use your memory. If you die, simply get the Scanner Augment and try again.
If you’ve done it correctly, the lasers will disappear and you’ll be free to exit the room via the open door at the far side of the room.


Destiny 2 Operation: Seraph’s Shield – Access the Officer’s Lounge
Continue into the new room and clear out all of the enemies. Pick up the Operator Augment. This augment allows you to see terminals that glow red. When these terminals are shot, doors will unlock. Shoot the first terminal in the room.
Enter the next room and clear out the Hive. Shoot the second terminal which is located on the wall on the left side of the room. Continue forward clearing out more Hive. Crawl through the vent at the back right side of the room. When you reach an opening, you won’t be able to go through it. Instead, get really close to it and go as far left in the vent as you can. You’ll see the third terminal glowing red on the wall. Shoot it and return to the first room with all the Hive.
Enter the vent which is located on the right side of the room behind a pillar where you first came in. You know the drill: crawl through and clear out the Hive. The fourth and final red terminal is on the pillar in the other room. You can shoot at it by aiming through the opening in the glass.
With that done, return to the main room, keep heading straight, and take the door on your right. Clear out the Hive and continue forward. In this new room, you’ll find turrets and Fallen. Defeat all of the opponents, grab the item dropped by the big Fallen, and use the Augmentation Terminal to head to the next area.

Destiny 2 Operation: Seraph’s Shield – Draw Attention to Your Location
As you enter the big room, be sure to place a banner. When you are ready, stand away from the center platform and shoot the center yellow bomb. A boss will appear and you’ll need to knock its health down a third. When that happens, it will become invulnerable and you’ll need to destroy three Brigs. When all three Brigs are defeated and there are no more enemies in the room, you’ll be able to proceed through the door at the back.


Destiny 2 Operation: Seraph’s Shield – Get Captured
With that section done, continue through the corridors. Walk into the room with the Fallen on the other side and surrender your weapons. After getting captured and collecting your weapons again, clear out the Fallen on the ship. Free the BrayTech robots to fight with you by interacting with the console on the left near the entrance. Continue forward and interact with the console to open the door.


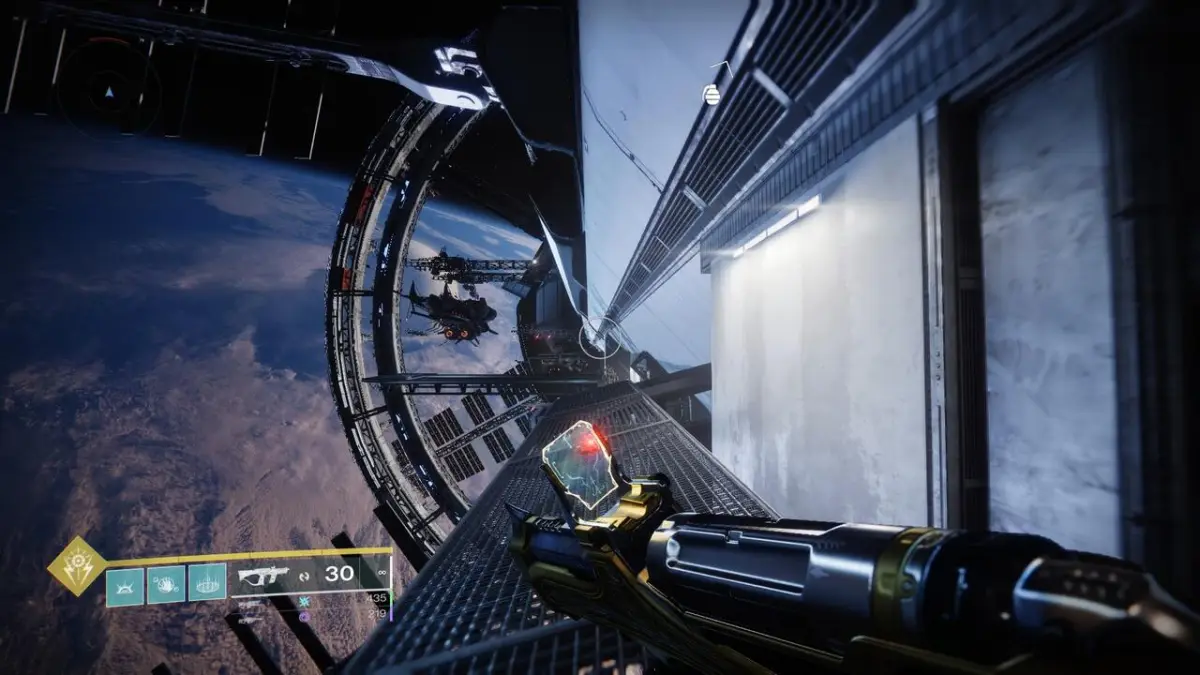
Destiny 2 Operation: Seraph’s Shield – Jump to the Station’s Machinery
Once past the rooms with the turrets, you’ll exit the ship and enter space. You’ll need to travel to the end of the platform and look down. Look for the red lights below and jump. When you are close to the metal platform, perform a jump so you don’t die from fall damage.
Continue carefully jumping from platform to platform. If you don’t know where to go next, look for the red lights. Get to the Fallen with the Operator Augment and take it from him. Shoot at the three red terminals. Two are located on the platform with the Operator Augment. Hop onto the next platform and look at the previous platform to see them. The third red terminal is across near where the Hive that’s shooting you is.
With all three red terminals shot, platforms will emerge allowing you to traverse to the other side. Clear out the enemies and continue to climb. Re-enter the Seraph Station and clear out the Hive. When all is clear, use the Augmentation Terminal to open the door.

Destiny 2 Operation: Seraph’s Shield – Reach the Warsat Command Nexus
Once through, you’ll re-encounter that Hive boss. Defeat it — it isn’t too difficult — and continue forward.


Destiny 2 Operation: Seraph’s Shield – Access the Warsat Command Nexus
Clear out the Fallen in the next room and pick up the Operator Augment. Shoot at the red terminal on the pillar in the center of the room. Go into the room on the left, kill the enemies, and use the Augmentation Terminal. You can only hold one Augment at a time. Pick up the Scanner Augment and hack the console in this same room.
Dump the Scanner Augment and pick up the Operator Augment again. Shoot the red terminal on the opposite side of the first one. Use the Augmentation Terminal, pick up the Scanner Augment, and hack the console in the far room.
With the door in the center open, travel through and defeat all of the Fallen. Use the Augmentation Terminal in that yellow room to get rid of the Scanner Augment. Shoot the red terminal on the half column toward the back of the room. Get rid of the Operator Augment at the terminal and pick up the Scanner Augment in the newly opened room. Hack the console that is behind the yellow machine in the new room.
After all of that is done, head through the red portal at the end of the room. Defeat the Fallen and use the Augmentation Terminal to drop the Scanner Augment and open the door.

Destiny 2 Operation: Seraph’s Shield – Create an EMP Glitch
Enter the next room and immediately go right. Defeat the Fallen with the Suppressor Augment and then pick it up. The Suppressor Augment allows you to stand in the spotlight of the floating orbs. Once there, shoot at the enemy with the invulnerable shield. When completed, the orb will flash forward. Do that with the other two orbs. Once completed, a side door will open. Destroy the drone in there and the enemy’s invulnerable shield will drop. Defeat the enemy, use the Augmentation Terminal, and continue.


Destiny 2 Operation: Seraph’s Shield – Defeat Praksis the Defiled
Enter the next room to start the final battle which is a boss fight against Praksis the Defiled. Deal one-third damage to him. He will put up an invulnerability shield. Look for the Fallen with the Suppressor Augment and defeat him. Take the Suppressor Augment and shoot Praksis the Defiled within each of the three circles under the orbs.
When this is done, three doors will open, each with a drone inside the room. Destroy all three drones, one on the left side of the room, one at the center, and one on the right side of the room. Damage Praksis the Defiled again and repeat this process.
Destiny 2 Operation: Seraph’s Shield – Upload the Virus
After the boss battle, enter the room on the left side of the boss room. Travel to the end of the room and upload the virus into the terminal. And with that, a chest will appear and you’ll complete the mission.
Destiny 2 is available now for PC, PS4, PS5, Xbox One, and Xbox Series X|S.


Published: Dec 20, 2022 04:34 pm