Elden Ring offers a vast, open world for players to explore, in ways that they’ve never done before in a Souls-like game. With an overwhelming amount of content, you may find yourself lost when it comes to trying to find certain items, or quests and how to complete them, as the game is a bit transparent at times with what you need to do.
With our help, not only will you be able to find the Three Wise Beasts, but we’ll also be able to show you how to light the way through dark areas, navigate the world faster, and level up your weapons to take on the gigantic bosses that this game has to offer. Let’s get right into where you can find the Three Wise Beasts!
Three Wise Beasts Locations at Oridys’s Rise

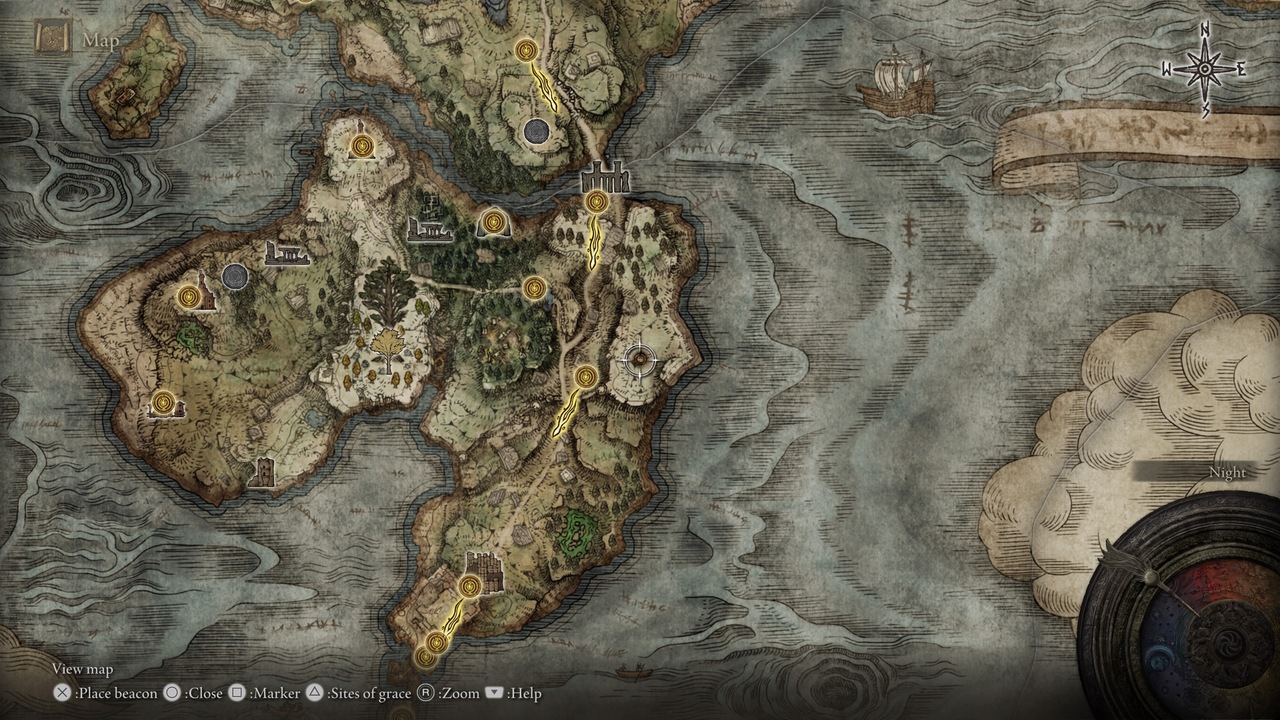
The tower in question is located at the Weeping Pennisula. Once you arrive at this location, you’ll be told to seek three wise beasts in order to gain access to the tower. These three wise beasts are ghostly turtles that can be found nearby. The first turtle is near the path heading towards the tower. Just strike it with your weapon to collect it. Then, go up the tower steps and drop off of the left side and down into the bushes below. You’ll see another spirit turtle hiding, and destroying it as well.
Go behind the tower and into the pond that resides there. There is a small visual ripple inside of the water that indicates where the final turtle is hiding, so you will need to find and eliminate it. There may be a sign left by another player saying where the turtle is hiding, as well. This will open the previously locked Tower Door.
After ending the final turtle, you’ll be able to go into the tower and climb your way to the top. At the very top of this tower, you’ll be granted a Memory Stone that allows you to hold an extra spell, a very valuable tool in this game.
To summarize what needs to be done:
- Locate and Kill the Turtle near the path leading towards the tower
- Go up the tower steps and drop off of the left side into the bushes below
- Locate and Kill the Turtle hiding in the pushes
- Go Behind the tower, into the pond.
- Find the Turtle in the water and kill it, unlocking the Tower door
- Climb the Tower and grab the Memory Stone
That’s all there is to this quest! Finding and locating these turtles can be a bit of a pain, so making sure that you’re well equipped is a great plan to face the journey ahead. Making sure that you’re up to the challenge is a key part of the game, and will benefit you greatly not only here, but everywhere!
Elden Ring is out now for the PlayStation 4 and 5, Xbox One and Series X/S, and PC.


Published: Feb 25, 2022 09:50 am