Escape from Tarkov presents players with many quests to finish. These include Gunsmith quests requiring players to modify some firearms to meet certain specifications. Battlestate Games included more than a dozen Gunsmith quests in Escape from Tarkov. This article aims to help you complete the first three parts so that you get valuable rewards.
Gunsmith Parts 1, 2, and 3 Guide in Escape From Tarkov

Gunsmith Part 1
Gunsmith part 1 requires you to modify an MP-133 shotgun to comply with certain specifications. You need to be at least level 2 to start this quest. You can purchase the MP-133 from Jaeger (LL1), or by trading 2 elite pliers and 1 screwdriver at Mechanic (LL1).
After acquiring the MP-133, you’ll need to modify it using the following items:
- MP-133 custom plastic forestock with rails (already on Tactical MP from Mechanic) (can be acquired from Mechanic LL1)
- MP-133/153 plastic pistol grip (get from Jaeger LL1)
- Remington Tactical Choke 12ga (get from Skier LL2)
- NcSTAR Tactical blue laser LAM-Module (get from Skier LL1)
- KAC vertical grip (get from Peacekeeper LL1)
- MP-133×6 Shotgun Magazine (get from Jaeger LL1)
This is but one of the possible configurations you can use. Here’s what you get for completing Gunsmith part 1:
- +3,200 EXP
- Mechanic Rep +0.02
- 20,000 Roubles
- 21,000 Roubles with Intelligence Center Level 1
- 23,000 Roubles with Intelligence Center Level 2
- Molot VPO-215 “Gornostay” .366 TKM bolt-action rifle
- 20x .366 TKM AP-M
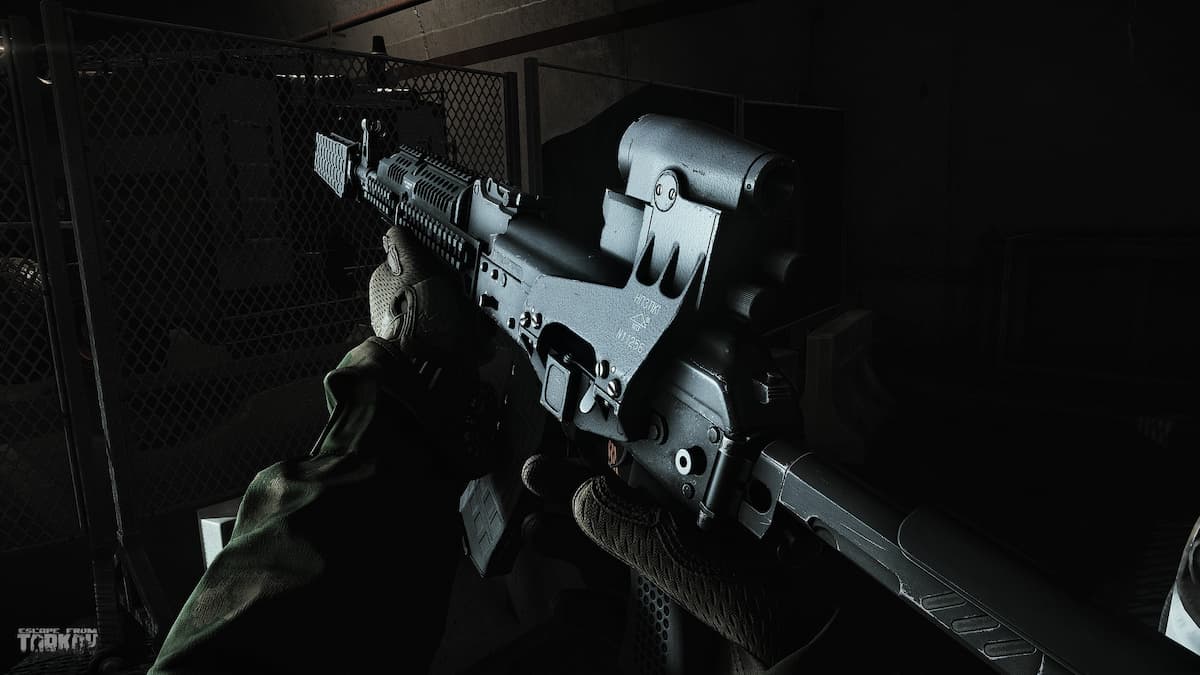
Gunsmith Part 2 – AKS-74U
This quest, which opens at level 11, requires you to modify an AKS-74U to comply with certain specifications. Keep in mind that you will need to put a 60-round magazine on it so that it can be accepted.
You can acquire the magazine from the flea market, by crafting, or through a Raid. If you plan to craft a 60-round magazine, the Hideout must have a Lavatory level 2. You will also need 4 6L23 magazines and a Kek tape. If you plan to get it in a raid, the best option would be Reserve as it rewards you with the most weapons.
Once you acquire the AKS-74U, you need to modify it with the parts listed below. Again, this is but one of the possible configurations available:
- AKS-74U 5.45×39 assault rifle (get from Prapor LL1)
- AKS-74U Zenit B-11 handguard (get from Mechanic LL1)
- TangoDown Stubby BGV-MK46K tactical grip (get from Skier/Peacekeeper LL3)
- AK TAPCO SAW-Style pistol grip (get from Peacekeeper LL2)
- AK-74 5.45×39 6L31 60-round magazine (get from Prapor LL2)
Here’s what you get from completing Gunsmith part 2:
- +4,000 EXP
- Mechanic Rep +0.02
- 60,000 Roubles
- 63,000 Roubles with Intelligence Center Level 1
- 69,000 Roubles with Intelligence Center Level 2
- 2x Capacitors
- 2x Bundle of wires
Gunsmith Part 3 – MP5
Part 3, which opens at level 12, requires you to modify an MP5 to comply with certain specifications. You can purchase an MP5SD or acquire it through barter at specific sources. Alternatively, you can convert a standard MP5 from Peacekeeper LL2.
If you’re converting a standard MP5, you need to use the following items, all from Peacekeeper LL2:
- MP5SD polymer handguard
- MP5SD upper receiver
- MP5SD 9×19 sound suppressor
Once you have the MP5SD, you need to modify it using these parts:
- MP5 9×19 X Products X-5 50-round drum magazine (get from Mechanic LL2 or LL3)
- MP5SD B&T tri-rail ring mount (get from Peacekeeper LL2)
- Surefire X400 Ultra tactical flashlight (get from Peacekeeper LL2)
Here’s what you get from completing Gunsmith part 3:
- +5,900 EXP
- Mechanic Rep +0.03
- 500 Euros
- 525 Euros with Intelligence Center Level 1
- 575 Euros with Intelligence Center Level 2
- PP-19-01 “Vityaz” 9×19 submachine gun
Tips for Completing Gunsmith 1, 2, and 3 in Escape From Tarkov

- First, all guns should have 60 durability when they are turned in. They can be repaired if necessary, but repairing lowers durability. If any of the guns’ durability drops lower than 60, you can fix the problem by getting a new base. Transfer other parts into the new base.
- Second, all guns should have empty magazines before turning them in. Do not turn in a loaded gun.
- Third, you can acquire parts from various sources, including the flea market. You’ll have to level up some traders before you can buy certain parts from them, however.
- Lastly, the quests can be costly, but the rewards for completing each one more than makes up for the amount you spend.
Gunsmith parts 1 through 3 are different from each other, but they have some common factors that need to be remembered to be successfully completed.


Published: Jan 5, 2023 01:24 pm