The Purah Pad is your best friend in Zelda Tears of the Kingdom. It is your go-to for the world map and pinning locations for travel, but did you know players can unlock some upgrades for the Purah Pad? There are three, and each is extremely useful regarding locating more shrines, fast-traveling, and even knowing where you have yet to be in the lands of Hyrule. Here is how you can get all the Purah Pad upgrades in Zelda: Tears of the Kingdom.
How to Unlock All Purah Pad Upgrades in The Legend of Zelda: Tears of the Kingdom
This guide will cover how to unlock all Purah Pad upgrades in Zelda: Tears of the Kingdom, including, Sensor+, Hero’s Path, Shrine Sensor, and the Travel Medallion. Keep in mind that these upgrades only become available once you have unlocked the Autobuild ability and completed Robbie’s side quest in The Depths.
How to Get the Shrine Sensor in Zelda Tears of the Kingdom
The Shrine Sensor is the most helpful upgrade because it will tell you when you are near a shrine, allowing you to get more Light of Blessings for increasing health and stamina. To unlock the Shrine Sensor, you must head to Hateno Ancient Tech Lab, shown in the image below.
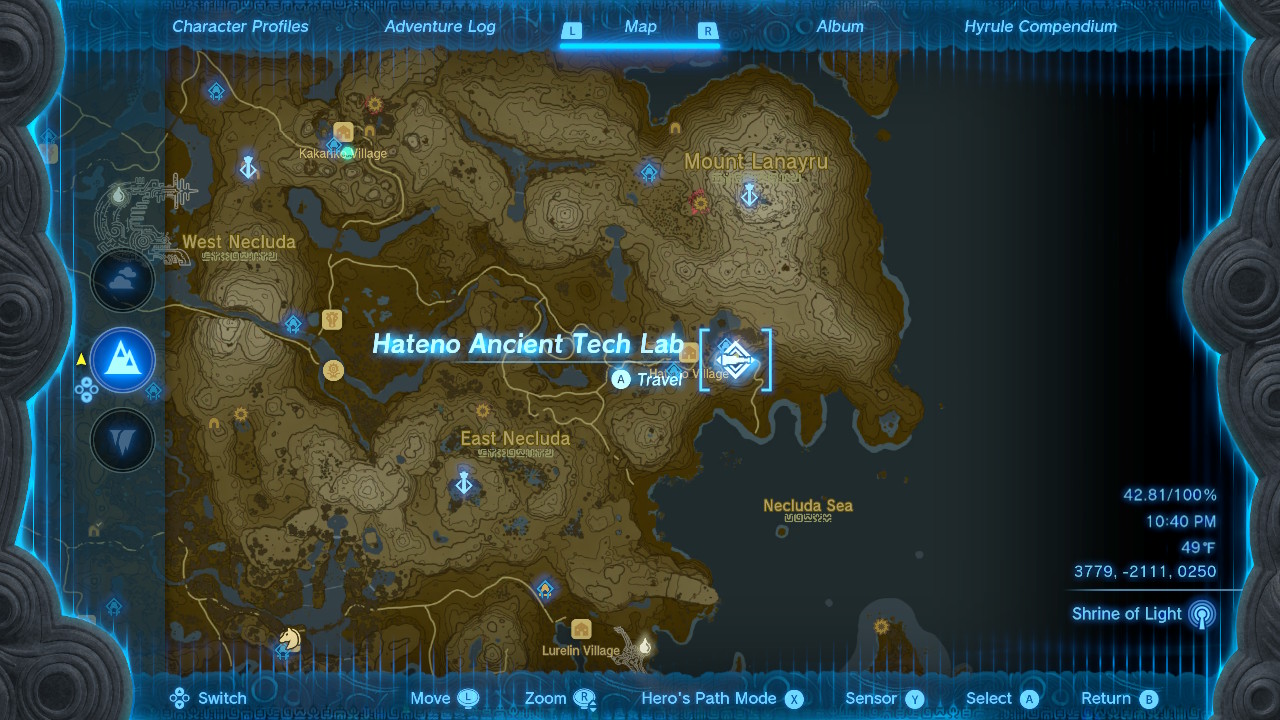
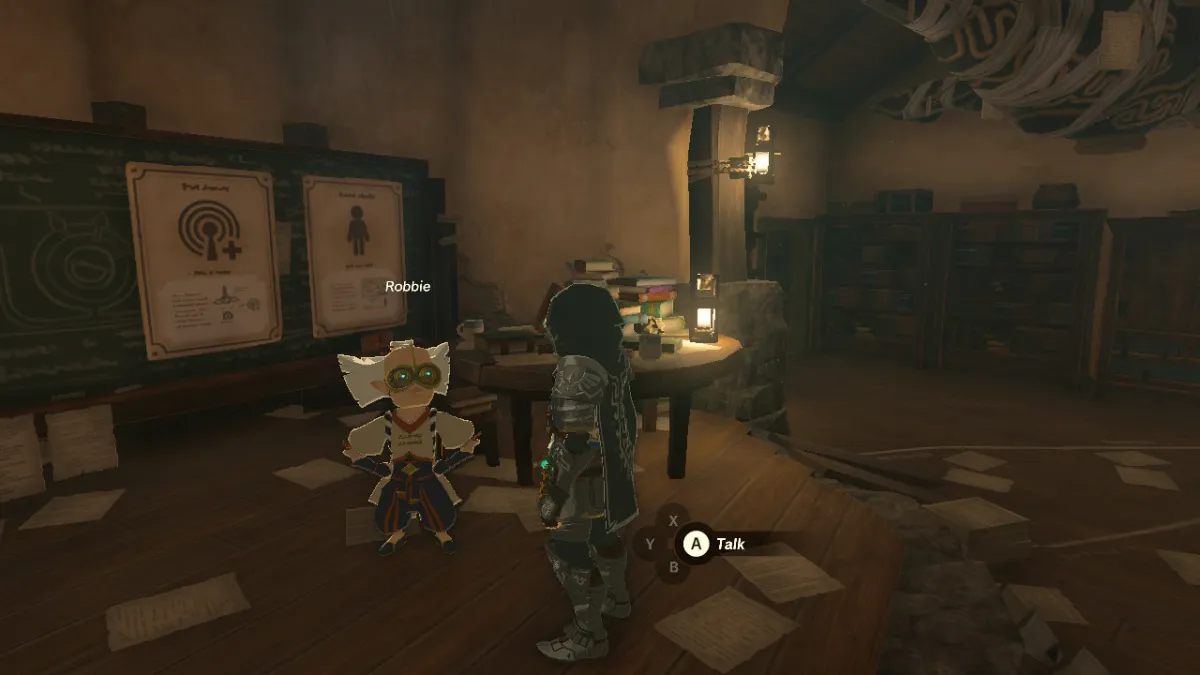
Speak to Robbie, and he will immediately provide you with the Shrine Sensor. You can now hear beeps from your Purah Pad whenever a shrine is nearby.
How to Get Sensor+ in Zelda Tears of the Kingdom
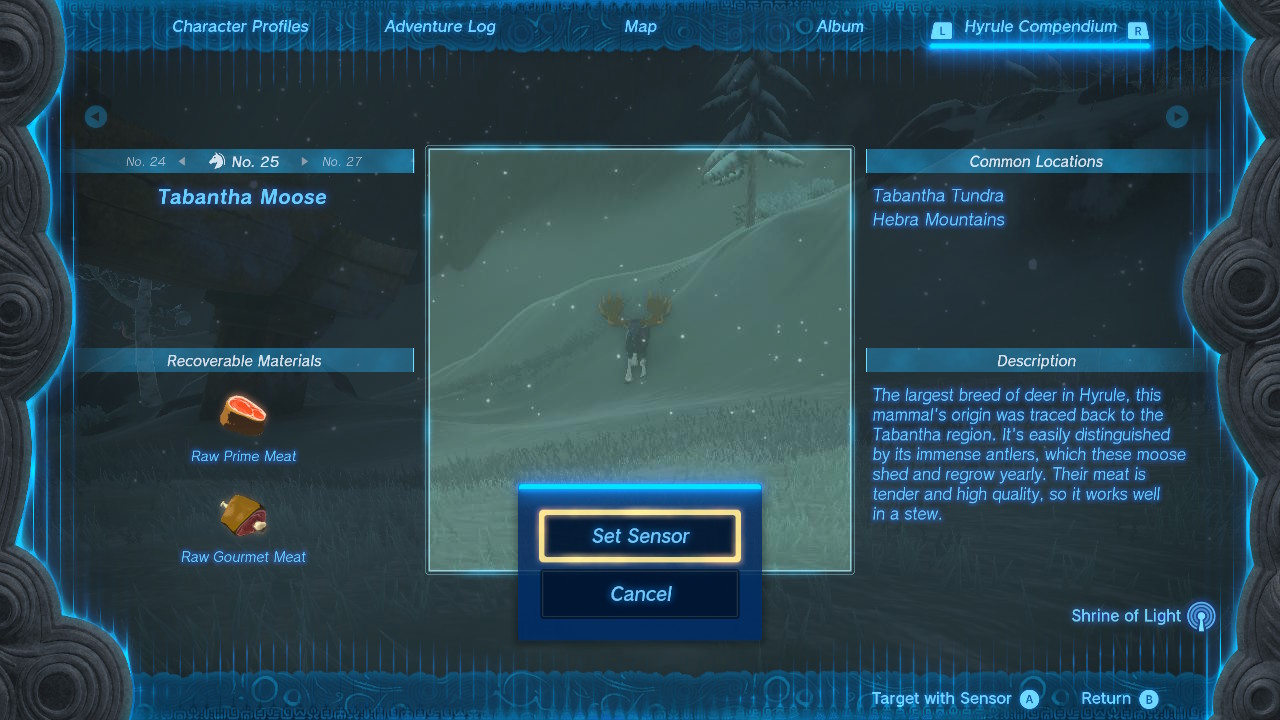
Sensor+ will be your go-to whenever you want to track an item or monster in your Compendium. I found this especially useful for farming when I needed to find a specific material for upgrading my armor at the Great Fairy. To unlock Sensor+, speak to Robbie in his lab, and he will provide you with a quest called “Presenting Sensor+.” Your job is to take pictures of five different types of monsters with your camera and bring those images back to him — once you do that, Robbie will hand over Sensor+.
Whenever you want to track a specific item or material, you only need to take a picture and select “Set Sensor” in your Compendium.
Related: How to Get the Ancient Hero’s Aspect in Zelda Tears of the Kingdom (TOTK)
How to Get The Travel Medallion in Zelda Tears of the Kingdom
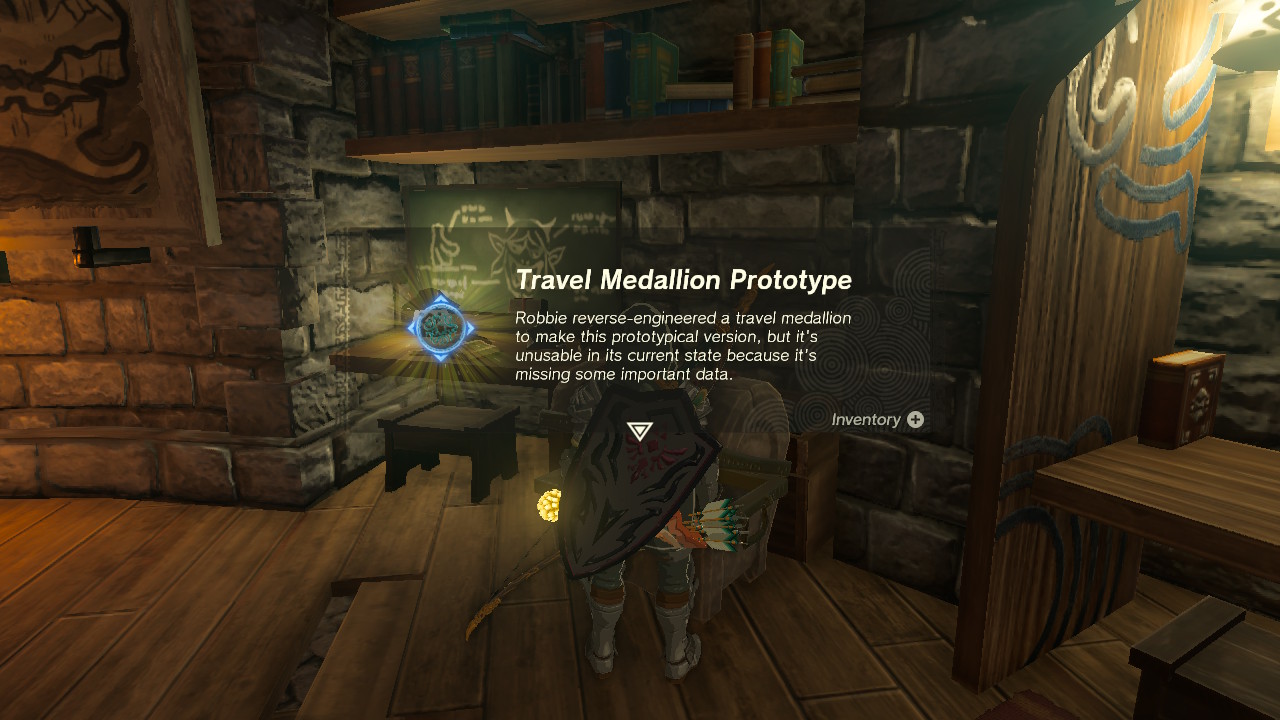
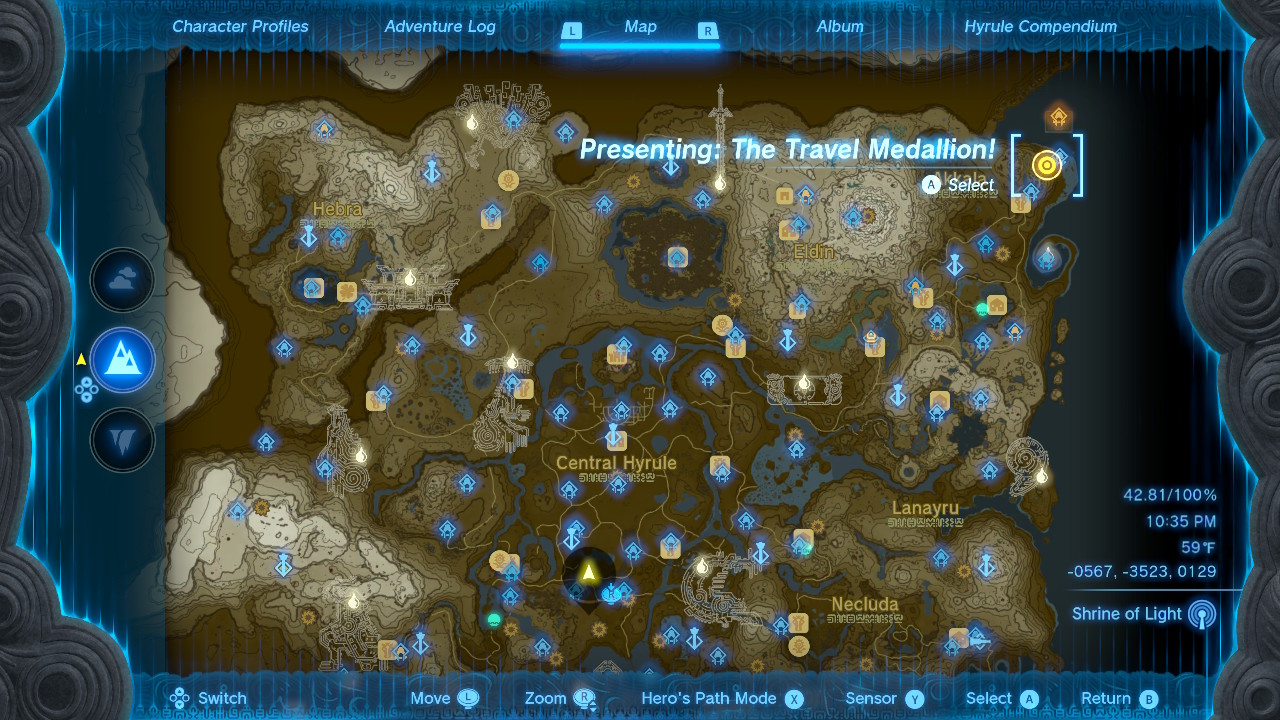
The Travel Medallion will allow you to set a fast-travel point anywhere on the map. This can be really helpful if you want to return to a location far away from any shrine or Skyview Tower and you have no way to normally fast-travel to that location. To unlock the Fast Travel Medallion, speak to Robbie, who will tell you he wants you to head to the Ancient Tech Lab in Akkala. I have marked the location of this tech lab in the image below.
Once at this location, Yiga Clan will challenge you to a fight. Defeat the Yiga Clan members and open the chest inside the lab to get the Travel Medallion prototype. Bring the Travel Medallion prototype back to Robbie, where he will allow you to keep it for good!
How to Get Hero’s Path in Zelda Tears of the Kingdom
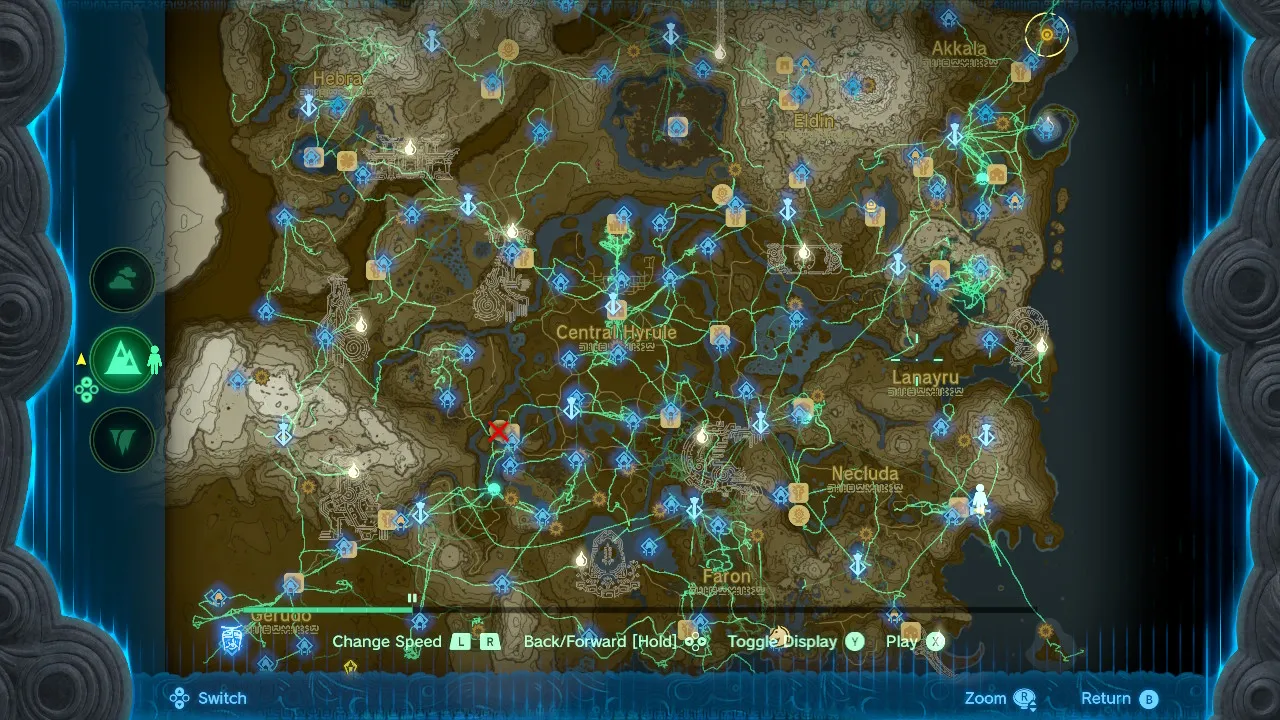
Hero’s Path was in Breath of the Wild’s DLC and is the same in Zelda: Tears of the Kingdom. The Hero’s Path will show you everywhere you have been on the map and areas you have yet to explore. To unlock the Hero’s Path, one must complete 15 Shrines and talk to Robbie at his lab. By the time I reached Robbie’s lab, I had already completed 15 Shrines as that is not very much — so you should be good by the time you get there.




Published: May 29, 2023 08:29 am