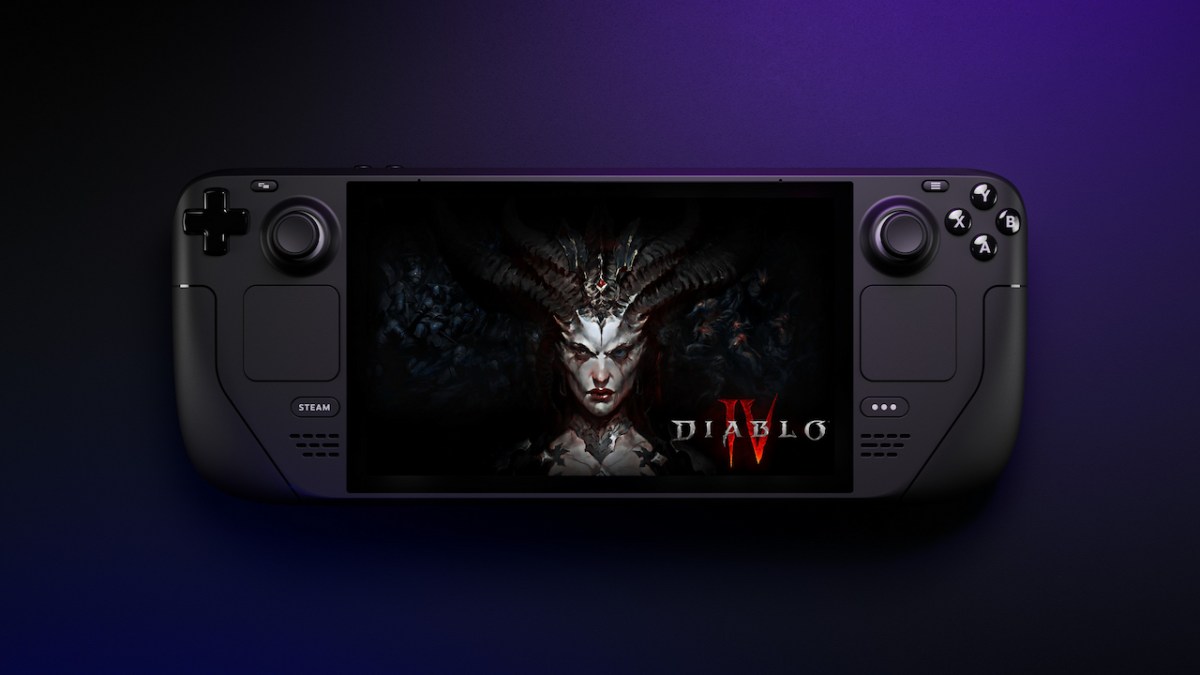
Are you wondering how to play Diablo 4 on Steam Deck since it is the perfect handheld game? I will walk you through installing Diablo 4 on Steam Deck the native way, which doesn’t require downloading additional programs, so it is all self-contained within SteamOS. These same steps can be used to play any game in your Battle.net library, not just Diablo 4.
How to Install ProtonUp-QT on Steam Deck

Before we can install Battle.net or Diablo 4, we first need to install ProtonUp-QT, which allows non-native games to run smoothly on the Steam Deck since it uses SteamOS.
Here’s how to install ProtonUp-QT on Steam Deck:
- Click the Steam Button, navigate to Power, select the Switch to Desktop option.
- Select the Menu Button and open the Discover app.
- The icon looks like a shopping bag with stars on it.
- Search for ProtonUp-QT.
- Press the Steam and X buttons simultaneously to open the on-screen keyboard.
- Once downloaded, open the ProtonUp-QT and click the Add Version button.
- You can select the highest version possible, which as of this guide is GE-Proton8-3 or Proton Experimental. I have had success with both versions.
- Update: Our managing editor, Rob Sperduto, reported that GE-Proton7-50 worked for him as well. Still, he recommends using the highest version possible.
Related: How to Play Dead by Daylight on Steam Deck – Step by Step Guide
How to Install Battle.net on Steam Deck

You cannot run the desktop version of Battle.net on Steam Deck since it runs on SteamOS without a few modifications.
Here’s how to install battle.net on Steam Deck:
- You’ll want to keep your Steam Deck in Desktop Mode for the below steps.
- Open up a Web Browser and go to the official Battle.net desktop download page.
- Open the Steam desktop application, navigate to Library, and choose the Add a Non-Steam Game… option. Next, click the Browse button and navigate to the Battle.net-Setup.exe program in the downloads folder.
- Click the Return to Gaming Mode desktop icon to return to Gaming Mode.
- Navigate to the Non-Steam Games section of your library. Highlight the Battle.net-Setup.exe but don’t run it. Instead, click the Hamburger button (button with three horizontal lines) and select Properties. Under the Compatibility tab, you want to check the Force the use of a specific Steam Play compatibility tool check box. After that, pull down the drop-down menu and select the version of Proton you downloaded in the section above.
- Back out of this menu and hit the Play button to install Battle.net.
- Click the Steam Button, navigate to Power, select the Switch to Desktop option
- Open the Steam desktop application, navigate to Library, and choose the Add a Non-Steam Game… option. Next, click the Browse button and navigate to: home/deck/.local/share/Steam/steamapps/compatdata/
- Make sure to change the File Type to All Files so you can see the Battle.net executable
- Click the Hamburger button option on the top right of the File Explorer window, choose the Filter option, and then select the Modified and Newest First radial buttons.
- You’ll be looking for the folder that contains the Battle.net installation. Unfortunately, this is hidden in a folder labeled with a ten-digit number, but by sorting it by Modified and Newest, you should be able to find it. For instance, the folder on my Steam Deck mine was 3025301325. Yours will be different but should be easy to find now.
- Click into your folder to see this path: pfx/drive_c/Program Files (x86)/Battle.net. Select the Battle.net Launcher.exe executable from within this folder to add it to your Steam library in gaming mode.
- Click the Return to Gaming Mode desktop icon to return to Gaming Mode.
- Navigate to the Non-Steam Games section of your library. Highlight the Battle.net Launcher.exe but don’t run it. Instead, click the Hamburger button (button with three horizontal lines) and select Properties. Under the Compatibility tab, you want to check the Force the use of a specific Steam Play compatibility tool check box. After that, pull down the drop-down menu and select the version of Proton you downloaded in the section above.
- Back out of this menu and hit the Play button to launch the Battle.net client.
- Sign in and click the remember login button so you don’t have to worry about signing it again using the on-screen keyboard.
How to Install Diablo 4 on Steam Deck

Unfortunately, you must dock your Steam Deck and use a mouse to resize the Battle.net client window. You can resize it by double click above the Favorites bar. This is because you won’t be able to see the Install or Play button for the games in your Battle.net library. However, once you play Diablo 4 for the first time, it will appear in your Last Played window and won’t require a mouse again.
Here’s how to install Diablo 4 on Steam Deck:
- You’ll want to keep Battle.net client open for the below steps.
- Navigate to the Diablo 4 game page.
- Click the Install button and follow the prompts.
- You can leave the install settings as default.
- Open the Steam desktop application, navigate to Library, and choose the Add a Non-Steam Game… option. Next, click the Browse button and navigate to: home/deck/.local/share/Steam/steamapps/compatdata/
- Make sure to change the File Type to All Files so you can see the Battle.net executable
- Click the Hamburger button option on the top right of the File Explorer window, choose the Filter option, and then select the Modified and Newest First radial buttons.
- Navigate back to the folder named with the ten digits that you found in the section above. This time however, navigate to the following folder: pfx/drive_c/Program Files (x86)/Diabo IV. Select the Diablo IV Launcher.exe executable from within this folder to add it to your Steam library in gaming mode.
- Click the Return to Gaming Mode desktop icon to return to Gaming Mode.
- Navigate to the Non-Steam Games section of your library. Highlight the Diablo IV Launcher.exe but don’t run it. Instead, click the Hamburger button (button with three horizontal lines) and select Properties. Under the Compatibility tab, you want to check the Force the use of a specific Steam Play compatibility tool check box. After that, pull down the drop-down menu and select the version of Proton you downloaded in the section above.
- Back out of this menu and hit the Play button to launch Diablo 4.
- Sign in and click the remember login button so you don’t have to worry about signing it again using the on-screen keyboard.
- Navigate to the Diablo 4 game page and click the Play button.
Related: How Many Acts Does Diablo 4 Have?
Best Graphics Settings for Diablo 4 on Steam Deck

To find the best configuration, I’ve messed around with the Steam Deck performance and Diablo 4 in-game graphics settings during the beta periods and early access release.
Here are the best graphics settings for Diablo 4 on Steam Deck:
- Click the Three Dot button on your Steam Deck.
- Navigate to the Battery icon, which is the Performance menu.
- Scroll down to the Refresh Rate option and press the A button. Set this to 40.
- Scroll up to the Framerate Limit option and press the A button. Set this to 40.
- While in-game select the Options menu and then navigate to the Graphics tab.
- Scroll down to the Performance section and set the FidelityFX Super Resolution 2 option to Quality.
- Scroll down to the Quality section and set the Quality Preset option to Medium.
You are now good to play Diablo 4! Feel free to experience these performance settings as you see fit, but I’ve had an almost perfect experience while playing Diablo 4 on my Steam Deck.


Published: Jun 2, 2023 10:45 am