Valorant players will be familiar with the process of working out great new lineups and setups for each agent to turn the tide of any match — like those that Deadlock can use. Plenty of strategies can work to your advantage in Haven with the agent, although it can be tricky to make the choice of which to utilize. This article will take you through the best Deadlock Haven Lineups and Setups in Valorant.
Best Attack Lineups to Use With Deadlock in Haven
Site A


There are two specific lineups that I would highly recommend you use either for attacking A site. The first is located at A-long and you will have to stand to the left of a pile of bricks with black rope/tape holding them together. Look up just above the roof of the nearby building and point your crosshair to the left side of the peak of the rocky outcrop in the distance. Throw your Gravnet when you have done so.
Related: 5 Coolest Valorant Crosshairs
Your Gravnet will then land directly into the back of A-site and of course, cause any enemy caught in it to crouch and move much slower. This lineup is ideal for when your team is making a push from A-long. Another lineup you may wish to employ is from the A Garden portion of the map. Line your Gravnet (crosshair) up with the top of a leaf to the right of the lightbulb. Throw it and it will land on the ramp leading up to A.
Site B


Site B’s lineup is very quick and dirty but I have found that it is an excellent way to keep roaming enemies at bay. When you spawn on the attacking side, make your way to the right-side corridor and before entering, look up above the roof. Have your Gravnet readied and aim your crosshair just slightly to the right of the rounded rock in the background. Once thrown, your Gravnet will land on the main B stairs.
Related: The Best Valorant Pick-Up Lines
Site C


If you are looking for a great lineup for site C then make your way to C Lobby. Don’t enter the first side door leading to C-Long, just stand beside the brown wooden beam. Look up toward the tree in front of you and aim your Gravnet (with the crosshair) just at the very tip of the leaf as shown in the image. Throw your Gravnet and it will land at the top-right/back of C — perfect to stop any agents in their tracks at the back.
Best Defending Setups to Use With Deadlock in Haven
Site A


When defending A-site, your first Sonic Sensor should be placed just at the front right corner of the site. Place it to the left of the wooden beam and I have found that this ensures enemies can’t spot it when entering: making it very likely to concuss at least one agent with it.
Related: How to Convert Your CS: GO Sensitivity to Valorant
For the second sensor, I recommend placing it at the back under the window but make sure it is on the middle of the blanket halfway up the boxes. Your sensor should be lined up so that the boxes to the right side of the underside corridor are highlighted with the sensor’s range before placement.
This is so that when enemies jump down from the window onto the boxes, they trigger the sensor. Other members of the community prefer to have it on the right wall at the boxes, but having it underneath is much more hidden although either way is equally useful.
Related: Can You View Your Valorant Purchase History?
As for your Barrier Mesh, use it on either the main A Long entrance zone as shown in the image or use it at the sewer exit into A site. The Barrier should be used in the place where you know enemies are pushing from. This will disrupt their push and allow you to get some time to push them back further from the site with your team.
Site B


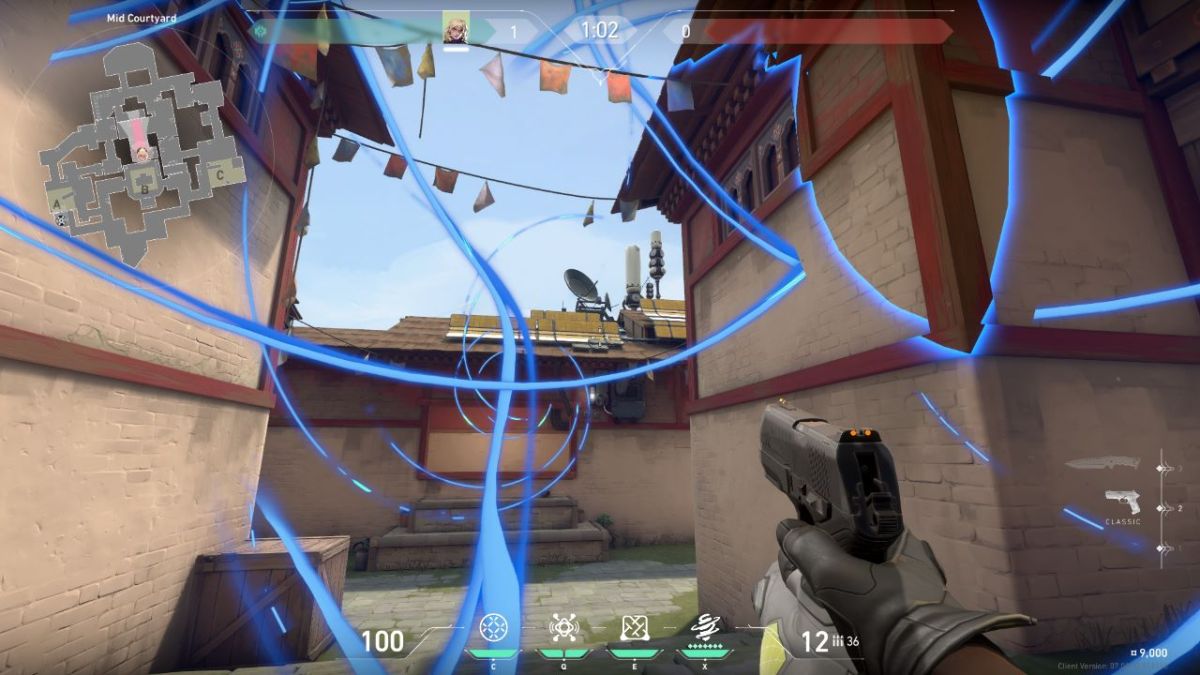
B Site is a lot more contained and close-quarters in terms of defending so the setup strategy should match that. Place your first Sonic Sensor at the bottom wooden beam on the left wall next to the Mid Courtyard entrance. Make sure it is in the middle so the range is inclusive of the center entrance point. If you would rather just cover a lot of the left side, then you can place it on the side faces of the top-left boxes instead.
Related: How to Fix ‘Cannot Be Launched With Your Current Compatibility Mode’ in Valorant
On the opposite side of the room, place a Sonic Sensor on the bottom wooden beam right next to the door on the wall which is angled. This will cover a great majority of the entrance and also some of the back of the B site — it is an excellent Sonic Sensor placement to utilize.
When enemies are pushing from mid-courtyard, throw your Mesh Barrier out towards the top of the stairs. Make sure that the back shields are reaching the B site walls entirely, this will ensure no enemies can generally slip behind the mesh.
Site C


For site C the setup requires some precise throwing of the first Sonic Sensor. Go to the back of the site and look toward the box with the wire going into it. Aim your sensor to be exactly on the corner of the box and this will cover a lot of angles. As for your second sensor, I recommend throwing it on the left-side indented wall of C Long.
Related: Ultimate Valorant Settings Guide: Maximize FPS With These Graphics Settings
Your Barrier Mesh can of course also be thrown up into C Long (in front of your sensor) when enemies are pushing up into the site. Now that you know the best Deadlock Haven Lineups and Setups you can get back into your ranked matches and prepare to give your enemies a taste of chaos.


Published: Jul 4, 2023 08:21 am