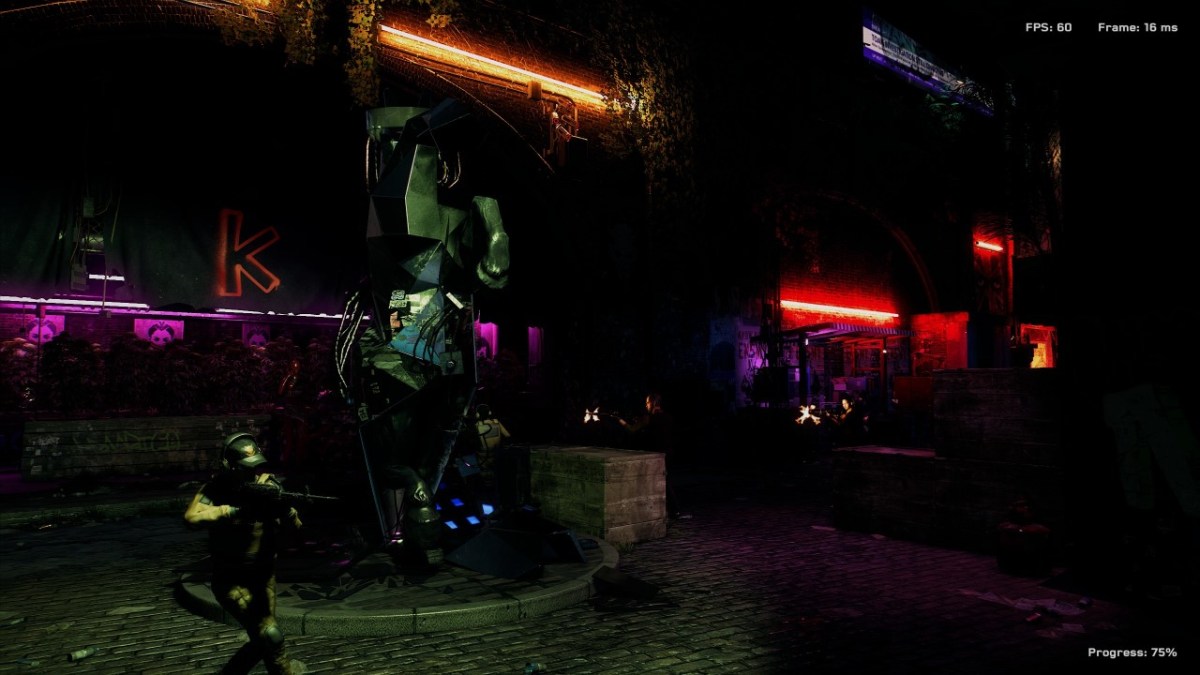
Watch Dogs: Legion has a healthy amount of graphics settings on PC for fans to tweak in their pursuit of pitch perfect performance. There’s even a VRAM usage bar that tracks available VRAM as settings are dialed in, and a dynamic CPU/GPU load indicator that will change for every notch of every setting.
Below are listed all the various PC video graphics settings and options for Watch Dogs: Legion, broken down into the three submenus they appear within. Video settings are nested within the Options menu (accessed via the main menu with Escape), and the graphics settings for Watch Dogs: Legion fall into three categories: Display, Quality, and Image.
Because VRAM usage, CPU load, and GPU load are all system dependent they have been omitted from this list. A separate performance article detailing the impact of all the major settings will be published shortly after launch. Additionally, you can tap Tab to allow Watch Dogs: Legion to choose the “best” graphics settings for your PC, but your mileage will vary. B will start the benchmark tool, so long as you are not actively in-game.
Display Settings for Watch Dogs: Legion
- Video Adapter
- Choose which GPU/video processor the game will use for rendering.
- Window Mode
- Windowed, Windowed Borderless, Fullscreen Borderless (FS with hidden border), Multimonitor Borderless (borderless window across all monitors), Fullscreen.
- Display
- Select the monitor Watch Dogs: Legion will display on if playing with more than one monitor.
- Resolution
- Change the display render resolution (can only be adjusted in Fullscreen, and via pre-selected detents).
- Monitor Refresh Rate
- Your monitor’s supported refresh rates (only available in Fullscreen; default is “Auto”).
- V-Sync
- Off, Normal (full refresh rate), Sparse (half refresh rate).
- FPS Limit
- Slider: Off to 120 (Off is unlimited).
- Field of View
- 70 – 110 (impacts performance, and can cause graphical issues above 70).
- Menu Position
- Select where menus are displayed in multimonitor mode.
- Auto, Fit to Display, Monitor 1, 2, etc.
- Multimonitor HUD
- Auto – HUD automatically stretches to all monitors that fit 16:9/higher.
- Fixed – HUD will center on the display and keep 16:9.
- Fit – HUD will stretch to all monitors in the current display.
Quality Graphics Settings
- DirectX (API)
- 11 or 12 (12 recommended for modern GPUs)
- Graphics Quality (presets)
- Low, Medium, High, Very High, Ultra, Custom
- Geometry (complexity of world geometry; affects all objects in world)
- High, Very High, Ultra
- Environment (terrain and vegetation LOD, fog, foliage simulation, bullet traces, and other occlusions)
- Low, Medium, High, Ultra
- Texture Resolution (what it says on the tin: higher resolution textures)
- Lowest, Low, Medium, High, Ultra (requires HD Texture Pack)
- Texture Filtering (anisotropic filtering)
- Low, High, Ultra
- Shadows (shadow quality for all shadows in the game, the next option excluded)
- Low, Medium, High, Very High, Ultra
- Headlight Shadows (quality of vehicle headlight shadows)
- Off, Your car, 1 car, 2 cars, 3 cars, 4 cars
- Reflections (regular, non-raytraced reflections; High or above set anti-aliasing to TAA)
- Low, Medium, High, Very High, Ultra
- Depth of Field (blur objects outside of focus)
- On/Off
- Motion Blur (blur objects in motion)
- On/Off
- Bloom (adds high dynamic range glow around lights and other bright areas)
- On/Off
- Ambient Occlusion (enables soft shadowing of nearby surfaces; enabled will set anti-aliasing to TAA)
- On/Off
- Post-Process Anti-Aliasing (reduce jagged edges from the final image)
- FXAA – older method that muddies the final image, but has minimal performance impact.
- TAA – more advanced and further reduces texture flickering; sharpness of effect can be adjusted in Image tab.
- SMAA – more balanced between the two, offering better image quality over FXAA with a slightly higher performance impact.
- Subsurface Scattering (affects how light refracts through materials and skin)
- Low, High
- Ray Traced Reflections (enable DirectX Raytracing for improved reflections; requires RTX 20 or 30-series GPU for optimal performance)
- Off, Medium, High, Ultra
- DLSS (advanced AI-driven super-sampling; requires an RTX 20 or 30-series GPU to even enable)
- Performance (prioritize performance over image quality).
- Balanced (find an even balance between quality and performance).
- Quality (prioritize image quality over performance).
- Ultra Performance (provides the largest boost to performance, but really only recommended for 8K gameplay).
- Temporal Upscaling (adjust the internal render resolution, which is then upscaled to the selected native resolution from Display tab)
- 25% to 100% (adjustable in increments of 5; description will list new internal render resolution for each detent).
Image
- Brightness
- Adjust peak level of brightness of game world.
- Gamma
- Make mid-tones lighter or darker while keeping the black and white points the same.
- Contrast
- Change the distinction between lighter and darker areas of the game.
- Sharpness
- Adjust the boundaries between zones of different tones or colors (good for cleaning up TAA’s impact on image-quality).
- HDR
- High-Dynamic Rage; requires a compatible monitor.
- On/Off
- HDR Peak Brightness
- Separate Brightness setting similar to regular Brightness.
- HDR Paper White
- Adjust base luminance of white surfaces in the game world.


Published: Oct 28, 2020 06:01 am