In Part 2 of the Bravely Default 2 Chapter 3 walkthrough you’ll return to Rimedhal to confront the Archbishop and unveil the truth behind his lies. But, your plans may take a bit of a detour once you enter the town.
Since Bravely Default 2 is a narrative-heavy game, I will try to keep all further spoilers to a minimum. Cutscene details will be scarce, and characters will only be named as required. Additionally, this walkthrough will follow a checklist format to keep things short and concise.
I will list monsters encountered along the critical path (to include their weaknesses), and treasure chests (as well as what they contain). Enemies and bosses are natural but necessary spoilers, so I’ll go ahead and tag this article with a mild spoiler warning here, and I will precede every boss with a more obvious spoiler warning.
Bravely Default 2 Chapter 3 Part 2 Walkthrough
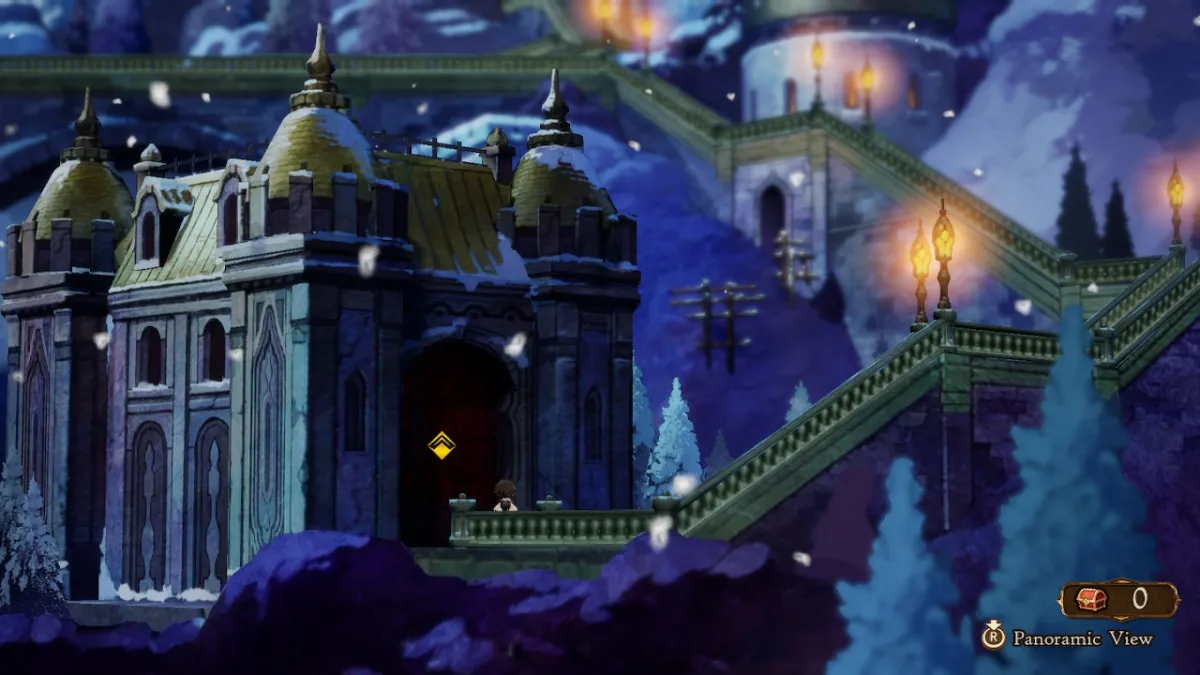
Return to Rimedhal
- Use a Teleport Stone or head back to the Dungeon Portal just south of Gwydion’s chamber to return to the world map.
- Make your way back south towards Rimedhal.
- Once you return to town head up and to the right to the courtyard where you witnessed the young woman leap to her death to trigger a cutscene.
- The path to the left near the inn will be blocked, so this is your only route available at the moment.
- If you need to rest be sure to stop in the inn before moving on.
- You’ll learn a bit more about Helios, and just how insane the situation in Rimedhal actually is.
- The Archbishop will have to wait: the clearly innocent Margaret needs your help.
- The party will decide to assist Margaret, and you’ll start by asking around town to see what the locals know.
- The first three are in the courtyard with you: the a gentleman and lady on the left, and a man in the upper-right corner.
- After you talk to those three go up the stairs on the left and talk to the man on the rampart to start a cutscene.
- You’ll learn Margaret’s father is a high-ranking priest, and likely why she was targeted.
- Time to talk to dad: head up the stairs that lead above the shop and exploration vendors until you reach a steepled building.
- It’s up the stairs on the right, near the exploration vendor.
- Enter the building and speak with Father Rhydion to start a cutscene.
- Father Rhydion will agree to speak with you further, but at the workshop.
- It’s all the way back down near the inn, but you’ll enter yet another cutscene once you get down there.
- Margaret’s trial is about to begin, and the party won’t let her be thrown to her death.
- Make your way up to the chapel at the top-right of Rimedhal, then head right and down to stop the execution.
- Enter the building to start a cutscene, where Margaret’s fate will be determined.
- A distraught Father Rhydion has left town to search the caves linked to the Jaws of Judgement. The party, concerned for his well-being, decides to recover the man.
- This is your next dungeon, so rest up at the inn, and stock up on items (you’ll likely need Ethers after the Serpent’s Grotto).
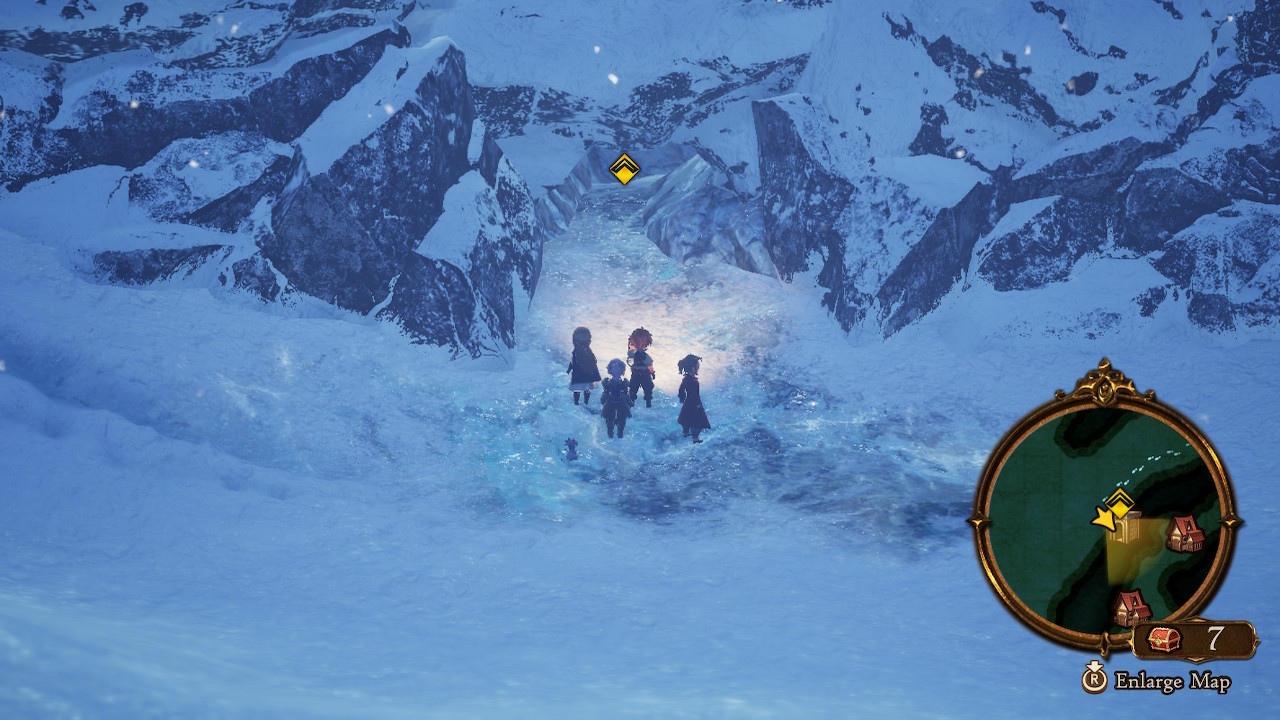
- Leave town and head up the path north, then round the bend to the west and hug the mountains to reach the caves.

The Jaws of Judgement
- The Jaws of Judgement are not the longest dungeon you’ve explored in Bravely Default 2, but they’re still full of nasty monsters.
- You should be at least level 34 to brave this dungeon.
- There are patches of deep blue ice in this dungeon: you’ll slide across them, yet you won’t lose complete control of your character.
- There are various monsters within the Jaws of Judgement, such as Big Wiki-Wiki, White Fangs, Merciless Souls, Thors, Azazels, and Frost Tortoises.
- Big Wiki-Wiki (Spirit): weak to Darkness and Bows. Casts Auto Guard and has high Evasion.
- Can poison party members.
- White Fangs (Beast): weak to Fire, Swords, and Spears. Takes half damage from Water and Wind.
- Counter physical attacks.
- Merciless Souls (Undead): weak to Light and Staves. Takes half damage Water, and immune to Darkness.
- Counter physical attacks.
- Thors (Spirit): weak to Earth, Daggers, and Swords. Takes half damage from Wind and Light. Absorbs Lightning.
- Azazels (Demon): weak to Lightning, Light, Spears, and Bows. Takes half damage from Water, and absorbs Darkness.
- Frost Tortoises (Aquatic): weak to Earth, Daggers, and Axes. Takes half damage from Wind, and is immune to Water.
- Big Wiki-Wiki (Spirit): weak to Darkness and Bows. Casts Auto Guard and has high Evasion.

- There are 10 chests in the Jaws of Judgement:
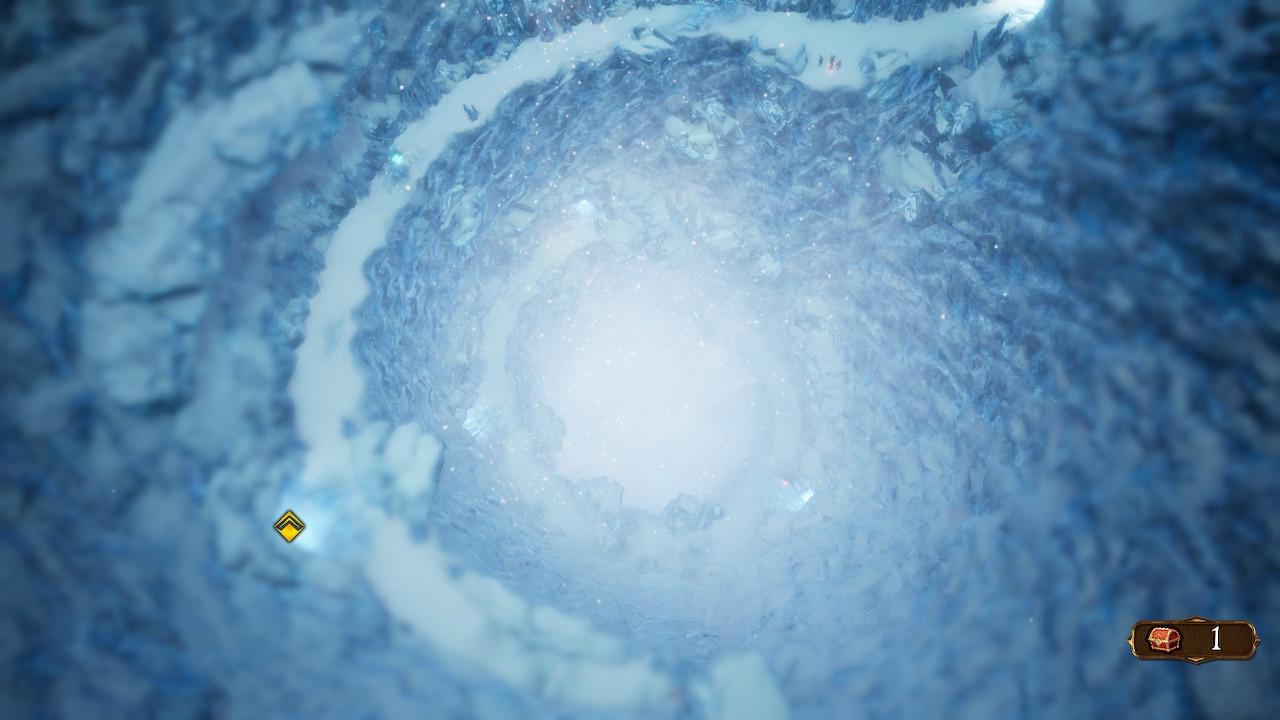
- The Jaws of Judgement are a giant spiral down with a few side paths, so follow the path until you reach the quest marker leading to the next area. Skip it for now and continue down the path to reach chest one (4x Dart).
- Double-back to the entrance to the next area. Once you’ve loaded in follow this path forward until you can turn into the next area. Skip it and continue down to the second chest (8780 pg).
- Go through the entrance to the next area and head up to another entryway. Go in and circle around to the third chest, which has five Merciless Souls within. Slay them for Ninja Garb.
- Go back into the last area and head down until you reach the Dungeon Portal and save spot. Keep going past the area entrance on the right for chest four (Medium JP Orb).
- Return to the save spot and take the entrance to the right. Follow it down, across the bridge, then around to the icy fork. Go right for chest five (Defender).
- Return to the fork and go left to enter another area. Round the path until you see the entrance on the left, then head inside. You’ll notice the ramp down, but above it is a path across some blue ice. You can slide off into the area below, so the trick is to go slow (since there are a few gaps along the way), and to work your way around to the bridge that leads to chests six, seven, and eight (Carving Knife, 2x Dark Deluge, and Mage Shell).
- Chest six has three Merciless Souls and two Big Wiki-Wiki within.
- Go back to the area that led into the room with chests six, seven, and eight, and work your way down to another area entrance. Follow it until you see a split in route, and go down then left to reach chest nine (Full-Face Helm).
- Fall back to the split above and head left and down. Continue left from the save point to grab chest ten. Three Merciless Souls will pop out. Put them down to grab a Dark Talisman.
- Return to the save point, pop a Tent if needed, and use it to save your progress.
- Enter the entryway to trigger a cutscene and the next boss battle in Bravely Default 2.
SPOILER WARNING FOR THE UPCOMING BRAVELY DEFAULT 2 BOSSES AND JOBS.

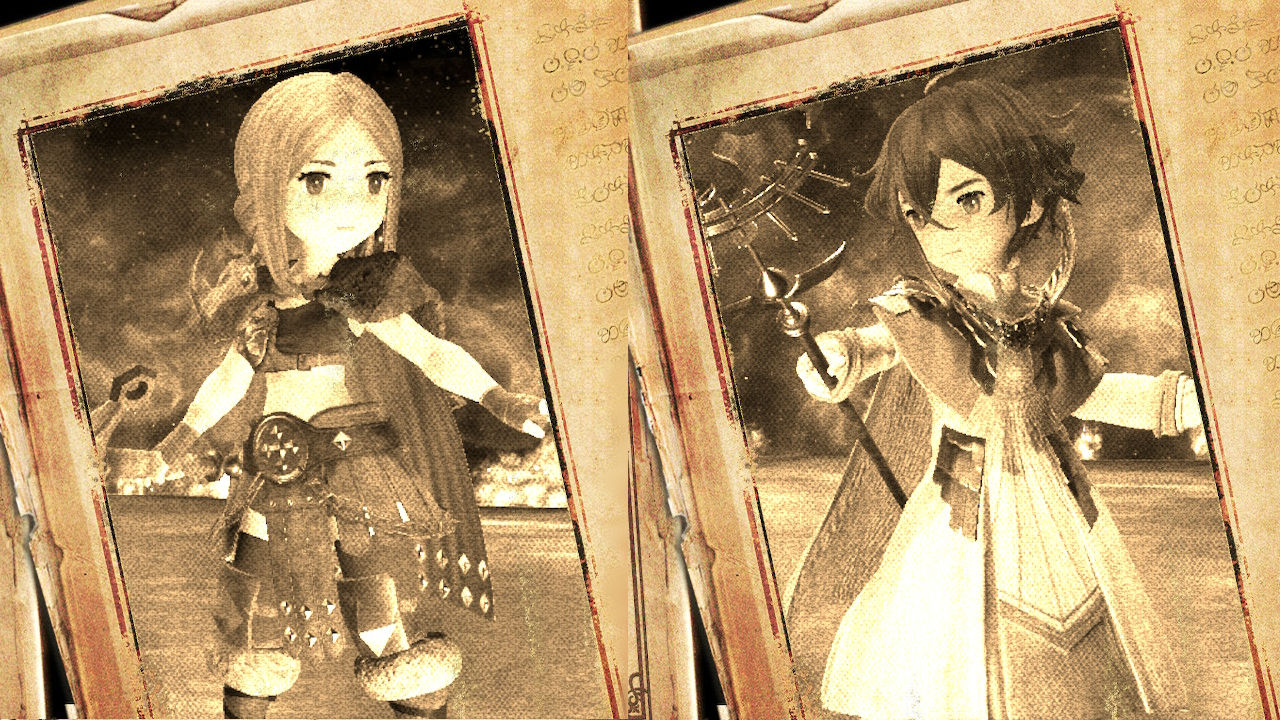
Helios and Gladys (Spiritmaster and Swordmaster)
We have a full guide on how to beat Helios and Gladys here, but to summarize:
- Helios: 27612 Health, weak to Wind, Darkness, Swords, and Spears. Takes half damage from Water and Light.
- Gladys: 42480 Health, weak to Earth, Light, and Axes. Takes half damage from Swords, Bows, Fire, and Lightning.
- Much like the Selene and Dag fight in the Prologue of Bravely Default 2 one boss here will support the other.
- Helios uses potent heals-over-time, and Gladys is here to beat your party into submission.
- Helios has little health in comparison to Gladys, and since he is the healer he is priority one. Attack him with your heaviest skills to put him down.
- He counters Physical Attacks.
- The faster you kill him the fewer healing spirits he will summon.
- Gladys uses stances to counter your attacks, so you want to hit her with large, powerful attacks instead of stacking BP to get in a bunch of quicker yet less potent skills.
- If she casts One Step Ahead on herself or Helios they will act/counter more frequently.
- If you have a Vanguard or Shieldmaster have them taunt Gladys to keep her from using her BP bursts to one-shot party members.
- Counter-Savy from Ranger is a fine talent to have slotted during this fight, since it basically nullifies Gladys’ constant counterattacks.
Bravely Default 2 Chapter 3 Part 2 Walkthrough Finale.
Once you defeat Helios and Gladys you’ll unlock both the Spiritmaster and Swordmaster Jobs. With the inquisitor and his enforcer out of the way you are finally clear to confront the corrupt Archbishop in Rimedhal. You’ll automatically return to town and move on to Part 3 of Bravely Default 2 Chapter 3.
Bravely Default 2 is available now on the Nintendo Switch.


Published: Mar 10, 2021 12:10 pm