In Part 3 of Bravely Default 2 Chapter 3 you will finally confront the Archbishop of Rimedhal and put an end to his schemes. The truth behind the madness and the Fire Crystal are almost in reach.
Since Bravely Default 2 is a narrative-heavy game, I will try to keep all further spoilers to a minimum. Cutscene details will be scarce, and characters will only be named as required. Additionally, this walkthrough will follow a checklist format to keep things short and concise.
I will list monsters encountered along the critical path (to include their weaknesses), and treasure chests (as well as what they contain). Enemies and bosses are natural but necessary spoilers, so I’ll go ahead and tag this article with a mild spoiler warning here, and I will precede every boss with a more obvious spoiler warning.
Bravely Default 2 Chapter 3 Part 3 Walkthrough
Save Martha
- After the cutscene following your encounter with Helios and Gladys ends you’ll find yourself back in Rimedhal. But, you have little time to rest!
- That said, you should actually rest at the inn since you’re still wounded from the boss battle.
- The shop vendor also has new items for sale.
- Time to save Martha, the enthusiastic dragoon from the Serpent’s Grotto.
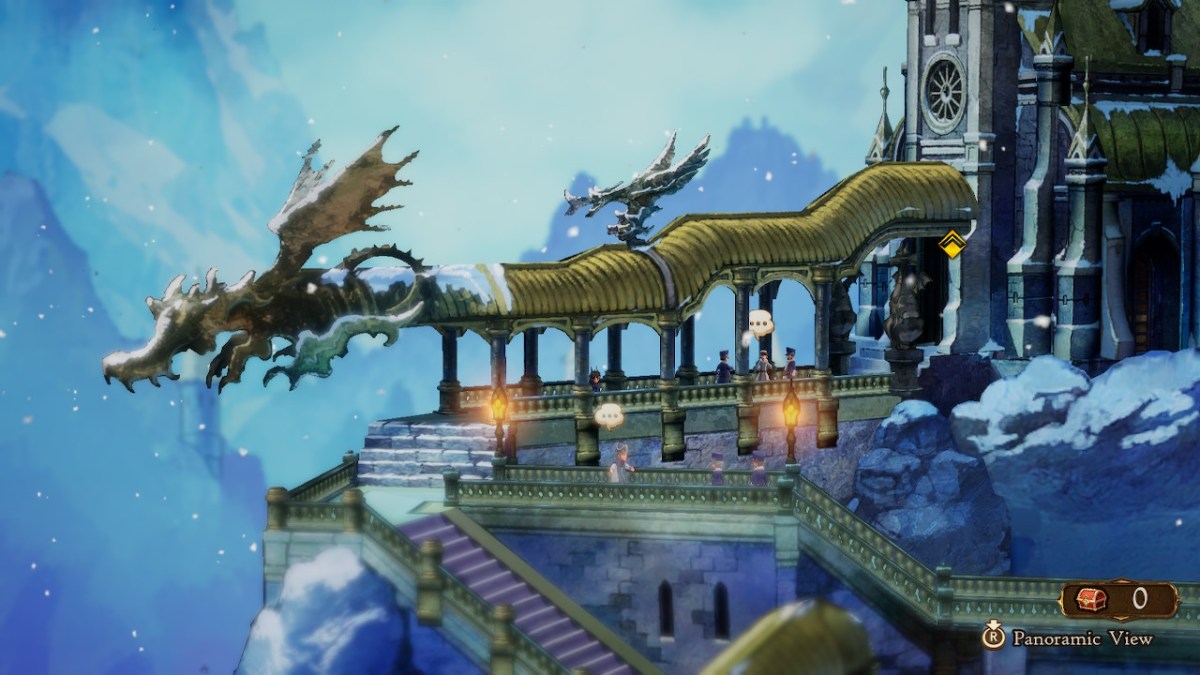
- She is being held at the inquisitor’s building overlooking the leap into the Jaws of Judgement, much like Margaret earlier. Head up to the chapel then go right to reach the building.
- A cutscene will play once you reach the doors; watch it to learn of Martha’s fate, and a bit more about Adelle.
- This is a long cutscene, so buckle in.
- The team will flee to the other side of town, where Father Rhydion will offer sanctuary.
- After all the cutscenes end you’ll need to head to the chapel – the Hall of High Holies – to put an end to the Archbishop’s machinations once and for all.
- Go to the top-right and enter the building you spoke to the Archbishop within during Part 1 of the Chapter 3 walkthrough.
- Once inside head to the door on the right of the altar to enter your next dungeon.
- There is a chest to the left of the alter that’s slightly hidden (Jade Crosier).

Hall of High Holies
- The Hall of High Holies has mostly human enemies, much like Bernard’s Mansion in Chapter 1 of Bravely Default 2.
- You should be around level 36 to not have any issues in here.
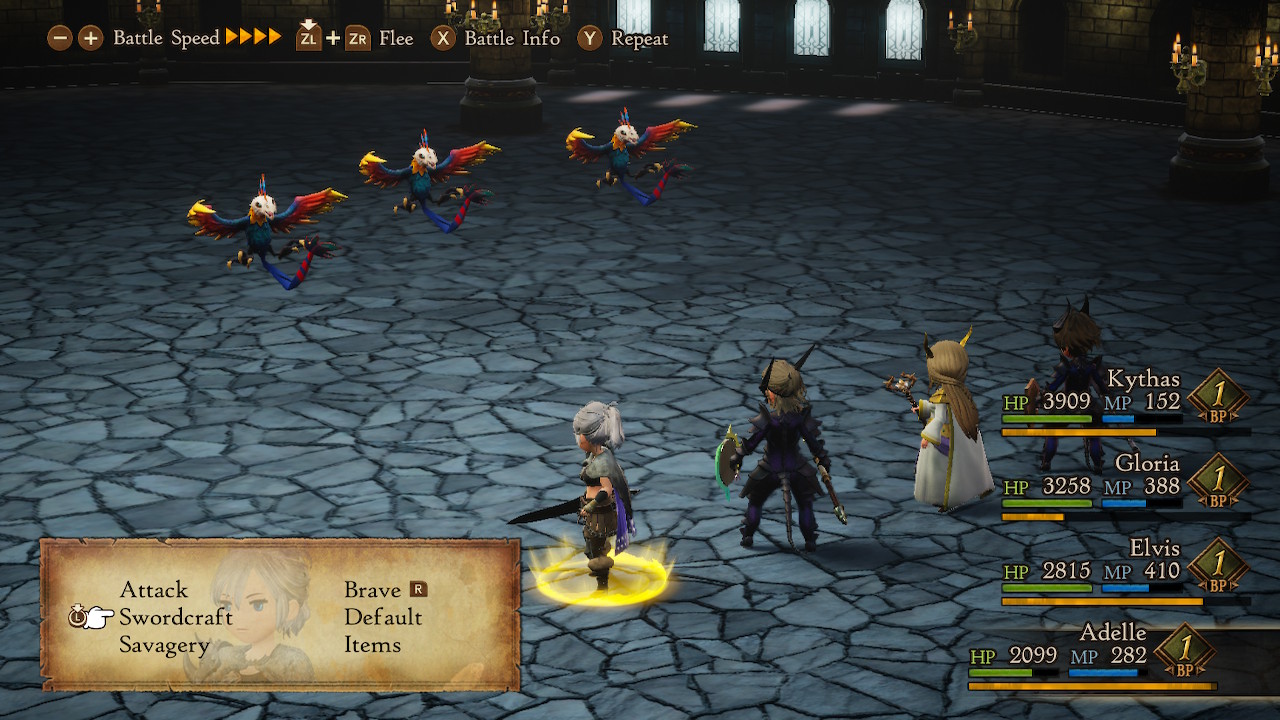
- This dungeon has a healthy number of foes within, including Holy Lances, Holy Swords, Holy Maces, Holy Wands, Gagana, Abaddons
- Holy Lances (Humanoid): weak to Wind and Daggers. Takes half damage from Water and Light.
- Holy Swords (Humanoid): weak to Lightning and Spears. Takes half damage from Water.
- Counter physical attacks.
- Holy Maces (Humanoid): weak to Fire and Bows. Takes half damage from Water.
- Holy Wands (Humanoid): weak to Earth, Swords, and Axes. Takes half damage from Fire and Water.
- Gagana (Beast): weak to Lightning and Bows. Is immune to Wind.
- Counter magical attacks.
- Abaddon (Demon): weak to Water, Light, Swords, and Staves. Absorbs Darkness.

- There are 15 chests in the Hall of High Holies:
- Follow the path that leads to the fountain, then go up and around all the way to the far left for chest one (2x Remedy).
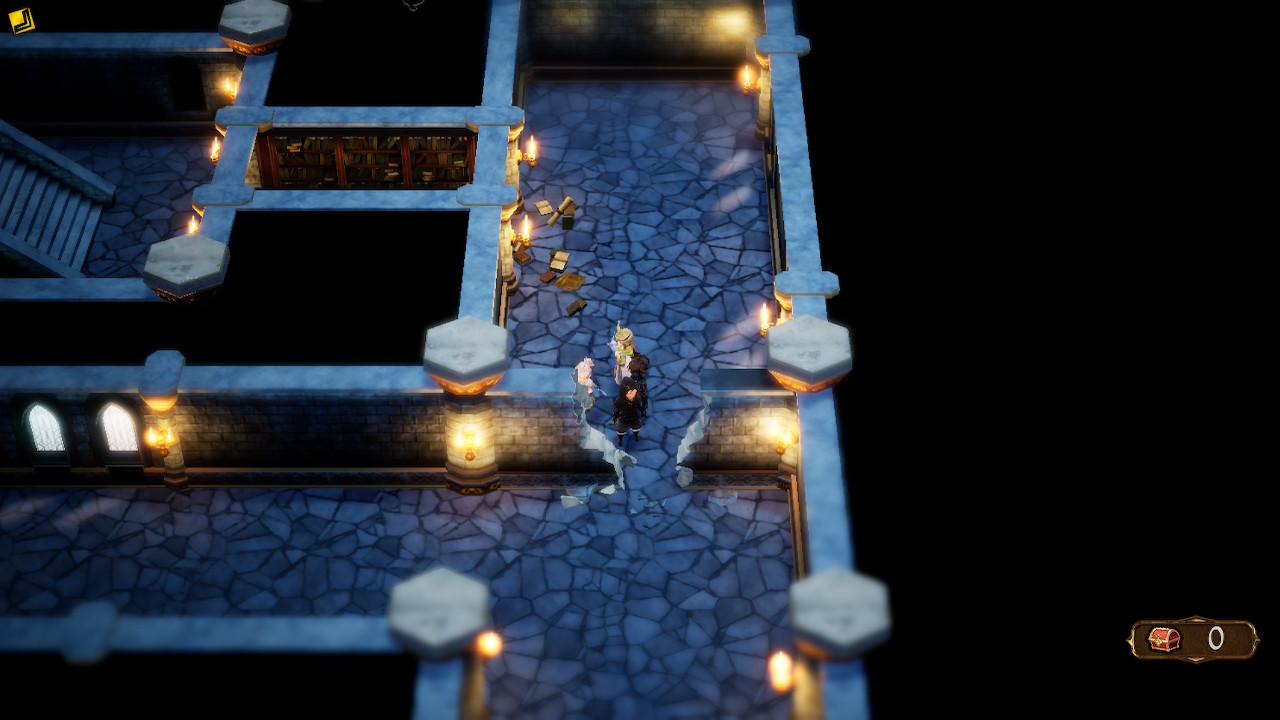
- To reach the next chest double-back around the fountain to the southern route. Go down and look to your right to spot a pile of books on the wall and two torches: these are secret passages. Enter it to reach the second chest (3x Witch’s Whisper).
- Return from the passage and head right until you reach some stairs leading up. Look up to spot a cracked wall: attack it with Y to reveal a passage that leads to chest three (Acorn Hat).
- Follow the path down until you turn right. Look along the wall above you to see yet another crack. Hit it to grab chest four, which has two Gagana within. Kill them for a Cuirass.
- Return to the hall and continue right to reach what seems to be a dead-end, but continue right into the center of the wall to enter a passage. You’ll see the fifth chest at the far right (2x Tengu Yawn).
- Go up from chest two to reach chest six, which has three Abaddon lurking within. Put them down to grab a Large JP Orb.
- Return to the first floor and go to the far left from the southern edge to hit another cracked wall for chest seven (7400 pg).
- Circle back to the northern route, near where you looted the first chest. Follow it to a second staircase and go back to the second floor. Continue on this path till you reach another set of stairs leading back down. Go left then down to find another “dead-end”. Run into the wall on the left where the books and torches are to reach the eighth chest (Artisan Gloves).
- Head back towards the stairs and take the right path this time. Go up the stairs, follow the path, then take another set of stairs back down to the first floor. Head up, and you’ll notice another cracked wall before the turn going left. Break it to open a path to the ninth chest (13400 pg) located on the second floor.
- Return to where you burst open the crack in the wall and head left, which will lead to yet another set of stairs heading up. You’ll reach the second floor of the fountain: there’s a save point and Dungeon Portal next to the staircase leading to the third floor. Recover, then head up. Once on the third floor go to the staircase straight north and take it to reach chest ten (3x Dreadstool).
- Return to the third floor and take the next staircase to the left of the the top one for the eleventh chest (Heart Ring).
- Once back on the third floor head down past the far left staircase to the bottom-left one for the twelfth chest (8x Mini Ether).
- Head down to the third floor and go to the staircase in the top-right for the thirteenth chest (5x Hush Pollen).
- Take the southern staircase on the third floor and head up. Go right immediately once you step foot upstairs into the secret passage and continue right past the upwards route to reach chest fourteen (Sands of Time).
- Take the route up now to reach the fifteenth chest, which has four Abaddons within. Put the demons down for a Summoner’s Axe.
- Return to the staircase via the secret passage and head up to spot another on the left. Go through it take the first path leading up, skipping the turn right to circle around the staircase that leads to the fifth floor.
- Once you reach the fifth floor you’ll be a few feet shy of a cutscene and boss battle, so use the save point here to recover and save, and make sure you have your jobs setup for the fight ahead (I.E. make sure you have a healer and a tank).
- Adelle will be able to cast Special Attacks from this fight forward.
SPOILER WARNING FOR THE UPCOMING BRAVELY DEFAULT 2 BOSSES AND JOBS.

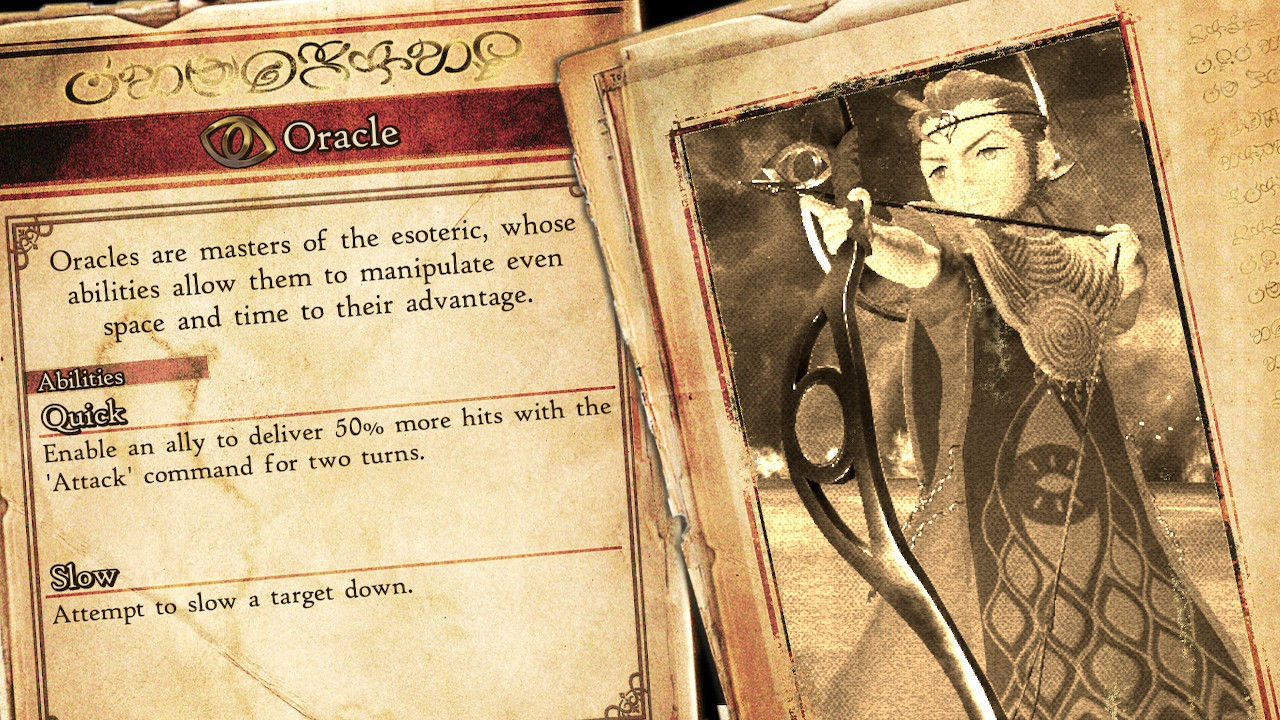
Archbishop Domenic (Oracle)
We have a full guide on how to beat Archbishop Domenic here, but to summarize:
- Domenic: 70920 Health, weak to Darkness, Daggers, and Staves. Takes half damage from Bows, Fire, Water, and Lightning. Absorbs Earth.
- Domenic is an Oracle, which means a whole lot of Slow and Stop. Equip items that will mitigate these Ailments to make this fight a breeze.
- He will counter Physical Attacks with Stop, so ensure your melee has the right equipment in place.
- Freelancers with Square One are also an excellent counter to his time magic.
- Berserker’s Unshakeable Will passive will ensure Domenic’s time magic has no effect any party member rocking it.
- Domenic will cast Reflect often in the second half of the fight, rendering your spellcasters useless (unless you enjoy resurrecting them often).
- When Domenic’s health gets low he will begin to cast Bomb Arm (and use it as a counter to attacks). It hits everyone for massive damage (1500 to 2000 a hit).
- This ability can paste frailer jobs, so make sure you have a White Mage or Salve Maker to keep everyone topped off.
- Be careful while attacking, cause too many in a row can wipe your party: attack/heal/attack.
- Magic Resistance is a good idea in this fight, since Triplara will cast Fira, Blizzara, and Thundara (up to all three) on a single target for massive damage.
- Triplaga is the same idea, but with Firaga, Blizzaga, and Thundaga.
- A Shieldmaster is amazing here, able to use Bodyguard and protect your healer from Domenic’s spells and some of his Bomb Arm attacks.
Bravely Default 2 Chapter 3 Part 3 Walkthrough Finale.
After you stop the deranged Archbishop Domenic you’ll unlock the Oracle Job. A lengthy cutscene will follow the fight, in which you’ll learn Helio’s true motivations. The city is now under attack, and you’ll have to defend it and bring an end to the whole sordid affair in Rimedhal in Part 4 of the Chapter 3 walkthrough for Bravely Default 2.
Bravely Default 2 is available now on the Nintendo Switch.


Published: Mar 10, 2021 04:27 pm