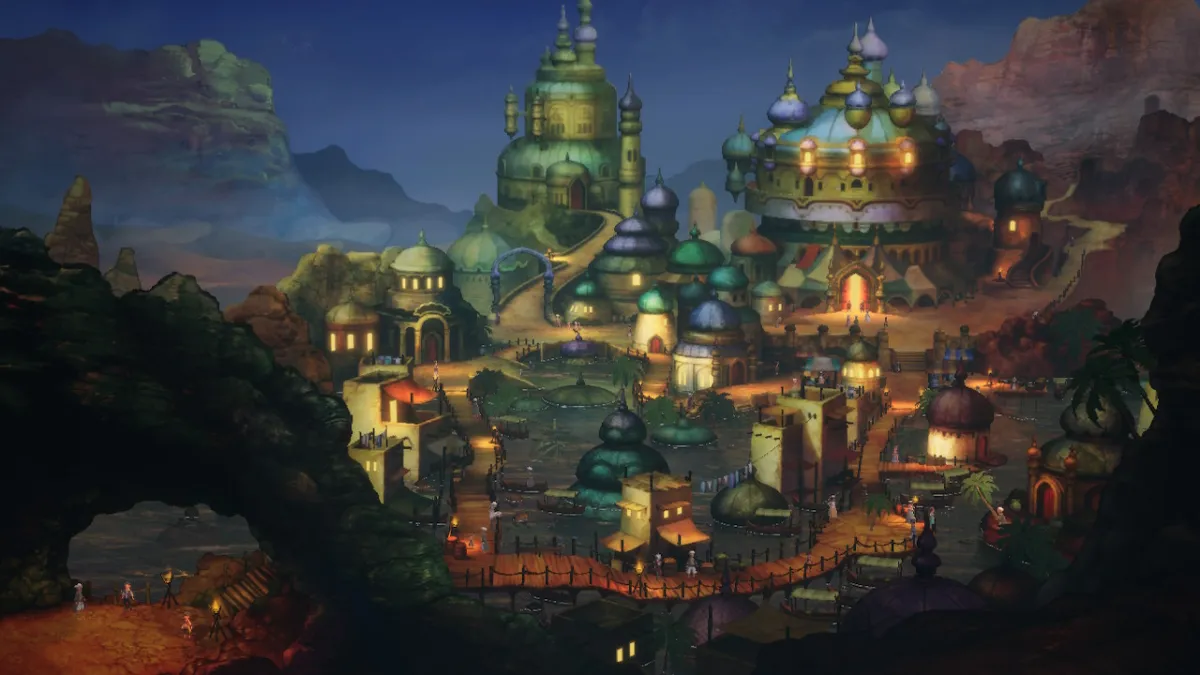
You’ve officially crossed into the Chapter 1 walkthrough of Bravely Default 2, and to continue forward on your quest you must venture forth to Savalon, the oasis city in a vast desert. Upon leaving the Vale of Sighs from Part 2 of the Prologue (which has a walkthrough here if you are somehow reading ahead) you’ll find yourself within the desolate desert, and to get things moving you’ll need to head south to reach Savalon.
Since Bravely Default 2 is a narrative-heavy game, I will try to keep all spoilers to a minimum. Cutscene details will be scarce, and characters will only be named as required. Additionally, this walkthrough will follow a checklist format to keep things short and concise.
I will list monsters encountered along the critical path (to include their weaknesses), and treasure chests (as well as what they contain). Enemies and bosses are natural but necessary spoilers, so I’ll go ahead and tag this article with a mild spoiler warning here, and I will precede every boss with a more obvious spoiler warning.
Bravely Default 2 Chapter 1 Part 1 Walkthrough
Savalon
- Head south from the Vale of Sighs exit to reach Savalon.
- You’re in a canyon, so the only way you can go is south. Savalon is at the lip of the canyon to your left if you turned the camera around to not face the Vale of Sighs exit.
- There are Goblin Archers, Orc Leaders, and Fresh Folioles along the route.
- Goblin Archers (Humanoid) are weak to Lightning and Spears.
- Orc Leaders (Humanoid) are weak to Water and Bows.
- Fresh Folioles (Plant) are weak to Fire, Earth, and Staves. Absorbs Water.
- A cutscene will play when you near the city, once it concludes you will be able to enter unimpeded (the random monster or two aside).
- Once within Savalon a brief event will play out, and you’ll learn of the plight that’s befallen the city.
- There’s a wagon at the entrance, and this will allow you to fast travel between towns. For now that’s Savalon and Halcyonia.
- Once the cutscene ends make your way up the path on the left towards the palace to push the story.
- The inn is also on this path, on the left right before the ramp up to the palace. Be sure to stop in and rest!
- If you want equipment or items the shop is the first building on the right.
- The exploration lady is a little further on the item shop, in the building all on its own on the right.
- If you venture up the right towards the tent you will trigger a cutscene. You’ll see Orpheus for the first time – the Bard.
- After the crowd has been dispatched and you’ve talked with Orpheus you will resume your quest to visit the palace.
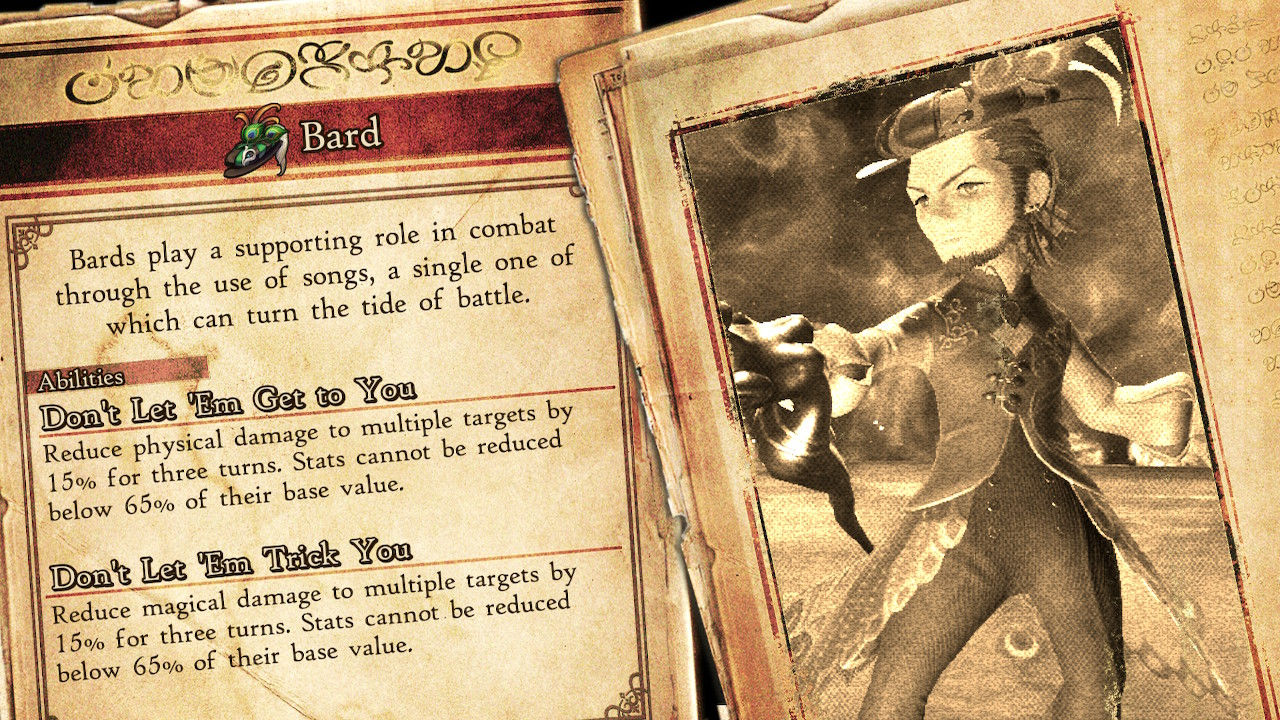
- There isn’t a side quest attached to Orpheus, so you’ll have to wait a little longer before unlocking Bard.
- You can find one of the three chests in Savalon within the first building to the right of the tent (Spear).
- The other two are inaccessible until later in the story, so don’t worry about them for now.
- After the crowd has been dispatched and you’ve talked with Orpheus you will resume your quest to visit the palace.
- Once you’ve rested, done some shopping, and have seen the Orpheus cutscene (or not – it’s not required to move the story forward yet) head up to the palace.
- You’ll enter a cutscene with Prince Castor of Savalon. Once it concludes he’ll join as a temporary party companion, and you’ll need to head towards the Gaming Hall (the massive tent) to proceed.
- You can loot the one chest in the palace now, which is through the door within the palace on the right, then down the hall (3x Antidote).
- You’ll enter a cutscene with Prince Castor of Savalon. Once it concludes he’ll join as a temporary party companion, and you’ll need to head towards the Gaming Hall (the massive tent) to proceed.
- Leave the palace and circle around the path up top that leads to the right patch and the Gaming Hall (tent).
- Enter to trigger a brief cutscene with Bernard and others.
- Afterwards head back outside and to speak with Orpheus.
- Before you leave go up the stairs and circle right to loot the one chest in the Gaming Hall for 740 pg.
- Work your way back to the entrance to Savalon to start a cutscene with Orpheus and Anihal.
- Listen to it, then follow him out to the Sandswept Ruins once it concludes.
- The Sandswept Ruins are your next dungeon, so stock up and rest at the inn.
- Additionally, there is a simple errand side quest (A Long Lunch) outside the inn, and your target is at the ruins, so you may as well grab this before leaving town. It rewards 1x Large JP Orb.
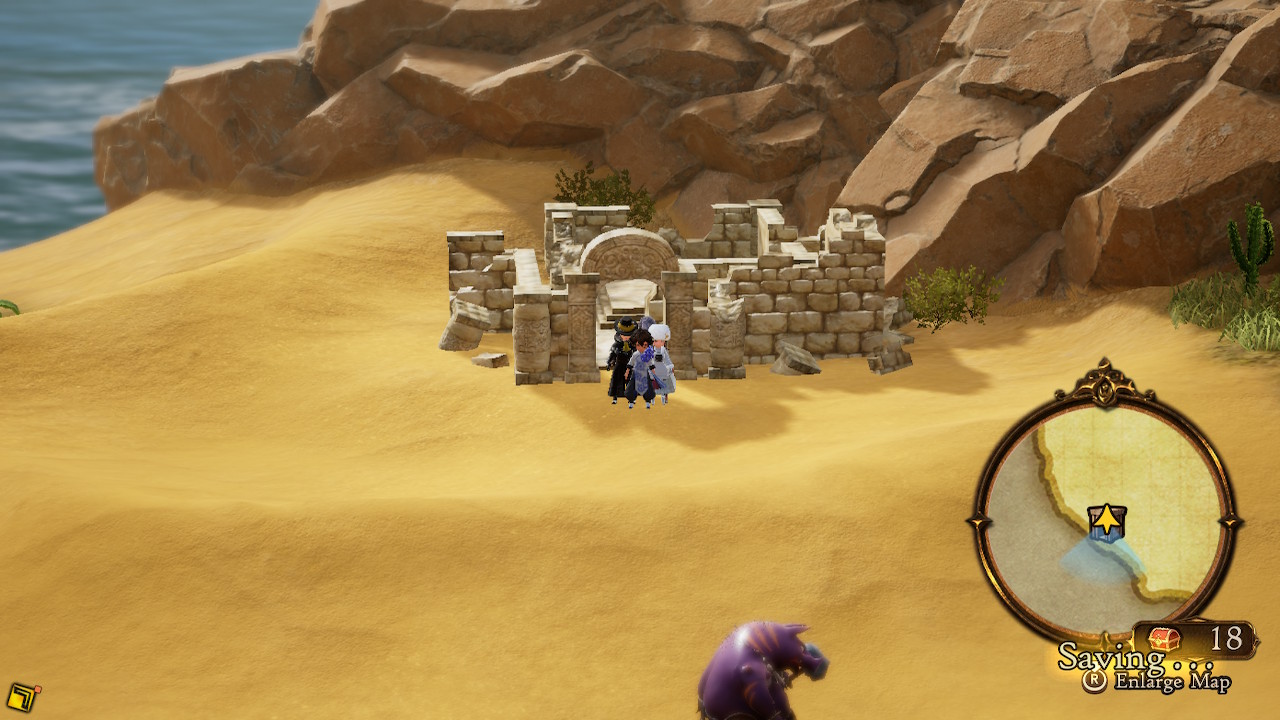
- Once outdoors head directly south from Savalon towards the coast. You’ll see an deserted old temple: this is the Sandswept Ruins.

Sandswept Ruins
The Sandswept Ruins are the dungeon for Part 1 of Chapter 1 in Bravely Default 2. There are a bunch of tricky foes here, so enter it around level 10 and Job level 6 or higher for the easiest time.
- A cutscene will start once you enter the Sandswept Ruins. After it ends you will be free to explore the dungeon.
- If you don’t care for chest then head to the upper-left of the open arena you start in, down the corridor, then up towards the stairs, left then down until the Dungeon Portal, left again, down once more, then follow the path to the save point. Enter the arch next to it to trigger the boss battle.
- The Sandswept Ruins are full of Restless Souls, Terra Elements, Diatryma, Sandworms (which attack randomly from yellow sand patches), and massive Daidarabocchi.
- Restless Souls (Undead) are weak to Wind and Light. Takes half damage from physical weapons and Earth.
- Terra Elements (Spirit) are weak to Wind and Staves. Takes half damage from Fire, is immune to Lightning, and absorbs Earth.
- Diatryma (Beast) are weak to Lightning and Bows. Takes half damage from Wind.
- Sandworms (Insect) are weak to Water and Axes. Takes half damage from Lightning, and absorbs Earth.
- Daidarabocci (Undead) are weak to Lightning and Swords. Counters on Status Ailments. Takes half damage from Light, and absorbs Darkness.
- There are seven chests in the Sandswept Ruins. The place is a maze, so you’ll need to pay attention to the various holes in the walls to reach these chests.
- The first one is just above the large area you start in, in an area full of sand. Head up, and when you see the archway head left down the hallway. Near the far left of the upper wall is an opening that will let you into the sand covered area, and on the far right is the chest (3x Mini Ether).
- Leave the sand area and continue left, then up the corridor. You’ll see the second chest behind the wall; head further up until you see a break in the fortification on the left, which will lead you down to the chest (Clothespin).
- Return to the break in the wall and head back down to the arch. Head right this time, then turn to the path upwards. Turn left at the crossroads, and then enter the room at the bottom for the third chest (Glaive).
- Head to the room above for the A Long Lunch side quest if you have it. Speak to the man to move the quest forward. You’ll have to return to Savalon, speak with his wife, return to him again, then his wife one last time. Do this after clearing the Sandswept Ruins.
- The forth chest is through the broken wall next to the room above the third chest, in the area full of sand below the ramparts (5x Antidote).
- Head back to the broken wall that led you to the second chest, but head up the stairs. Turn left and follow the path down to the Dungeon Portal. Continue down through the arch, and you’ll find the fifth chest to your left (1180 pg).
- Go back to the portal and take the path left. Go until it ends then make your way up, then left. There’s a giant Daidarabocchi here with a sandworm, so either avoid the fight, or make sure your health and MP are in a good spot before taking them on. Kill them and open the sixth chest (Mythril Sword).
- Double back and head down at the arch. Follow the path to the save point, and venture beyond it and up the stairs to find the seventh chest. Three Terra Elements and a Restless Soul will pop out of it. Kill them to receive a Gaia Shield.
- Either head back to the save point (if you were collecting the chests), or head through the arch next to the save spot to start a cutscene and then a boss battle. Be sure to rest and save beforehand!
SPOILER WARNING FOR THE UPCOMING BRAVELY DEFAULT 2 BOSSES AND JOBS.

Orpheus (Bard)
We have a full guide on how to beat Orpheus in Bravely Default 2 here, but to give you a quick summary:
- Orpheus: 10640 Health, and is weak to Water, Spears, and Bows.
- Orpheus is a cocky sonuvabitch, and he is a slog to battle through. You will want a Vanguard in your party to taunt him and soak as much damage as possible.
- Orpheus enters battle with four “pets” on the field, and he will buff them with four consecutive turns (meaning he has to wait four until he can act again).
- Toxolotl (Aquatic) is weak to Water, Darkness, and Spears.
- Will cast Venom, so have Antidotes and Basuna at the ready.
- Diatryma (Beast) is weak to Lightning and Bows.
- They will have -35% Physical Damage taken, and -35% Magical Damage taken.
- He will also buff their attack on subsequent turns.
- Use this opportunity to slowly whittle down and kill his monster pals. The battle against Orpheus is a battle of attrition, so don’t rush it.
- Toxolotl (Aquatic) is weak to Water, Darkness, and Spears.
- Orpheus will counter magic of any sort with Sleep, so have Wakeup Bells and Basuna on hand.
Bravely Default 2 Chapter 1 Part 1 Walkthrough Finale
After you take down Orpheus you’ll unlock the Bard Job and enter a cutscene. After it ends head back to Savalon by either leaving the Sandwept Ruins by foot, or with a teleport stone. Once you leave the ruins another cutscene will play – make your way back to town when it concludes to confront the not-so-trustworthy Bernard.
This will wrap up Part 1 of Chapter 1 in Bravely Default 2. Click the link here to continue on to the Chapter 1 Part 2 walkthrough, where you’ll do some snooping around town before looking into the cause of Savalon’s mysterious flooding.
Bravely Default 2 is available now on the Nintendo Switch.


Published: Feb 28, 2021 01:10 am