With Halcyonia liberated from imperial control you’ll next head to Savalon in Part 2 of the Bravely Default 2 Chapter 4 walkthrough. Holograd has offered the nation a chance at peace, so long as they agree to fall under imperial rule.
Since Bravely Default 2 is a narrative-heavy game, I will try to keep all further spoilers to a minimum. Cutscene details will be scarce, and characters will only be named as required. Additionally, this walkthrough will follow a checklist format to keep things short and concise.
I will list monsters encountered along the critical path (to include their weaknesses), and treasure chests (as well as what they contain). Enemies and bosses are natural but necessary spoilers, so I’ll go ahead and tag this article with a mild spoiler warning here, and I will precede every boss with a more obvious spoiler warning.
Bravely Default 2 Chapter 4 Part 2 Walkthrough
Trouble in Savalon
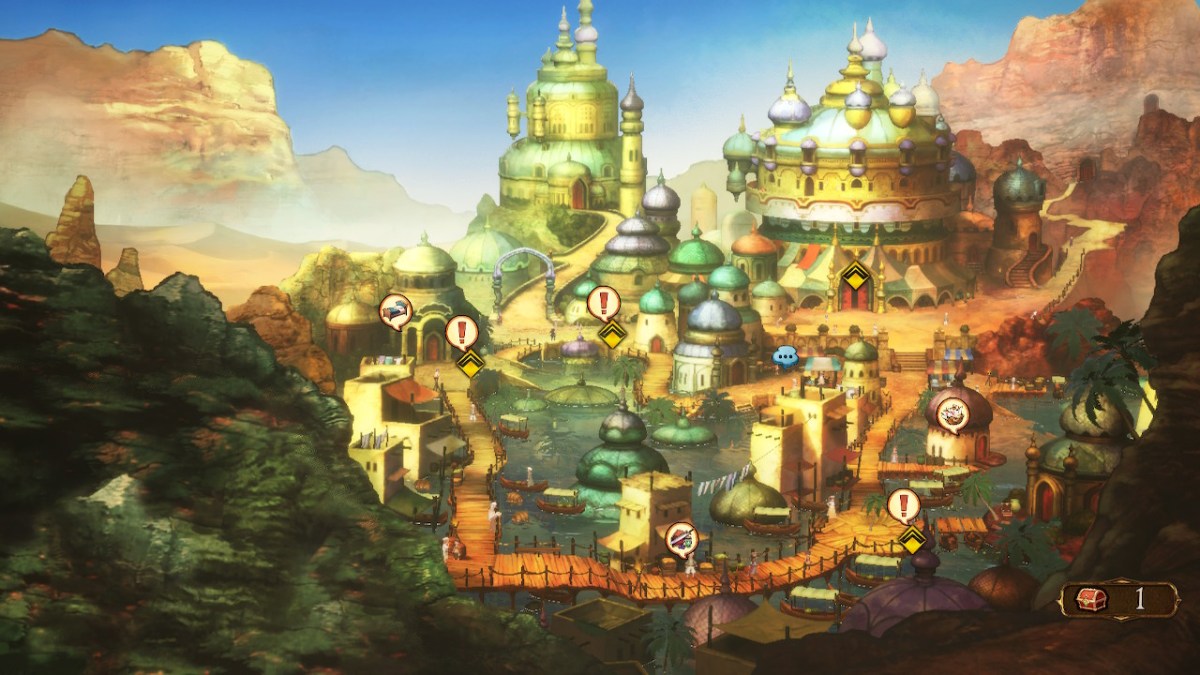
- Picking up from where we left on in Chapter 4 Part 1, quickly rest at the inn then head to the wagon and fast travel to Savalon.
- Much like Halcyonia, you’ll be locked into the Savalon portion of Chapter 4 once you enter the town.
- After a brief exchange with Anihal make your way up to the royal palace to learn what’s happening in Savalon.
- Speak with Prince Pollux to start a cutscene.
- Two members of the Council of Elders have died, and Prince Pollux suspects foul play from Holograd. There are four Elders you’ll need to talk to:
- A man outside the ramp up the palace, on the right near the path that leads to the Gambling Hall.
- A woman outside the inn.
- A gentleman near the shop vendor, next to the entrance to the Underground Reservoir.
- An older man within the Gambling Hall, on the top floor next to the stairs.
- After talking with all four return to the palace and discuss what you’ve learned with Prince Pollux.
- Now you need to head to the dungeons on the far right of town to speak with Dromed.
- Turns out someone is impersonating the Prince!
- Yep, boss time! Kind of.

- Don’t be fooled: this fight ends after five turns, so just stay alive until the imposter flees.
- A cutscene will play and you’ll grab the Assassin’s Necklace key item.
- You’ll need to talk with the four Elders once again.
- They are in the same locations as before.
- Once you’ve talked with all four once more return to the palace to share what you’ve learned with Prince Pollux.
- Speak with Dromed beforehand to learn a bit more about the necklace.
- Prince Pollux will ask if you’ve identified the traitor: tell him yes to trigger a cutscene.
- Rest, restock, and save before starting: you have a difficult boss battle coming up.
- There are prompts you must answer correctly here:
- Prompt 1: Against Joining.
- Prompt 2: The Council knew.
- Prompt 3: A necklace.
- Prompt 4: Cygnus.
- With the traitor unveiled it’s time for the actual boss battle.
SPOILER WARNING FOR THE UPCOMING BRAVELY DEFAULT 2 BOSSES AND JOBS.

Marla (Phantom)
We have a full guide for the Marla battle here, but to summarize:
- Marla: 79722 Health, weak to Light and Spears.
- Marla attacks often and is hard to hit thanks to her high Speed and Evasion.
- That said, spells are not affected by Evasion, so a Spiritmaster’s Light attacks will be effective in this fight.
- She also hits for high amounts of damage with her attacks (up to 3.5K+), so you won’t want too many spellcasters.
- The Salve-Maker is an excellent job for this fight: can wear heavy armor, heal, and deal damage to her.
- Be careful of Marla’s Dream Within a Dream: she strikes three times, so this attack has the potential to one-shot weaker characters.
- Shadowstepper is equally as lethal, and is used as a counter to Physical Attacks, Buffs, and Status Ailments.
- Marla can be Paralyzed, so Salve-Maker’s Special and Rangers Shadowbind work wonders in this battle.
Bravely Default 2 Chapter 4 Part 2 Walkthrough Finale.
Once you defeat Marla you will unlock the Phantom Job, and be one step closer to thwarting Adam and Holograd’s devious agenda. After the cutscene ends you’ll be free to head off to Wiswald for Part 3 of the Bravely Default 2 Chapter 4 walkthrough.
Bravely Default 2 is available now on the Nintendo Switch.


Published: Mar 12, 2021 05:08 pm