If you’re looking for strong armor and weapons at the beginning of The Legend of Zelda: Tears of the Kingdom, look no further than the Royal Guard set. This guide offers detailed instructions on acquiring pieces of the Royal Guard armor set, the Champion’s Leather, and a heap of powerful weapons as soon as you’ve completed the tutorial.
How to Get Royal Guard’s Armor and Weapons in Zelda Tears of the Kingdom
Before you can grab the complete set of Royal Guard Armor, you’ll need to have unlocked the Paraglider. Don’t worry; you can get this as soon as you complete the tutorial and land in Hyrule at the beginning of the game.
Thanks to a handy elixir that’s incredibly easy to brew, you can glide straight into Hyrule Castle and grab the Royal Guard Armor without fighting incredibly overpowered enemies.
Step 1 — Obtain an Energizing Elixir

Gliding is tiring, so you’ll need to brew an Energizing Elixir to restore your stamina before you glide into Hyrule Castle. To make an elixir that completely refills your stamina gauge, you only need four Restless Crickets and one Bokoblin Horn.
Restless Crickets are found by cutting grass, which you will have no problem finding. It’s everywhere. Grab a sharp weapon (there are some in the Emergency Shelter) and get weed-whacking outside Lookout Landing.
Bokoblin Horns are from killing Bokoblins, the red pig-nosed goblin creatures you’re probably all too familiar with. They’re easy to kill, so slay a few and take the horns they leave behind.

Go to the Emergency Shelter’s Cooking Pot, hold four Restless Crickets and one Bokoblin Horn, then cook them up to create a delicious Energizing Elixir. I only needed one in my attempt, but I would recommend brewing two at the very least — just in case.
Step 2 — Glide into Hyrule Castle

Launch yourself from Lookout Landing Skyview Tower and glide toward Hyrule Castle to the North. Giant ominous floating castle; you can’t miss it. Aim for the front entrance.
As you run out of stamina, press the + Button to open the menu and drink the Energizing Elixir. I found it was best to take it as I was about to run out of stamina, as it fully replenished my gauge.
Step 3 — Champion’s Leathers

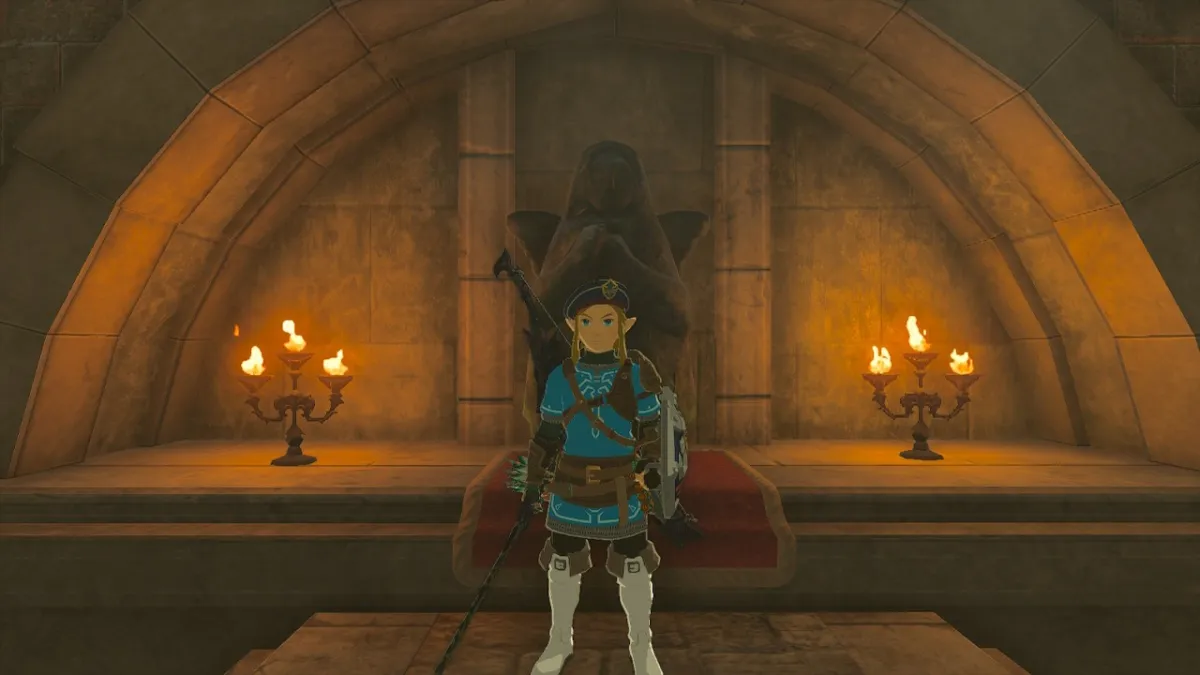
Enter Hyrule Castle and walk up the stairs to the right. Despite the sinister music, there are no monsters you have to face. At the top of the stairs, you’ll find two unlit braziers.

Whip out your bow and attach a Fire Fruit to it by pressing Up on the D-Pad. Set both braziers on fire, and the statue behind you will move, revealing a chest containing the Champion’s Leathers. This is a new spin on Link’s iconic outfit from Breath of the Wild and the same shirt he wears in the opening sequence of Tears of the Kingdom.
Related: What Carries Over from BoTW to Zelda Tears of the Kingdom?
Step 4 — Royal Guard’s Spear, Sword, and Shield

Facing the bird statue, head up the stairs to the right. Grab the Royal Guard’s Spear on the stone platform overlooking the stairs. Directly in front of the stairs lies the Royal Guard’s Sword and Royal Guard’s Shield, which are incredibly powerful items for the beginning of the game.
Step 5 — Royal Guard’s Bow

Head back down the stairs to the bird statue and take the flight of stairs directly opposite. Climb the platform overlooking the stairs to the left, hop over the horse’s head, and pick up the Royal Guard’s Bow. This is the final thing you can grab from this room, so head back to the main entrance but don’t exit the castle just yet.
Step 6 — Royal Guard’s Cap

Take the exit directly to the left of where you entered Hyrule Castle. Continue forward and hop down to the platform below. Jump down through the broken floor and again into Princess Zelda’s Room.

Open the chest behind the dressing screen in the corner of the room to find the Royal Guard Cap. Why does she have this beside her bed, exactly?
Step 6 — Royal Guard Claymore

Grab another Royal Guard’s Bow directly above the mantlepiece, and exit Zelda’s room through the door. Atop the pile of rubble, you can find a Royal Guard’s Claymore boasting a whopping 32 power.
Step 7 — Royal Guard Boots

Use Ascend to return to the surface and jump off the edge of the ledge. Land on the slope below (as seen in the picture above) and sprint past the monsters hanging over the tunnel. You’ll see Serutabomac Shrine directly ahead.

Activate the Shrine for a handy fast-travel point and enter the caverns below. Head down the spooky path until you reach the Library. Jump down to find a conspicuous-looking bookshelf.

Move the bookshelf using the Ultrahand to unlock the King’s Study, and open the chest to find Royal Guard Boots.
Now that you’re absolutely dripped out, we recommend completing Robbie’s quest to unlock an incredibly useful feature and explore the mysterious Depths for the first time.
This guide was written from experiencing playing Version 1.1.0 of The Legend of Zelda: Tears of the Kingdom on Nintendo Switch.


Published: May 14, 2023 08:56 am