The Xenophage is one of the many machine guns you’ll come across in Destiny 2. But what makes it different than the other machine guns in the game?
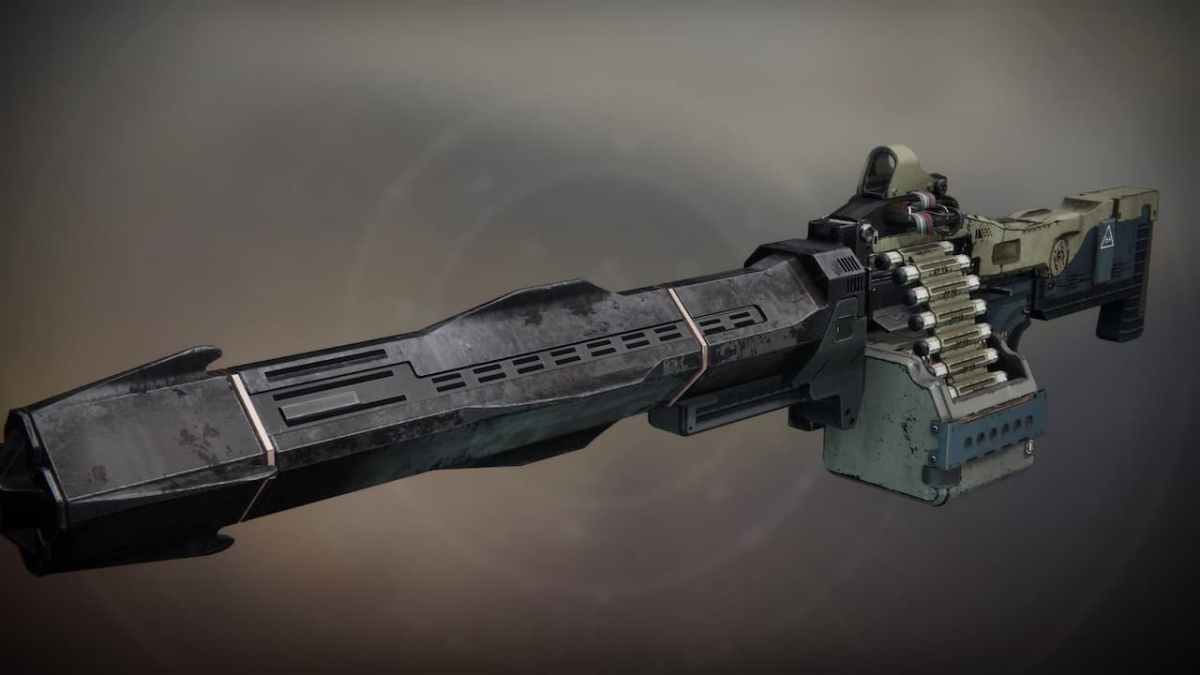
First of all, this is an Exotic weapon. And secondly, this is one of the best machine guns that you will come across in the game. Thanks to the intrinsic perk on this weapon, this gun fires explosive rounds. This makes the weapon a very good choice especially if you’re playing activities like Gambit. It’s just a nice weapon during DPS phases. But how do you get it?
Where to Find the Xenophage in Destiny 2?
Truth be told, the Xenophage is locked behind an elaborate questline in the game. Moreover, to get your hands on this Exotic, you will have to complete the Pit of Heresy dungeon as well, but we’ll come to that later. The quest related to this Exotic is known as Emergence, and it has four really elaborate steps. So here’s how you get your hands on this Exotic weapon in Destiny 2.
Step 1 – The Journey

This is the very first step of the quest. To do this, you will have to land at the Sorrow’s Harbor zone, and then make your way into the Scarlet Keep. Once inside the Scarlet Keep, turn left from the glowing crystal in the center. Keep moving straight till you come to a hole in the wall to your right. Enter through this hole and then keep going straight till you’re able to spot the top part of the Pyramid on the Moon.

There are four pillars towards the rear end of this room. You will have to ignite them in a particular sequence, which is as follows: Front right, back left, front left, back right. Keep in mind that this sequence works when you’re facing the entrance to this room. If you’ve entered the sequence correctly, a chest should pop up, giving you access to the Xenophage questline in Destiny 2.
Step 2 – Emerge From the Dark

This quest will require you to dunk a flaming orb into six plates. When you pick up the orb in question, you’ll be on fire, but that won’t damage you. You’ll also notice that a timer appears on the bottom left corner of your screen. If the timer runs out, you’ll have to start this step all over again. If you break the sequence, you will have to start over again as well.
To start this quest, you’ll have to make your way to the Anchor of Light. As you make your way through it, you’ll come across a radio tower. When you’re facing this tower, you’ll see a small room on the left, which is connected to the tower itself. The orb you need to pick up is inside this room itself. Once you’ve picked up the orb which is inside the room, your quest for the plates begins.

- The first plate is inside the room with the orb itself.

- For the second plate, come out of the room and turn right. Keep going to the circular structure in front of you. As you approach the clearing, turn left. There should be a tilted radio tower here. The second plate is on a platform under this tower.

- Turn back and head towards the first radio tower. To your left, there should be a small room with the fourth plate inside.

- Head out of this room, and start scaling the tower. Towards the back of the tower, you’ll find the fourth plate on top of one of the beams.

- There should be an elevated platform directly opposite this tower. The fifth plate is on this platform.

- The final plate is located on top of the circular building in the area.
- Once you’ve managed to light up all the plates, a waypoint should appear, which leads to a final plate. Follow this waypoint and dunk the orb to complete this leg of the challenge.
Step 3 – Find the Path Fragments
For this step, you will have to complete all four lost sectors on the Moon. Once you’ve finished a lost sector on the Moon, you will come across a wall filled with Hive runes on the exit route for these lost sectors. The main goal is to match the runes on the grid with the one above the grid.
Since it’s a 3×3 grid, it’s easy if we assume the grid to be a keypad, with the rune on the top left corner being assigned the number “1” and the rune on the bottom right corner to be the number “9”. Keeping this alignment in mind, here are the solutions for all four lost sector puzzles in Destiny 2.
- K1 Logistics: 1 – 7 – 6 – 5
- K1 Revelation: 6 – 4 – 5 – 5 – 4 – 8 – 5 – 2
- K1 Crew Quarters: 3 – 4 – 5 – 8 – 9 – 9 – 8 – 8
- K1 Communion: 7 – 9 – 2 – 2
Step 4 – Pit of Heresy
For the final step, you’ll have to head into the Pit of Heresy dungeon. If you aren’t able to access this dungeon, that means you haven’t completed The Deepening Wake questline in Destiny 2. Complete this quest, and then head back into this dungeon. There are three basic steps that you’ll have to complete. These steps are as follows:
- The first step is located right after the first encounter involving the runes and the Hive minibosses. When you come to the room filled with doors, there should be a door on the upper left side without a rune hanging over it. Head inside this room and activate the rune inside it.
- For the next step, you’ll have to head into the room with the Hive Ogres. You’ll come across this step right before the Hive Totem encounter. When you enter this room, you’ll notice that there are two hallways.
- Head into the left hallway and drop down to the ledge on the cliff. You’ll find a plate which has some scrawlings on it. Activate the plate and you’ll notice some platforms rising up in front of you. On the last platform, you’ll come across an Orb.
- Pick this Orb and head to the right hallway. Here you will have to light two plates beside a red door. While you’re traversing from the left to the right hallway, you will have to avoid the Ogres in the room. If they spot you, you’re done for.
- Once you’ve lit the plates beside the red door, head inside it and be prepared to face Volmar, the Tempted Slain.
- The fight against Volmar is a bit complicated. Before you head into the boss room, you’ll come into a room with four orbs representing the three light subclasses and one neutral orb.
- During the boss fight, you’ll receive a small debuff. Depending upon the debuff you receive you will have to pick up the corresponding orb and deposit them in a specific location. Here’s what the debuffs are called, their corresponding orbs and where you need to deposit them:
- Abyssal Dread (Void Orb): top level, back-left corner
- Neutral Dread (Kinetic Orb): top level, front-right corner
- Thunderous Dread (Arc Orb): bottom level, front left corner
- Fiery Dread (Solar Orb): bottom level, back right corner
- Once you deposit the orb in the correct plate, you’ll convert the debuff into Vengeance corresponding to the orb that you’ve just deposited.
- This Vengeance buff lasts for 25 seconds, and during these 25 seconds, you will be able to damage the boss with damage corresponding to the type of your buff.
- Once you’ve defeated this boss, you can either choose to finish the dungeon, or you could head back to Eris Morn and collect your brand new Xenophage machine gun in Destiny 2.
This Exotic quest is extremely elaborate and somewhat complicated. If you’ve enjoyed this quest, you’ll love the Hidden Shape questline too. However, before you get to the quest, this should be your first Infiltrator Upgrade in Destiny 2.
Destiny 2 is available now for PC, PS4, PS5, Xbox One, and Xbox Series X|S.


Published: Dec 30, 2022 11:27 am