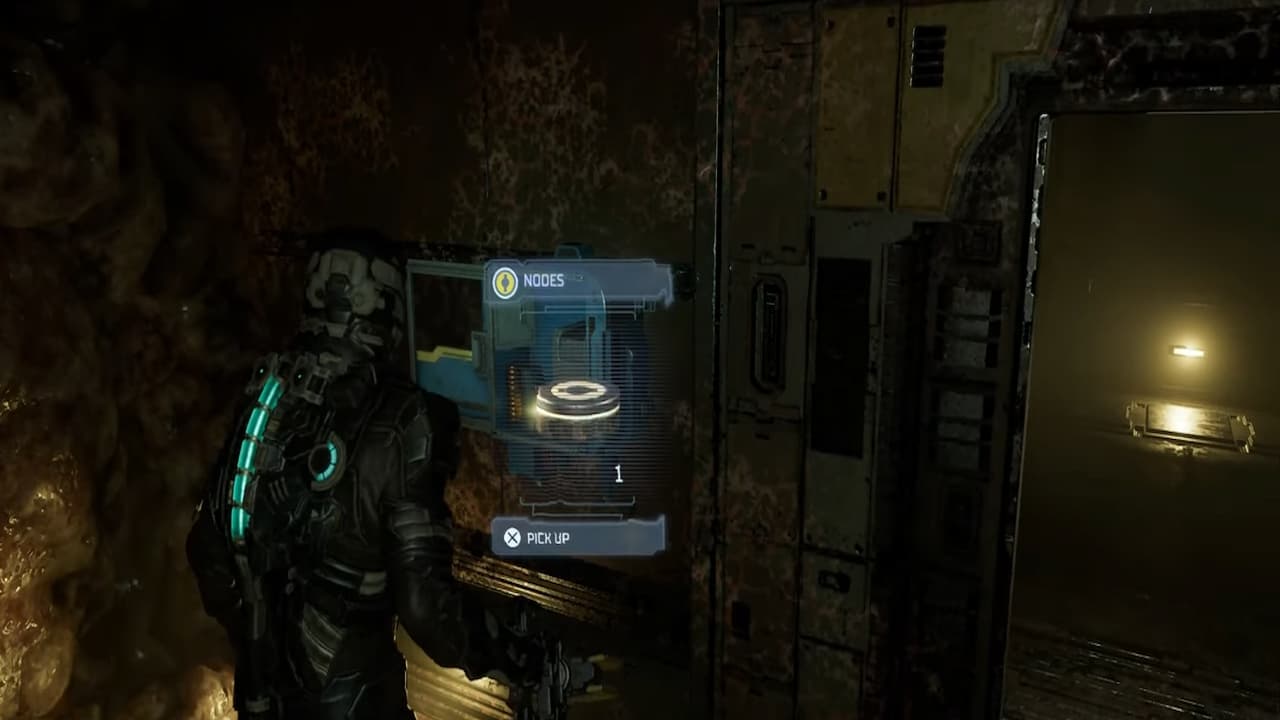
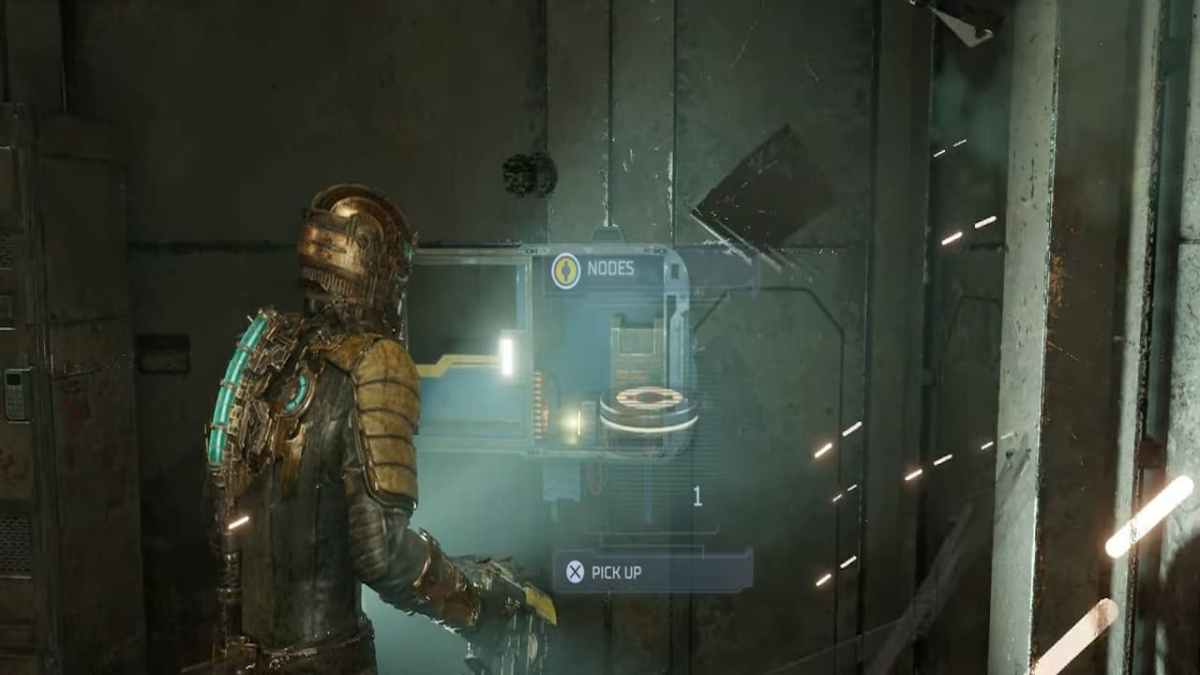
Are you looking for all Power Node locations in Dead Space Remake so you can upgrade your RIG and Weapons to become powerful? The game has a ton of power nodes spread out over all 12 chapters, with some locations needing specific Security Clearance Levels to access. You will not be able to upgrade 100% of everything in a single playthrough, but your progress will carry over into New Game Plus, where you can continue to upgrade even further. Power Nodes become increasingly important based on your difficulty level, as they will give you critical advantages with surviving Necromorphs. Here are all Power Node locations in Dead Space Remake.
All Power Node Locations in Dead Space Remake

Here all Power Node locations are broken down by chapters. We have also included the RIG or Security Clearance Level required to access a specific Power Node. Most of the Power Nodes are in small blue lockers hanging on the wall.
Chapter 1 – New Arrivals
There are four Power Nodes in Chapter 1:
- Tram Repair Room
- Cargo Hall Storage Room
- Maintenance Bay Office
- Flight Deck Supply Room
Chapter 2 – Intensive Care
There are five Power Nodes in Chapter 2:
- Diagnostic Technician Room
- Limb Stimulation Therapy Room
- ER Hallway B
- Ishimura Clinic. Captain’s RIG security clearance is required to access
- Patient Locker Room
Chapter 3 – Course Correction
There are four Power Nodes in Chapter 3:
- Fuel Management Room. The Fuel Station Keycard is required to access this area
- Centrifuge Control North
- Fuel Storage
- Engine Room
Chapter 4 – Obliteration Imminent
There are four Power Nodes in Chapter 4:
- Main Atrium
- Bridge Storage Room
- Admin Server Maintenance Room
- Electrical Systems
Chapter 5 – Lethal Devotion
There are three Power Nodes in Chapter 5:
- Dr. Warwick’s Office in Zero-G Therapy
- Hallway leading to the Chemical Lab
- Emergency Equipment Storage Room in ER Hallway A
Chapter 6 – Environmental Hazards
There are six Power Nodes in Chapter 6:
- Past Cryogenics, but before the Bridge Tram Station
- Hangar-Cargo-Tram Control. Requires Security Clearance Level 1 to access
- Refrigeration Tower
- The Brute in the East Grow Chamber will drop after destroying
- Air Filtration Tower
- Annex Control Room
Chapter 7 – Into the Void
There are five Power Nodes in Chapter 7:
- Covered by boxes to the left of the RIG room
- Deck B: Processing inside of the locked room that requires you to shoot the fuse box from the broken window
- Equipment Maintenance Bay
- Utility Room that is underneath the Equipment Maintenance Bay. Requires Security Clearance Level 3 to access
- The Storage Room before you reach Mining Control. Requires Security Clearance Level 3 to access
Chapter 8 – Search and Rescue
There are three Power Nodes in Chapter 8:
- Platform Storage Room found within the Refueling Control Station area. Requires Security Clearance Level 2 to access
- Maintenance Gondola
- Communications Hub
Chapter 9 – Dead on Arrival
There are four Power Nodes in Chapter 9:
- Briefing Room
- Armory’s Shooting Gallery
- A Brute in the Cargo Bay will drop when destroyed
- Engine Room after turning on the Fire Suppression System
Chapter 10 – End of Days
There are eight Power Nodes in Chapter 11:
- Water Purification Storage
- Rare Specimens room in the Hydroponics area. Requires Security Clearance Level 3 to access
- Nutrition Systems
- You must get to Level 7 in Z-Ball, which is located in the Crew Quarters
- In the Hallway leading to the Standard Quarters
- Storage Room past the Standard Quarters
- Captain B. Mathius’s Crew Quarters
- Go through the doors and take a left after loading the Marker
Chapter 11 – Alternate Solutions
There are two Power Nodes in Chapter 11:
- Cargo Bay
- Control Room B
Chapter 12 – Dead Space
There are eight Power Nodes in Chapter 12:
- Aegis VII Main Landing Pad
- Aegis VII Landing Pad Atrium
- Aegis VII Holding Zone 2B
- Aegis VII Transfer Junction will contain a Master Override box with three Power Nodes inside
- A Brute in the Aegis VII Transfer Junction will drop when destroyed
- Aegis VII Return Tunnel
Dead Space Remake is available on PlayStation 5, Xbox Series X|S, and PC.


Published: Jan 30, 2023 01:36 am