Bloody Finger Hunter Yura is an early-game NPC who you should not miss by any means. He’s someone who you also want to see their quest all the way through. The rewards given to you along the way are some of the best in the game. Here, we’ll go over the Yura questline and where you need to go to see this through in Elden Ring.
Elden Ring Yura Questline Guide
To start this questline, head on over to the Seaside Ruins. This can be found just south of the Dragon-Burnt Ruins. Under a structure, there will be an NPC by a campfire. That’s Yura, so talk to him. He’ll tell you about the dragon near the ruins. This is essentially your introduction to some of the lore about the dragons and how killing them can give you some quite useful spells and incantations.

You can choose to kill Agheel or not at the moment, but your main objective after exhausting his dialogue is to head north from that position and through the river. You’ll get around to Murkwater Cave, where you also encounter Patches. Upon getting to this area, you’ll be invaded by a Bloody Finger. Upon defeating him, with Yura’s help, you’ll be rewarded the Reduvia, one of the strongest daggers in the game.
When you have done that, and hopefully by now defeated Agheel, head over to the Raya Lucaria Main Gate. A Site of Grace is conveniently there for fast traveling once you unlocked the area. Go past the magic barrier and you should be invaded by another Bloody Finger. Just like the first one, defeat him with Yura at your side.

Once that fight is over, Yura will tell you that he’s hunting someone named Eleonora. Then, proceed to make your way to the Altus Plateau, specifically at the Second Church of Marika. You’ll once again meet Yura, and this is where he gives you the Nagakiba. Upon this interaction, you’ll then be invaded by the previously mentioned Eleonora.
This is a tough fight, but if you defeat her, you’ll get her poleblade, which we consider to be one of the best bleed weapons in the game. The quest then has one more task.
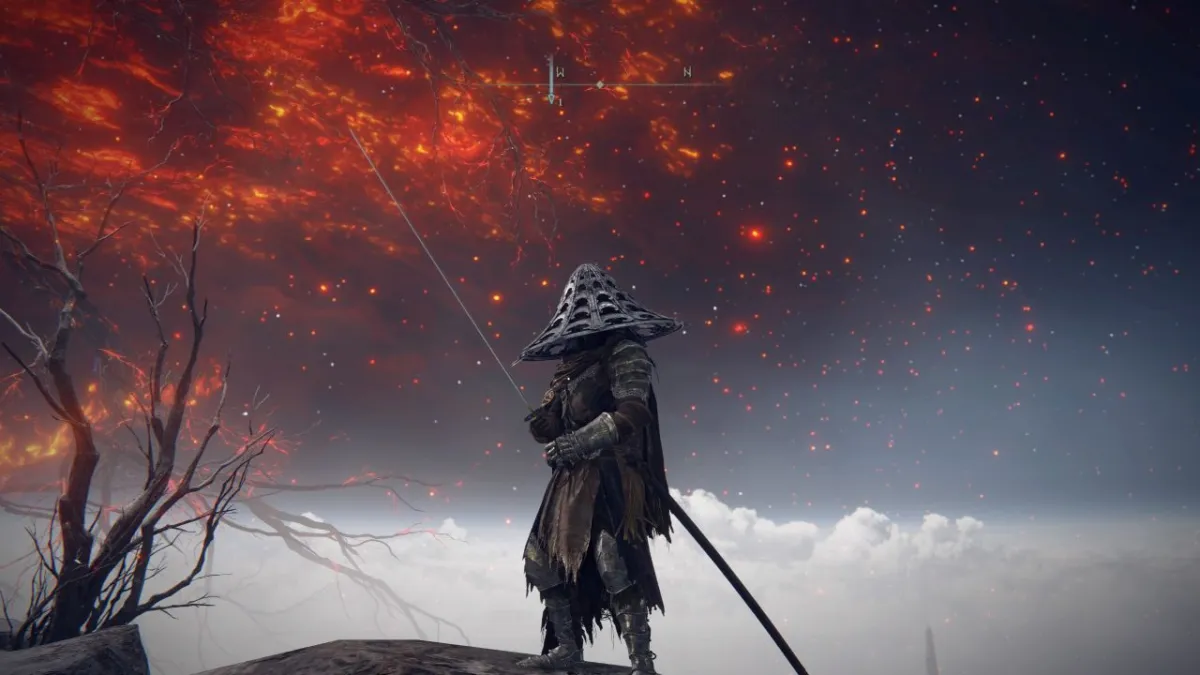
You’ll be able to meet with Yura one more time at the Mountaintops of the Giants. Specifically, he’ll be at the Zamor Ruins. He appears to be possessed by the Three Fingers. That name should be familiar if you’re thinking about getting one of the endings in Elden Ring.

You can choose to fight a possessed Yura or not, but either way, this is where the quest ends. Fighting and defeating him will reward you with his armor. If you choose not to kill him, you can progress with the story, get possessed by the Frenzied Flame, and return. Doing so will still net you the items, just without the fight.
Elden Ring is out now for PlayStation 4 and 5, Xbox One and Series S/X, and PC.


Published: Apr 5, 2022 04:52 pm